Glass drilling and aquarium cutting are invaluable skills for reef keepers who want to build their own custom tanks and systems. While drilling and cutting acrylic are simpler processes, acrylic tanks are usually much more expensive. A fish-holding or coral culture system with multiple glass tanks will be significantly more economical and each can be made “reef ready” if you can DIY the overflows and other custom bits.
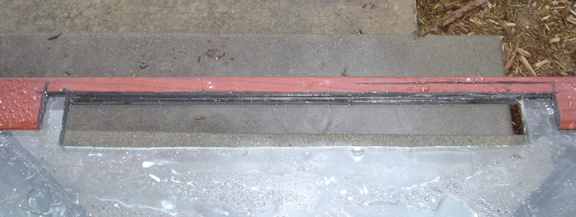
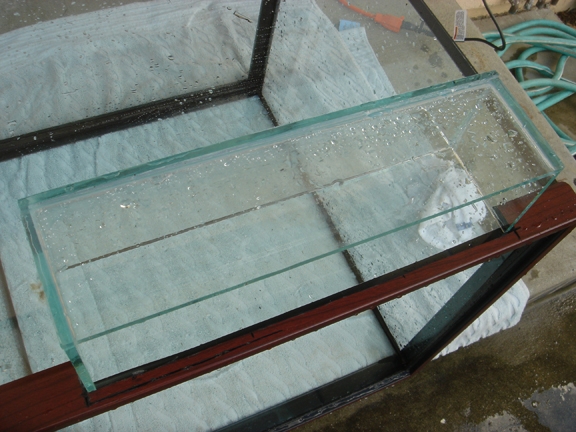
Over the last 15 years, I’ve used a drill or dremel to cut glass aquariums countless times (including on tanks filled with water! Please don’t try this at home,) without a problem. I currently have an Innovative Marine 25-gallon glass tank with a 20-gallon glass auto top-off reservoir with a total of eight different holes and notches in both, which took me about an hour in total to do.
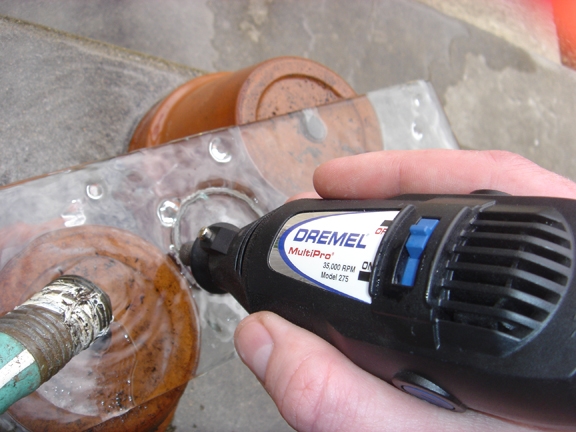
For creating cuts of any shape and size in glass I use a high-speed Dremel tool capable of rotating at 35,000 rpm. I’ve had the same Dremel model 275 for about 15 years now without doing any maintenance on it at all. They are invaluable tools for all sorts of reasons besides drilling glass. The 275 model isn’t sold anymore, so make sure you get a Dremel that can do high rpm. You’ll need the high speed for glass cutting. I’d stay away from battery-powered models and go with corded instead. You’ll also need a single diamond bit for all your glass cutting, item #7144, which is a tapered 3/32” bit. Don’t forget the collet for this bit if it doesn’t come included with your Dremel tool. The 7144 bit is particularly useful for creating square or rectangular-shaped overflows in glass, notches on the edges or tops of glass panels, or small holes that are too small for a traditional diamond hole saw.
For creating circular holes in glass, diamond hole saws with a high-speed drill are standard. There are many options out there but I like the Milwaukee Diamond Max brand hole saws, for no reason other than they’re easy to find at my local Home Depot. For larger holes above 1” in diameter, you’ll want a hard carbide pilot bit with your hole saw. Once your diamond hole saw has made contact with the glass and created a nice circle for the bit to sit in, remove the carbide pilot bit.
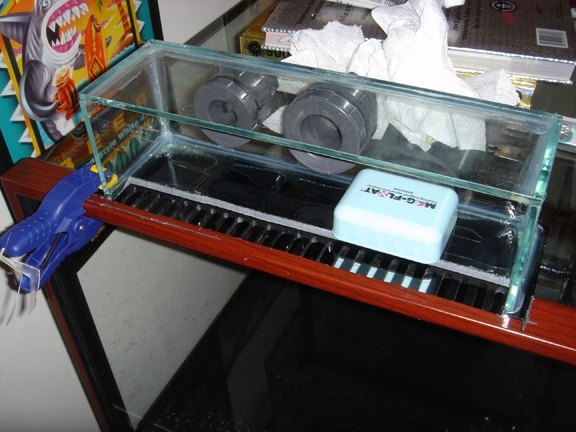
Whether you’re using a hole saw to drill a circular hole in the glass, or a Dremel tool to cut glass, there are a few rules of thumb to keep in mind. 1) First and foremost, be safe and wear your PPE. Leather gloves and safety glasses should be worn to protect yourself from sharp edges and any potential flying shards. 2) Any time your bit or hole saw is in contact with the glass, it should be in contact with water to keep it from overheating and lubricate the cut. There are a few ways to do this. For drilling holes, some people build a dam of clay to hold a bit of water. This works but is not useful if cutting the edges of the glass. I use a lab wash bottle and continuously squirt water on the bit as I’m cutting or drilling, or a trickle of water from a garden hose. A friend can come in handy here to help aim water at the bit. 3) Use high speeds and low pressure. When you are close to punching through with a hole saw, you really want to ease up on the pressure. The weight of the drill is enough on its own. 4) Never cut tempered glass. You’ll just make a nice big mess. The maker of your tank can tell you whether any panels are tempered.
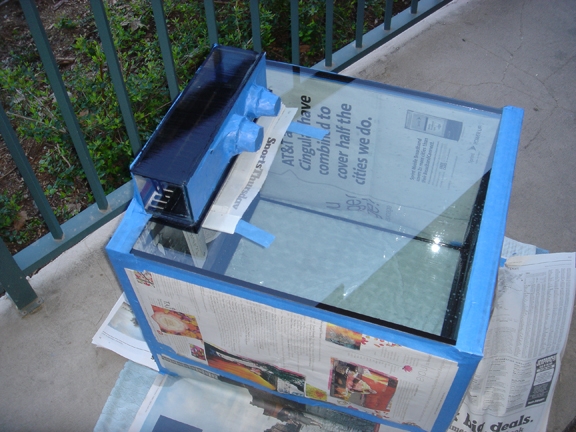
When drilling with a hole saw, always make sure the hole will be properly sized for the OUTSIDE diameter of your bulkhead fitting before starting. You can use a drill press or handheld drill but remember to keep it wet and at full speed at all times. As mentioned above, when you’re getting ready to punch through the opposing side, the lighter the touch the better. Take your time! Diamond hole saws are perishable in a sense, so you’ll need to replace them as they wear down to get an efficient cut. Folks report they get an average of around 25 holes with their Milwaukee bits before needing to be replaced. The edges of your circle may be a bit rough, but you’ll be covering it up with a bulkhead fitting immediately.
When cutting with a Dremel tool, you can either start from the edge or in the middle of a glass pane. For the latter, you’ll use the diamond bit like a drill. The key here is that you don’t want to just push straight down, but instead, move the bit in a little circle as you apply slight downward pressure on the glass. Remember to keep flushing with water as you’re doing this! You’ll wind up with a little 1/8” hole in the glass. Now to expand that single hole into a longer cut, you’ll move the bit sideways to create the cut in whatever shape you like. This part takes a bit of practice, but you want to use the bit like a saw. The side of the bit is what will be making contact with the glass, so you’ll keep the tool perpendicular to the glass panel while plunging it up and down and applying slight lateral pressure to the glass in the direction you wish to cut. If you’re handy with a Dremel tool you’ll know that you let the speed and bit do the work, rather than your hands. You don’t need to push hard. A nice feature of cuts made with the Dremel tool is that they don’t have sharp edges. The tool works by grinding or sanding away bits of glass, in a sense, so all the edges should be safe to handle.
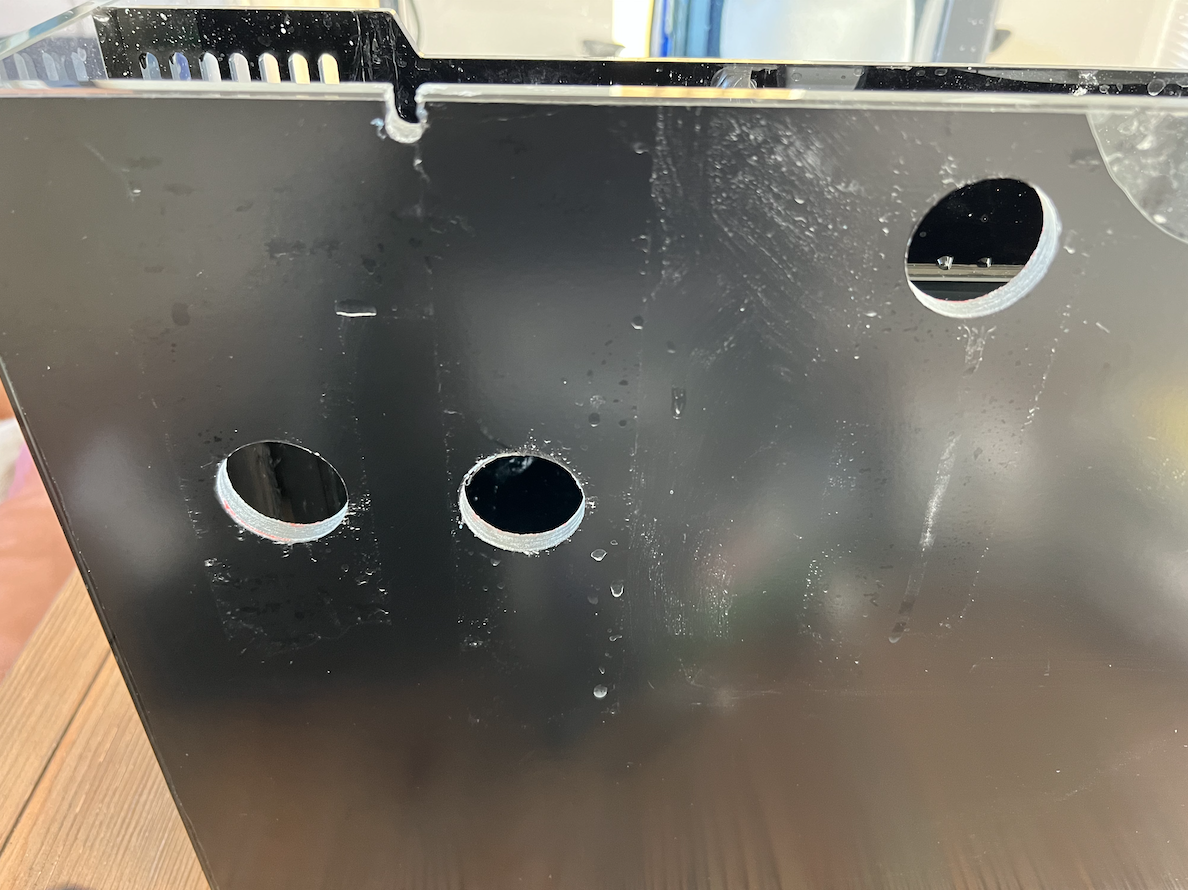
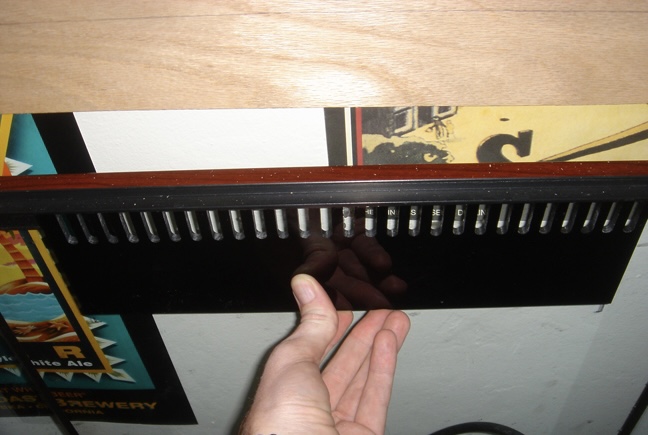
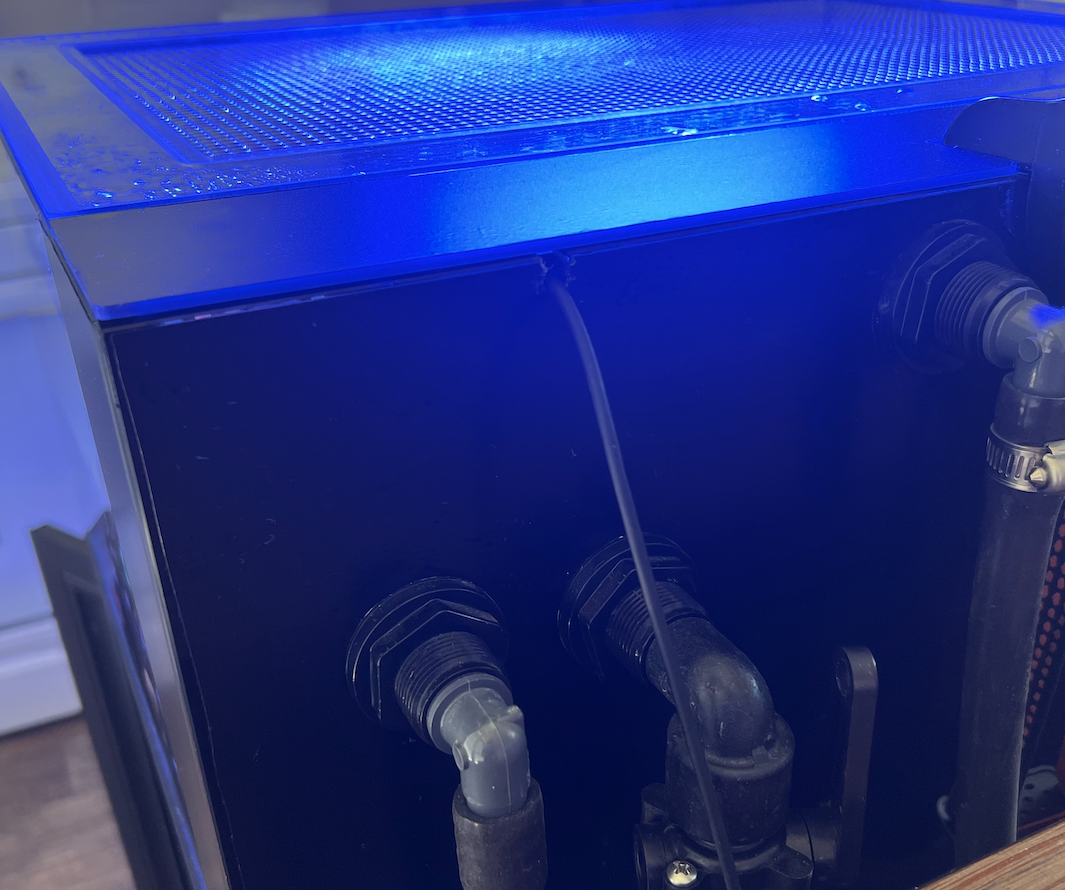
Nowadays Dremel makes a plunge router attachment that allows you to move your tool up and down while moving it along a straight path. This might be useful for making clean straight cuts, but I haven’t tried it myself. When I’ve done DIY overflows in the past I just make a rough cut in the glass and then silicone on a piece of acrylic with the teeth nicely cut out by a local plastics shop. One of my favorite tricks with the Dremel is to make notches at the top of glass tanks for equipment cords to sit in and not interfere with a lid. If you’re an OCD nut like me and need your tank to look clean, this method is preferred. Sure, you can cut out notches on the lid rather than the tank itself, but to me the appearance of the cords coming out of the top of the lid and the notches in the lid doesn’t look as good.
If you’re nervous about drilling or cutting glass, I suggest practicing on some scrap pieces from a glass shop or even an inexpensive 10-gallon glass tank to start. At $20 per, it’s not the end of the world if you screw up.


