Having worked in medicine for my entire career I got accustomed to the euphemisms that doctors often employed. One of my favorites was the cardiologists who were sometimes referred to as plumbers in that from other physicians’ perspectives all they had to worry about was blood being pumped in and then being pumped out. However, as I have learned over time, just as with the human body, having plumbing in a reef tank work well without any issues usually takes more than just having some pipes in place. Having caused my share of house floods over the years, I have come to realize just how important doing the plumbing correctly is. And just as keeping the heart and circulatory system functioning properly takes planning and effort, so too does keeping the plumbing in a reef tank optimal as well.
As discussed in an earlier article, most reef tanks have a sump of some type and an overflow system so that water flows from the tank into the sump and is then pumped back into the tank. How this water flows, and how simple or complex the flow is, is determined by the plumbing which can simply be thought of as everything between the overflow and the sump and the pump and the tank, including the pump. In its simplest form, it can be just a hose or even better a pipe from the overflow box to the sump and then a hose or pipe from the pump back to the tank. However, it is rarely just this simple for a number of reasons. It is not this simple to start with because hoses are not good to use to move saltwater over time. Due to the material that they are constructed from, over time they tend to become brittle after long exposure to saltwater. With this brittleness often comes shrinkage so that over time the hose starts to pull away from the fitting to which it was attached. This pulling away can lead to a leak, especially if this is on the pressurized side, which will be slow at first, but will gradually widen over time causing water issues. In addition, due to most of them being clear, over time they tend to become coated in algae, which can slow the flow through them and lead to other issues.
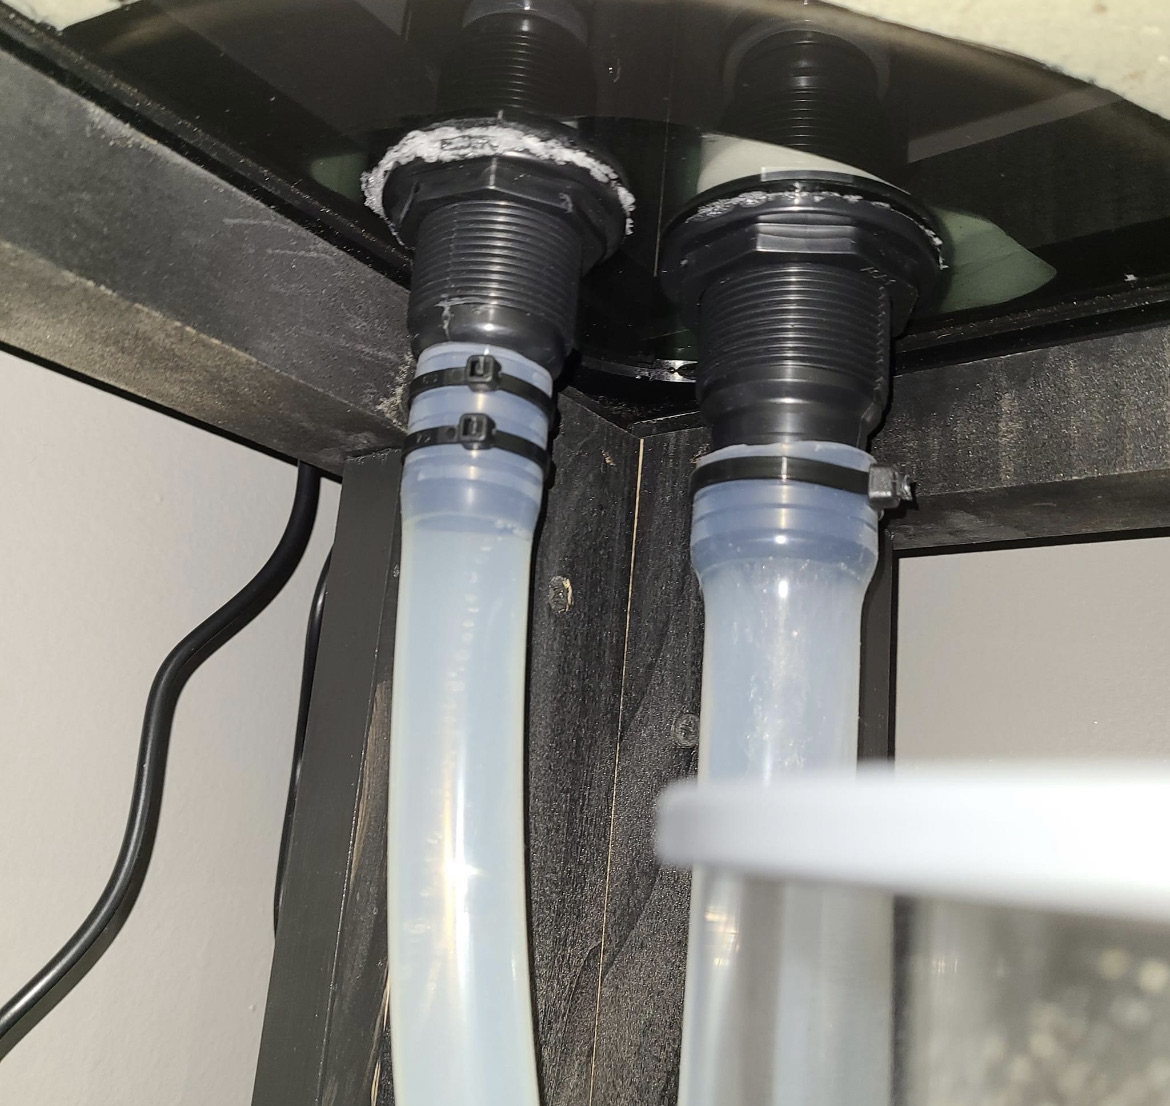
Having kept saltwater tanks now for over forty years I am fairly confident in saying that of all the friction my having tanks has caused over the years, the one that has frustrated my spouse the most about this hobby is the leaks on the carpet or in the middle of our living space. For this reason, there are no longer any hoses in use on any of my tanks. The only thing hoses are now used for is to do water changes. While hoses do offer the advantage of being flexible and relatively inexpensive, their inherent risk of coming loose, becoming algae clogged, coming off their barb fitting, or becoming brittle does not make them worth using on anything but the smallest tank in my opinion. For these reasons, PVC pipe is now what is used in every plumbing application on all of my tanks. Obviously, it is not just pipe that is used on my tanks, but also the PVC fittings that are also used that make using this pipe the choice for reef aquariums, PVC pipe comes in a variety of sizes along with a variety of fittings, so it can be tailored to just about every application that we can come up with.
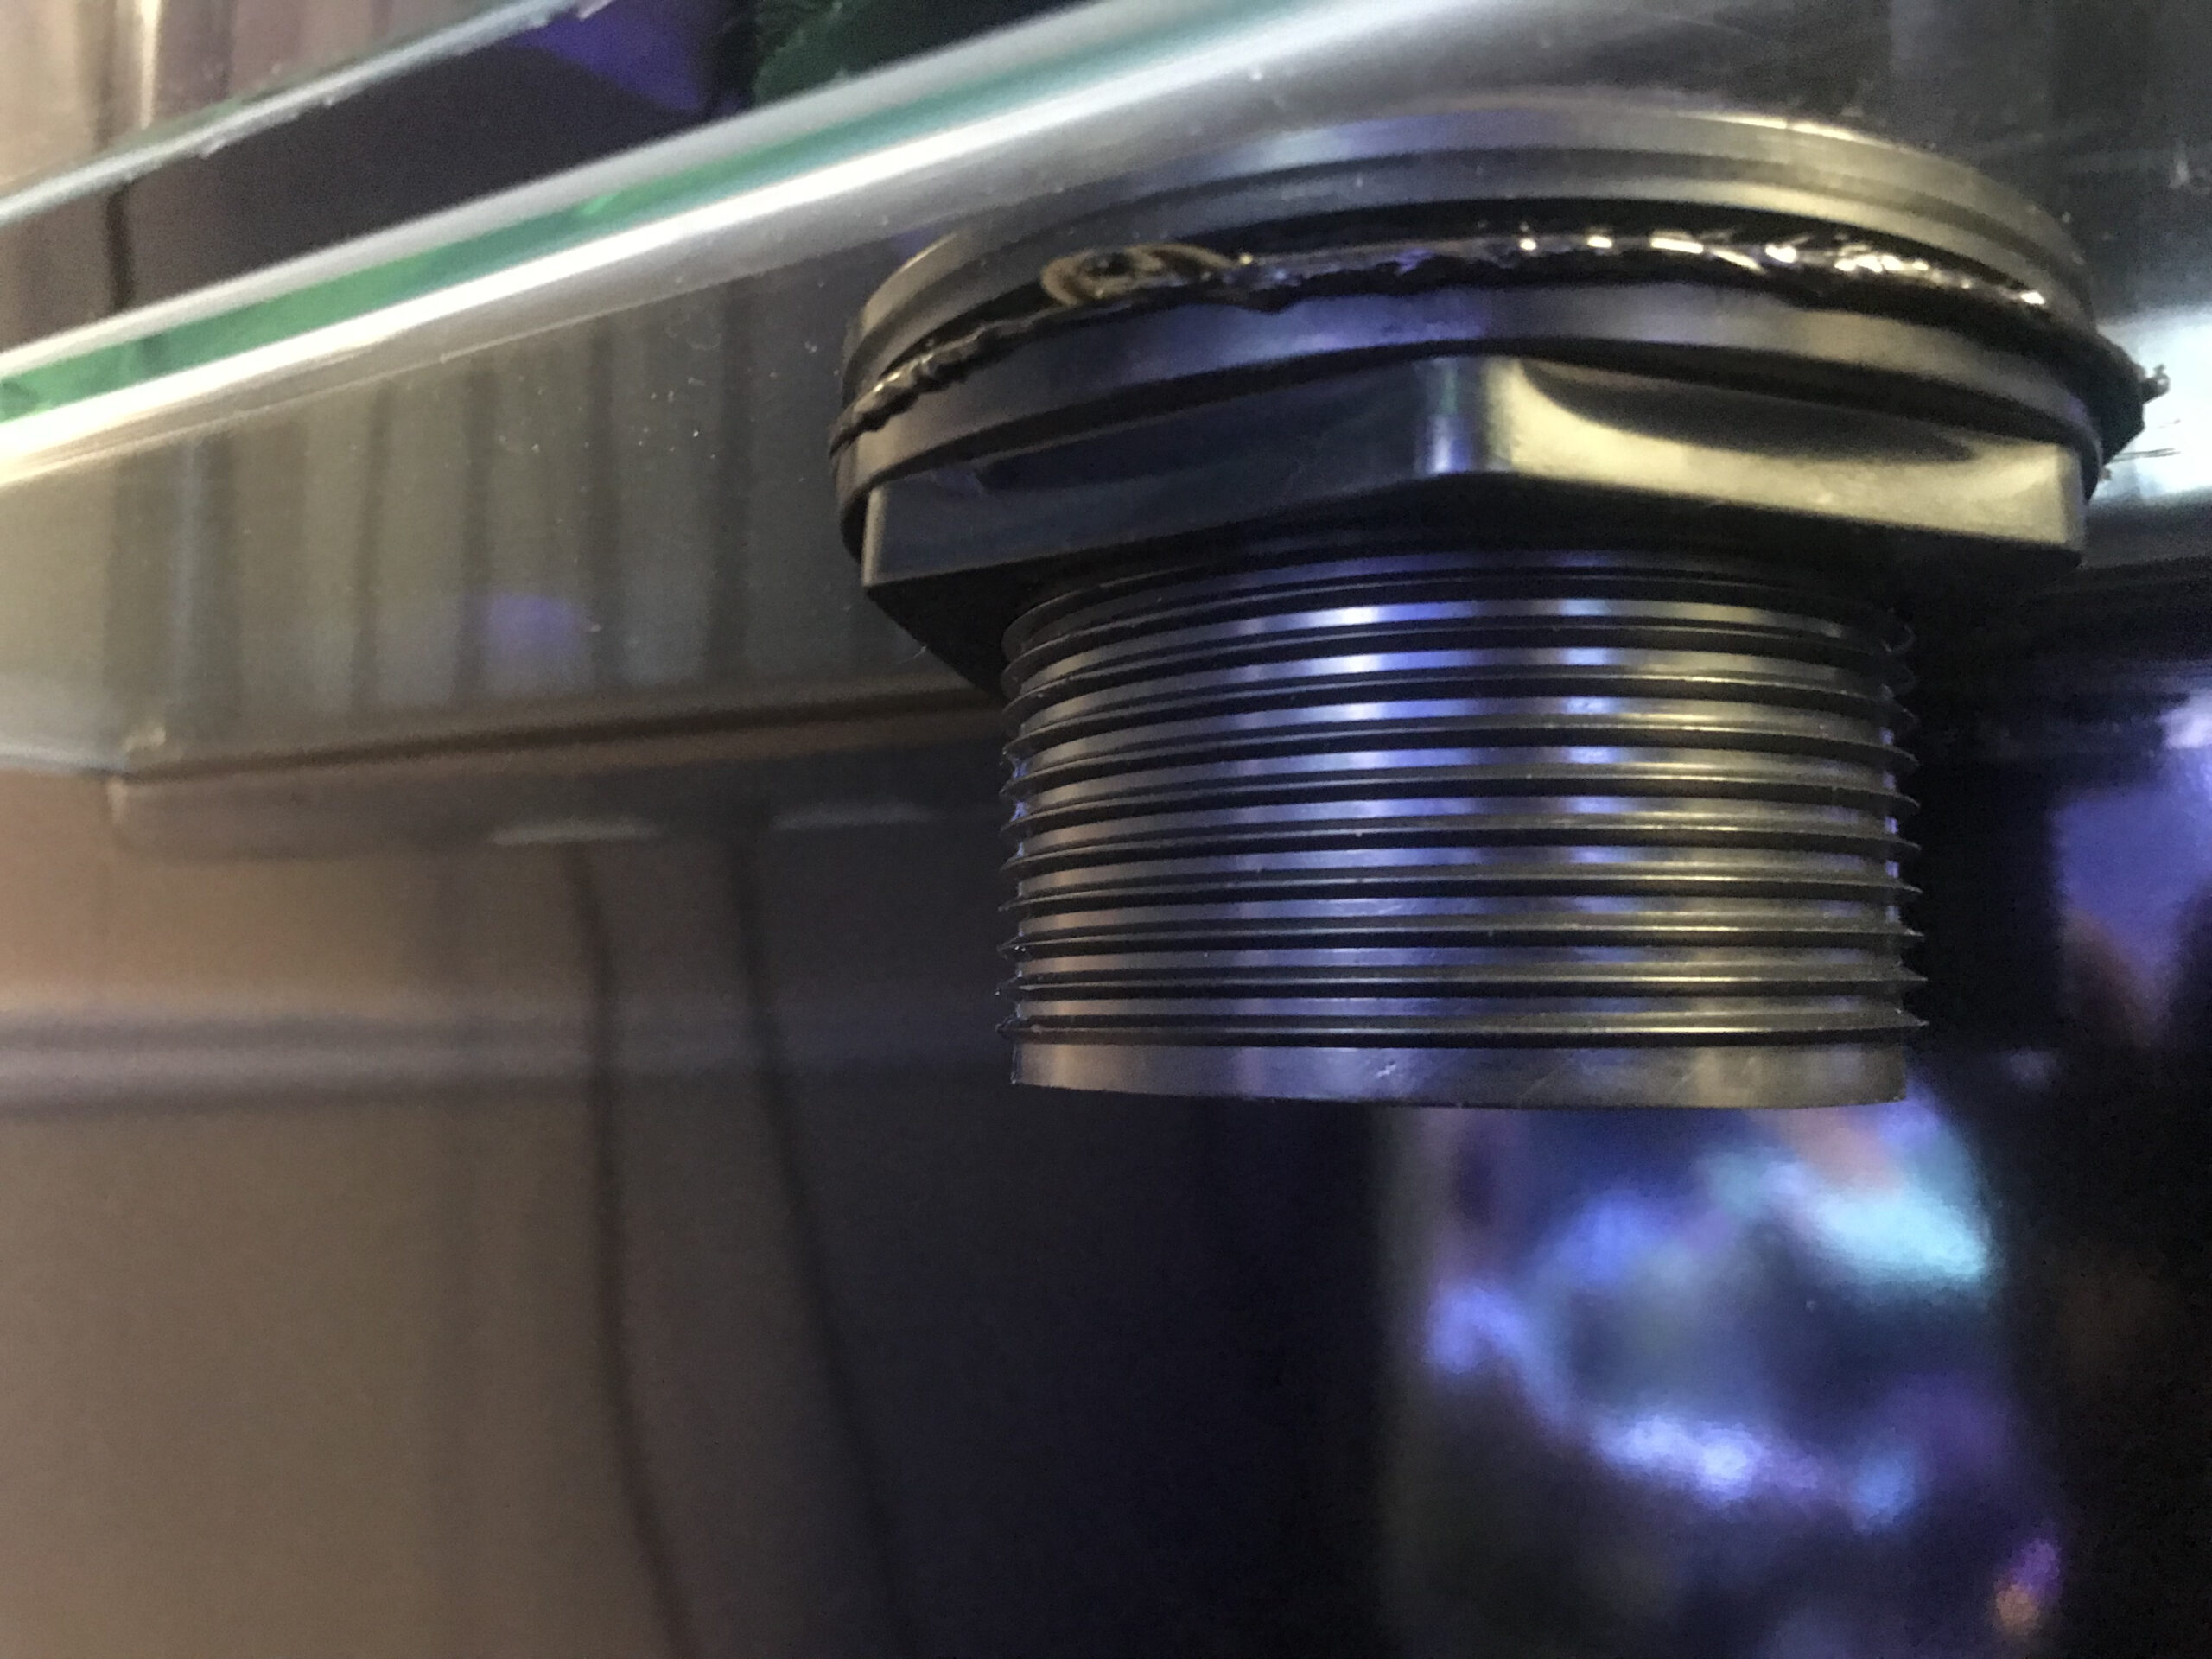
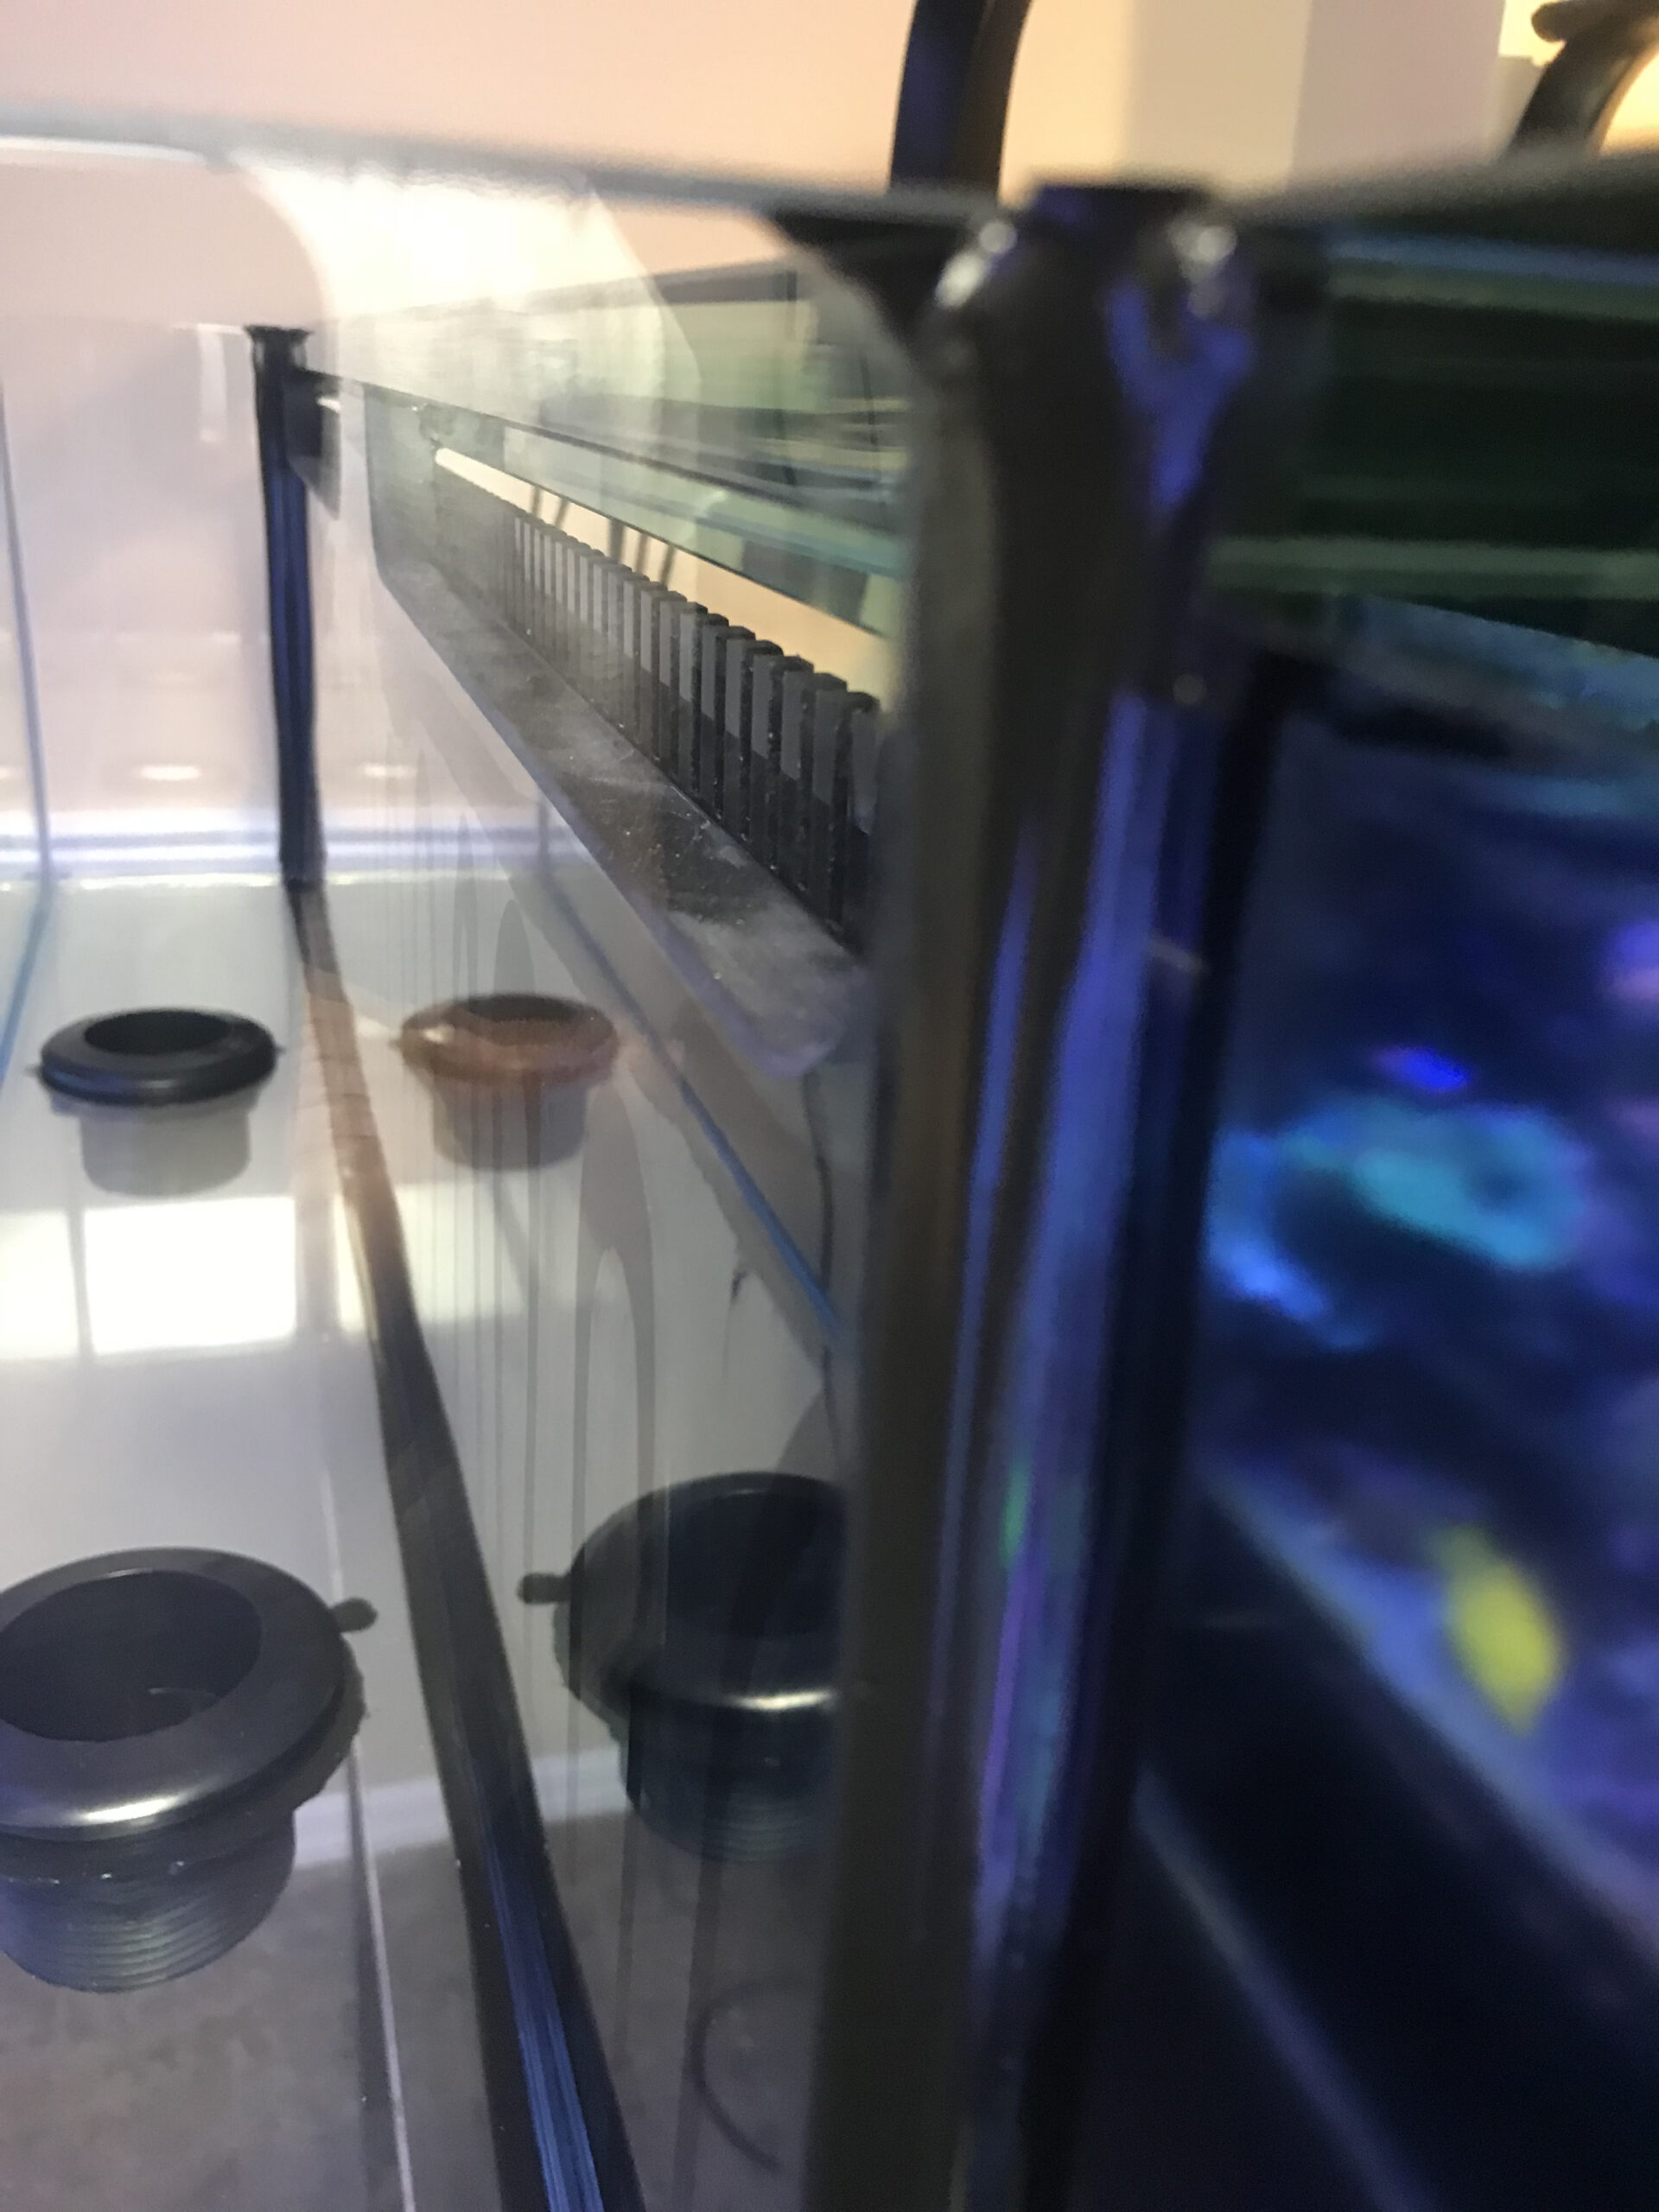
For ease of understanding of how to plumb a tank properly, it is necessary to understand what pipe to use and what fittings for each part of the plumbing process. I am not a master plumber by any means, but I have learned that the key aspects to plumbing a tank successfully is to keep it simple and allow for anything attached to the plumbing to be able to be taken offline. This starts with how you attach one part of the system to another. Usually, this entails having a bulkhead at the start. Simply put, a bulkhead is the means by which water passes through glass or plastic without it leaking out onto the floor. It looks like a big nut and bolt with a hole in the center through which the water passes. But in addition to the nut and bolt there is a rubber gasket that is crucial for keeping this fitting from leaking. There actually is a proper way to place the bulkhead so that over time it does not leak. The bottom of the nut and rubber gasket go on the inside of the glass or plastic so that they are where the water is located. This may seem illogical as the water over time may affect the gasket, but this is the proper way to install them. However, I should note that I “cheat” when I add a bulkhead as in addition to relying on the gasket to prevent leakage, I also apply silicone sealant to the hole from the outside where the nut will be screwed on so that there is no space for water to leak through. The nut is screwed on while the silicone is still wet and then it should be allowed to cure for at least 24 hours, and by doing so the likelihood of a leak through this fitting is greatly reduced.
A bulkhead can either come with a slip or threaded end onto which the piping to move the water away is attached. A slip fitting means that the pipe itself can be attached to this fitting while a threaded fitting means that a threaded fitting of some type is screwed into this fitting and then the pipe is attached to it. I prefer to use a threaded fitting to attach to the bulkhead so that if the bulkhead needs to be worked on the fitting and the pipe can simply be unscrewed from it. One thing I should note on bulkheads and fittings at this point, in most applications, I try to have extra capacity and redundancy. That is if a tank is going to have a planned 1,000 gallons of water flowing through it should be plumbed to handle 2,000 gallons and instead of one hole for this there should be two. This allows that if something gets blocked there is not a serious flow over the tank, which can be one of the most expensive mistakes we make.
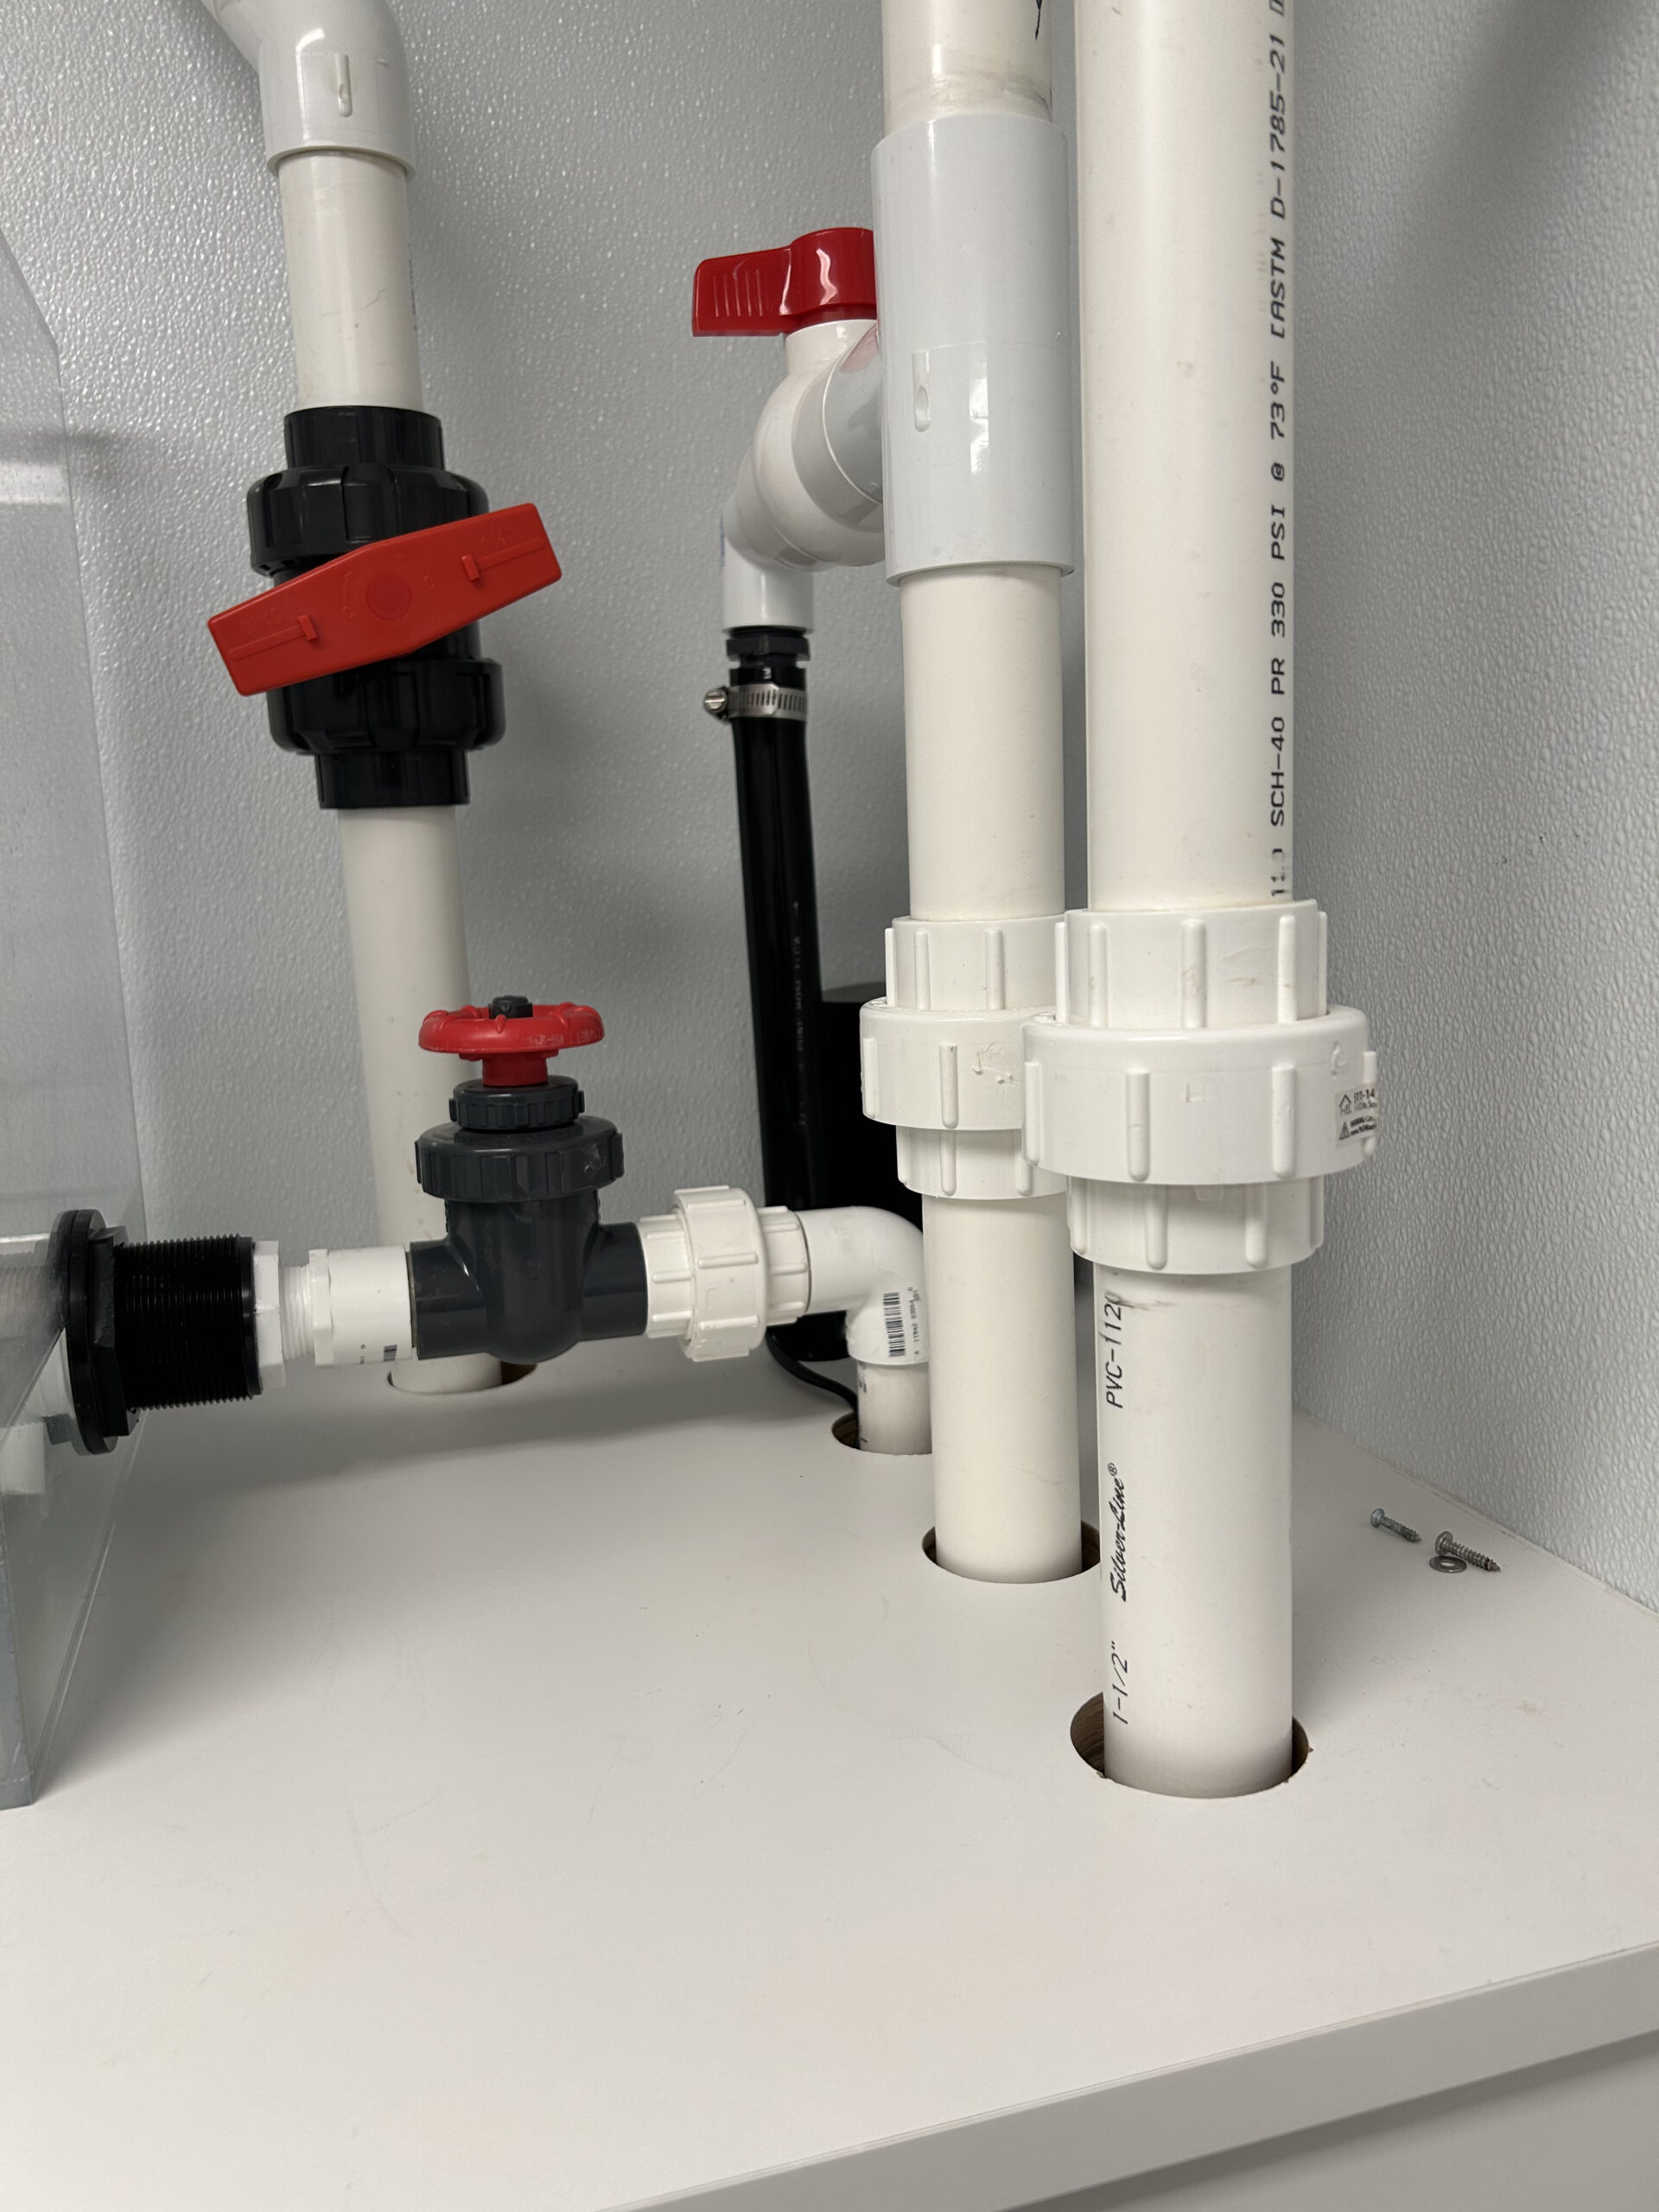
After the bulkhead and the male threaded fitting that attaches to it, comes the pipe. PVC pipe is rather straightforward and comes as either PVC 40 which is white or PVC 80 which is gray. PVC 80 is thicker and heavy-duty and really is not necessary for most of our applications. Colored PVC is also now available as well and can add to the look of a tank and like all of this pipe it comes in sizes from ¼” up to 8 or even 12” in diameter. For most of our tanks, we will use pipe that ranges in size from ½” up to 2”, I have rarely had to use anything bigger. This pipe usually comes in 8’ lengths that can be cut to size. If only a few pieces need to be cut a hacksaw or bandsaw will work well. When a large number of cuts need to be made, then I suggest PVC Pipe cutters. These cutters look like large scissors with a sharp blade in the middle and allow for quick precise cuts of PVC pipe. They come in a variety of sizes to cut pipes of different diameters. Get the cutters that will cut the largest diameter of pipe you will use as usually, these can also cut the smaller diameter pipe as well.
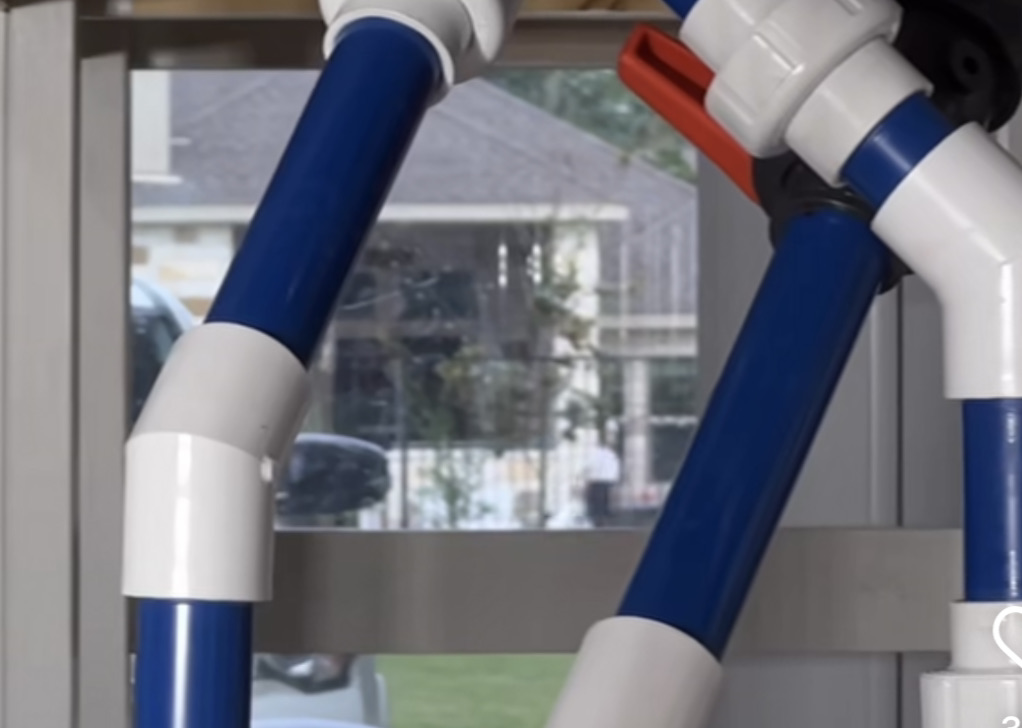
In addition to the pipes, the plumbing system will also include fittings of various types. These can include elbows, connectors, unions, and valves. The goal of the plumbing is not just to have a bunch of pipes connected to the sump and then back from the pump to the tank but to do so in the most efficient manner and also so that everything can be easily disconnected to be cleaned or maintained or removed if it needs to be replaced. When set up properly it should never be necessary to have to saw any of the pipes in order to remove anything.
The next step in proper plumbing is to diagram what the expected plumbing will look like from the overflow to the sump and from the return pump to the tank. If any equipment is to be used along either of these plumbing lines these should be taken into account as well. Once the complete diagram is drawn, measurements should be taken to determine how much pipe will be needed. The diagram should also include all of the fittings including elbows, unions, and valves that will be used. For those of you not familiar with unions, they are a fitting into which pipe is glued that connects the two pieces of pipe and that can be unscrewed so that the pipe and anything attached to them can be removed without having to cut the pipe. Valves can either be simple shut-offs, that is on or off, or gate valves that allow for the flow to be incrementally adjusted. Valves should be placed so that flow can be stopped when a piece of equipment like a pump needs to be taken offline. A union should be placed after it so that when the valve is closed the union can be unscrewed and the equipment removed without releasing a lot of water.
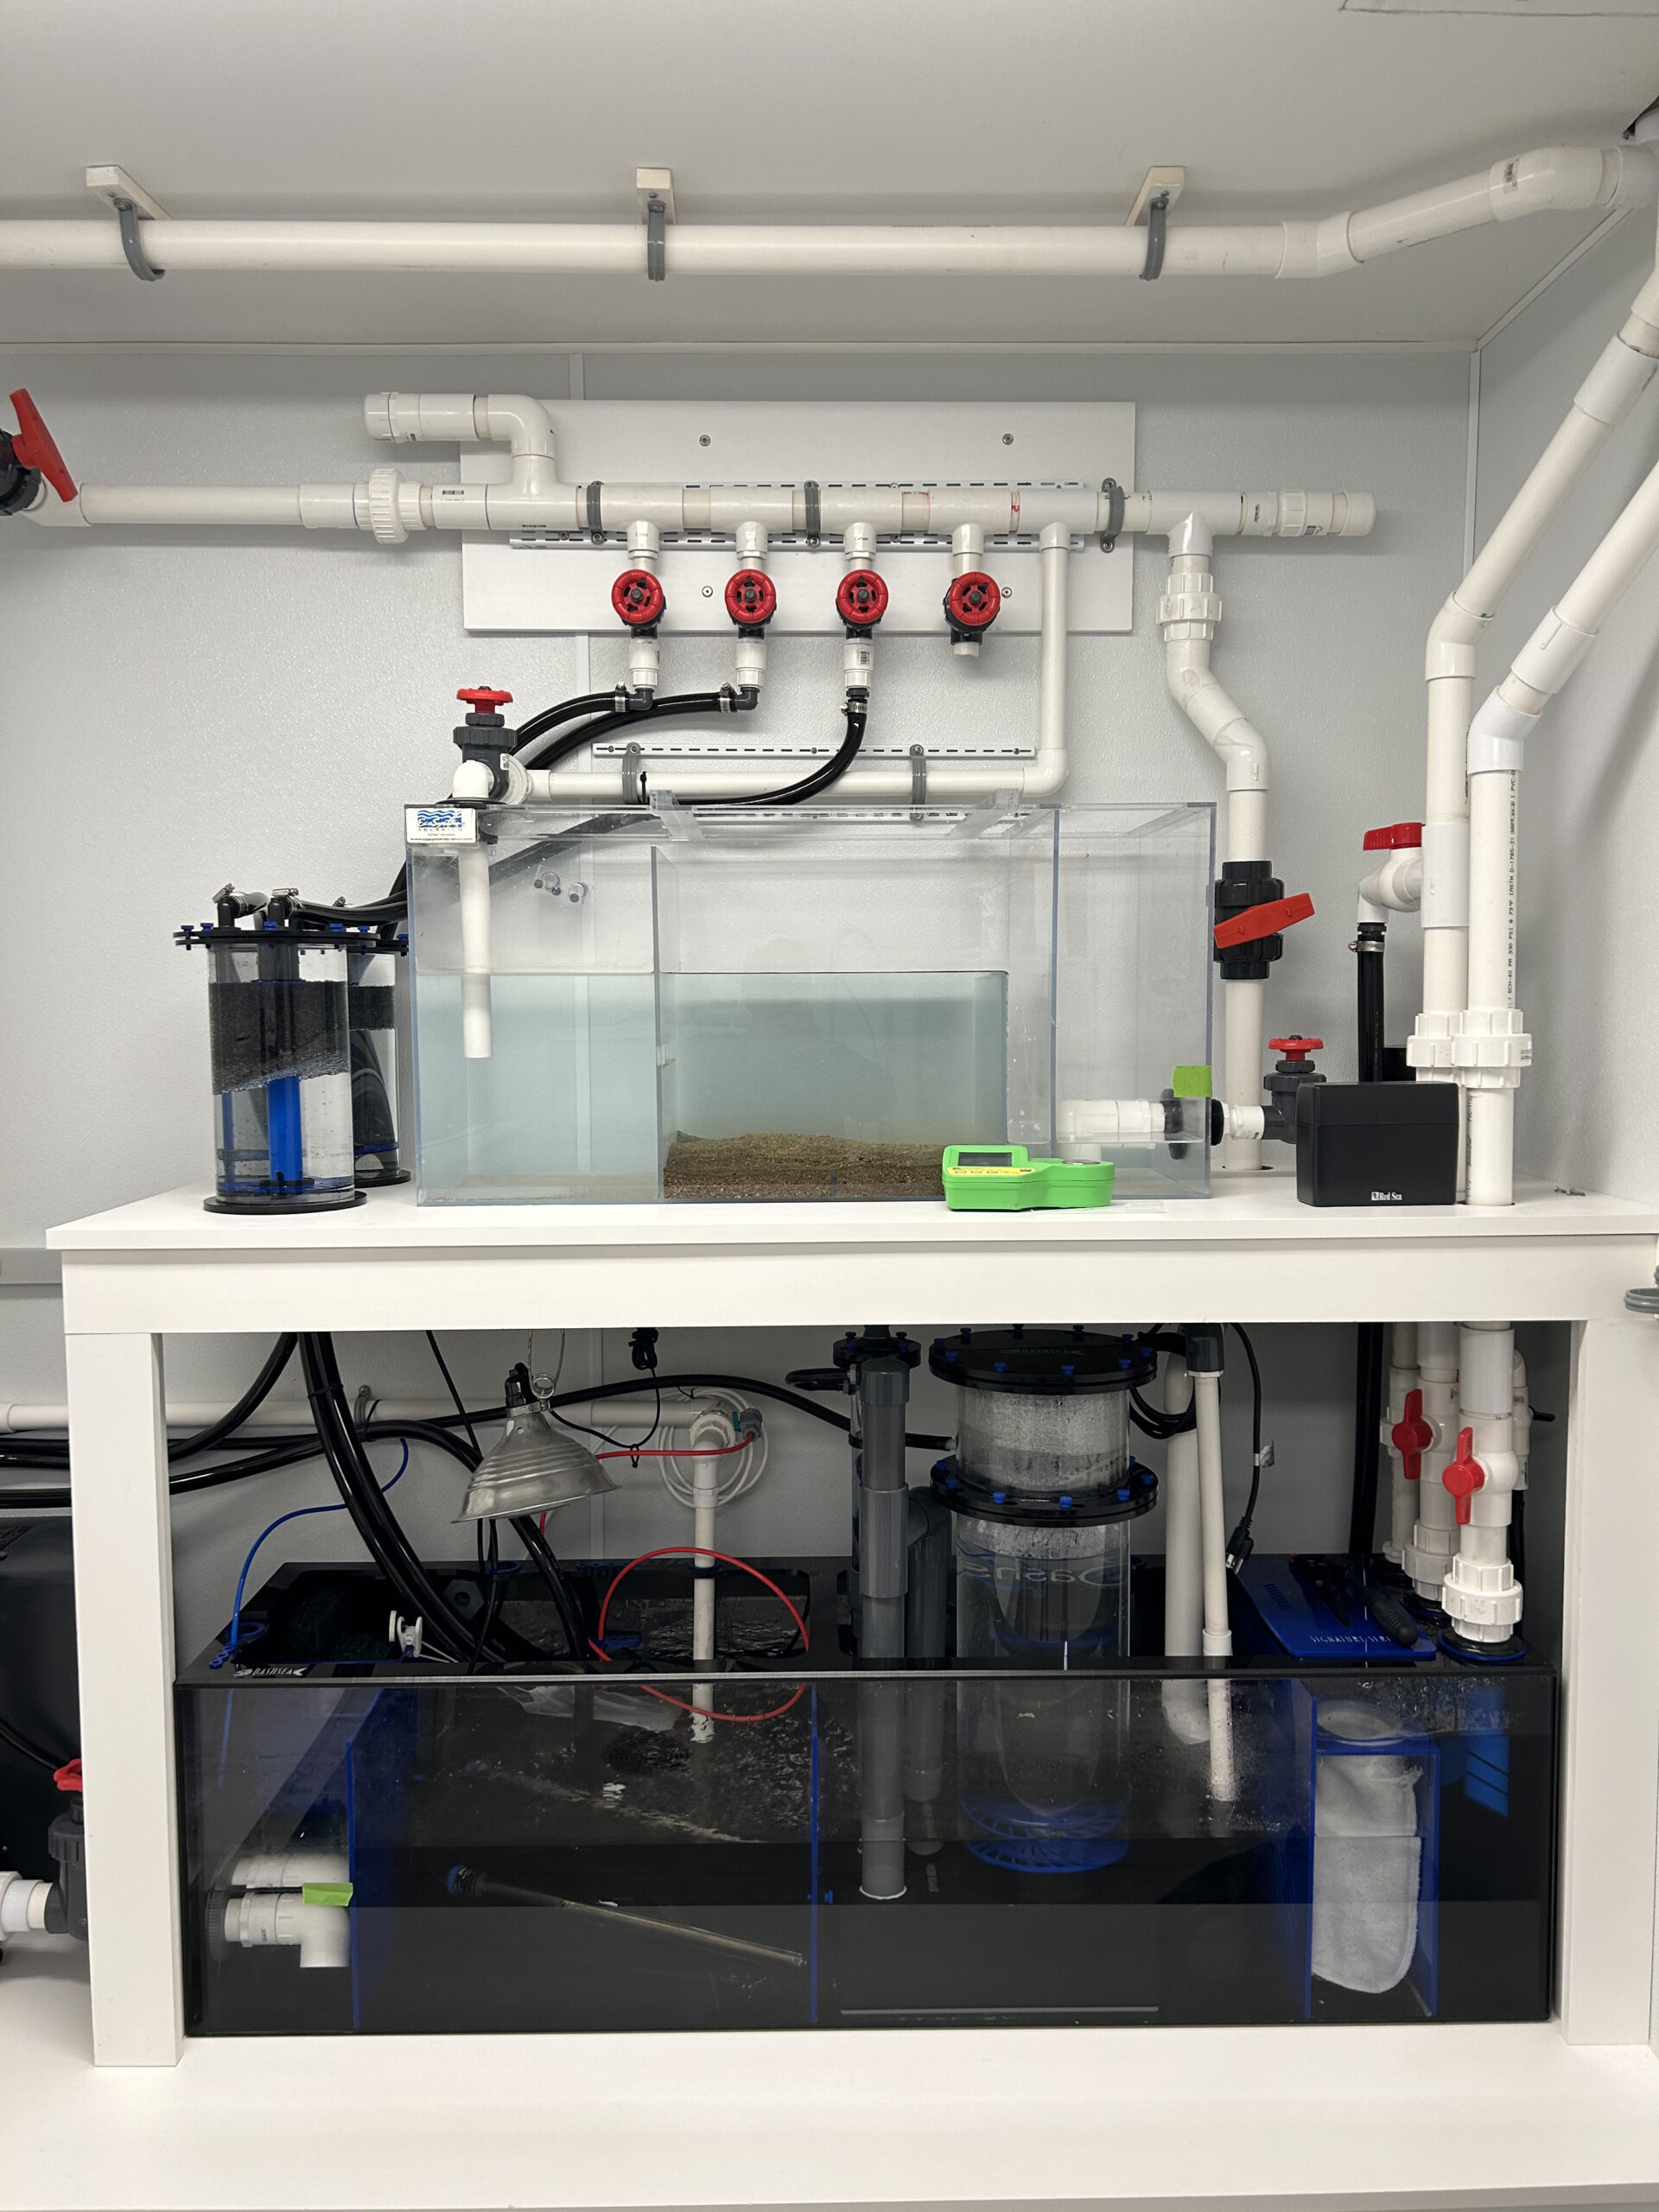
After the diagram is completed and proper measurements taken the pipe can be cut and the plumbing system can be built. At this point the pipe should not be glued together, instead, it should be put together dry to make sure that everything fits and that the placement of the pipes, fitting, and equipment works. One thing should be noted when diagramming the plumbing, each 90-degree elbow reduces both pressure and flow and does so significantly more than a 45-degree bend. So, when possible two 45-degree bends should be used instead of one 90-degree bend. Once the dry build is complete and is determined to be effective then everything can be glued into place. I strongly suggest that you do this in a well-ventilated area if possible and if not on a day when the windows can be open and a fan on. This is necessary as breathing in the drying agent and glue can both cause issues.
Before each piece of pipe and fitting are attached to one another they should first be dabbed with primer. This may seem unnecessary, but I have found out how important this is long term. It really does help them to remain sealed together. Once this is done then the pipes and all of the fittings can finally be glued into place. I suggest starting from the overflow and working back to the sump and then from the pump to the tank. Doing it this way makes it less likely that a fitting will be missed for gluing. After gluing is completed, the plumbing should be allowed to dry for 24 hours. After which time fresh water should be run through the system to remove any residual glue and to test for leaks. Then the water should be drained out and clean water which will become the saltwater for the tank should be added and the plumbing is ready to power the tank. When the plumbing is run from the overflow to the sump it should be so that there is minimal splashing but the outlet should be slightly above the level of the sump so that there is no chance for it to back up.
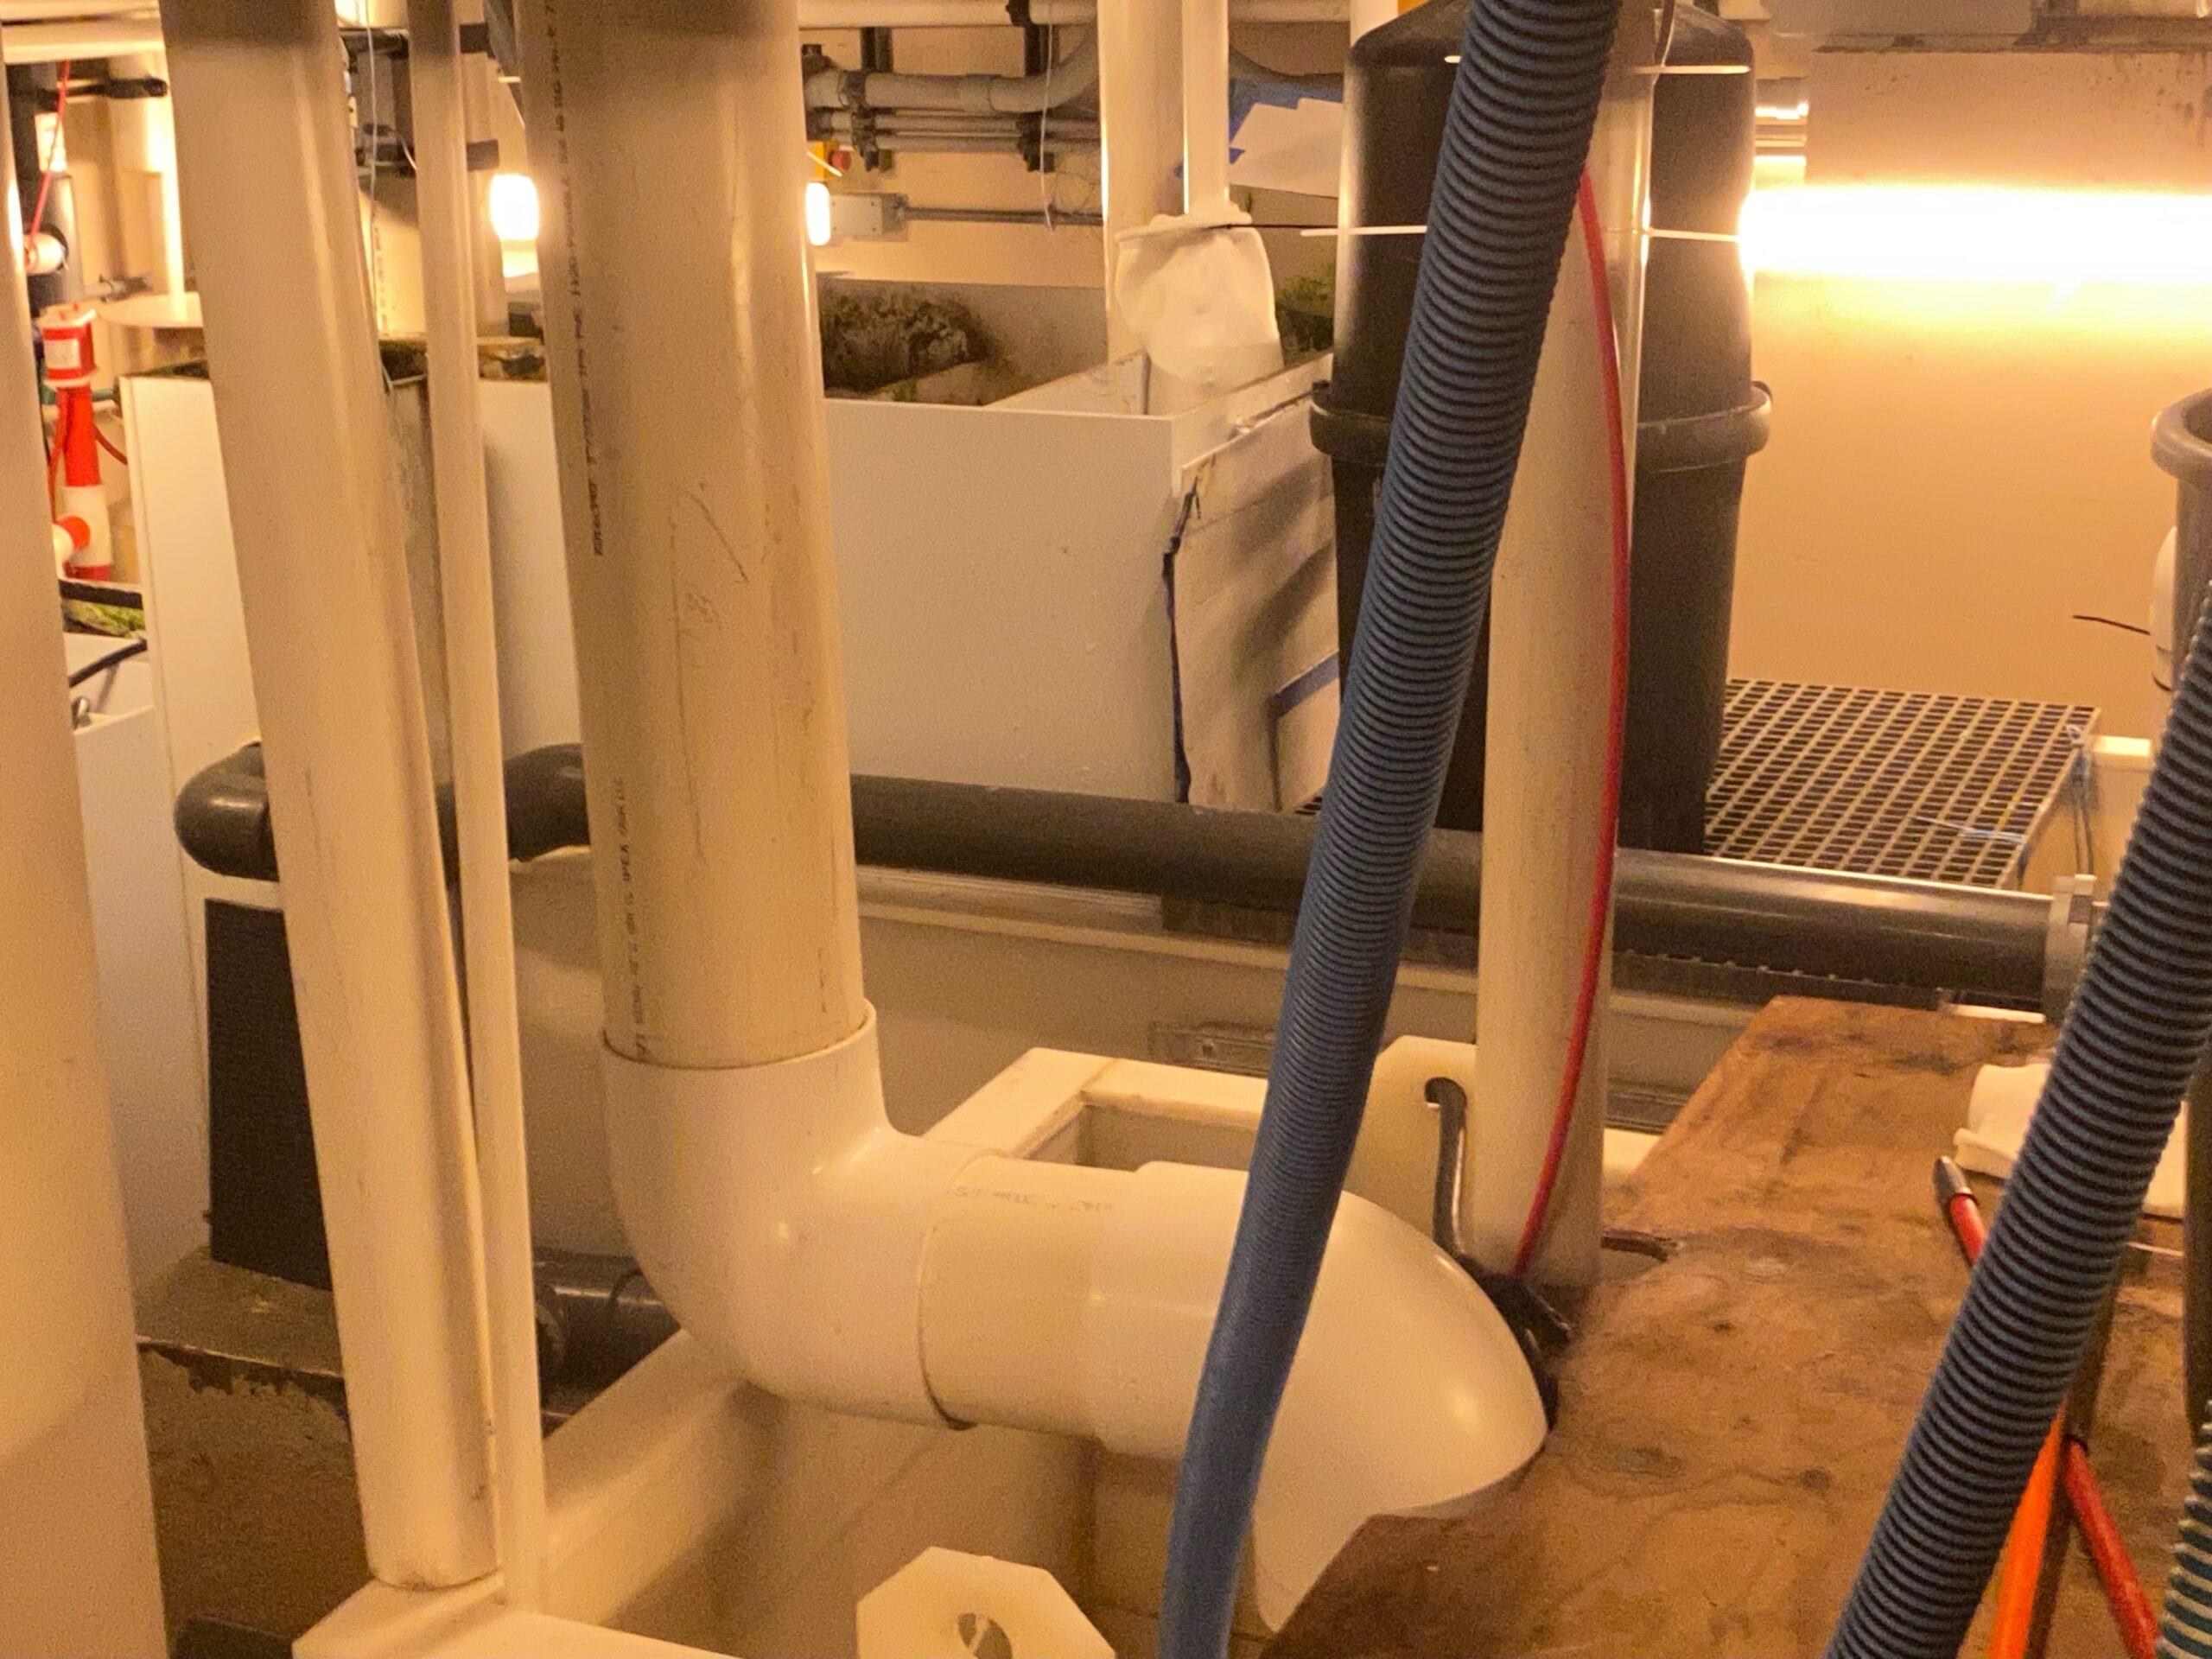
When running the plumbing from the pump back to the tank the opposite approach should be taken. If the pump is external to the sump then a bulkhead should be used to attach it and the sequence of fittings should be bulkhead, threaded male fitting, shut-off valve, union, pump. This allows for the water from the sump to the pump to be shut off when the pump needs to be taken offline with minimal leakage. If the pump is in the sump then these fittings are not necessary. When this is the case then the plumbing from the pump will be pump, union, shut-off valve, plumbing, to the tank. Again, it should be remembered that when possible 45-degree rather than 90-degree fittings should be used to minimize pressure reduction. At the point where the plumbing is in the tank, it should just be at the surface and there should be a small hole as close to the surface as possible so that when the power goes out the plumbing should draw in enough air to break the siphon so that the water from the tank does not completely drain out. Once all of the plumbing is in place this should be tested to make sure that the amount of water drawn from the tank during a power outage is minimal and does not overflow the sump. While often ignored, proper and adequate plumbing can make or break a reef tank. When done properly the plumbing should barely be noticed. As with everything about a reef tank, proper planning of the plumbing and patience to let things cure properly are crucial for long-term success.


