Up until now, everything that has been necessary to do has been relatively easy. This next step in setting up a reef tank properly is what starts to separate those who will be successful long-term from those who will not. This is because this next step is the first step in the hobby that requires patience, and sadly it does not come easily.
If I could say the one thing that this hobby has taught me more than anything else, it is patience. And patience starts now, with the proper curing of live rock and waiting for the ugly stage to pass. I know there are some methods that speed things up and little shortcuts that can be tried, but my suggestion is to bite the bullet and not rush things and learn from the start that being patient in this hobby will pay big dividends in the long run.
I understand that after you have spent money on the tank and equipment and have everything set to your liking you can’t wait to have corals and fish in your tank. This will come, but you have to take the time to let the rock, whether wet rock or dry rock “cure “ properly, and this takes time and patience.
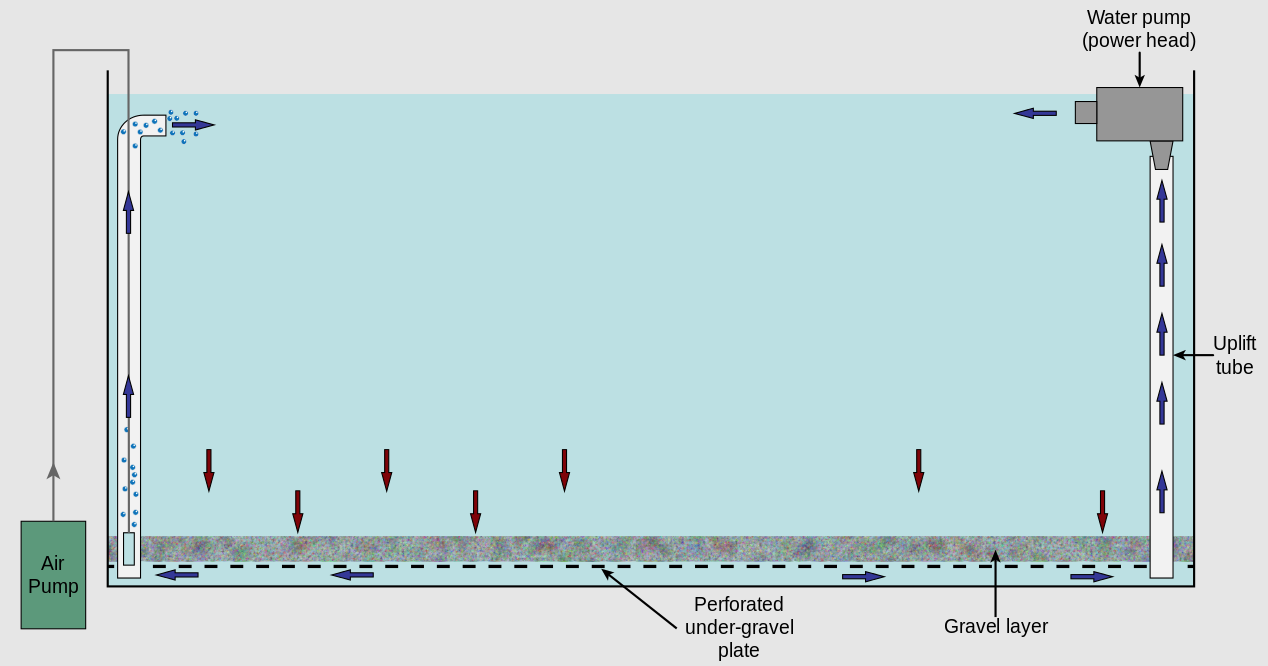
When I first started doing saltwater, cycling the tank was just starting to be understood. When we used undergravel filters as the main form of biological filtration the process was simple in that all that was required was to get some of the substrate from an established tank and add it to the gravel, add a dead shrimp or a couple of hardy damselfish and let the cycle run its course.
The goal of this was to establish a bacterial bed that would convert ammonia into nitrate due to ammonia being toxic to fish at high pH and nitrate being significantly less so. This process took from 2-6 weeks, depending on a number of factors, and was relatively easy to assess by simply testing the original ammonia level, then testing the nitrite level, and continuously testing these over time. Once they came down to zero and the nitrate level had risen the cycle was complete.
Today the goal is relatively the same, but due to more variables now being introduced it is a little more complicated. Now that there are different types of live rocks being used there are also different methods for curing them. As noted in last week’s article there are pros and cons to each type of rock. These pros and cons also relate to what is necessary to properly cure each type.
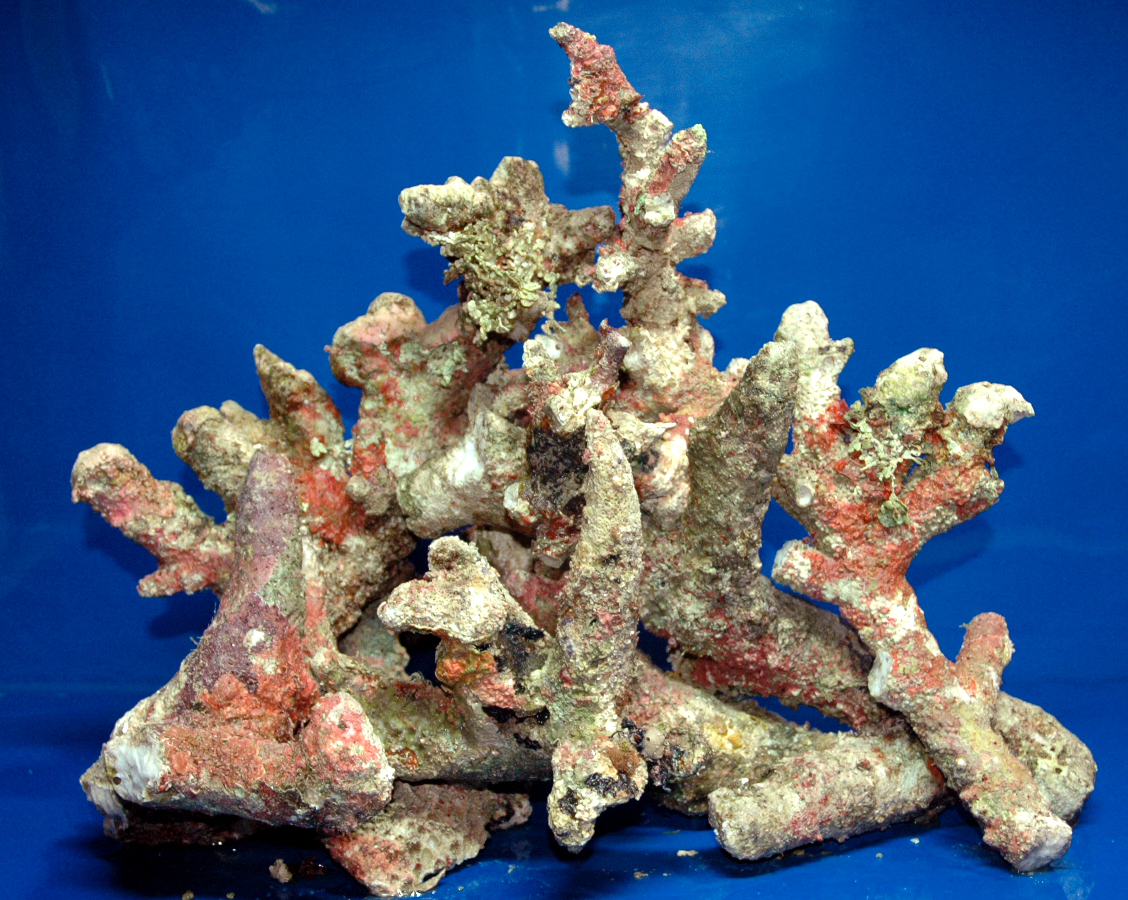
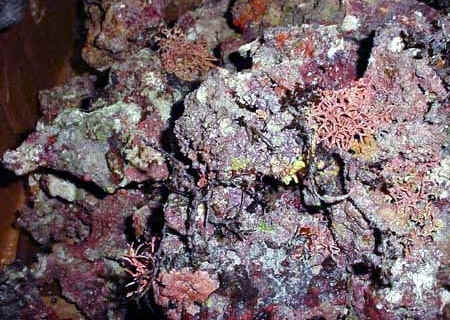
Starting with wet rock, or what is considered “live” rock. As noted, this rock comes with a considerable amount of living material on it, both good and bad. In curing and managing this rock the goal is to maximize the living material on this rock, while removing as much of the bad material as possible. If it is good live rock it will contain not only soft algae but also coralline algae as well as bacteria, sponges, and microfauna.

The first step in curing this rock is to remove as much of the soft algae as possible as well as any large sponges that are likely to die as well as anything else that could be troublesome like aiptasia or majano anemones. Anything that is black or smells should be taken off. This material should be scraped from the rock with a hard bristle brush. The rock should then be rinsed with clean saltwater to remove any detritus or other loose material before it is placed in the container in which it will be cured. It can be cured in anything from the tank it will be housed in, to a garbage can.
The goal of all of this pre-work is to remove everything that could decompose while allowing the good bacteria in the rock as well as other good organisms like small sponges and microfauna to thrive. Once the rock has been cleaned and rinsed it should be placed in a container, so that as much of its surface area as possible is exposed and so that there are limited areas where the rock is resting against other rock. This is so that if any material remains it does not decompose between other rocks.
The cured container should be filled with clean aged saltwater. The water like that used for the tank should be made from RO/DI water, as tap water can contain anything from chloramines to phosphates. If newly made saltwater will be used it should be at least a few days old, to reduce its caustic nature. Once the rock is in place, powerheads should be added to the tank to produce a strong flow around the rock.
A heater should also be added to keep the tank in the 75-80 degree range. The higher the temperature, within reason, the faster the curing process, but there is no need to rush things. Since the rock is full of nutrients no lighting should be used initially to keep algae from gaining a foothold. It is also a good idea to have a protein skimmer on the tank to remove excess nutrients and dissolved organics that leach out from the rock.
The tank should be tested two to three times per week for ammonia and nitrate for the first couple of weeks. After two weeks these levels should be starting to drop. After two weeks or any time the ammonia level is above 5-6ppm a 100% water change should be done. Some suggest doing a 100% water change twice a week during curing, but I think this may be excessive, and prefer doing one at the two-week mark and then at least one every 5-7 days thereafter.
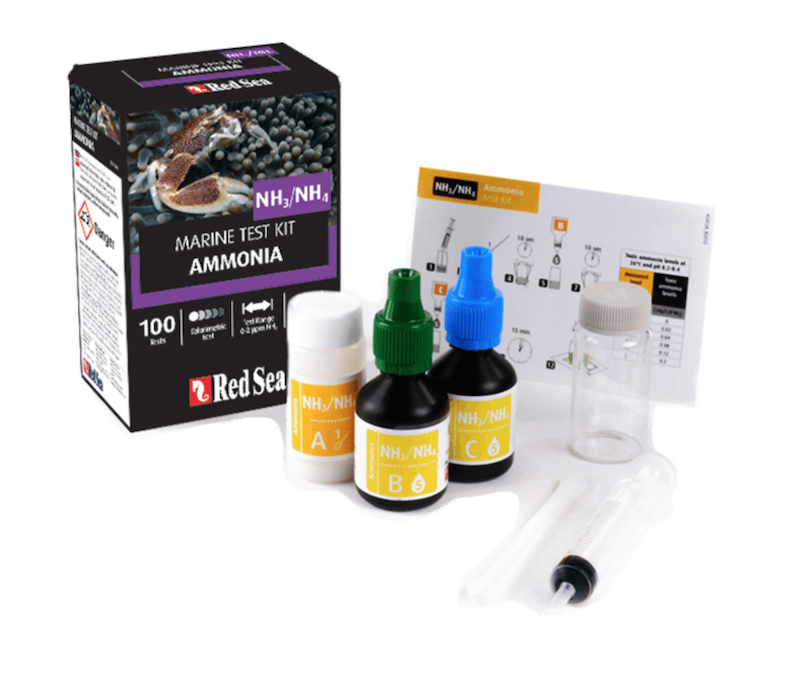
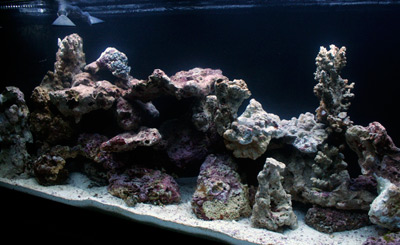
During a water change, any detritus or dead material that has accrued in the tank should be removed. Once ammonia and nitrite levels are at 0 ppm and nitrate stops rising the curing process is over. This process can take from one week to several months depending on the quality of the rock, how it was shipped, its “freshness” and the temperature of the curing chamber. At no time should this be rushed as starting a tank with improperly cured rock is a sure recipe for disaster. Once the rock is fully cured it can then be placed in the tank and the aquascaping can commence.
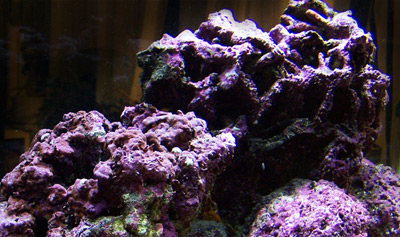
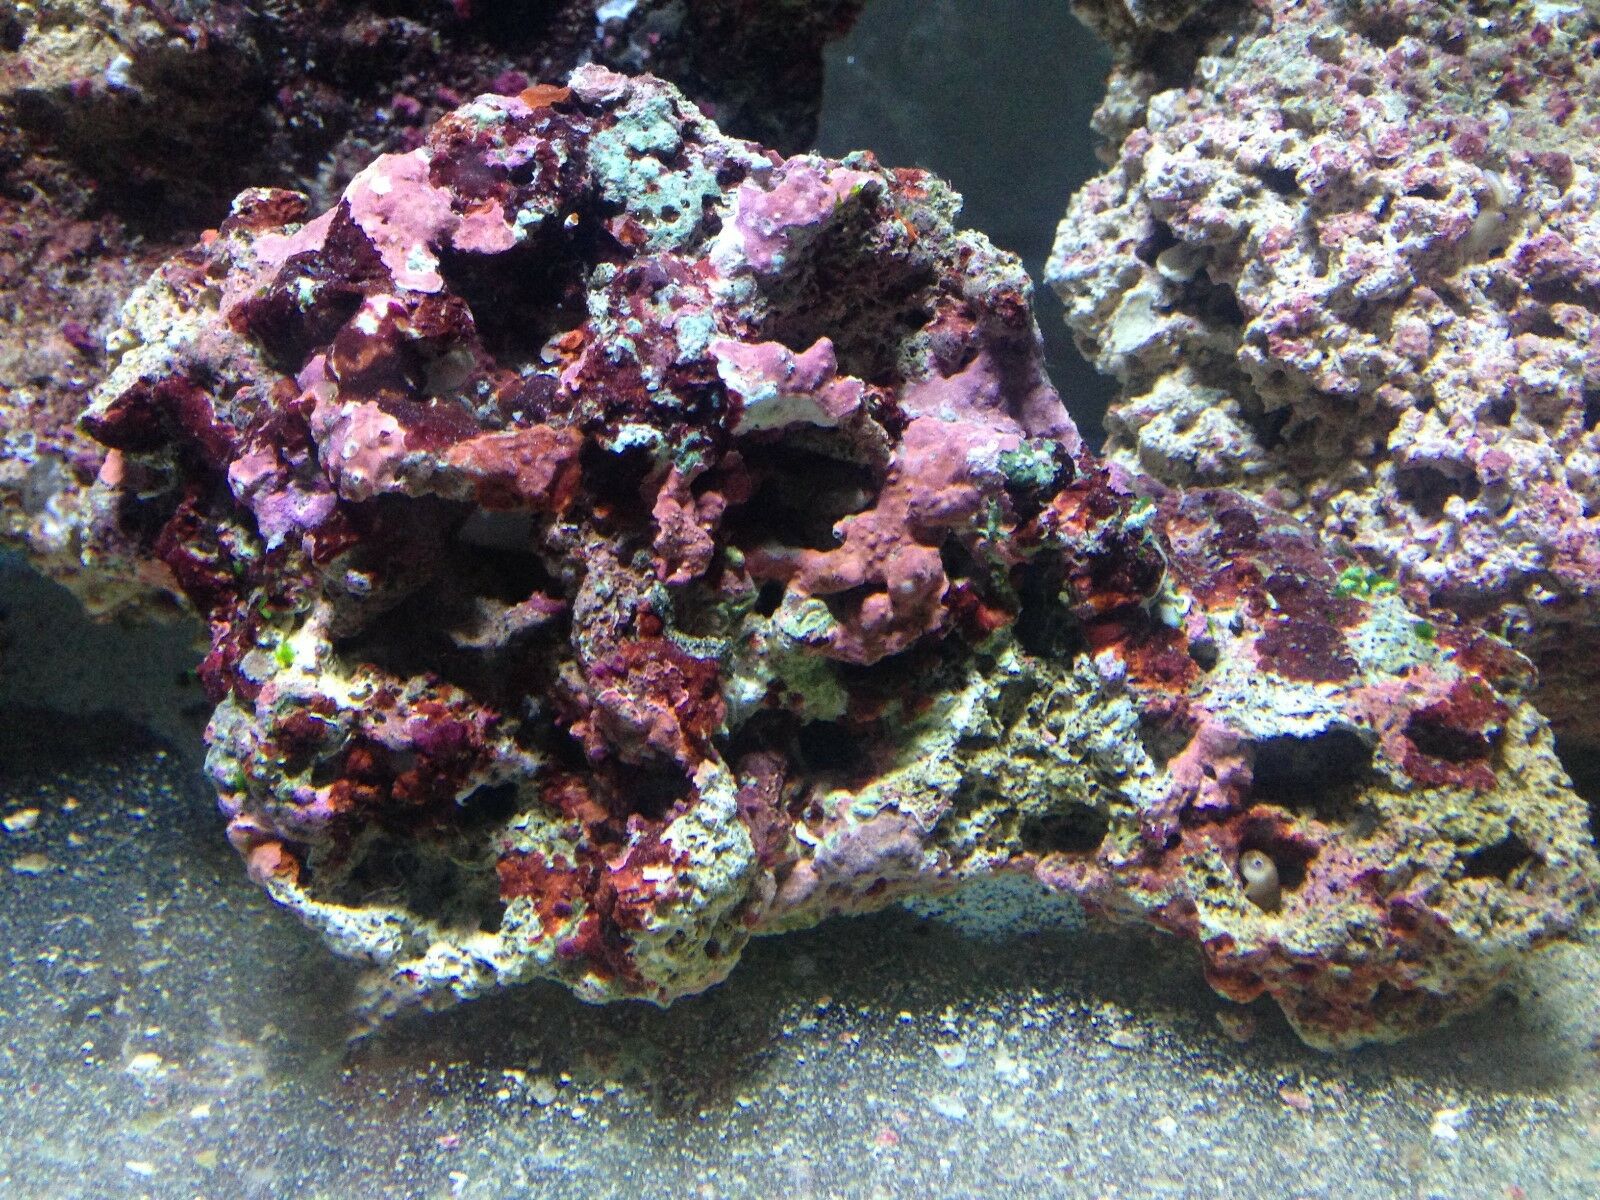
Unlike wet rock, where the goal is to remove bad things from the rock, when dry rock is being used the inverse goal occurs as the curing and cycling is an attempt to add live material, i.e. bacteria, sponges, microfauna, coralline algae, etc. to the rock. While it is true that one of the benefits of using this rock is that there is no introduction of bad actors from the rock, and in my opinion, it takes longer and does not completely replace all that wet rock brings to a tank. For this reason, if dry rock is chosen I still suggest that at least 10% of the rock used be wet live rock.
How to cure dry rock
Unlike wet rock, dry rock first needs to be “cured” and then cycled. The curing process is simple in that the rock is exposed to a dilute bleach solution for approximately a week. As with wet rock, the rock should be placed in the curing container so that as much of the surface area as possible is exposed. Then RO/DI water is added and then unscented bleach at the rate of 600-700ml of bleach per 10L of freshwater. Powerheads should be added and the rock should be allowed to rest in this solution for 7-10 days.
Not all dry rock needs to go through this process, so check with your supplier to see if it is recommended. Once this curing is done the next step is to “cycle” the rock or more specifically treat the rock so that it will contain enough bacteria to effectively act as the biological filter in the tank. This is a relatively easy process, but it does take time, and since most of us are impatient, it seemingly takes a lot of time.
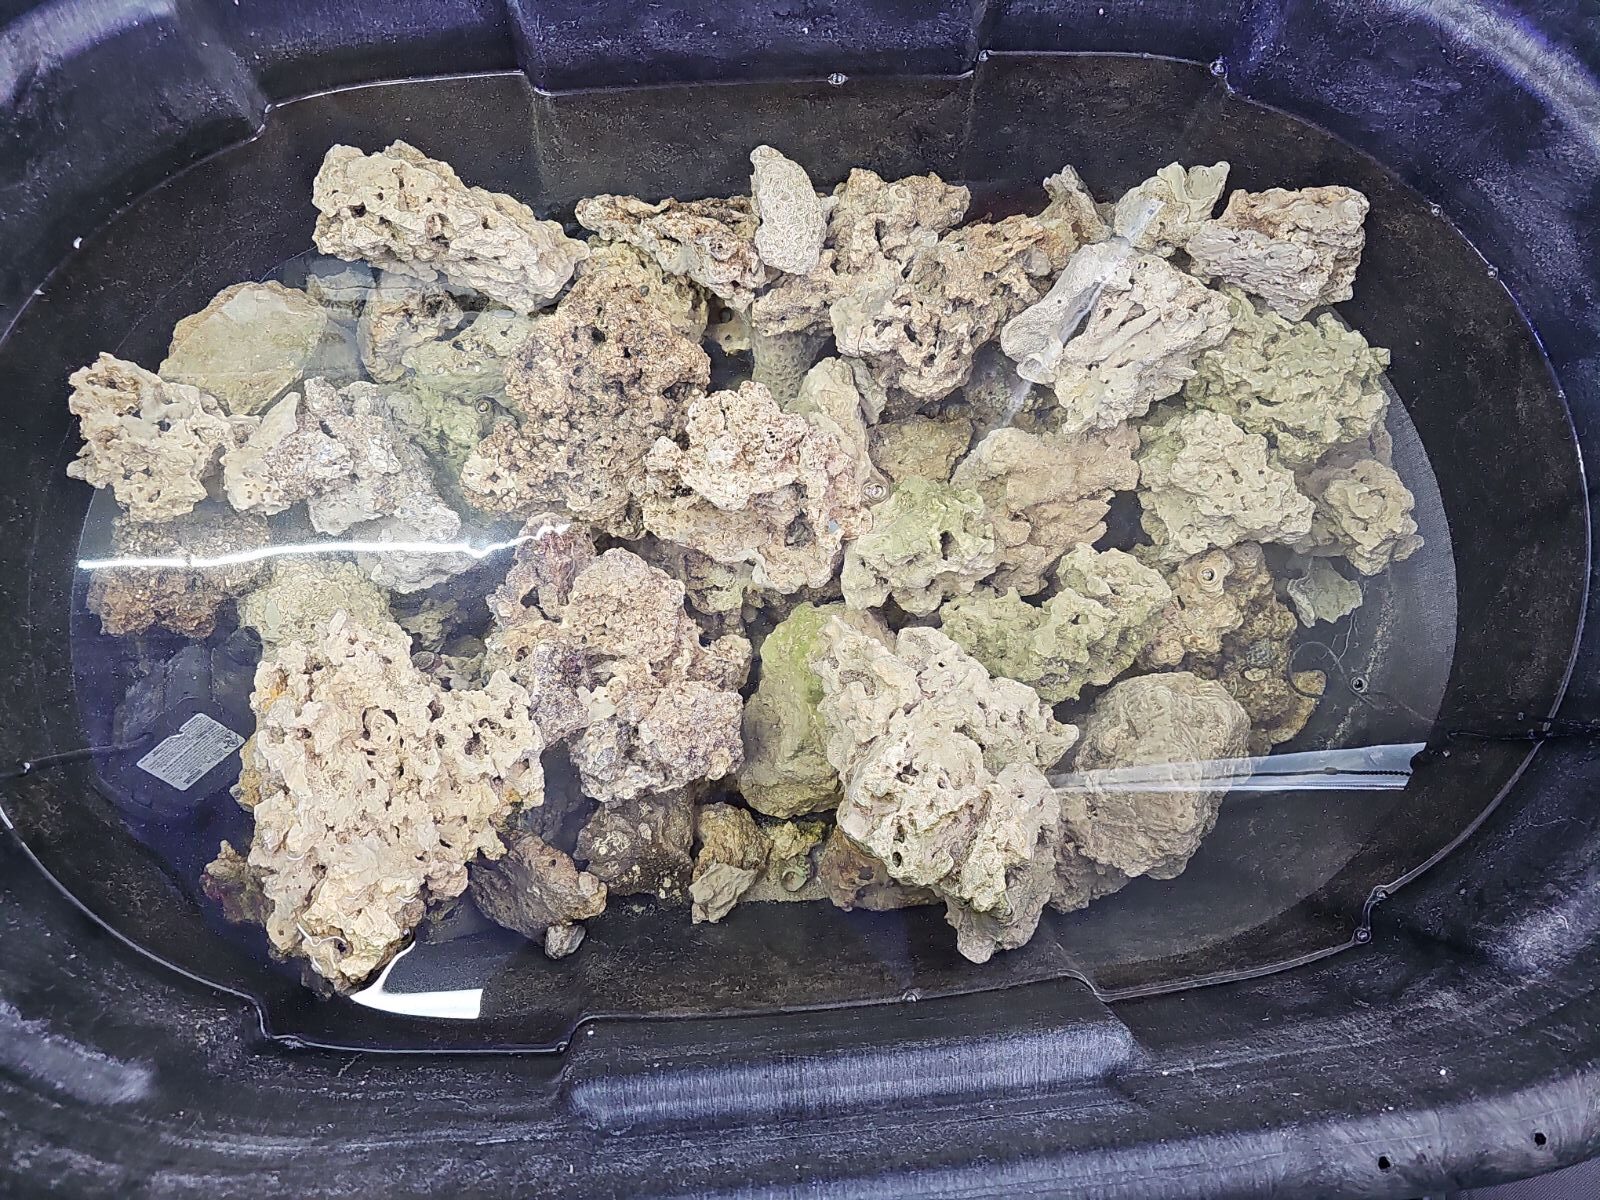
Several authors and videographers have suggested that this can actually be done quickly. In my experience trying to rush this process has not been worth the trouble it caused down the line in the form of corals that did not thrive. Once the “curing” process is done the rock should be rinsed with clean saltwater and then placed in the cycling chamber as is done with wet rock.
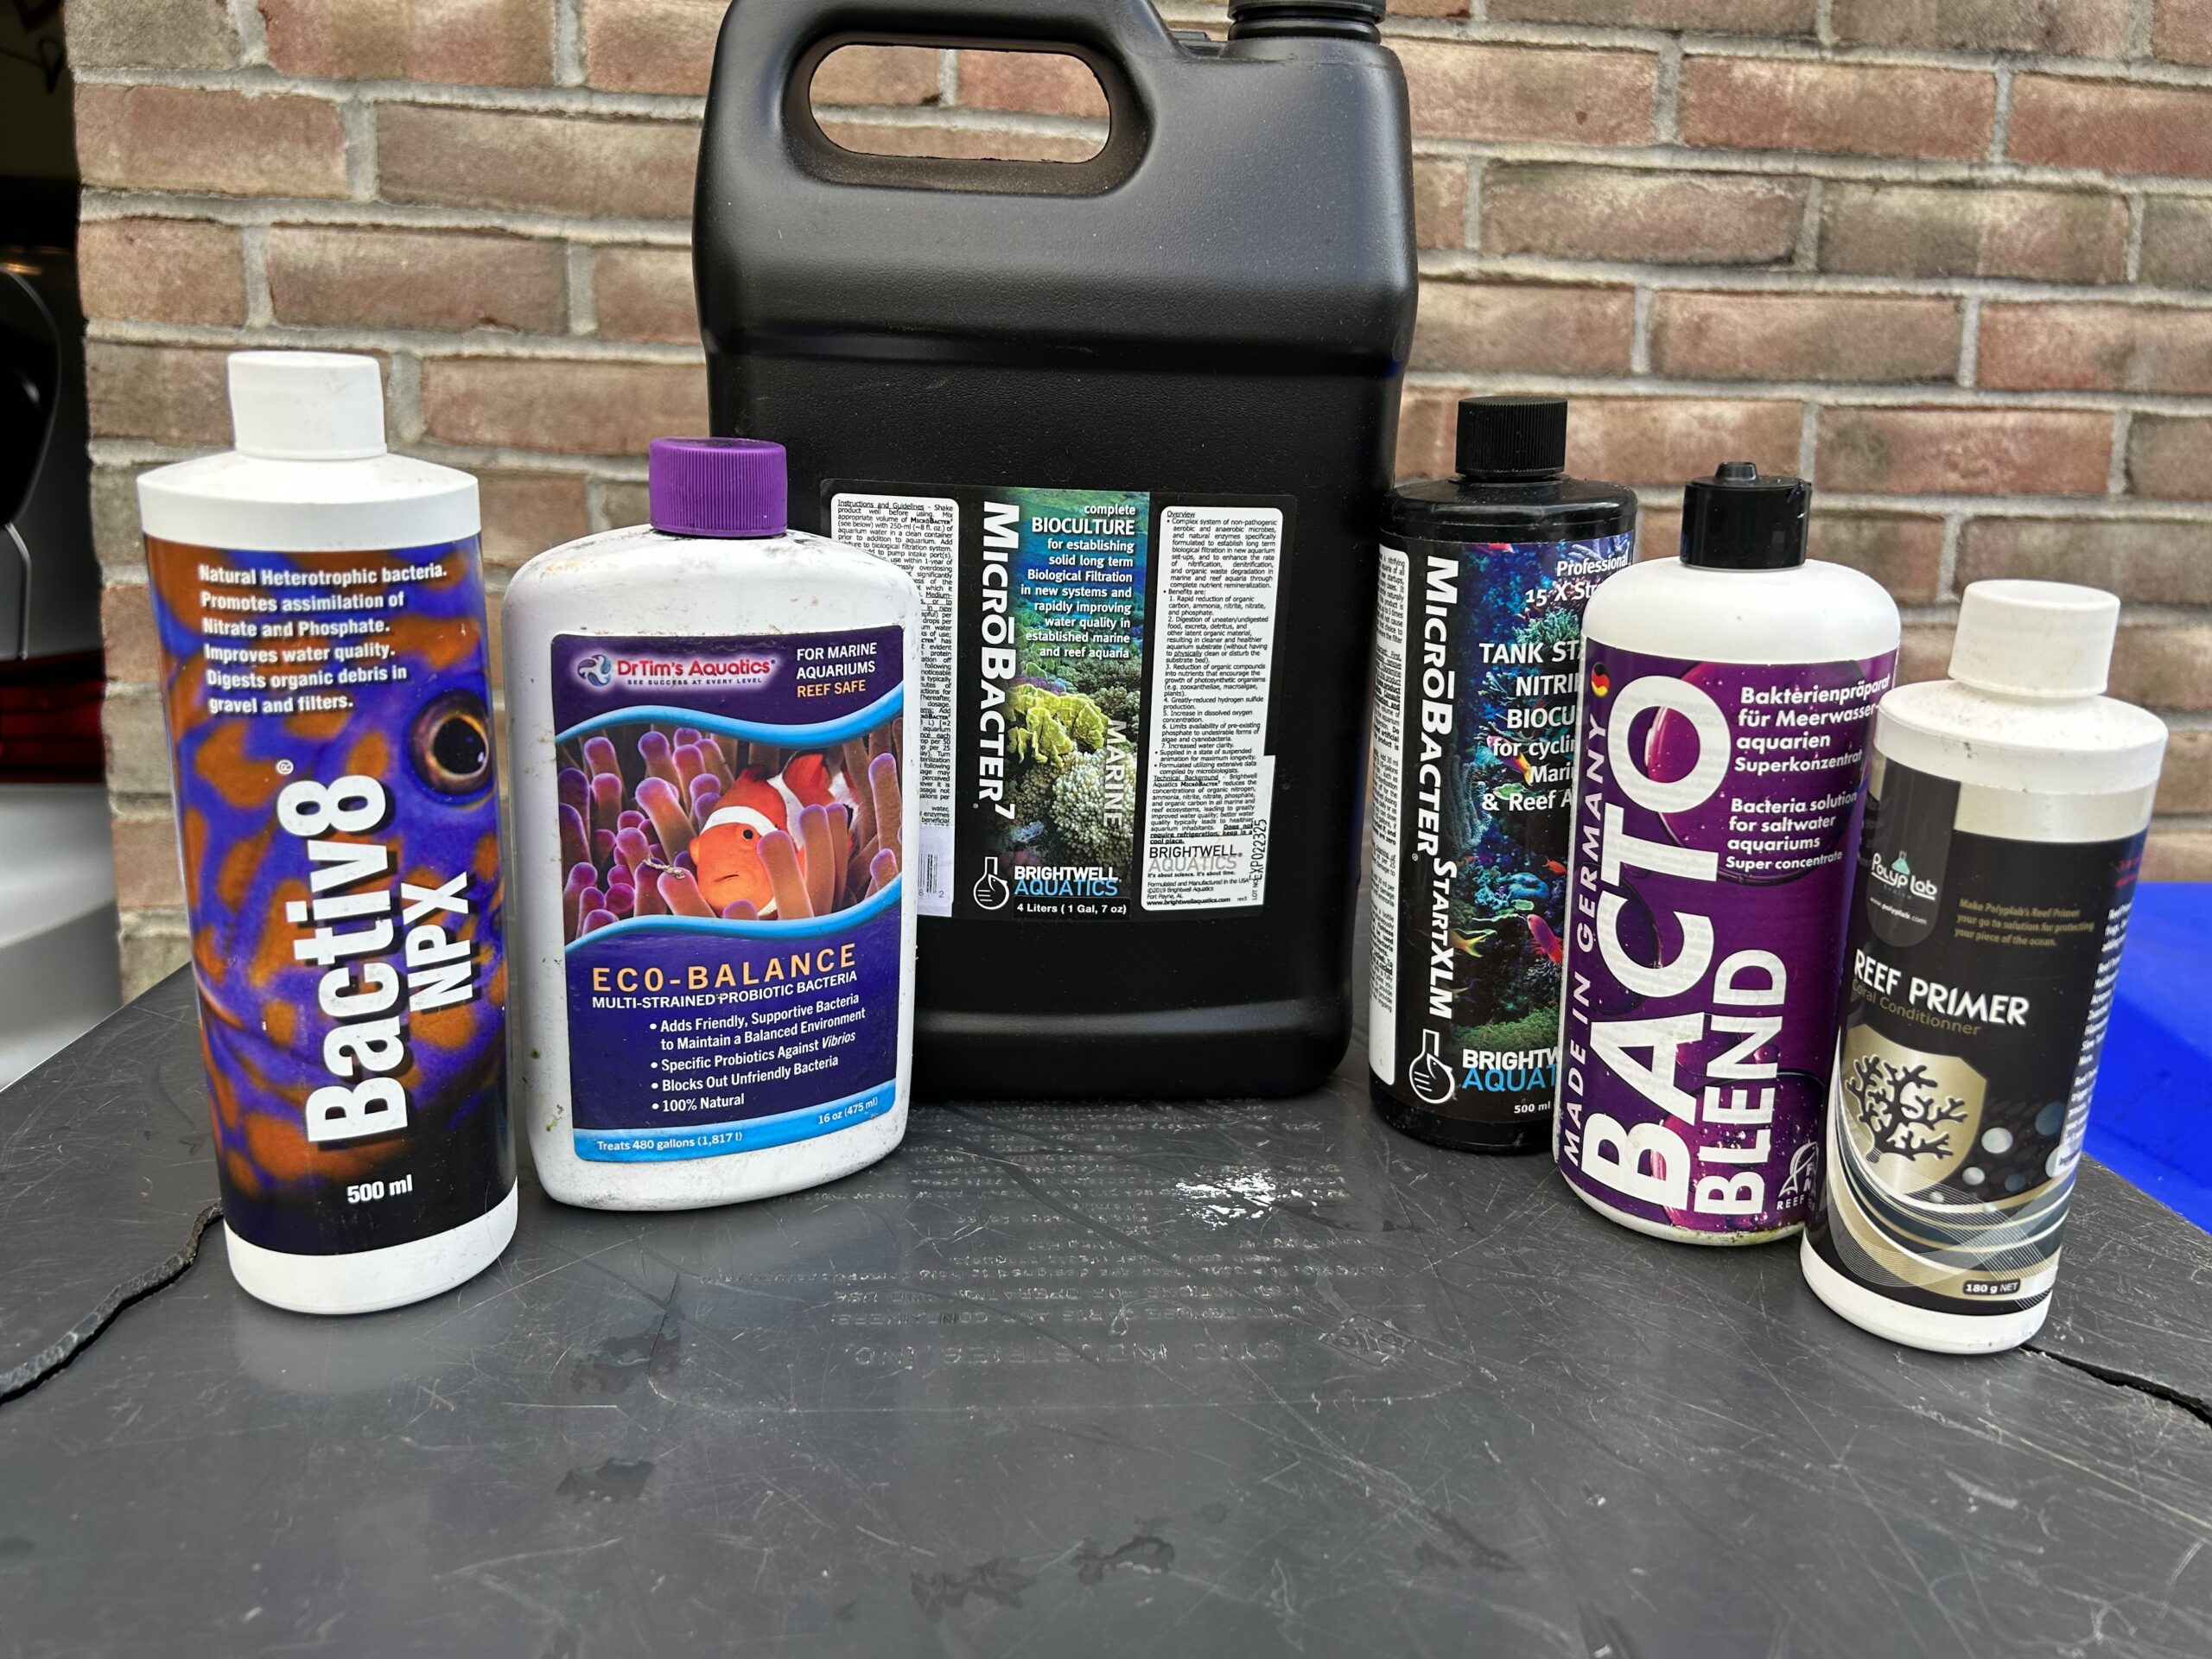
Once added and everything is stabilized, bacteria in the form of bottled bacteria as well as some substrate from a successful tank should be added. Since none of the manufacturers list exactly what is in the bacterial formulations, I add bacteria from a variety of sources. A day or two after the bacteria is added a source of ammonia should be introduced.
This can be in the form of ammonia hydroxide, a pinch of food, or a piece of frozen shrimp or fish. The goal is to not contaminate the tank but to introduce enough ammonia to start the bacteria that support the nitrogen cycle. A day after this ammonia source is introduced the water should be tested. At the very least there should be some indication of ammonia in the water. If there is none a larger amount of ammonia should be introduced and retested and this should be continued until an ammonia reading occurs.
Once an ammonia reading occurs the water should be tested every other day until it reads zero. Once this occurs double the amount of ammonia should be introduced and then testing should be done again until a zero reading occurs. At this point, nitrite readings should be taken. This process should be continued with an ever-increasing amount of ammonia being added until there is no longer a reading the day after. This can take from a few weeks to a few months or longer. This should not be rushed.
After a month of doing this the ammonia and nitrite readings should be zero. At the one-month stage nitrate readings should also be taken. During the early stages, nitrate should read zero, and then gradually as the ammonia and nitrite levels fall the nitrate level should increase. At the one-month stage, a 50-100% water change can also be done. It is not as critical as it is when wet rock is used, but I have found that some detritus occurs even with dry rock, and this is a good time to remove it.
At this point some individuals feel the rock is safe to begin using for a reef tank, I do not as when I started using rock after just having done this level of cycling the corals in the tank never took off. I have also heard from numerous other hobbyists who have experienced the same thing. Therefore, in my opinion, a second cycle should be done.
During this cycling, some previously cured wet rock is introduced to the dry rock tank and it helps to further inoculate the dry rock. I have found that it works even better when I take it one step further in that if the wet rock introduced contains some cryptic sponges and these can be provided adequate nutrients so they reproduce, the resultant live rock full of sponges helps the new tank and many of the corals to thrive.
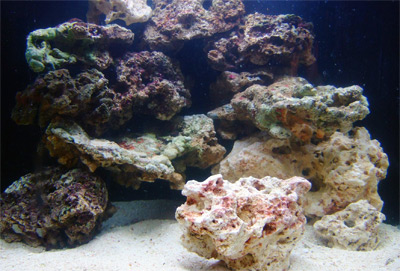
Once this occurs the live rock can be enhanced even more with the introduction of copepods and amphipods which can be acquired online or from other nearby hobbyists. It has been my experience with new tanks that when the microfauna and especially sponges are thriving on the live rock the corals and fish that are added to this system do significantly better than when dry rock is minimally cycled.
Curing and cycling rock is not fun nor sexy but it is critical to the long-term success of a reef tank. It cannot and should not be rushed and if patience is shown here it will help throughout one’s time in the hobby as it is something that is critical throughout.


