One of the things that fascinates me and probably helps fuel my passion for the hobby is that I have been able to watch and learn through the years as we have gotten better at just about every aspect of the hobby. This is especially true as it relates to managing the big three: Calcium Alkalinity and Magnesium.
In the 1980’s the relationship between alkalinity and calcium was explained in a series of articles by Alf Nilsen. I really wish I had taken the time to understand them better, because all I really took from them was that we needed to supplement calcium in our tanks in order to provide the corals with what they needed to produce skeletons.
As a result, I like many of my fellow hobbyists at the time, relied solely on kalkwasser (calcium hydroxide dissolved in water) to provide all the calcium that was needed by my corals. We really did not worry about alkalinity nor did we even test for it. The thought process for many of us at the time was that if we kept the calcium level in our tanks over 400 all was good in the tank and the corals would thrive and grow.
What is even more amazing is that at that time we thought that all of the calcium needed could be met if we simply used this kalkwasser as the replacement water for the water that had evaporated. Never mind that evaporation rates varied by tank and season, we thought that that was all that was necessary. Looking back, this may have at least in part explained why most people thought sps corals grew extremely slowly and in many instances failed to thrive.
Contrast that with today, where we not only measure calcium, but we also measure alkalinity and magnesium regularly as well as just about every other macro and micro element. For many of us, keeping alkalinity stable and at slightly higher than the level in natural seawater has become our standard.
To me at least, and I’m sure many others, we have become downright obsessed with maintaining good stable alkalinity levels in our tanks, more so than any other factor. In fact, I had become so obsessed with maintaining a stable alkalinity level in my tanks that I had gone to measuring the levels at least twice a day and often more, at the very least early in the morning and late at night.
I did so as a result of two things. First when I was away traveling last Fall, the person I had enlisted to take care of my tank inadvertently jacked up the CO2 flow into my calcium reactor to such an extent, that the alkalinity level when I came back and attempted to measure it was over 16. This was four days after the CO2 tank had been completely emptied, so I can only assume it was even higher than this before it was measured.
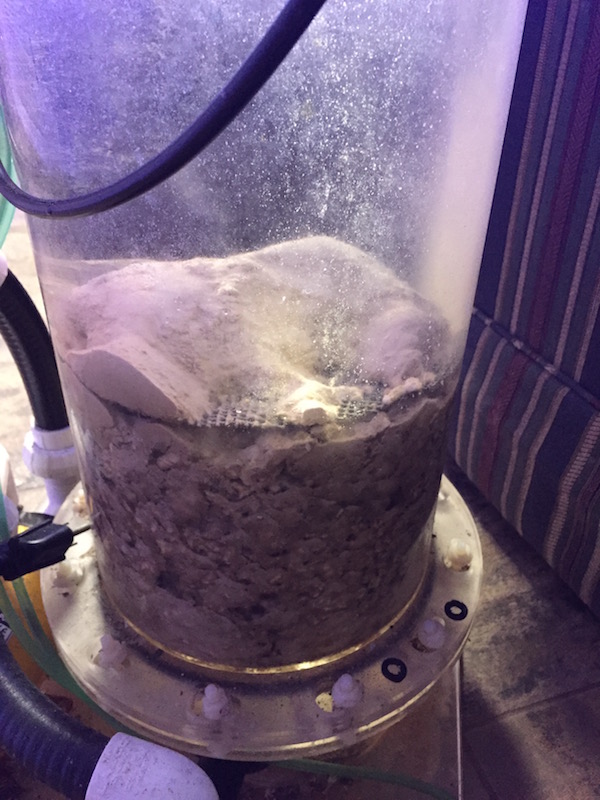
As a result, a significant number of corals in my 300-gallon tank perished. After this mishap, I started to measure the alkalinity levels regularly every other day and then every day owing to how much it was fluctuating in my tests. My calcium reactor was almost 15 years old and while I still felt it was working adequately, regular testing showed that a large variance was occurring, so I then went to twice a day testing so I could tweak the reactor to keep the alkalinity level more stable.
I did this because during this period of large alkalinity fluctuations a some of the Acroporas started bleaching from their bases, and I could not come up with any other cause. I say this, as once the alkalinity levels had been stabilized due to more frequent testing and tweaking, the bleaching stopped.
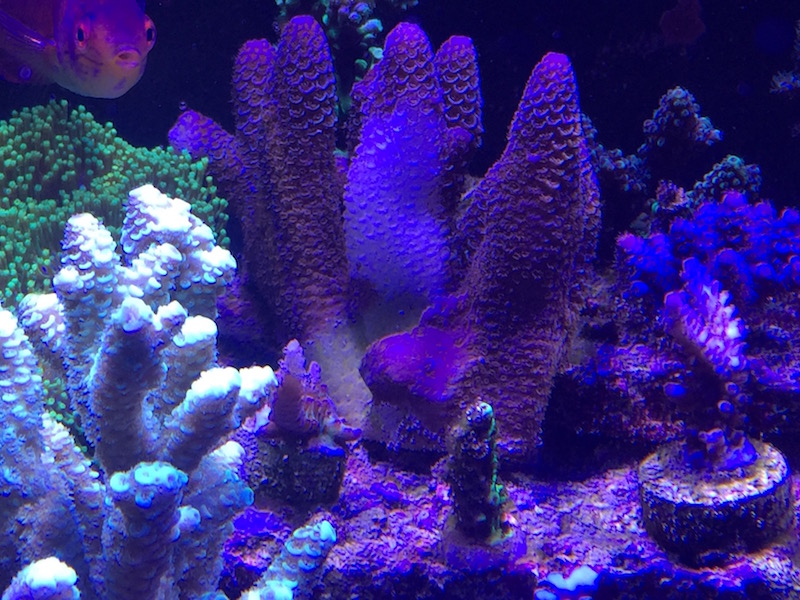
I also do regular ICP testing, and when comparing the test results from when the bleaching was occurring to ones done after it stopped there were no significant differences that I could see that could have accounted for this. So I am making the assumption that frequent alkalinity swings were the culprit.
After gong through this I began to evaluate what options were available to make my life easier and to keep the alkalinity, calcium and magnesium levels stable in my tanks. I thought of going to the Balling or individual dosing method, where a fixed amount of buffer, calcium and magnesium are added throughout the day via dosing pumps and this would keep the tank stable and solve the problem.
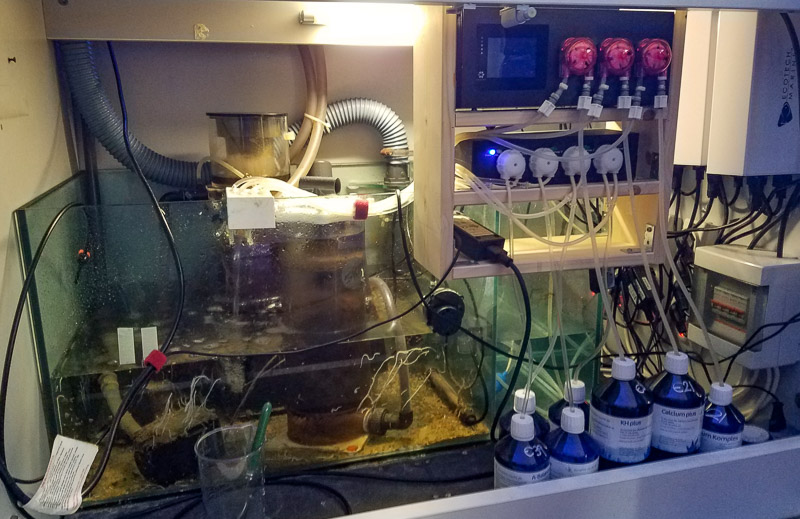
And using this method is indeed the choice of many. This method is pretty straight forward in that once you start dosing these elements for the first few weeks and do regular testing throughout, you can tweak the amounts of what is being added and adjust accordingly and once you reach the desired levels you pretty much just set it and let it go and test as often as you find is necessary and readjust to meet the needs of the tank. So this was the first option I considered.
The only problems I saw is that I would have to mix up either big batches of these elements or would have to mix up small batches frequently. So I tried this system on my smaller 120-gallon tank, where it worked quite well and I’m still using it, but with a couple of caveats.
First, small batches were found to be better, as some elements tended to come out of solution if the batch was big and sat for any length of time. As a result, it needed to be stirred up regularly, which I some time forgot to do. Second it is kind of tedious in terms of not only the mixing, but also the testing and tweaking, so I assumed it would be worse on a system that was three times as big.
This left me with the options of either using my old calcium reactor, which had shown to be problematic so it would need to be monitored more closely, using the dosing method and living with its small shortcomings, or getting a new calcium reactor. So since it was after the holidays and I had gotten a decent end of year bonus, I decided to look at the options for a new calcium reactor.
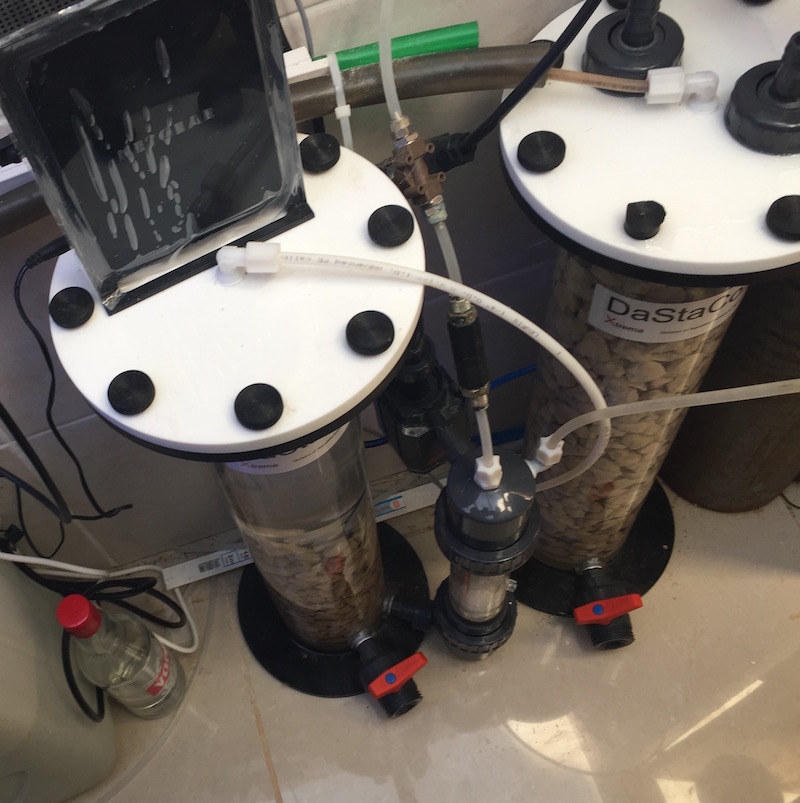
I began looking at friends’ tanks and seeing what they were using. Fortunately, in my travels to Europe last Fall, I had seen what many of the largest and nicest tanks in Europe were using on their tanks. It was a calcium reactor unlike any I had seen in operation here. Made by Dastaco, it was a two-chambered calcium reactor that did not require all of the manipulations that my old calcium reactor required.
With my old reactor, as the CO2 pressure dropped the bubble rate slowed. When the bubble rate slowed the pH in the reactor tended to creep up. When this happened the flow rate of the effluent either needed to be reduced or the bubble rate via the bubble counter and needle valve had to be increased. As with many things in the hobby, keeping the reactor adjusted to the optimal levels required by the tank was like balancing plates on sticks.
And on top of this the reactor needed to be regularly adjusted owing to the growth of the corals and their seemingly constant increasing demand for more calcium carbonate. In talking with David Saxby, Martin Lakin, and others, all of whom were using the Dastaco reactor, doing all of these adjustments was not necessary with this device for the most part once the desired levesl were achieved.
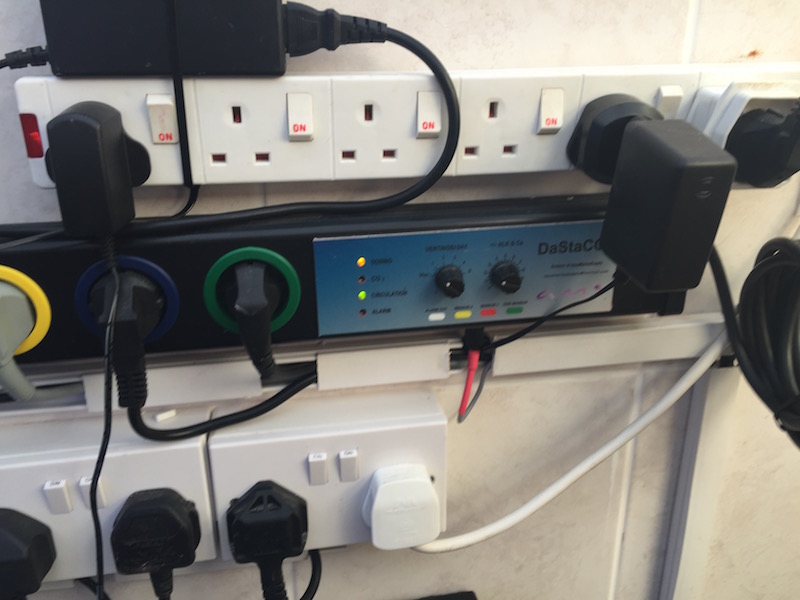
And if demand increased all that was necessary was to turn up a knob. Unlike most calcium reactors, which dissolve a fairly light and porous media at around 6.5 and constantly release high alkalinity water into the tank, the Dastaco reactor recirculates water at a pH of 6.0 in the reactor over a dense marble-like media and only releases the required amount of super high alkalinity water into the tank 1, 2, or a couple more times per day, with the frequency and amount controlled by adjusting knobs on the electronic controller. The unit has an electric eye, that should be utilized, so that none of this low pH water is released into the tank at night once the lights are off, when the pH is already low.
While I was deciding whether this was the avenue to take or not, I was fortunate to be at ReefStock and got to see the new KH Guardian at work. This device was an alkalinity obsessed individual’s dream, in that it could test alkalinity almost as frequently as anyone could want, or as little as 6 times per day, which to me seemed perfect to me.
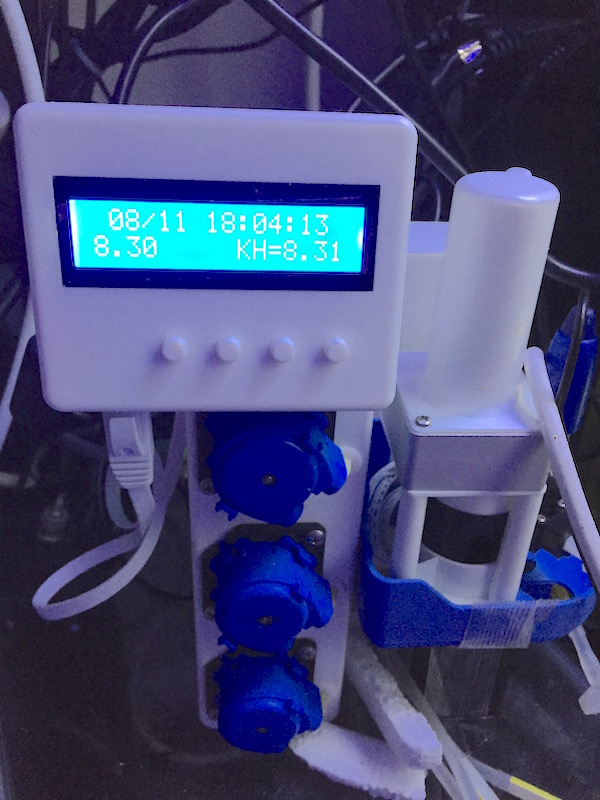
I will admit it, that looking at it, it is not the prefect streamlined package that we all have come to expect with new equipment in the hobby, but to me at least it would reduce the time I was spending constantly measuring and adjusting. I will also admit that the price was kind of daunting at first, but when I considered how many corals I had lost and their cost not just in price but in time and effort to grow them, I knew that when I upgraded the whole calcium/alkalinity replenishment system this would be part of it.
I thought about waiting for some of the other alkalinity monitors that are supposedly coming to market, but I did not want to have to buy a whole new monitoring system in order to use one that may or may not be as reliable as this one, nor did I want to have to wait for others that may not make it to market when this one was already out there and from the demonstration I saw at ReefStock was shown to be incredibly reliable.
So once my mind was made up, I contacted Joe at Unique Corals and Chris at CoralVue to see about purchasing this equipment. As with 99% of the equipment on my tanks, I bought the equipment I am using. Fortunately, since this equipment was relatively new to the market, when I contacted them they both gave me a discount to beta test their equipment and tell them of any problems with it so the flaws could be worked out before it was widely used.
So I bought the equipment with the understanding that if I decided to write about it I would write both the pros and cons about it, and if it was really bad I would say nothing about it. This is what I always do, so when you never see me mention a product that I have used this means in my opinion and my experience it does not live up to my expectations.
The KH Guardian arrived first and I planned on putting it on my tank first any way, as I wanted to see how much the alkalinity was fluctuating using the old calcium reactor. The daily or 48-hour fluctuation in alkalinity that the monitor showed was fairly consistent with what my twice daily testing was showing, in that the alkalinity varied by a little over 1 dkh point during 48 hours.
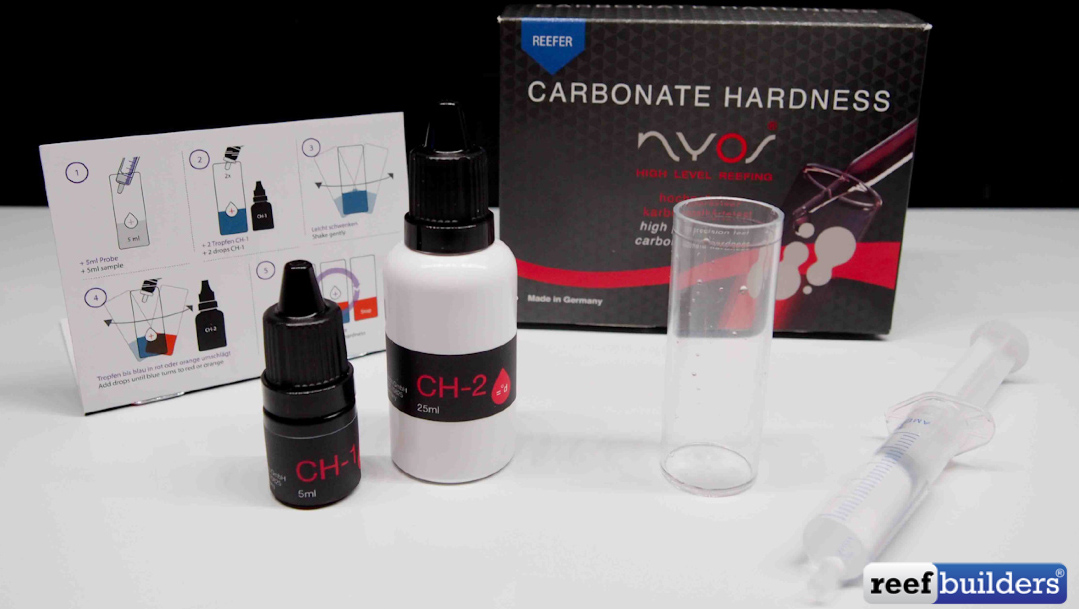 Some days more, some days less. I should mention that the monitor I purchased was the Pro model and as such it doses a baking soda solution when the KH falls below a fixed set point. When I first ran the unit I did so with this function off so that I could see how much the KH was fluctuating without additional buffer being added. I should also note that a new less expensive model has just been released that does not provide the dosing function, only monitoring and not having this function has lowered its price.
As I mentioned, the unit is not as slick as some of us are used to, but it does seem to be precise in its monitoring. I say that as when first setting it up and not trusting it, I still did twice daily testing with two different test kits and after adjusting the controls on the monitor thanks to the owner’s manual video that is online and speaking with their customer service, which is very good, the value it showed was within .05 of the values the test kits were reading for over two weeks as well as when I retested before writing this article. I will admit that not being technologically savvy it did take some time to set up and adjust. And at first, just the simple task of keeping it level on all dimensions, which is a requirement, was difficult too, but it did perform as advertised.
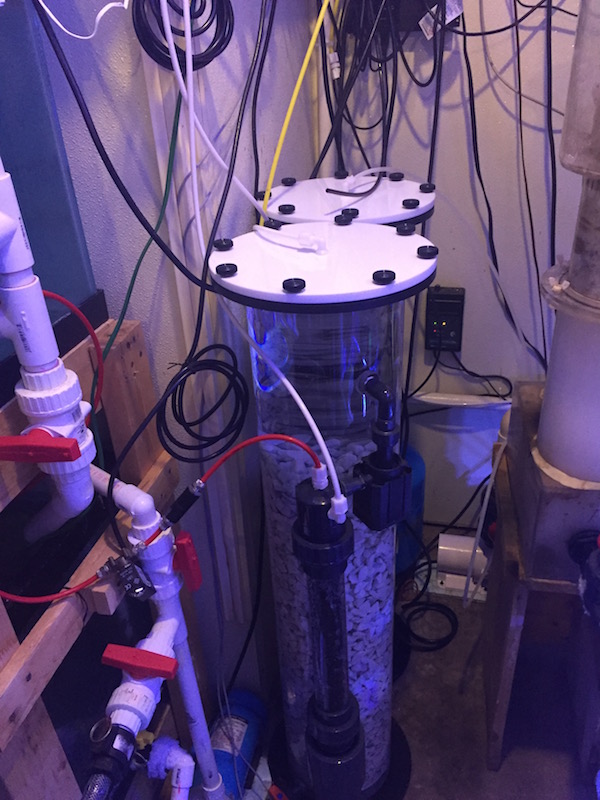
After the KH Guardian was up and running, the Dastaco reactor was set up and was allowed to run on a closed system away from my tank for a couple of days before it replaced the old calcium reactor. This was not in the owner’s manual, but I typically do it with all new equipment, as I try to make sure all of the bugs are worked out before I place a new piece of equipment on my tank.
Once it was running and the the KH of the closed system was stable it was placed on the tank. It is a very well-designed piece of equipment and once it is filled with media and set up, it really does only require turning a couple of knobs on the controller to get the desired KH level in the tank.
This was done by using the KH Guardian for guidance and adjusting the levels accordingly. Before continuing I should note a couple of things. First, it will use up CO2 faster than a standard calcium reactor. This is no doubt due to it running at the lower pH of 6.0. Also in large tanks that require a lot of buffer this will require the reactor to dump in a significant amount of low pH water at one time or a couple of times, which can lead to a lowering of the pH in the tank.
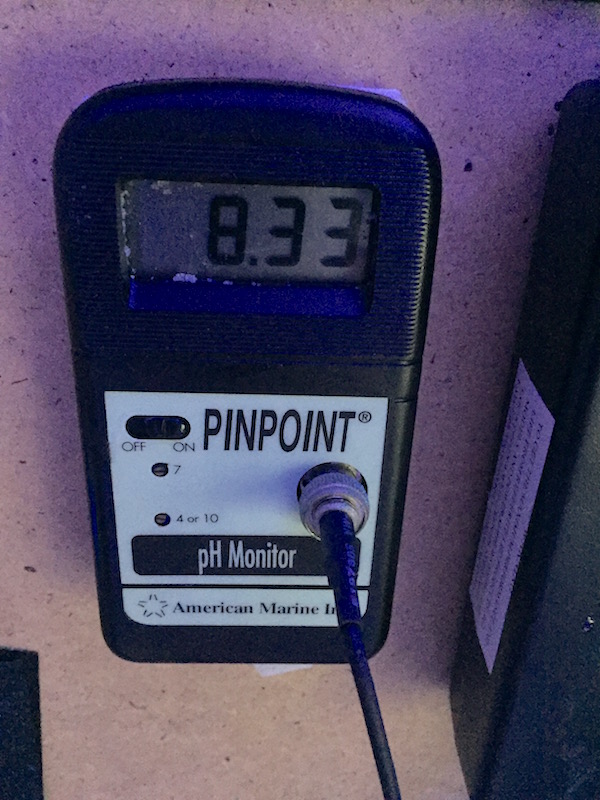
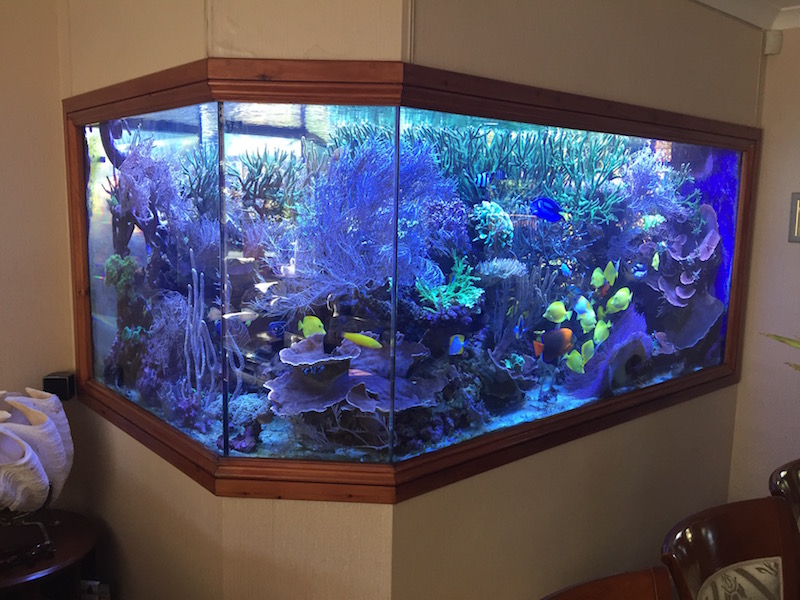
In my tank, owing to the heavy bioload this was a slight problem initially as the pH went from fluctuating between 8.1-8.4 before I added the reactor to as low as 7.5-7.8 once the reactor was on. To remedy this the water coming out of the reactor can either be run into the intake of the skimmer to be degassed or it can flow directly into an algae reactor like a Pax Bellum. By doing this the pH in my system has come back to a more stable 8.0-8.2. Since this system has been on only a couple of small adjustments have been required and for the most part the unit has run flawlessly.
Adding these two relatively new pieces of equipment to my tank has at least for me resulted in a much more stable environment in that since they have been in use the alkalinity, calcium and pH levels have been more stable than at any time since I have been measuring them. Because of this there has not been a single instance of an Acropora bleaching from the base in the now 5 months I have had both of these units operating.
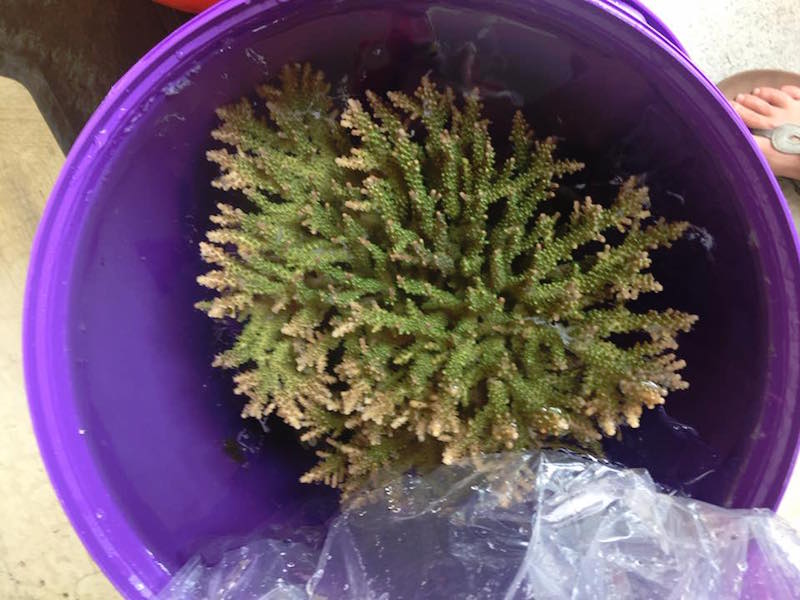
Running both of these units is not for everyone, as even with the discounts the cost was over $3000, but considering the price of corals and how much the high alkalinity debacle cost me I felt it was well worth the price. There are other devices like these coming to market and hopefully this competition will help bring the price down some. As is always the case I do not tell anyone how to spend their money, but for me at least I feel I got what I paid for. So if alkalinity stability is an issue for you then hopefully this discussion of what I have done will be at least somewhat helpful to you and will give you some ideas of what might help to get yours to be more stable.


