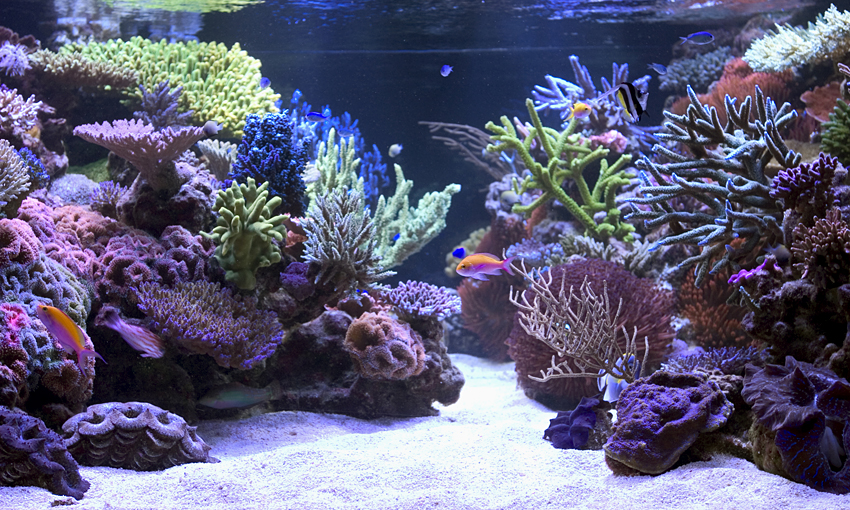
Once the live rock has been cured and cycled one of the most fun aspects, at least to me, of setting up a new reef tank has finally arrived. Aquascaping a tank, that is designing and positioning the live rock to provide our attempt at mimicking a portion of a reef is finally where our imagination and necessity come into play.
Imagination in that what we are trying to produce is a miniature aspect of a reef by placing the live rock in such a way that once the corals grow in the tank will look something like how we envision a small section of reef. Necessity, in that we need the structure to not only be secure, that is not fall over, while at the same time provide a base for the corals and a haven for the fish.
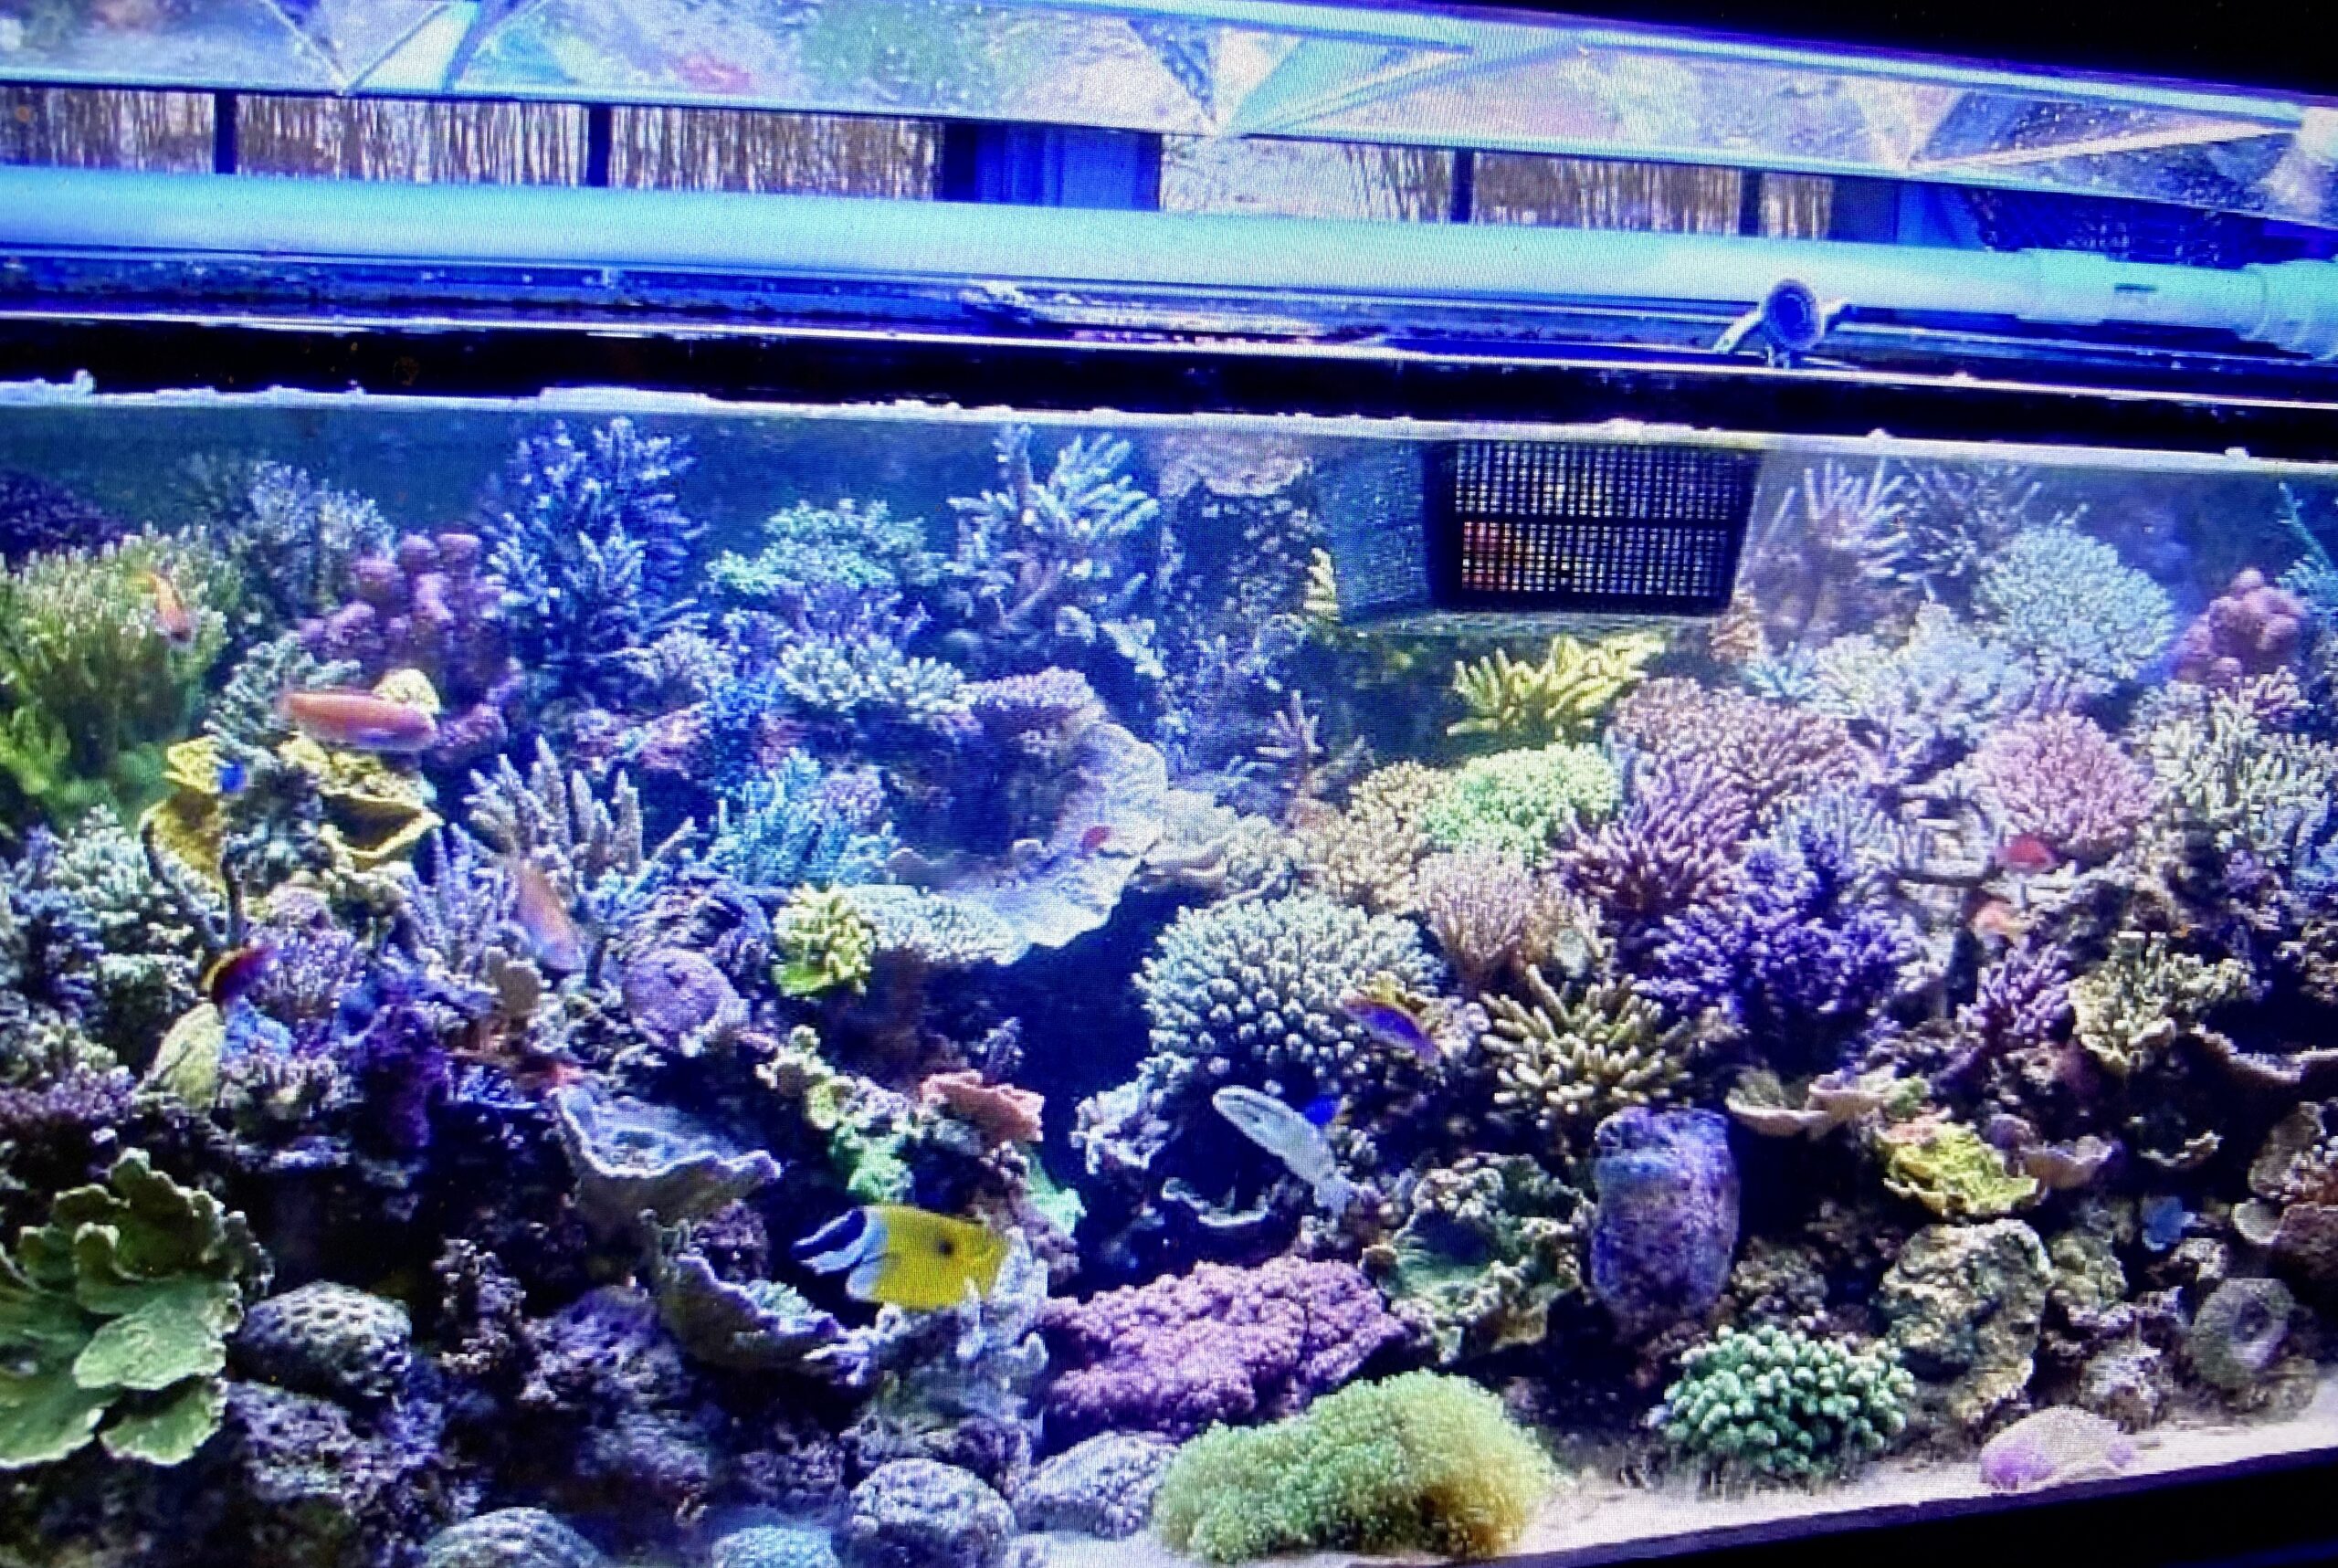
Aquacaping a new tank today is significantly different than how tanks were aquascaped in the early years of the hobby. Back then the thought was that we needed to use as much live rock as possible, so the general rule was to use at least two pounds of rock per gallon of water. And since the goal was to also showcase the corals, the result was that most tanks during the 1980s and early 1990s had an aquascape that looked like a fruit stand. That is, the aquascaping consisted of massive piles of rock that were built into ledges or shelves, and the corals were simply perched on these shelves. Needless to say, this was not particularly interesting to look at.
More importantly, it was not biologically good in that this rock stacked on rock led to lots of dead spaces that would fill with detritus and become nutrient sinks. And just as bad, this design did not provide many hiding places for fish so they never felt comfortable in these tanks, so they spent much of their time hiding or looking for places to hide.
Less is more
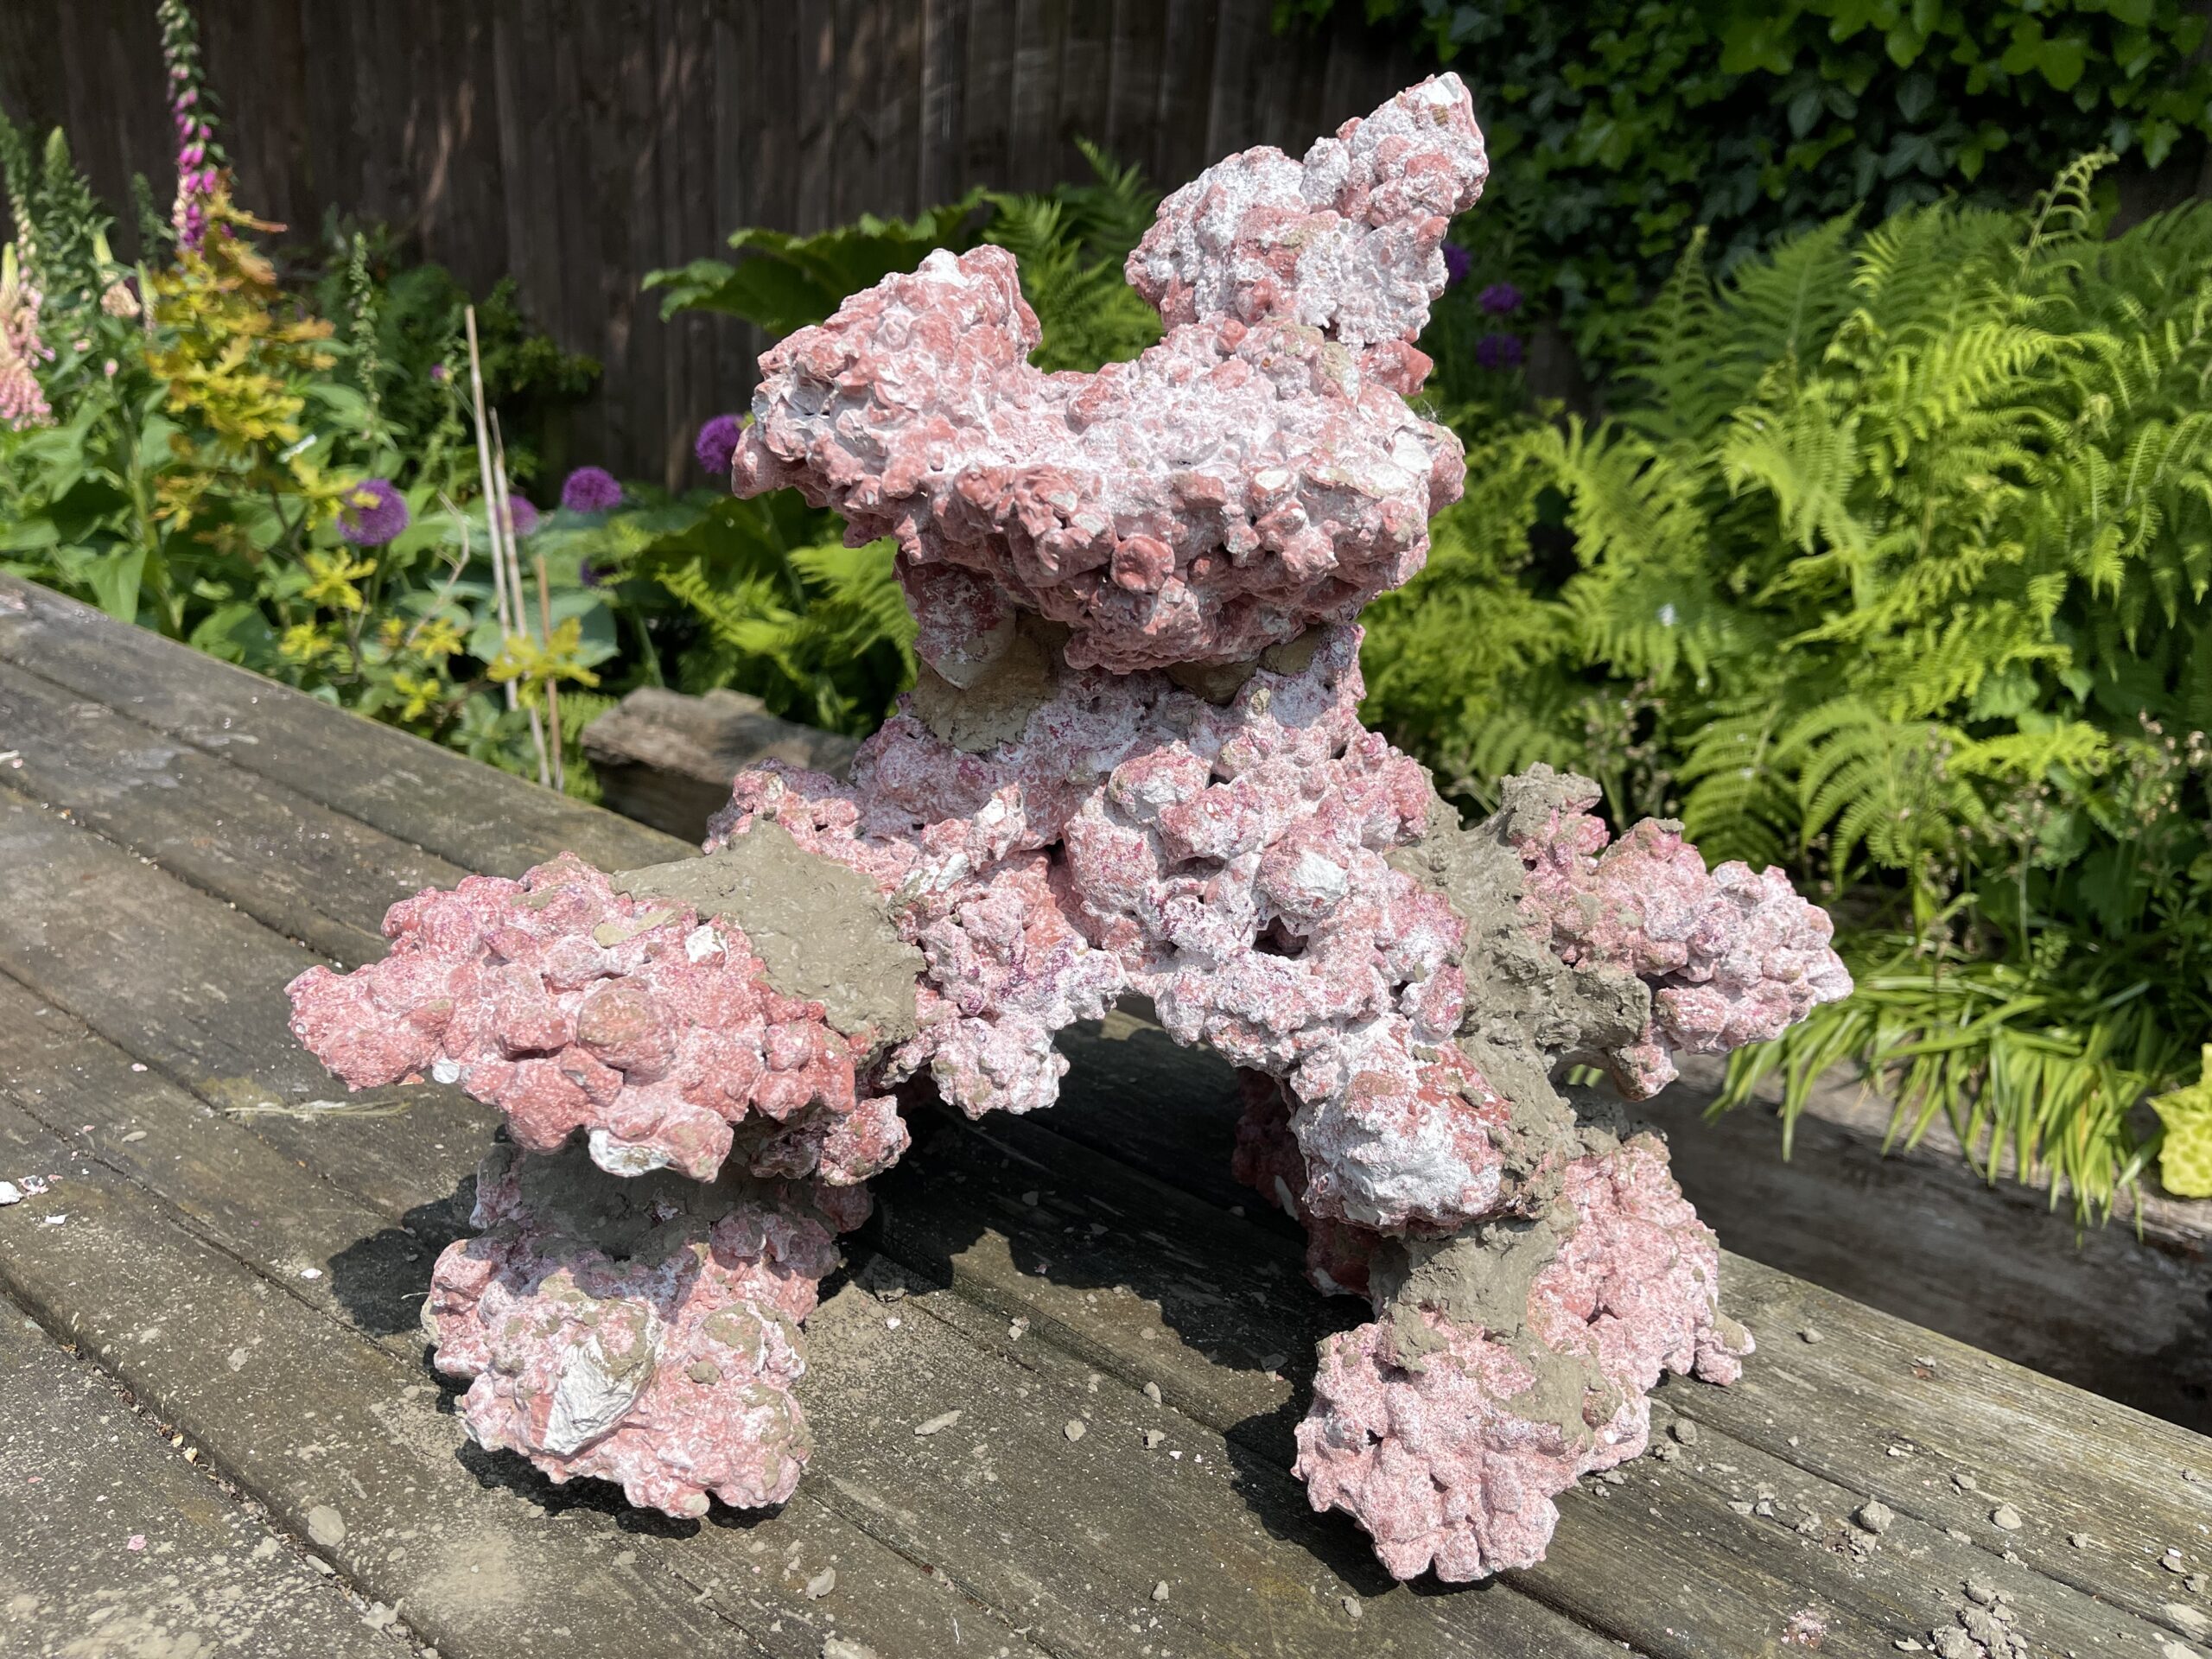
Fortunately, over time as hobbyists experimented it was found that less live rock was needed and just as importantly, we found that providing caves, overhangs and lots of hiding places for the fish made them feel more comfortable and hence they spent more time out in the open. Making these changes also made the tanks much more aesthetically pleasing and made the tanks look more like small replicas of reefs rather than simply display cases for corals.
When designing an aquascape the first thing that needs to be done, as with all aspects of setting up a reef is to plan properly. Even before getting and curing the live rock the design of what the aquascape should be thought out. Even better it should be diagrammed with a general idea of the overall structure of the rock as well as where pumps for flow and overflows will be so they can be hidden. Granted there needs to be some leeway in the design as it cannot be finalized until the rock is acquired but a diagram should be mapped out before this.
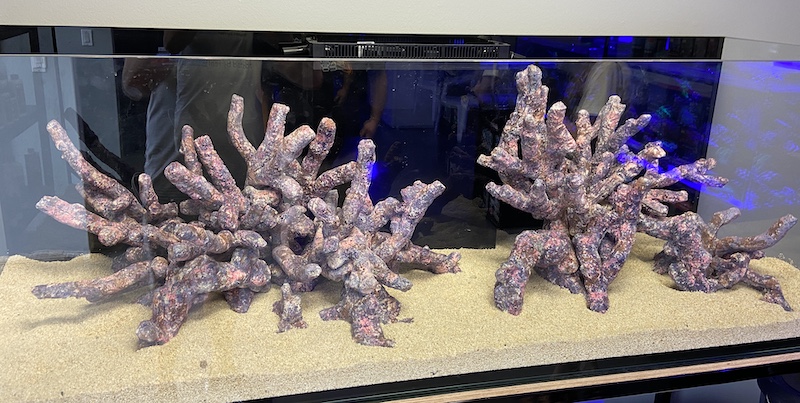
When considering the diagram the best way to plan this is to look at other tanks and draw an idea from them. Nothing is more inspiring than to look at a well-designed successful tank and copying how it is laid out. Some may think it is bad to copy someone else’s work, but in reef tanks, this is not the case because even if you get the same fish and corals as you see in another tank, once you add them your tank will still be significantly different than theirs. For sources of inspiration, you can look online or go to shops that have display tanks or find friends in the local aquarium clubs and look at their tanks. Find a tank that is close in size to your own and start from there.
Once you have found a source of inspiration then it is time to start diagramming the tank’s layout. From our freshwater counterparts and especially the Amano school of planted tanks we have learned that the rule of thirds is critical for developing an aquascape that is balanced and pleasing to view. This technique requires that a tank be divided into nine equal squares. This is done by having two lines go from side to side horizontally in the tank one-third of the way across and then two more vertically in one-third increments. Where these lines intersect are places where the main focal points in the aquascape should be located.
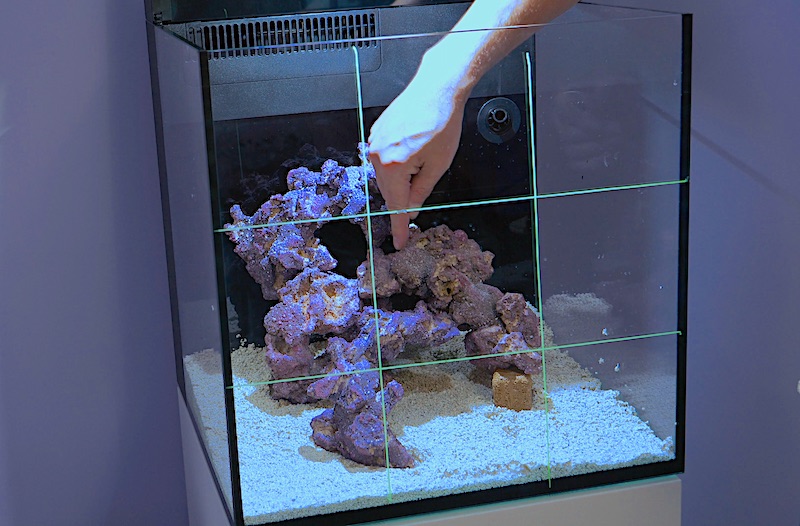
Having focal points at one-third and two-thirds points in the tank keeps the tank from being divided in half, which is visually not appealing. These focal points should be where structurally interesting aspects of the aquascape should be located such as caves or overhangs or where the most beautiful corals are placed. This rule will work on any sized tank from nano’s to massive systems.
If dry rock is being used the aquascape can even be put together before the rock is cured and cycled and the rock can even be epoxied together. This may not be practical for a large installation, but at least the structure can be built before it is cured to get an idea of what it will look like. This can also be done with wet rock, but it will be a bit messier to do. Regardless of how the rock is laid out the goal is to provide the tank with three-dimensionality and to give the tank as great a sense of depth as possible.
Use the rock and the rule of thirds to create caves valleys and overhangs in the focal areas. Also use empty spaces to add to this sense of depth, as every space in a tank does not need to be filled. While a tank may look empty when it is just filled with live rock, once the corals are put into place and grow the space in the tank will fill very quickly.
Solid foundations
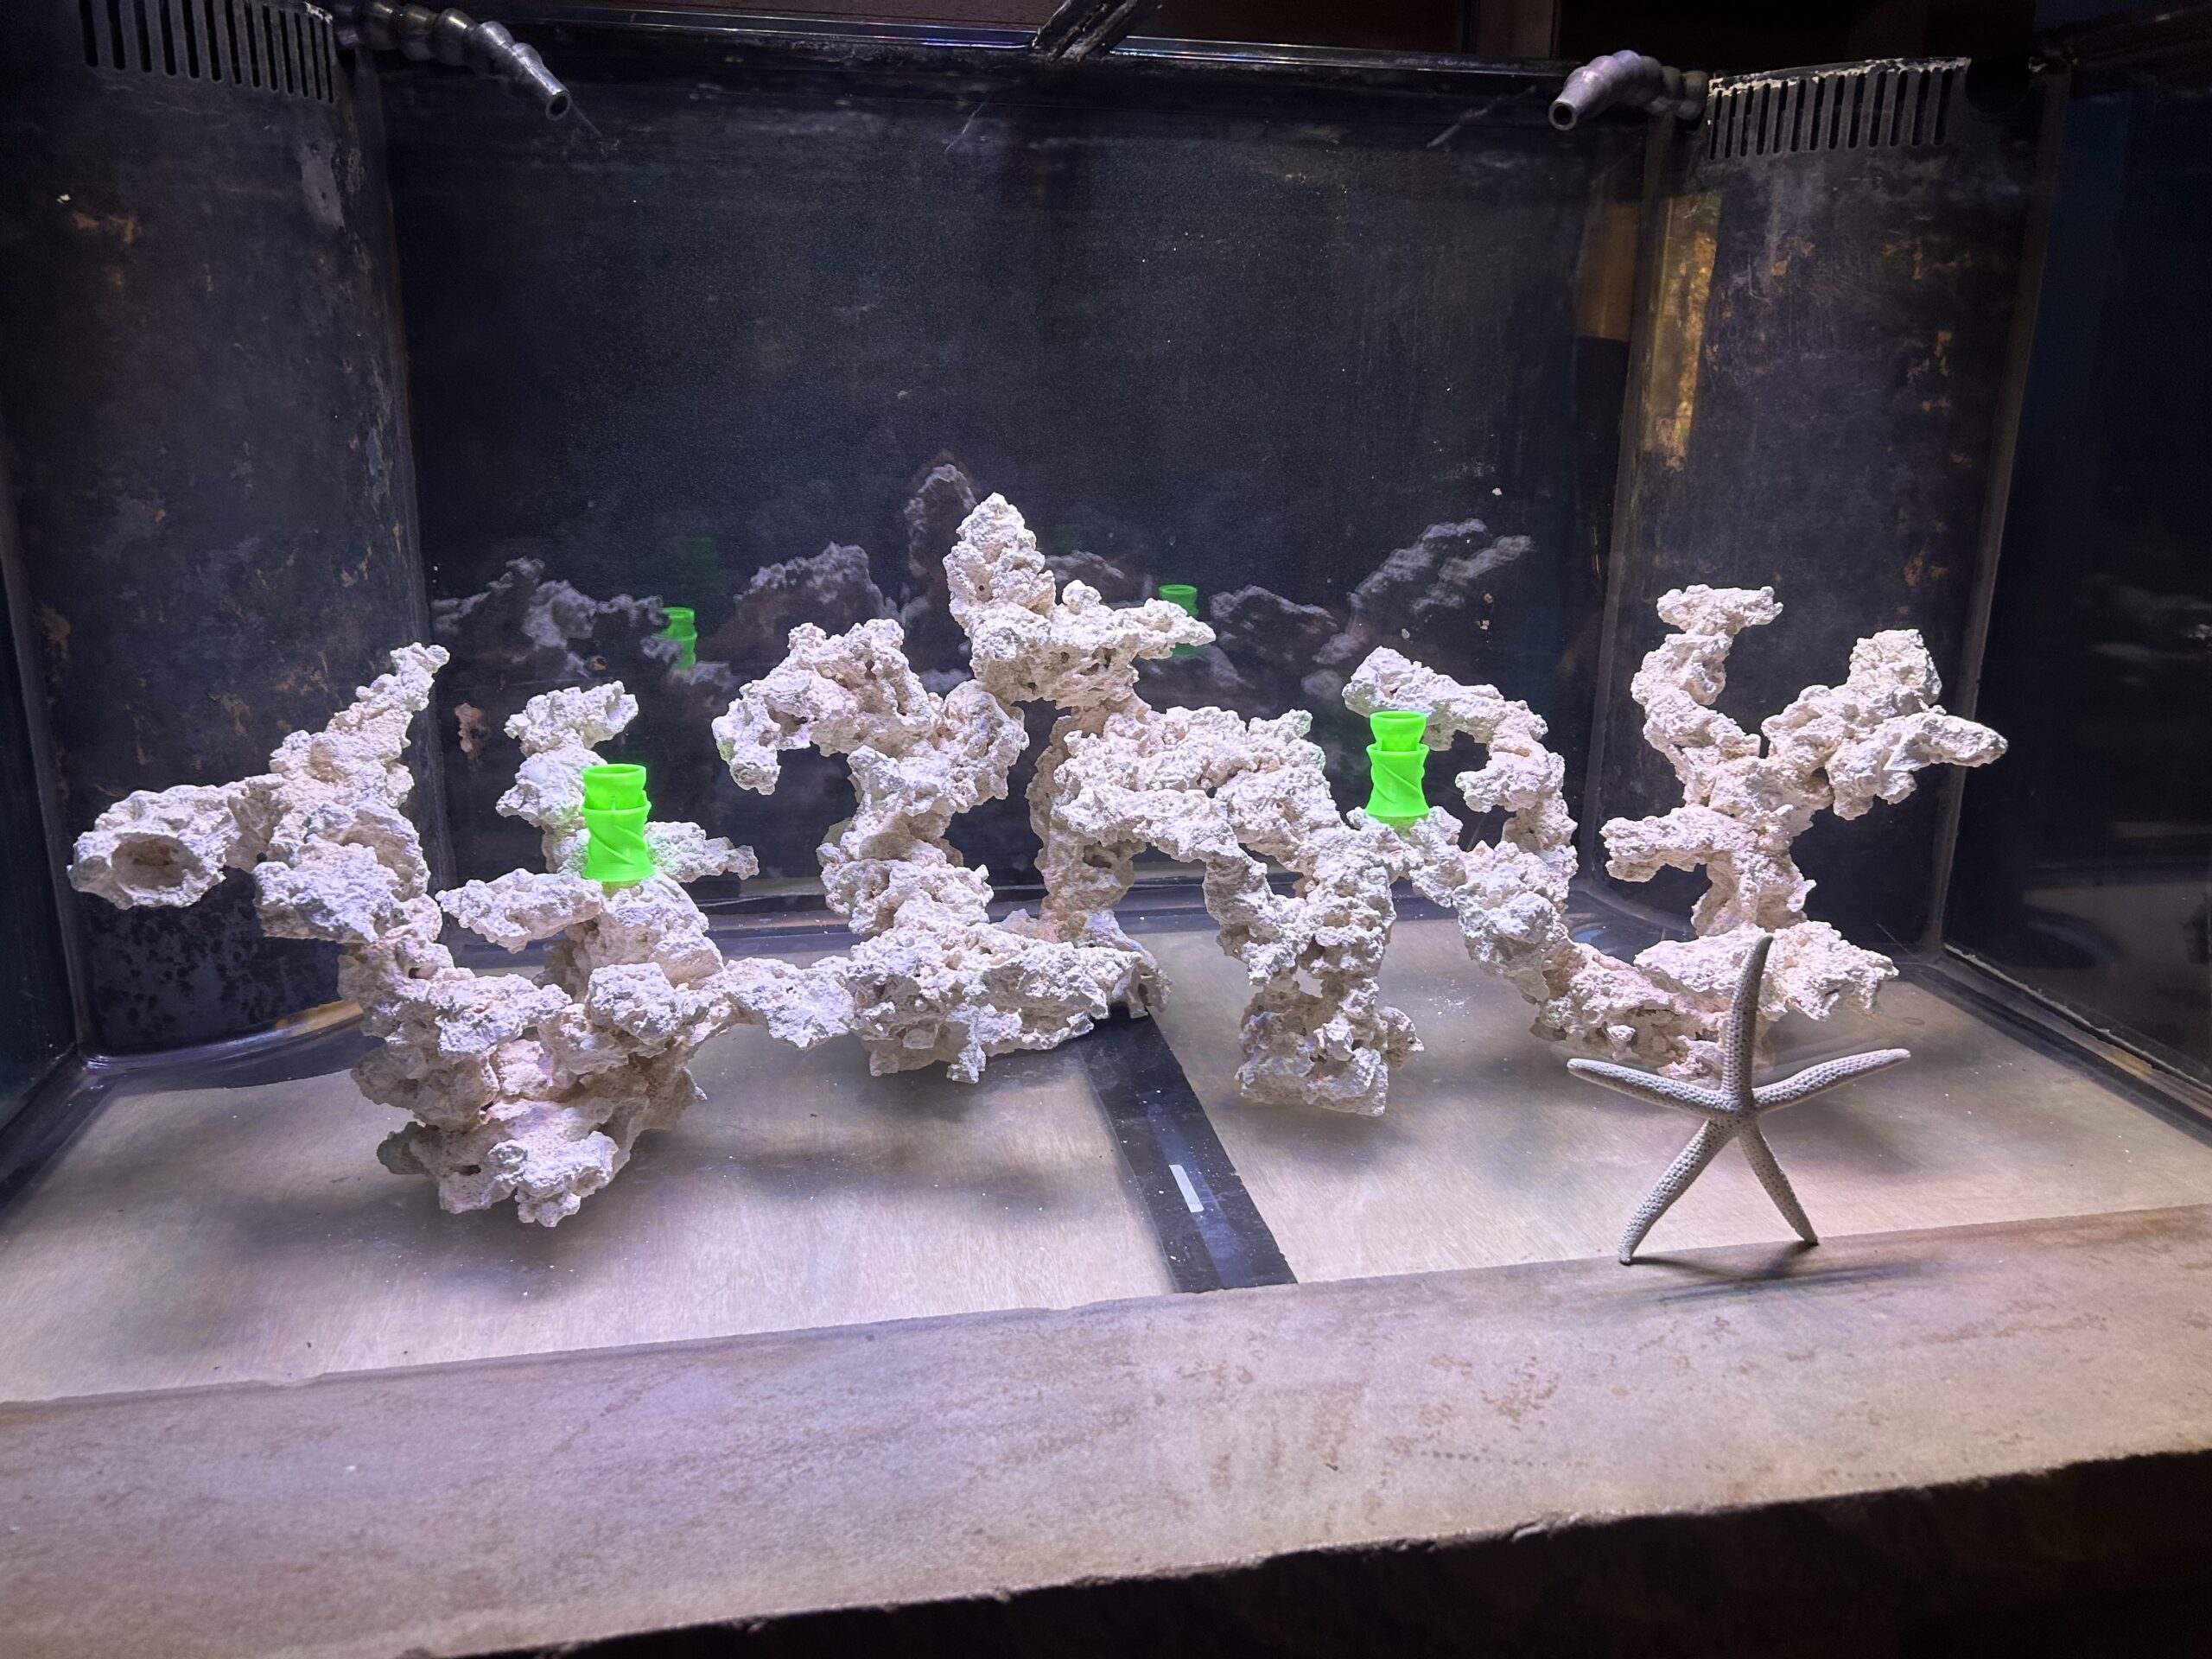
One thing that should not be neglected when designing the aquascape is that it needs to be built on a solid foundation. Larger flatter rocks need to be used to produce a solid base and from these, the rest of the structure can be built. There is little worse than having a beautiful aquascape built only to have it fall due to it not having been built with a strong foundation. The upper portions, caves, bridges, and overhangs can all be built and secured to this base with saltwater-proof epoxy, of which there are many on the market, some of which cure to be as strong as concrete.
When designing the aquascape while wanting it to be enjoyable to look at it also needs to be built to allow for water flow to pass in and around and through it, and even underneath it. One of the other keys to a good aquascape is that it is designed to produce minimal dead spots in the aquarium. If dead spots occur these can accumulate detritus, which can act as a nutrient sink, or the focal point where cyanobacteria starts.
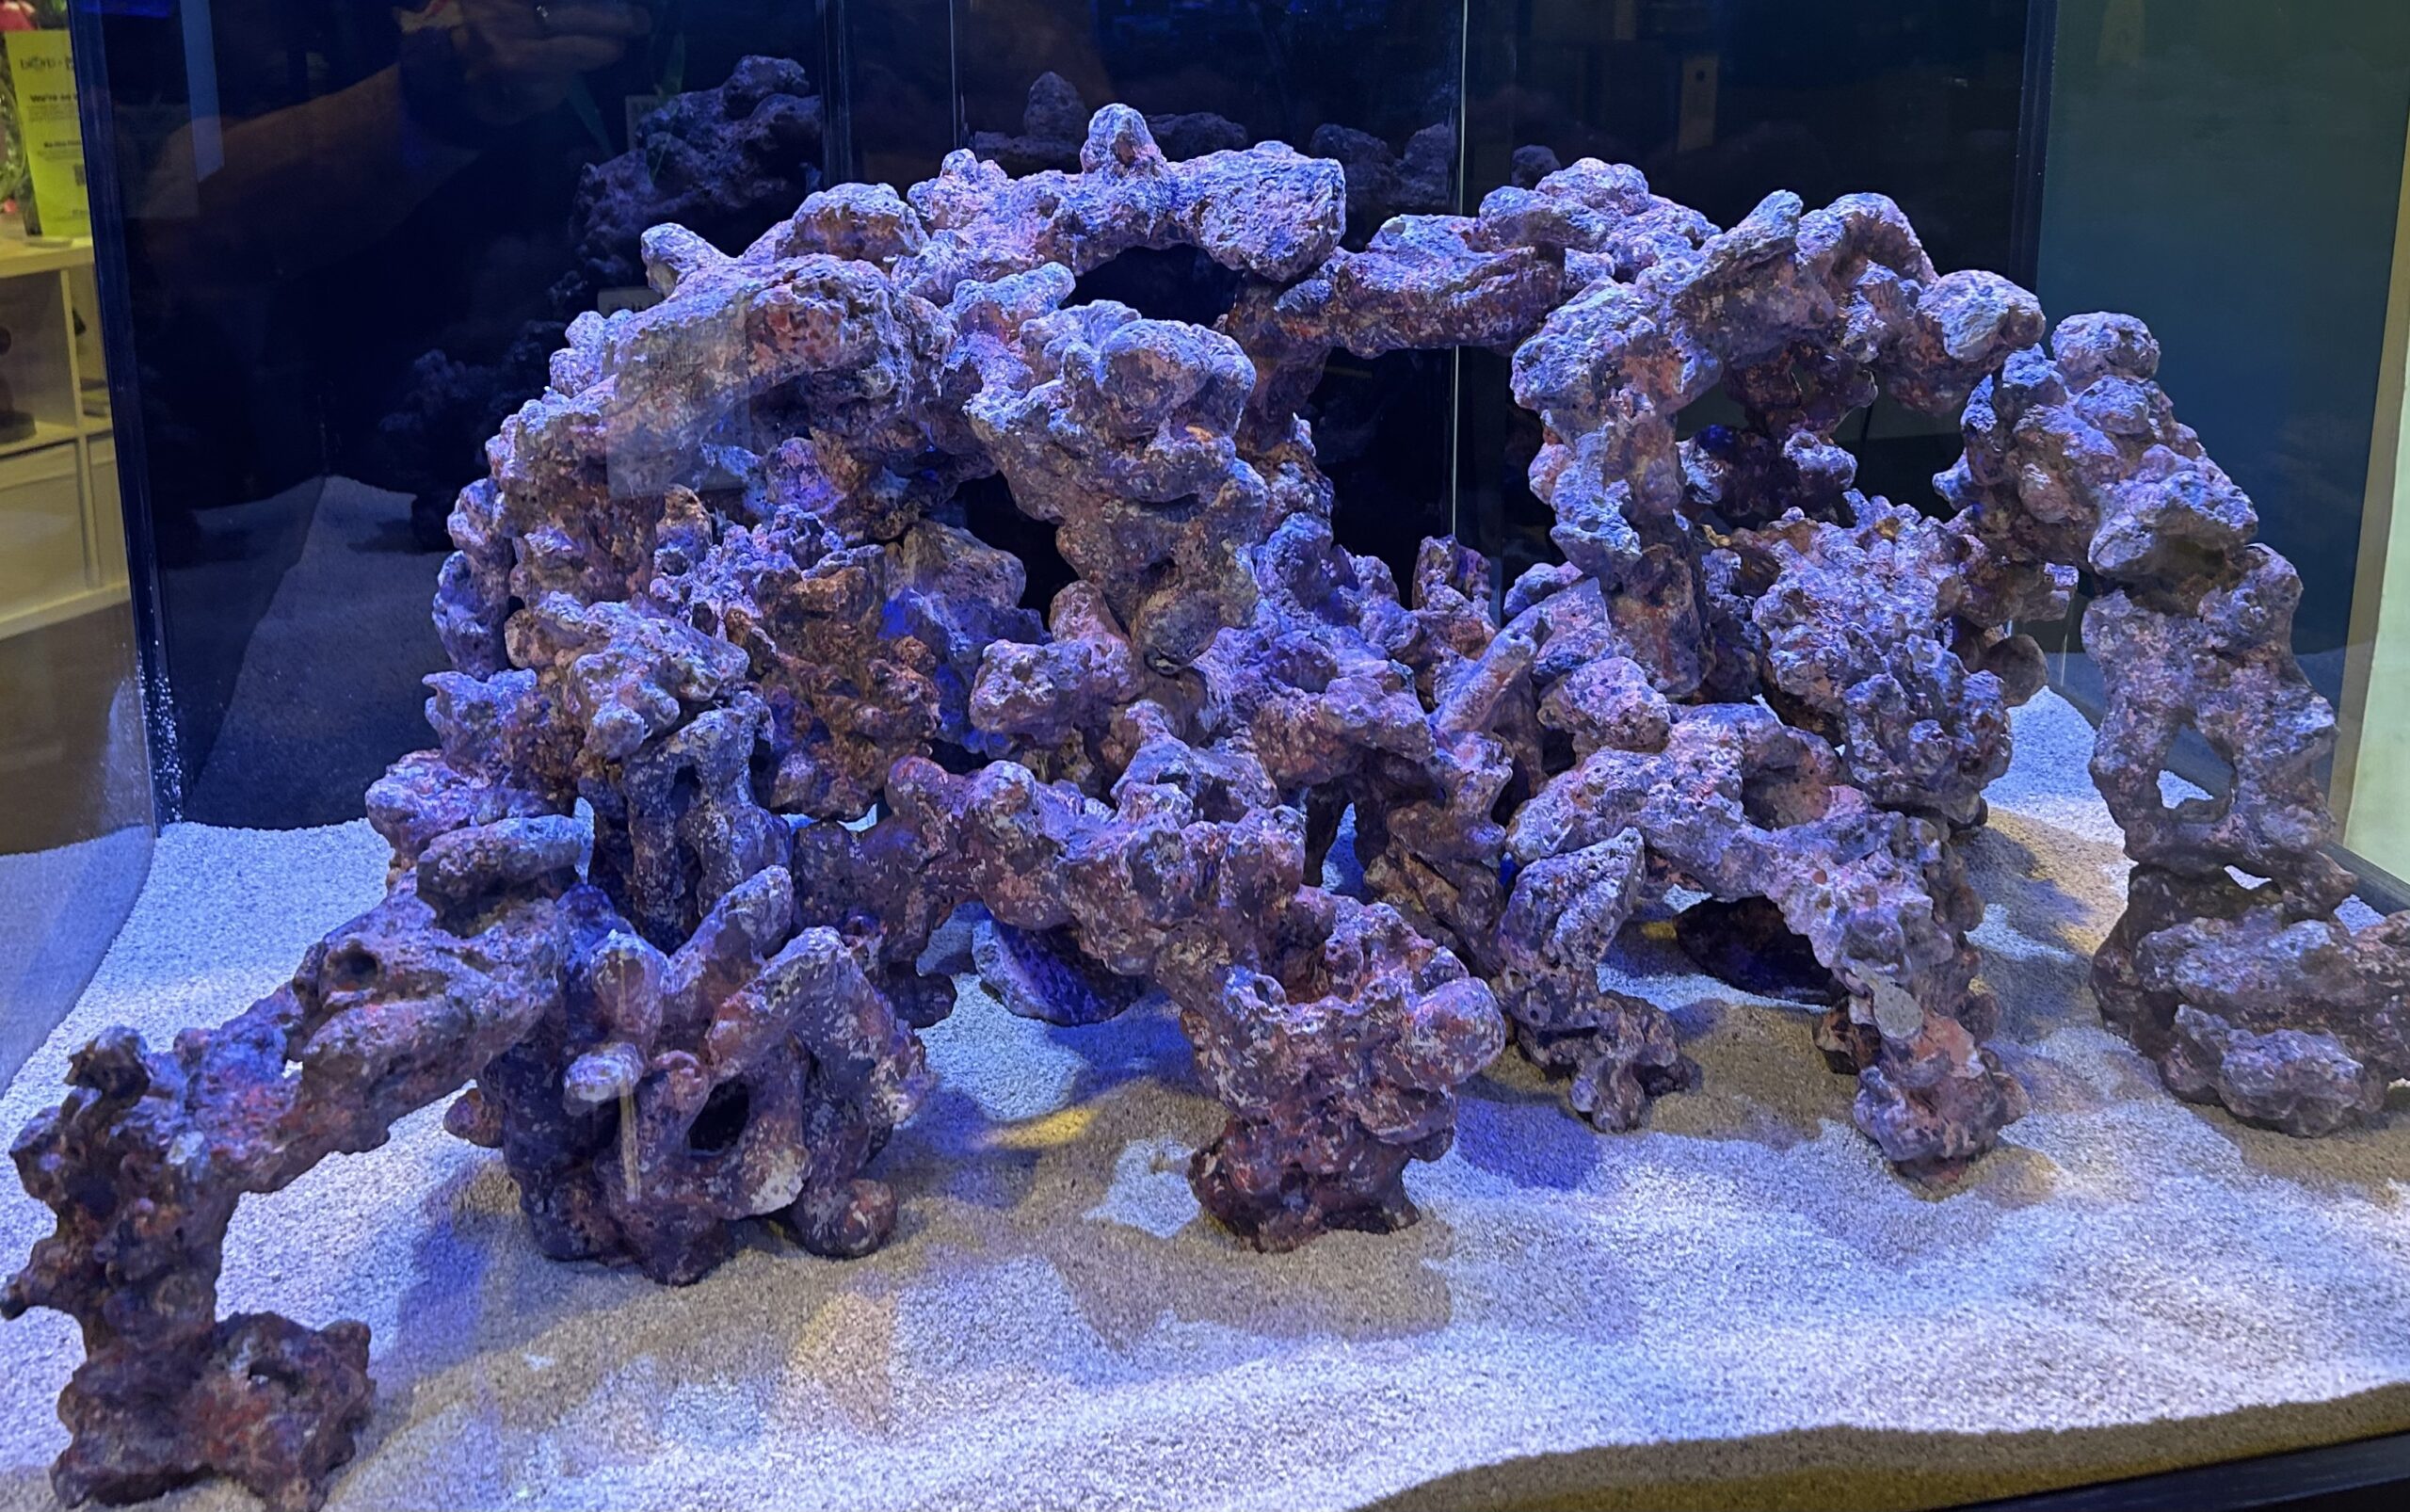
It also needs to be taken into account that over time as corals grow they will fill in more space and thus reduce flow, so if inadequate flow is occurring from the start of an aquacape it will only get worse over time. So again, adequate open space needs to occur in a well-designed aquacape.
When building the aquascape there are many methods for getting the rock to fit into the desired structure. As mentioned the rock can be epoxied together, but it is also possible to use rods, zip ties, or pipes as part of the structure. For the past twenty years, I have built my aquascapes from a base of cured cement walking pads into which fiberglass rods are drilled and onto which drilled pieces of live rock are placed. The pads act as a strong heavy base and the live rock can then be placed so that it is oriented in different directions, which allows for overhangs, caves, and bridges to be easily constructed.
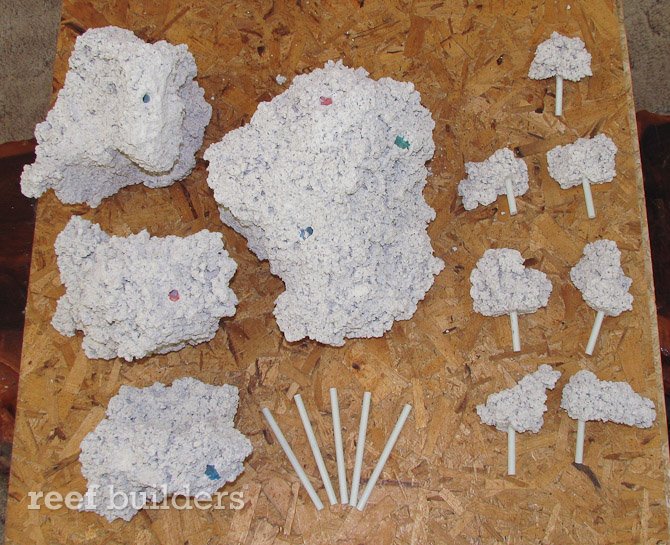
From this base, other rocks can be attached via cable ties, which also help increase the strength and decrease the likelihood of rocks falling. PVC tables or structures can also be easily built and live rock placed on them to produce open spaces behind the rock. Regardless of which is used, they both reduce the need for excess rock and for too much rock to be placed on rock.
Once all of these details have been considered and put into practice, I suggest again that the aquascape be constructed outside of the tank before it is placed in the tank. A piece of cardboard white paper should be laid out and the size of the tank drawn over them. Then the desired structure can be drawn on this then the live rock can be laid out on top to match the diagram so that it can be seen if it is practical and structurally sound. The placement of the overflow, returns, and powerheads can also be drawn on this to determine the best way to hide them.
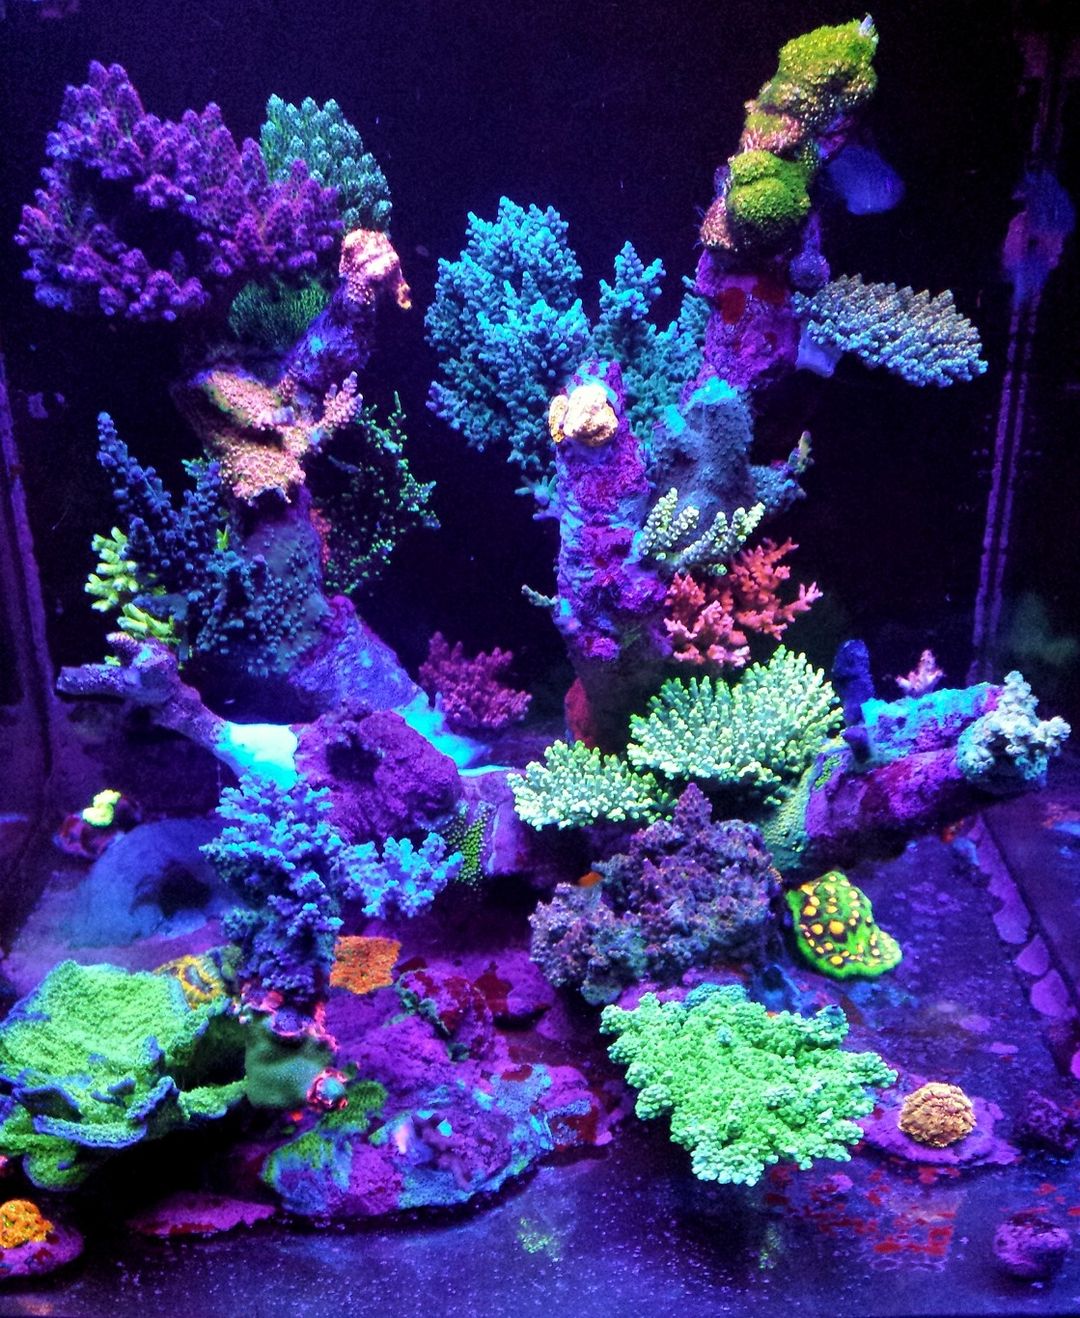
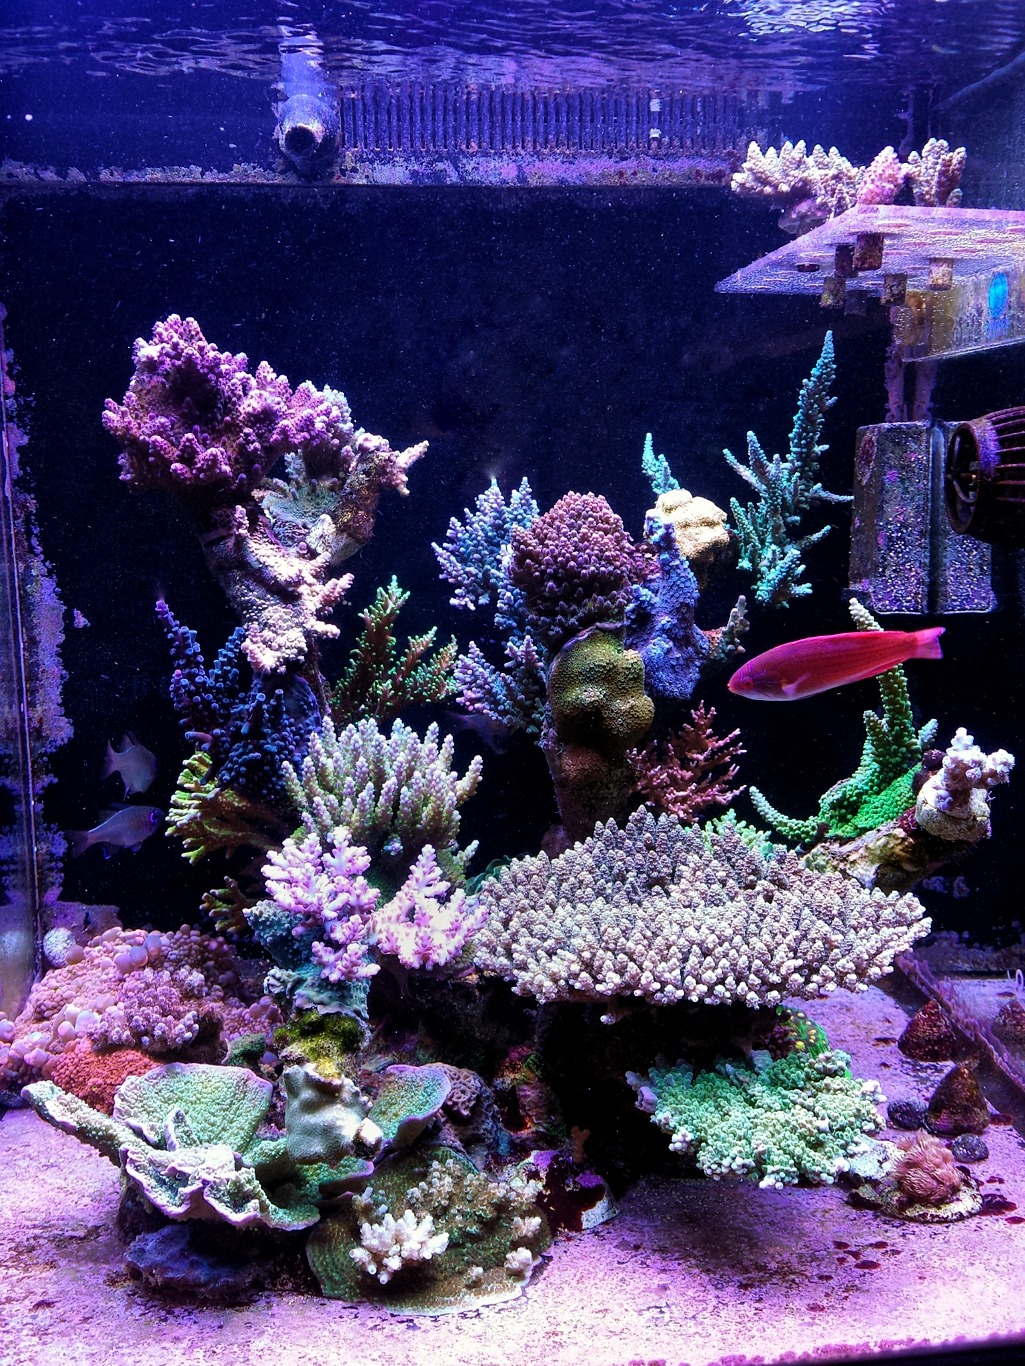
I should note that for the most part, the aquascape should be far enough away from the glass to allow for easy cleaning of the glass. If this is not taken into account, over time the glass may become encrusted with coralline algae or even corals, so this will inhibit viewing and possibly become a dead spot.
Just as you want space on the sides of the aquascape, there should also be space at the top of the aquascape to allow for coral growth. While it may look empty when first constructed, over time the corals will grow to the surface so it is easier to build in space up front rather than having to break the structure down once the corals have reached the surface.
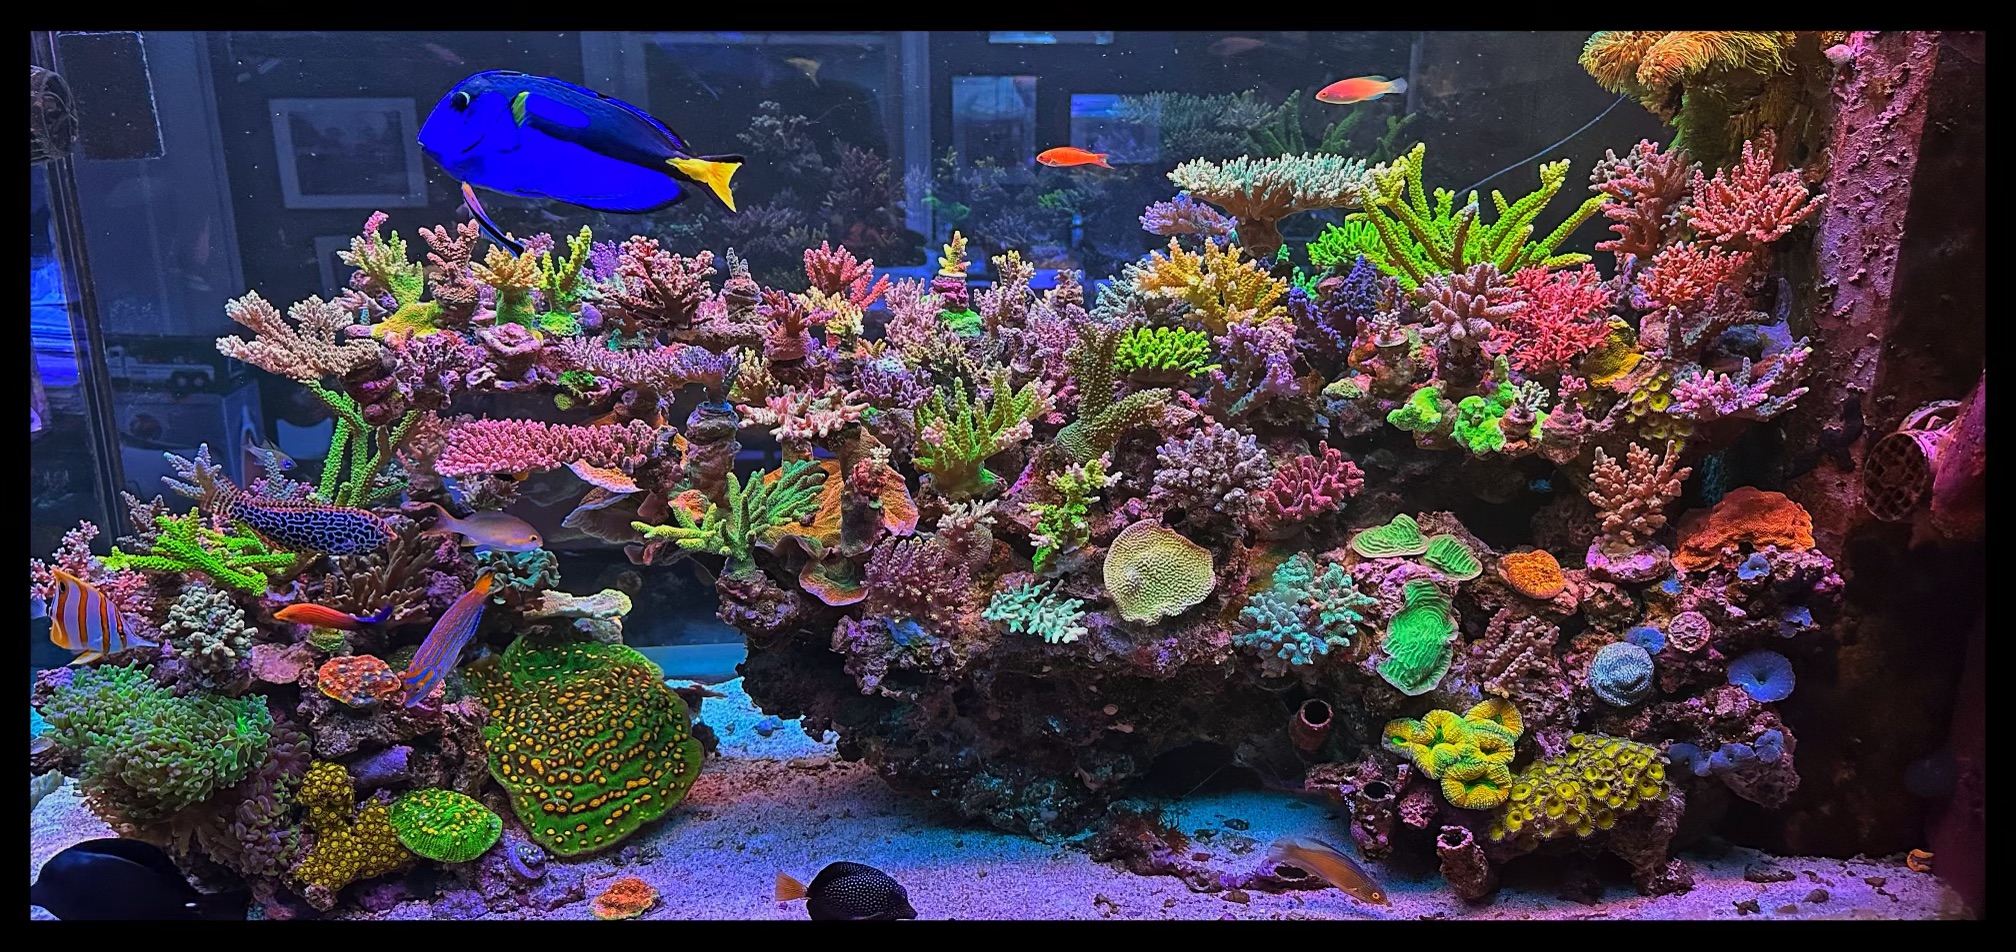
Aquacaping a new tank is one of the fun aspects of setting up a new tank, especially when done properly. It should not be uniform looking but instead should contain lots of contrasts and differing structures. The rocks used should also vary in size and shape but as good as it may look when built, it will only look better once the corals are in place. And this is what needs to be taken into account most: the aquascape is the home for our fish and corals so it needs to be well-designed for them over us.
As mentioned at the start, look for inspiration from other successful tanks and use what others have used to be successful. But most importantly have fun and bring in other family members to help with the design, as they will be looking at it too.


