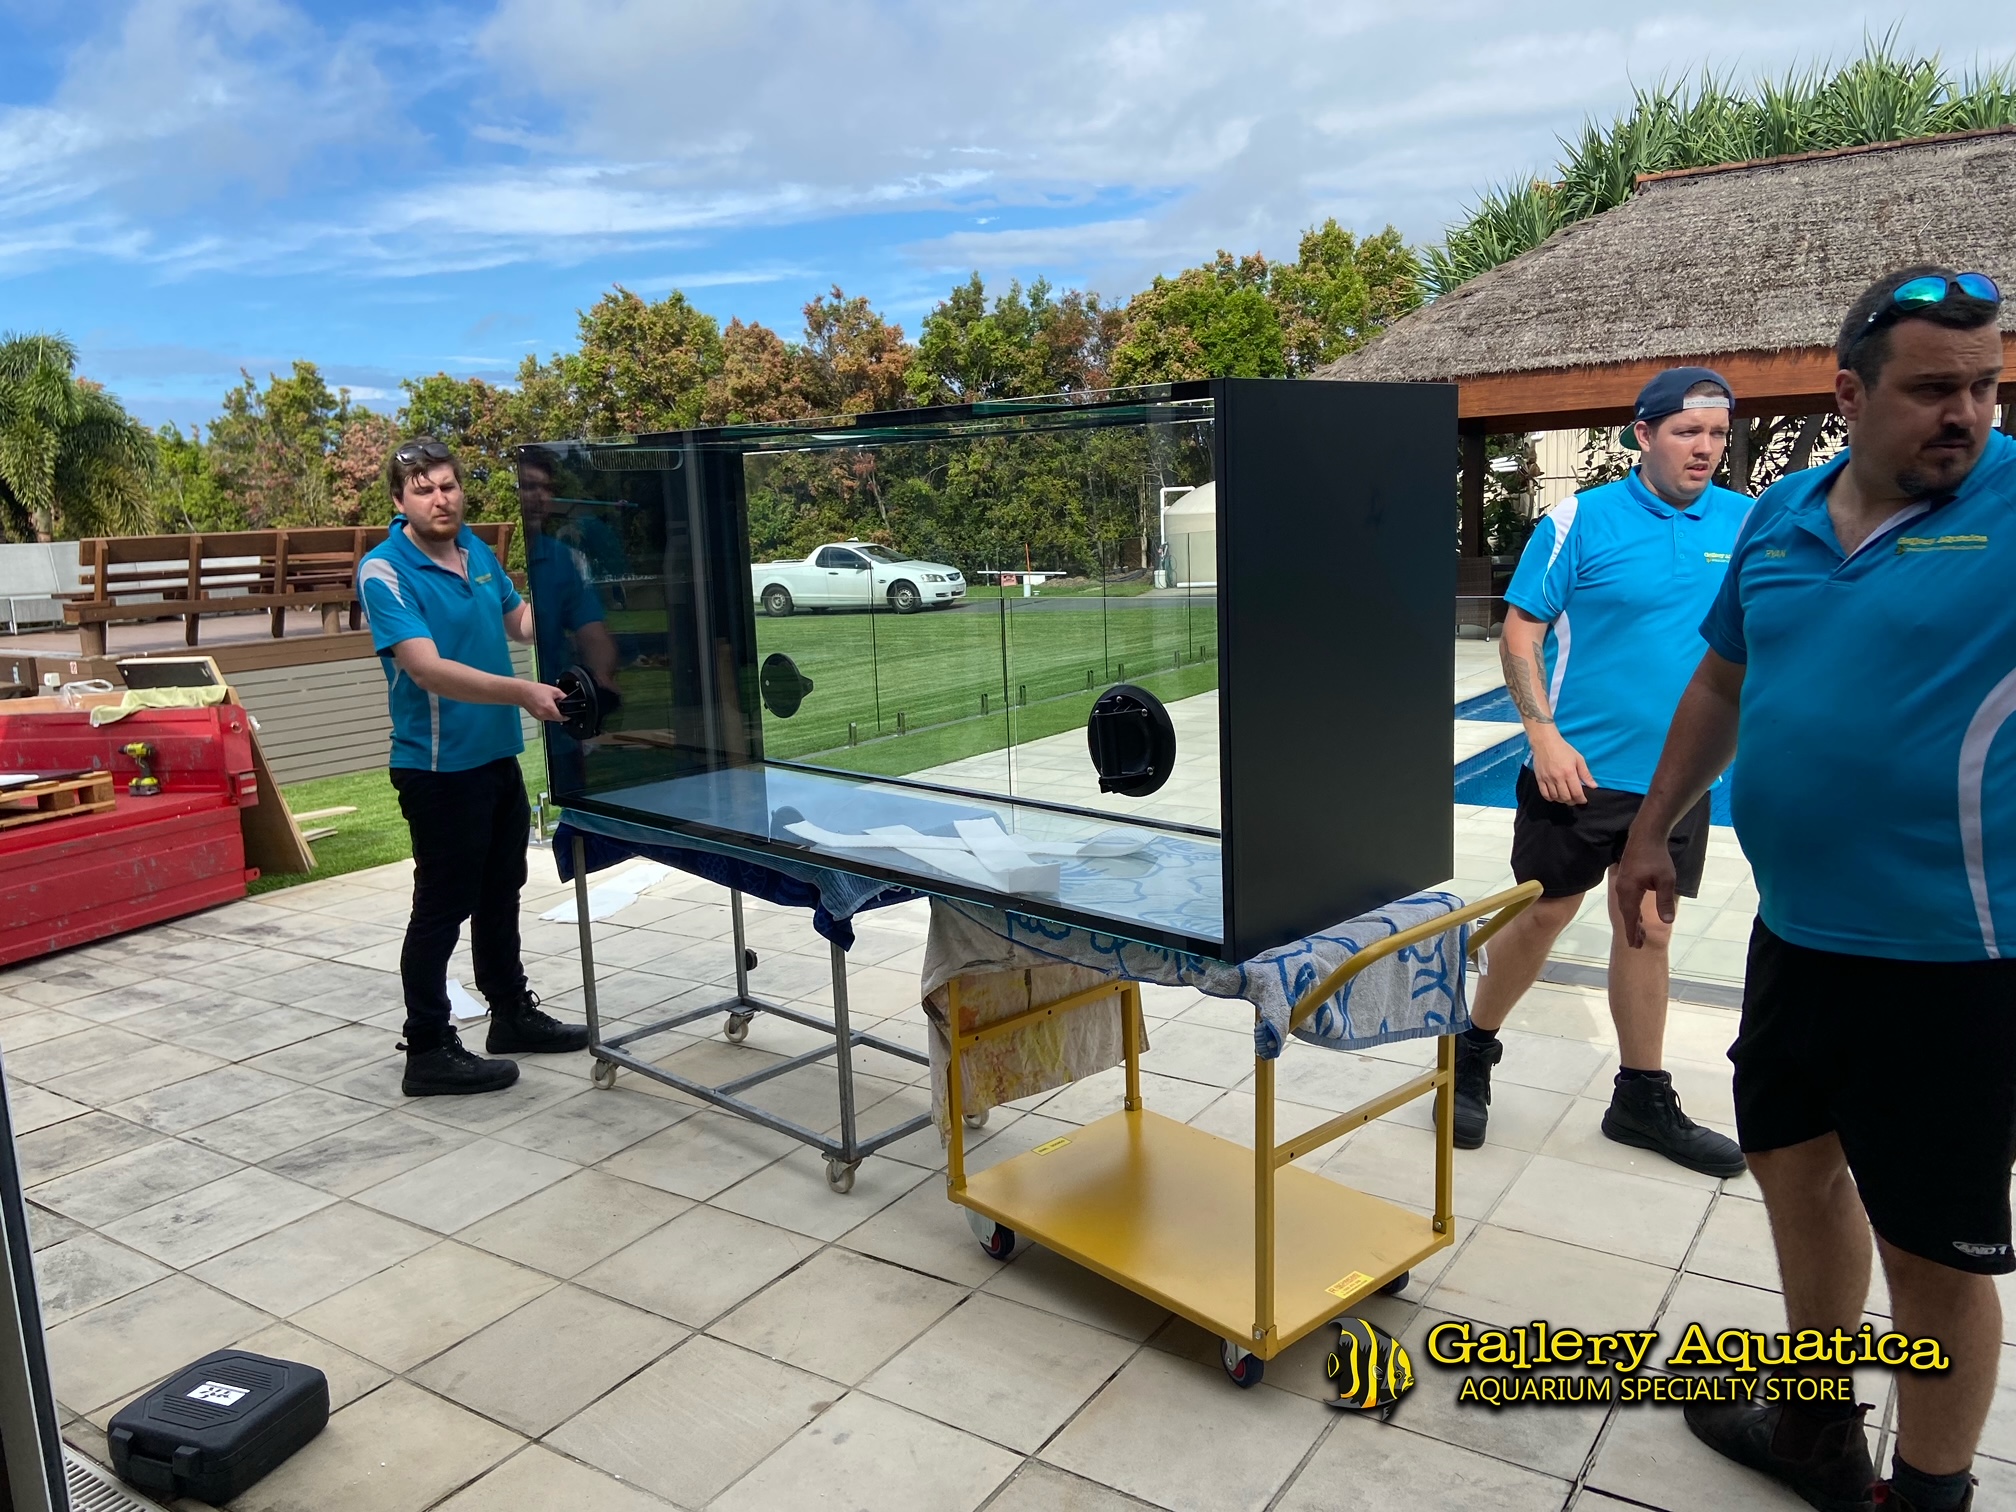
One of the most dreaded things in life is moving house, factor in moving an aquarium, and stress levels peak. Here’s an informative guide that might help you have a casualty and stress-reduced day when the time comes to move house.
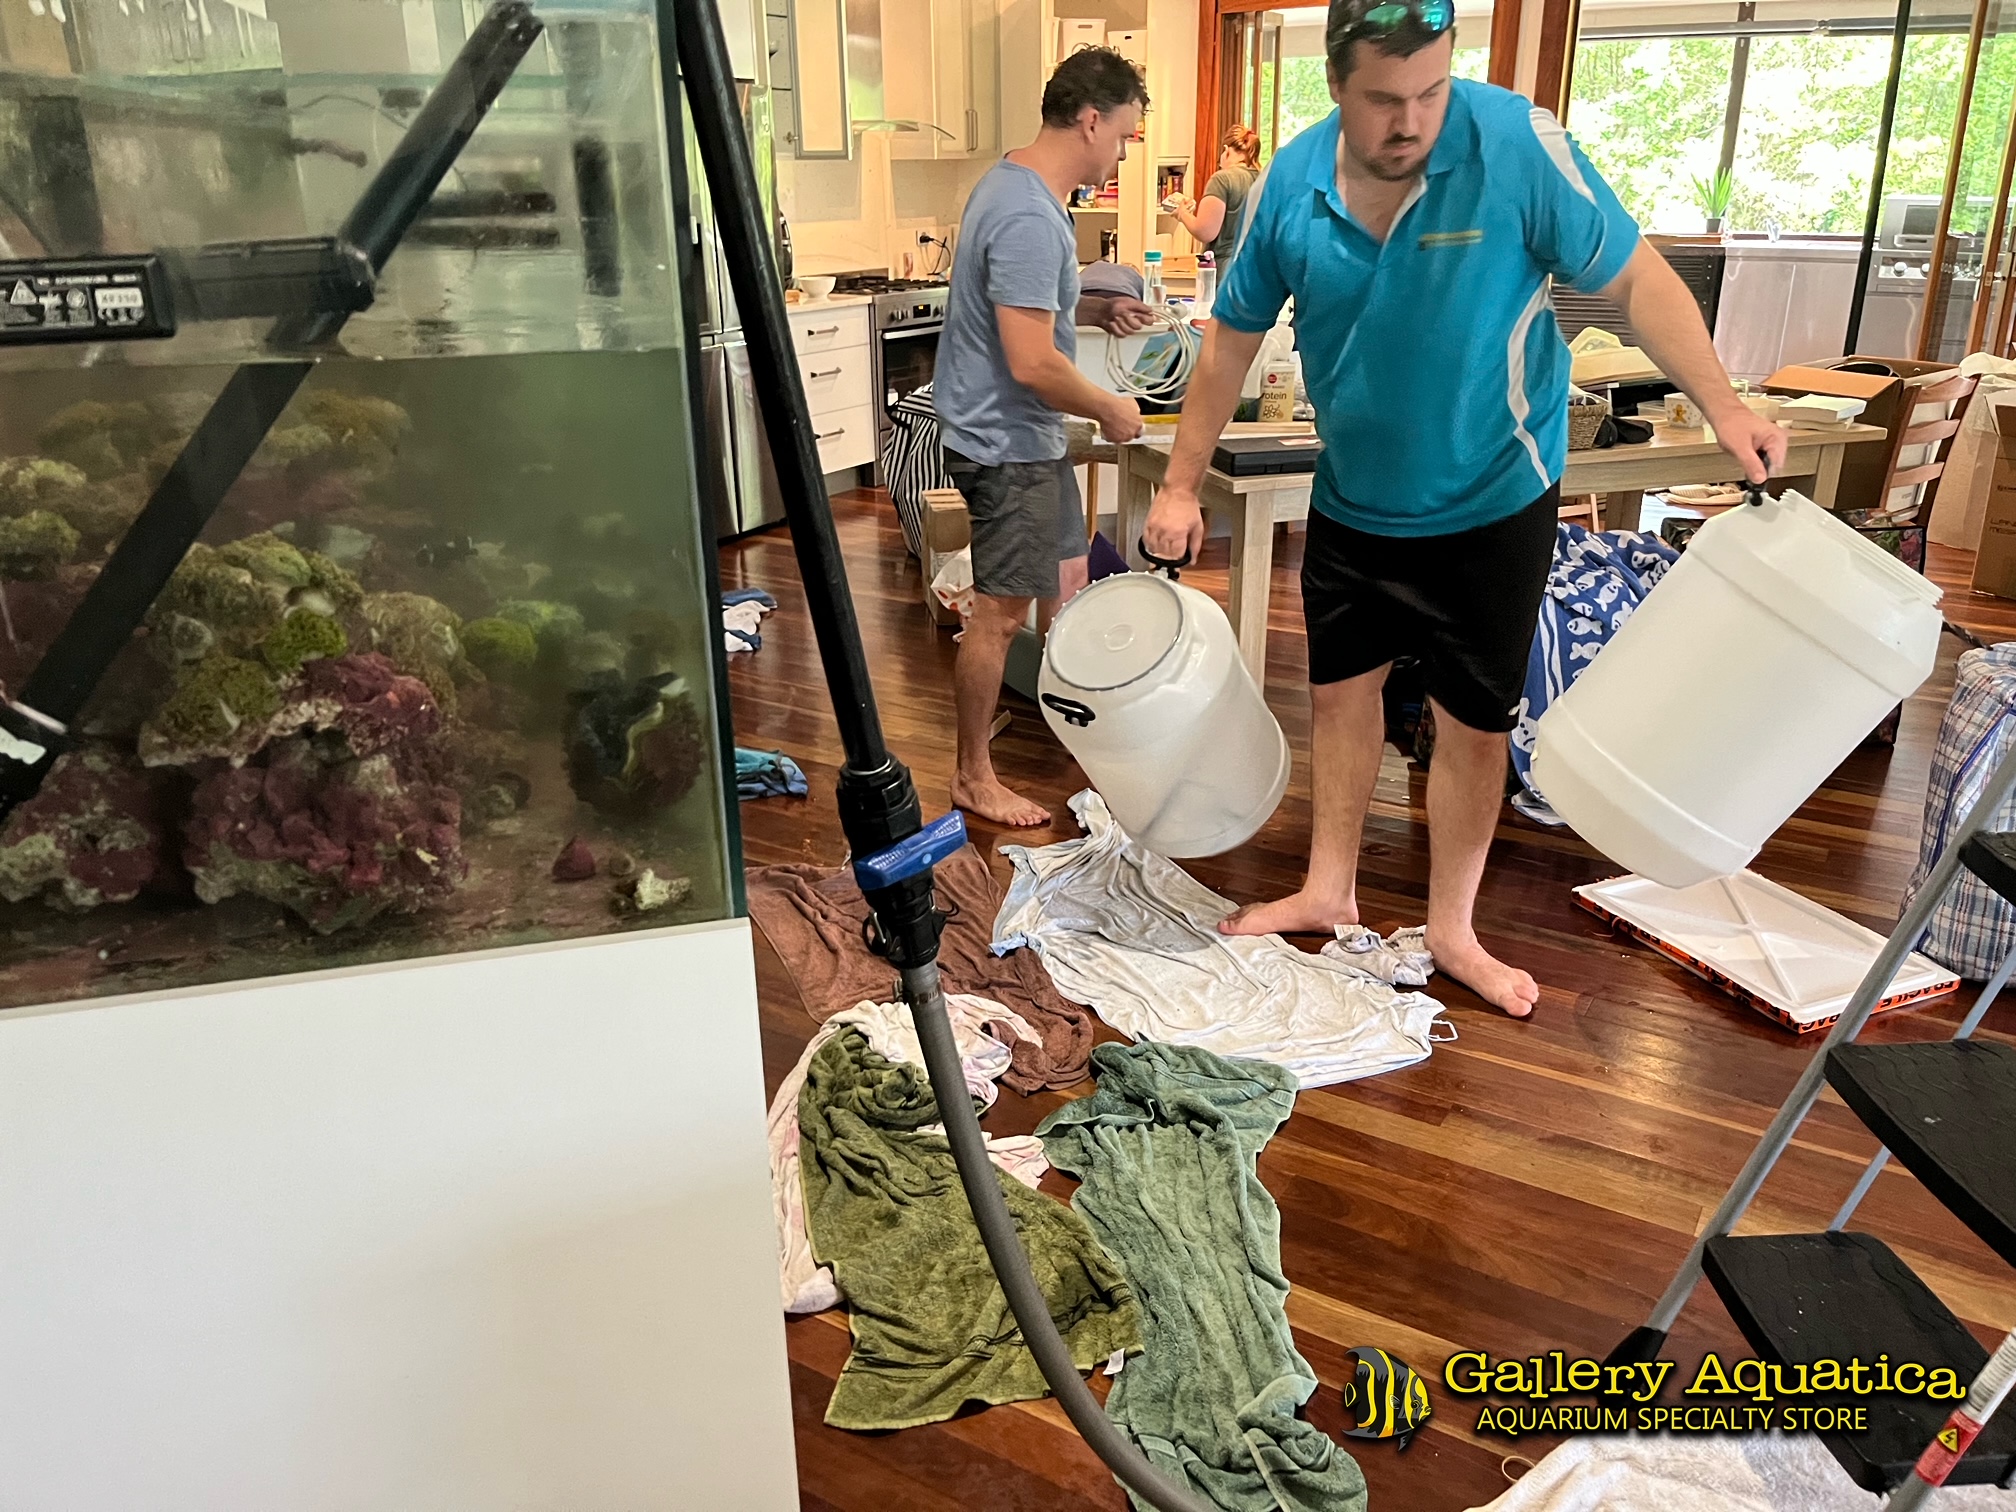
Things to consider and have ready when moving an aquarium
- Make a plan of attack – use or adapt this plan to suit your situation.
- Try to make the move on a day that it’s not raining or excessively hot to avoid accidents or loss of livestock.
- Make sure the new location for the tank is big enough and has access to power points.
- Have the vehicle or trailer measured up ready and make sure it all fits.
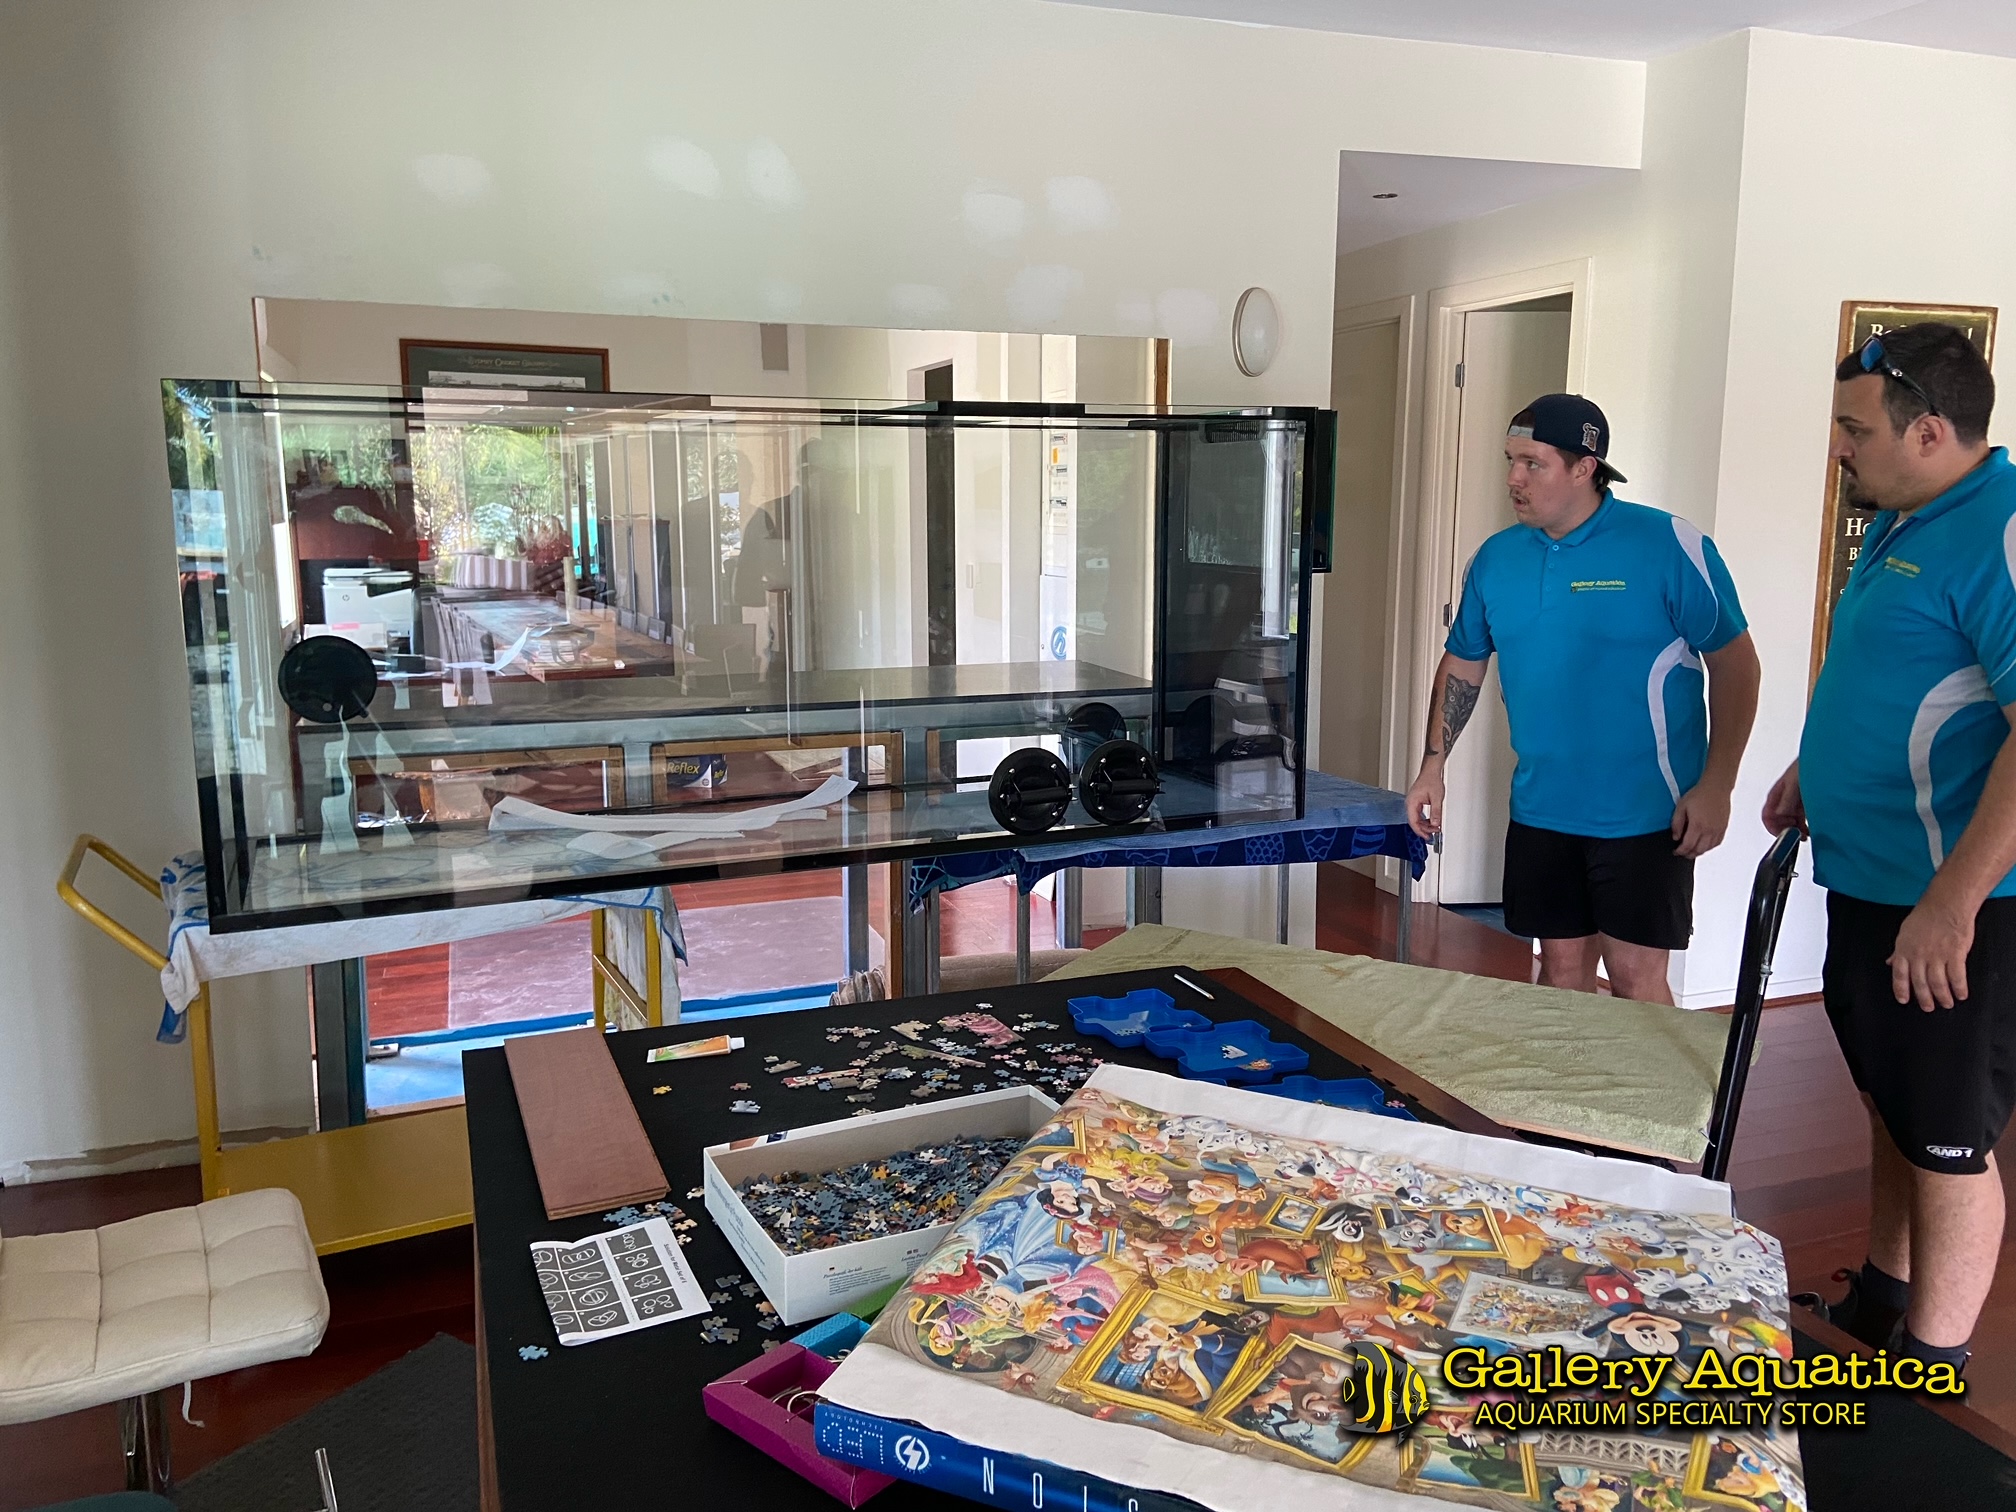
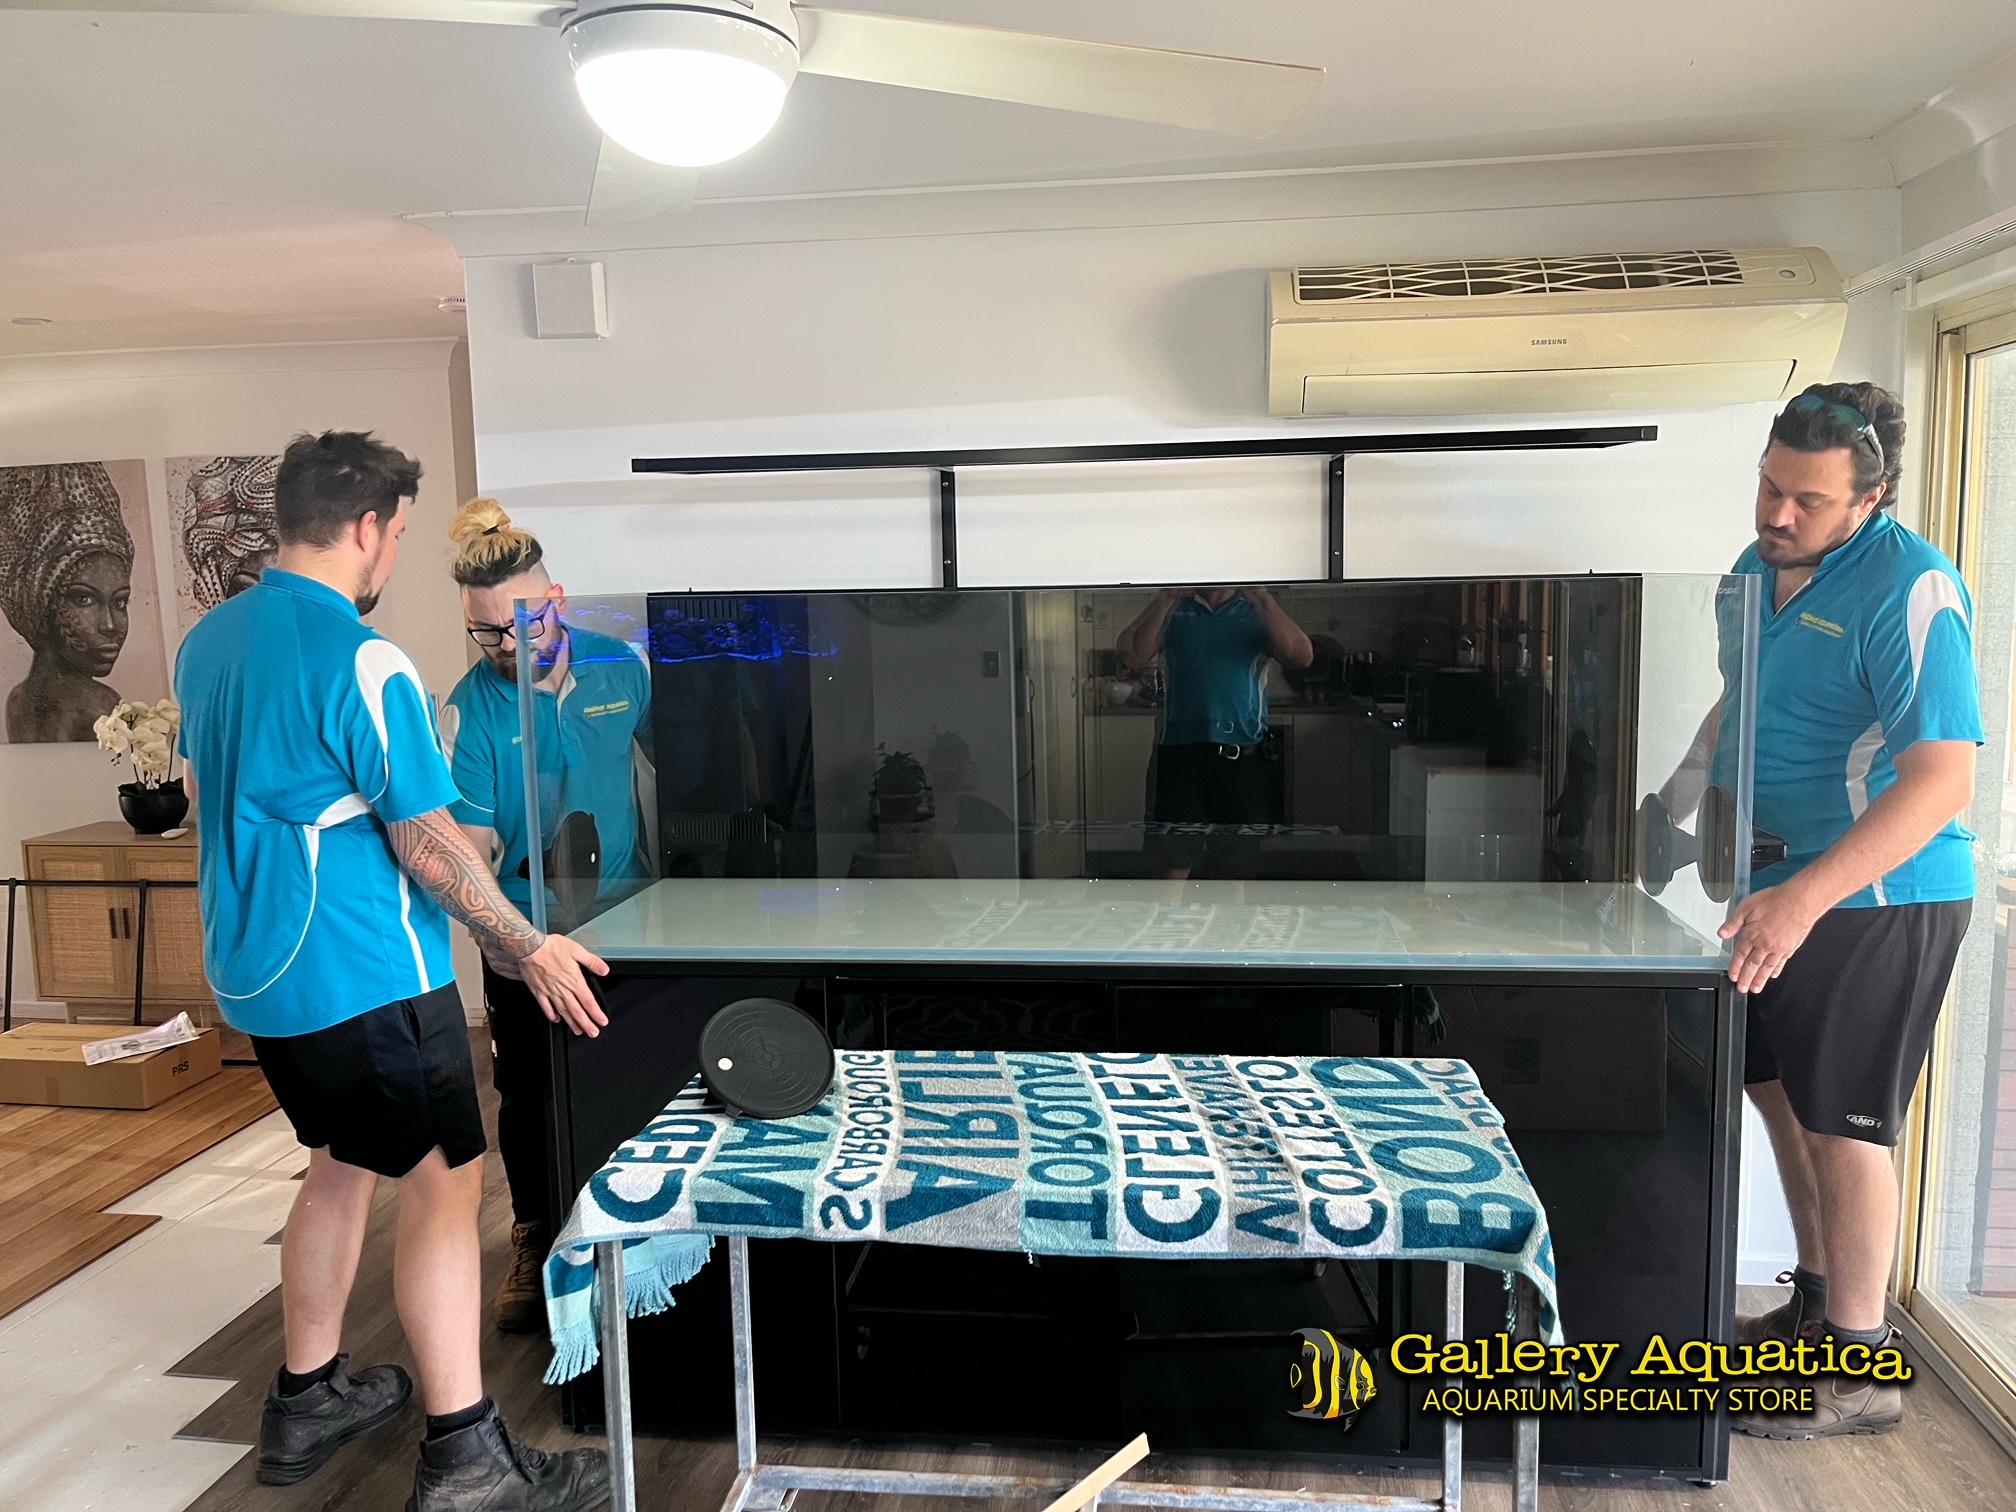
- A moving trolly, dolly boards, and glass suckers will be very handy. You may even be able to loan some glass suckers from your LFS.
- A few helpers- lure them in with beers & pizza.
- Blankets and foam sheets to put the tank on.
- Battery air pumps.
- Buckets & drums or coolers/eskys with lids (you can never really have too many, more containers means you can spread the livestock out more)
- Towels – because you will make a mess.
- Dr Tim’s or equivalent nitrifying bacteria will be a lifesaver in case of an imminent crash.
- Beers for the helpers.
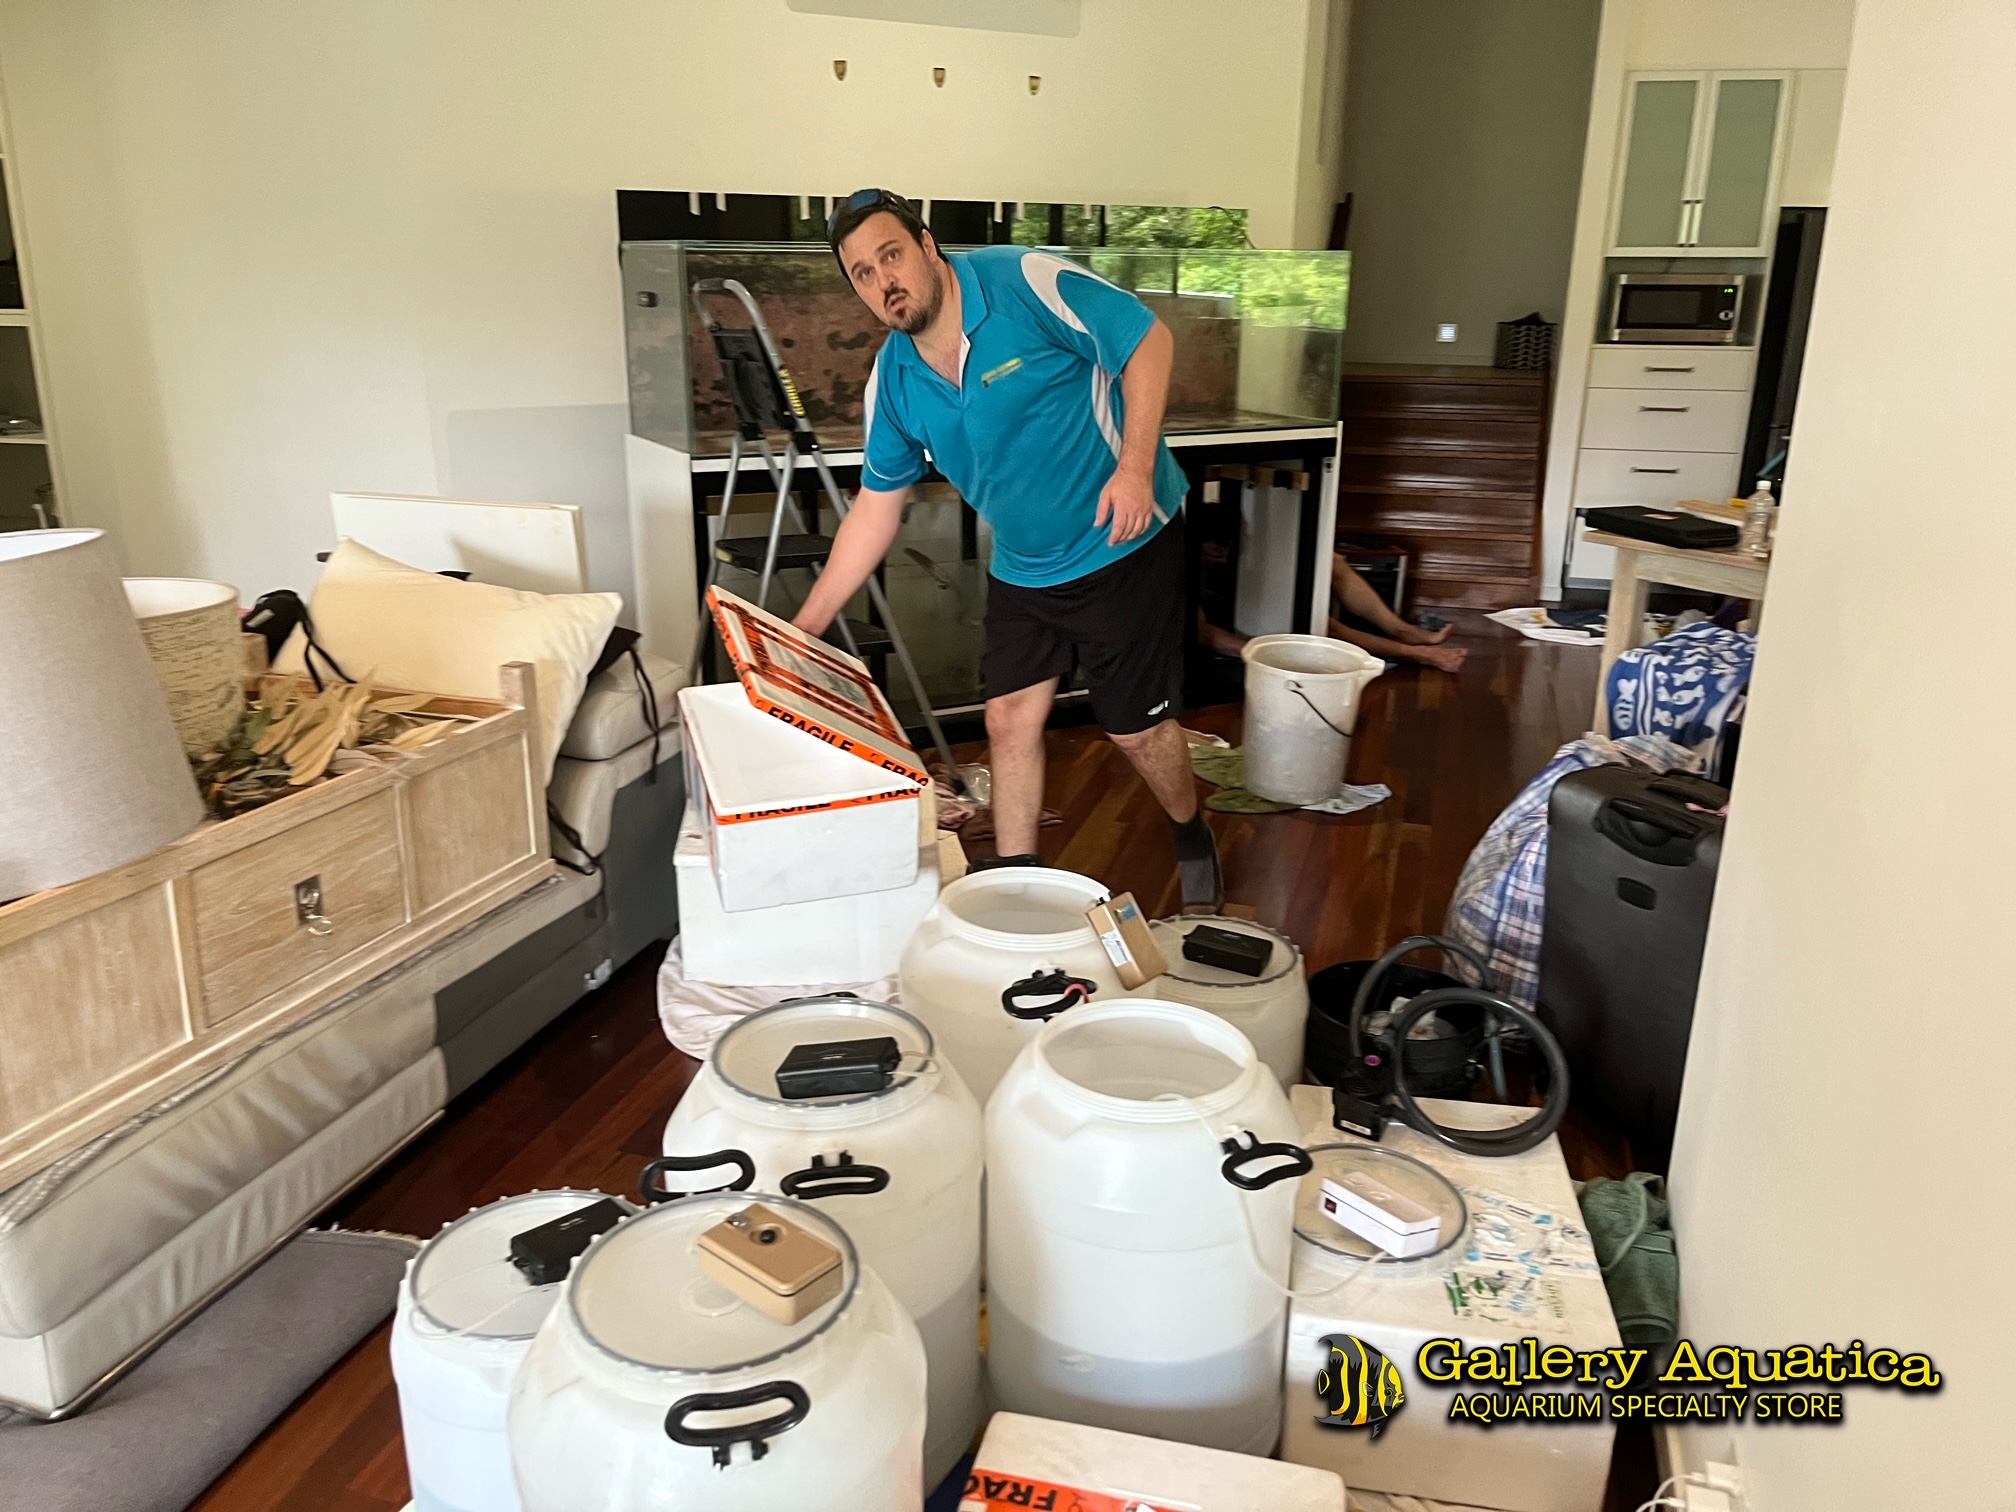
Step-by-step guide to moving a reef aquarium
1. Consider having the tank move done last for that sigh of relief when it’s all over. Plus you’ll be moved in and can watch the system more closely as it begins to stabilize again.
2. Get an IBC or suitable large water storage container delivered to the new address and have it filled with seawater or make up artificial water ahead of time. Be sure to have enough water to fill the aquarium twice over or have enough RO/DI and salt on hand to mix more water for emergency changes. Have a pump and hose ready to plug in and fill the tank again. Having the water at the same salinity, temperature, and parameters as the system you are moving will be ideal.
3. Start by removing all electrical equipment and plugging in and setting up the wave makers and air pumps on the buckets to house your coral & fish. Then drain some of the aquarium water into enough drums to accommodate your corals and fish, make sure this water is clean and not stirred up so your fish and corals are happier.
4. If you have biological media in the sump, remove this into a bucket and keep a pump in there to keep it from dying. Remove the sump and have your helpers clean it up ready to install at the new house. Any electrical or other equipment can be removed, cleaned, and taken to the new house.
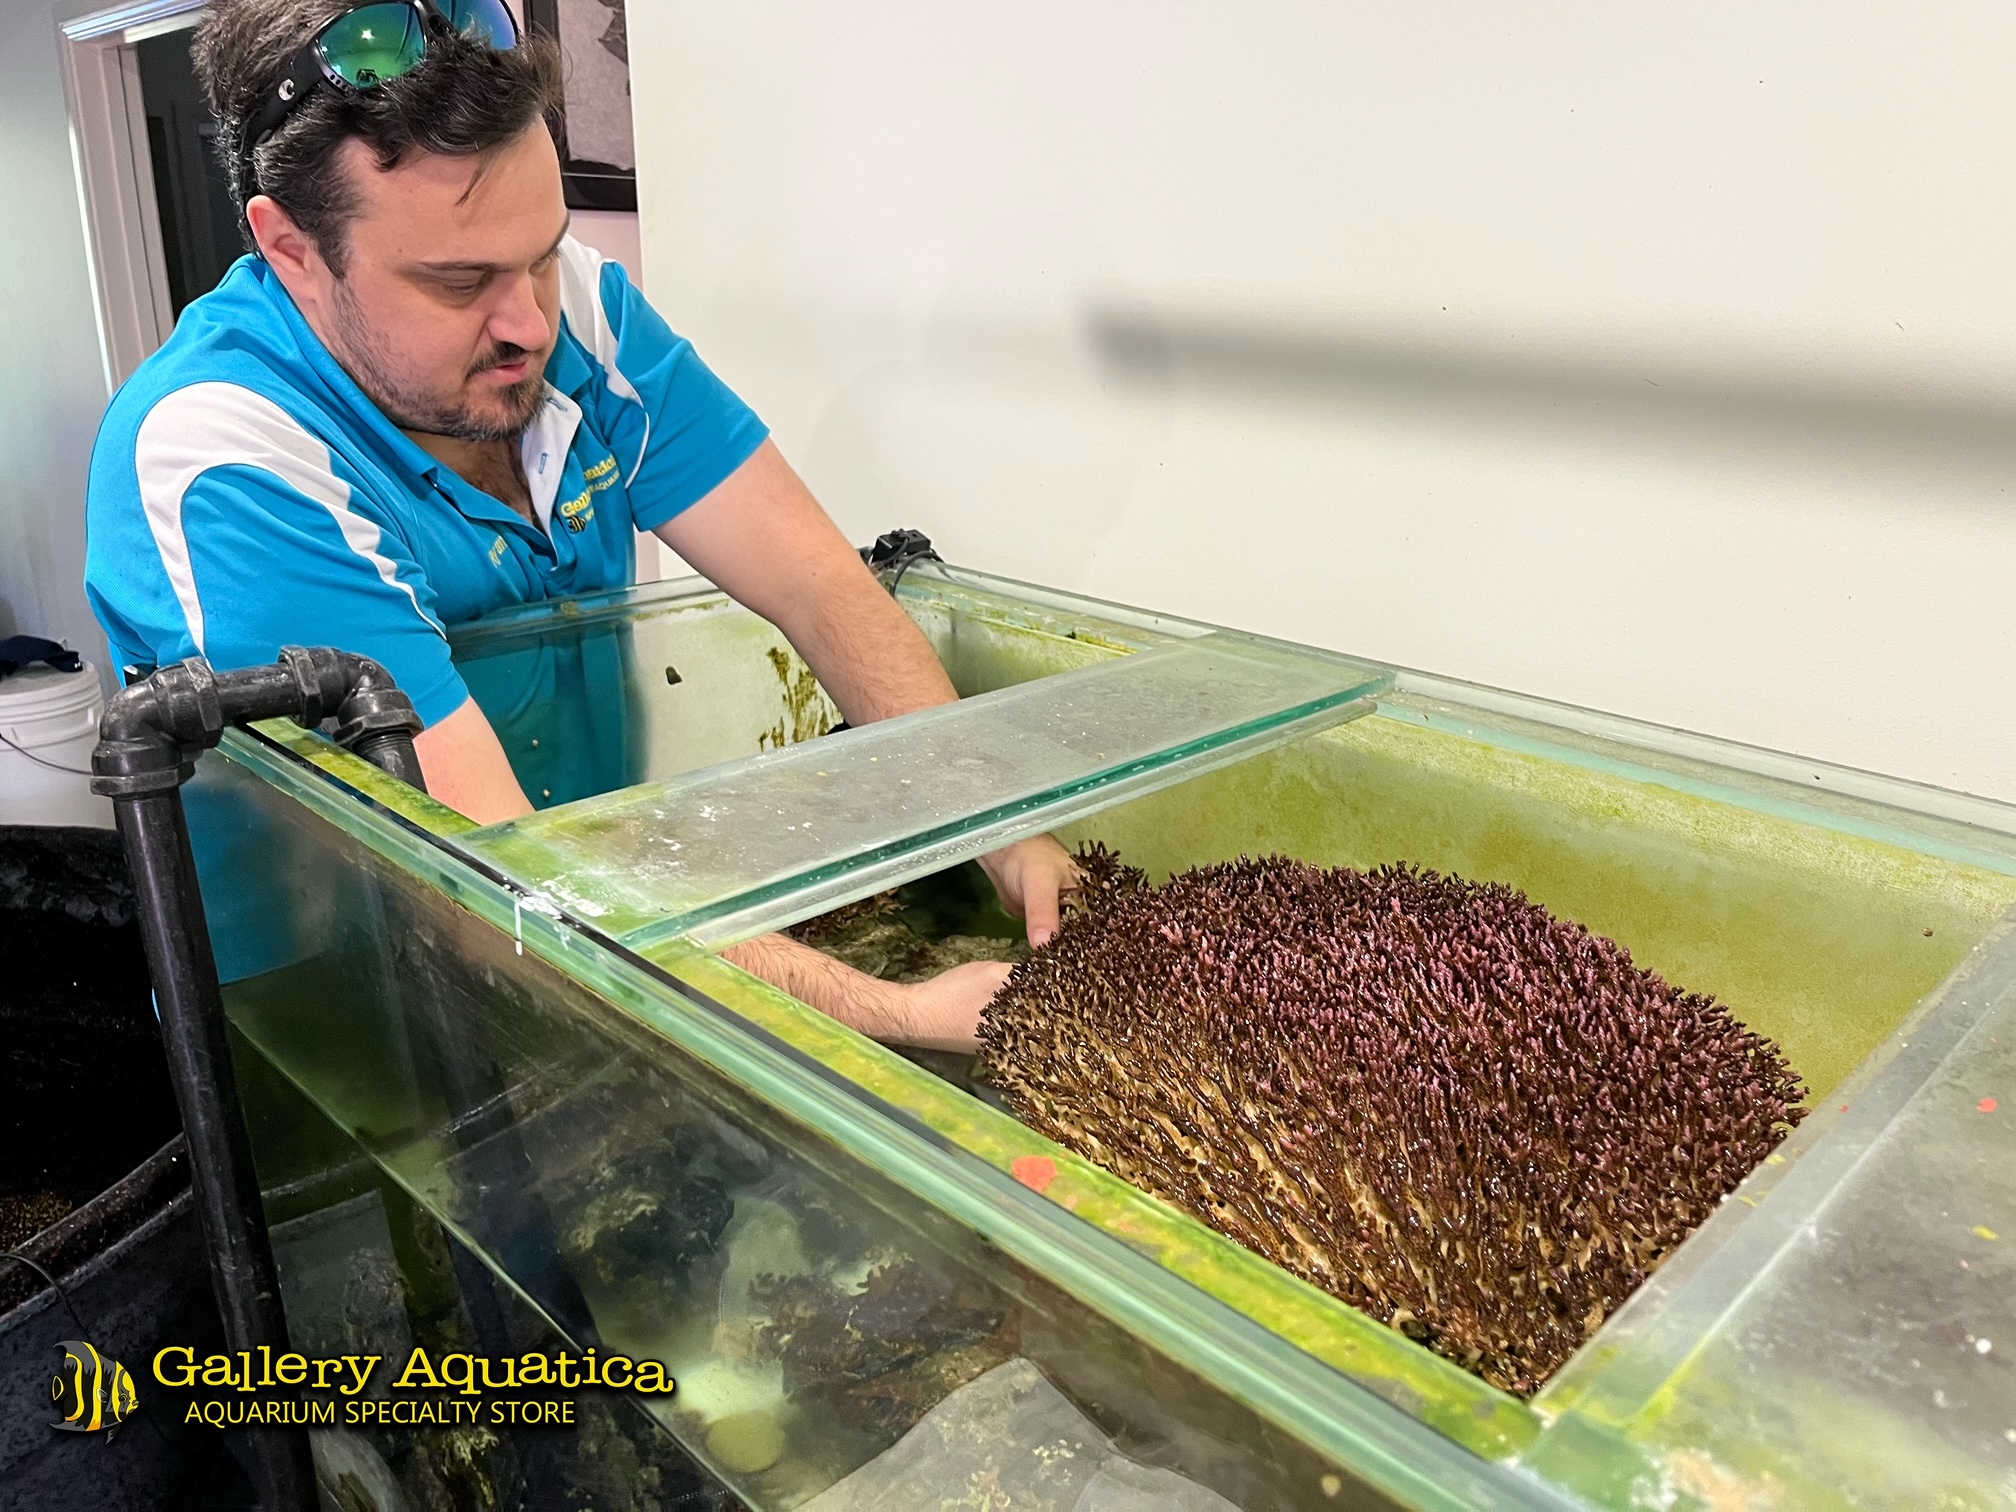
5. Now is a good time to start removing corals. You can wrap most LPS in wet newspaper and store them in a bucket with a little more water to save space, they are going to be fine for at least 12 hours wrapped up. (Scollys don’t like it much but most other LPS corals are fine)
6. Bring out more containers for holding live rock. Drain some more water (that might be getting cloudy now, that’s why you need to get it out for the fish while it’s clean) and begin to remove the live rock structure which should now have minimal corals on it. Keep the rock submerged or wet at all times to avoid any die-off. Live rock can be covered in wet towels for a short time but keep the rocks cool or the bacteria will die off.
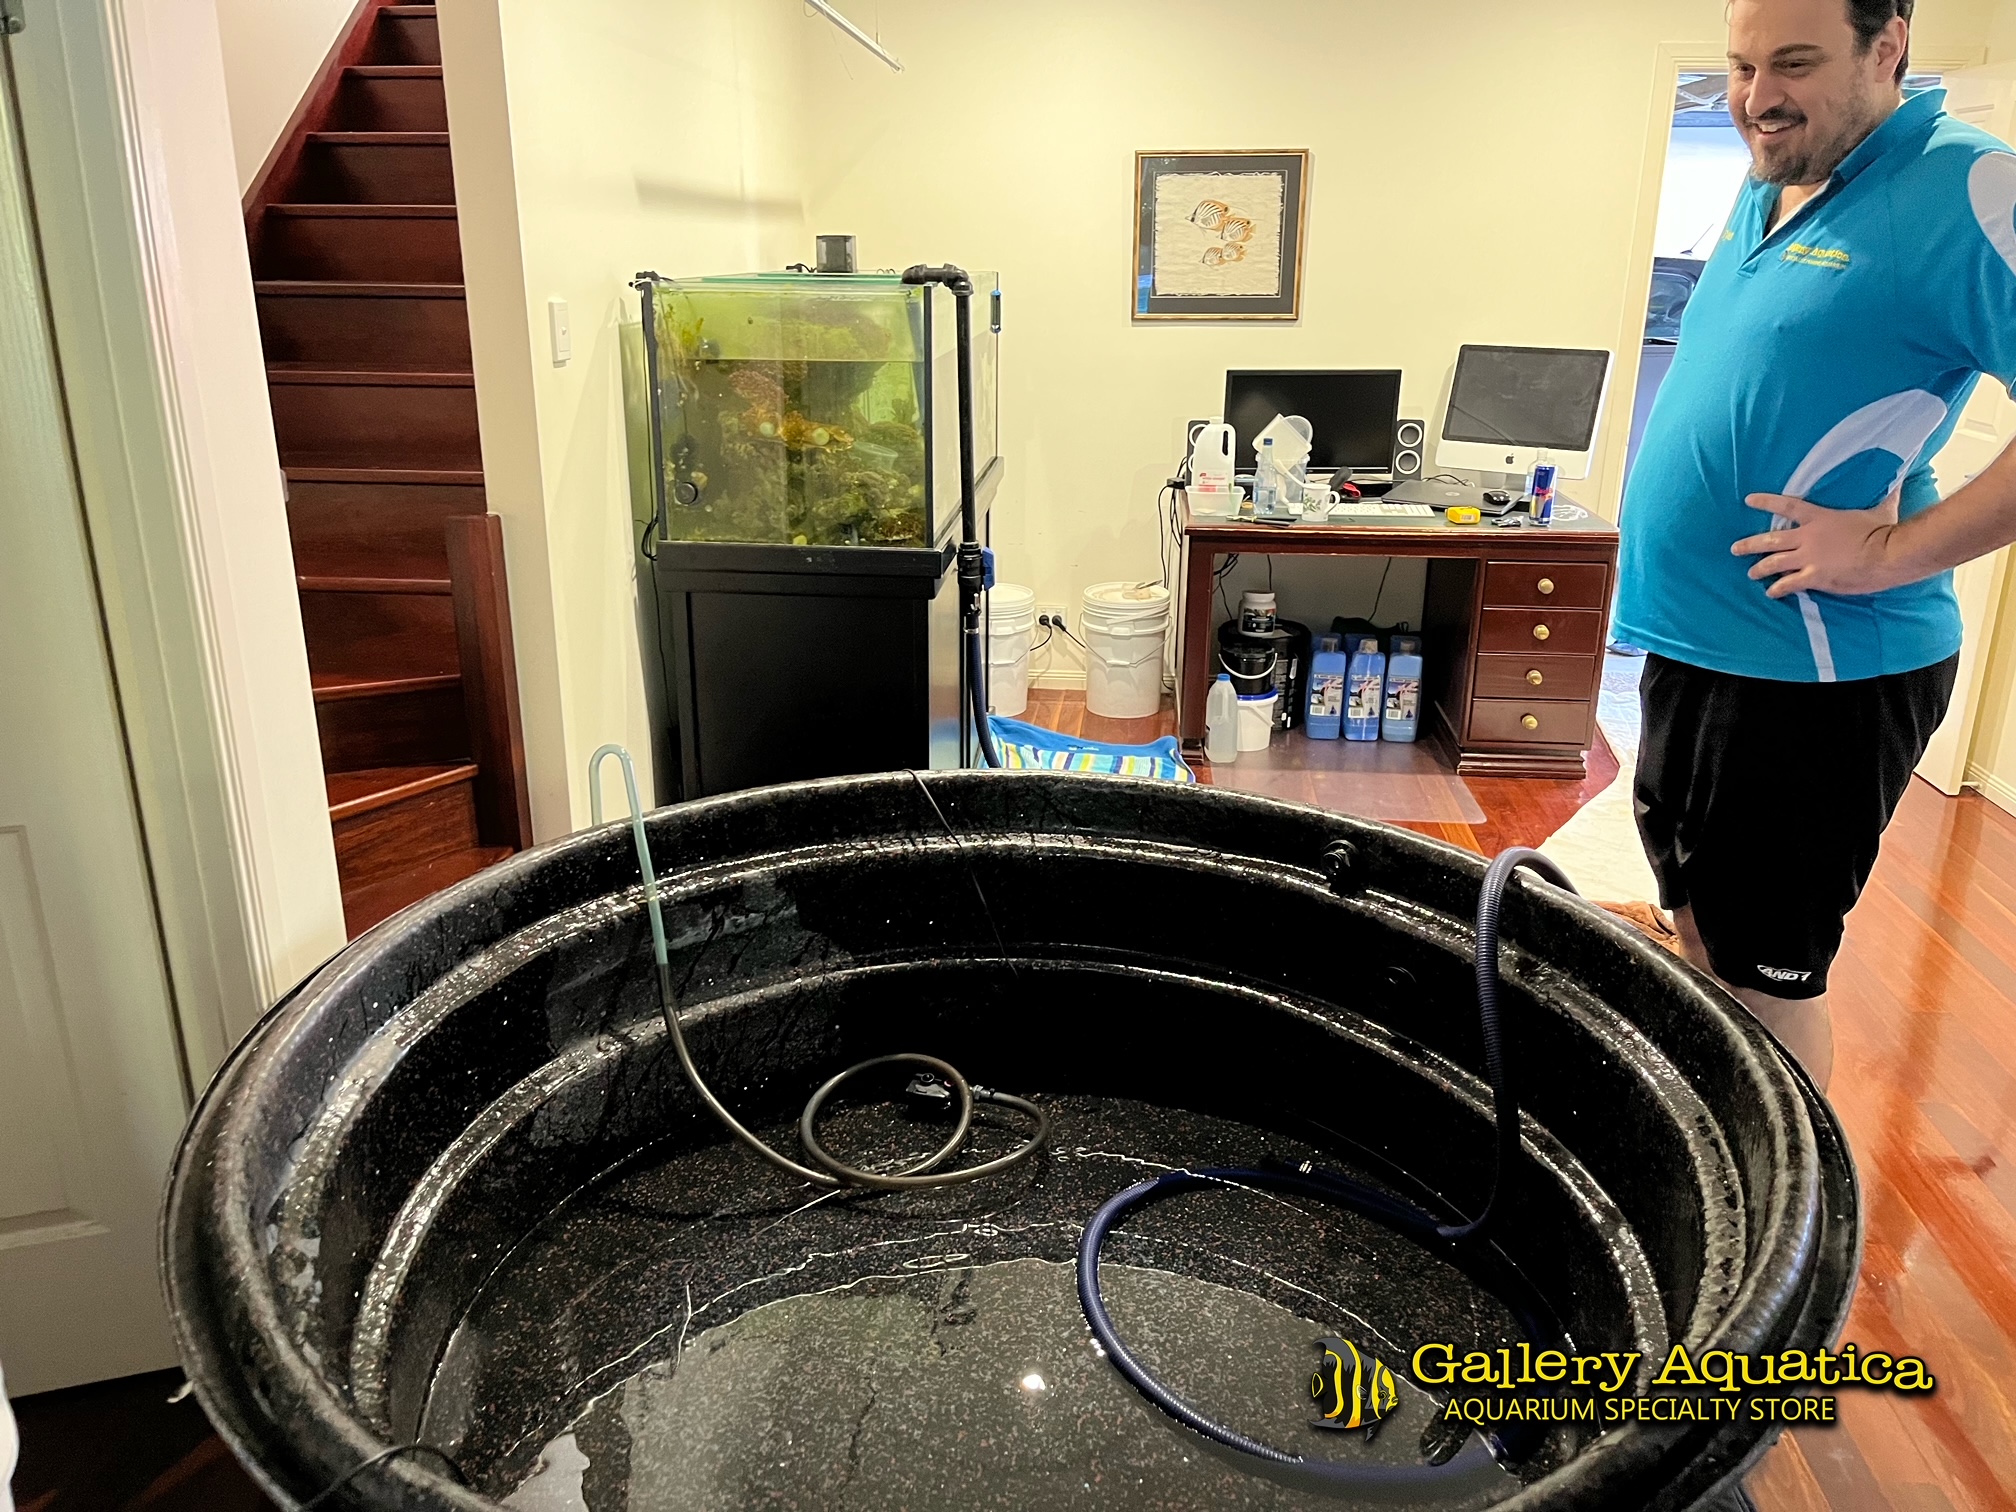
7. You should now just have sand and fish/inverts left. Get them out easily now with no rock or corals and put them in their buckets with airpumps going.
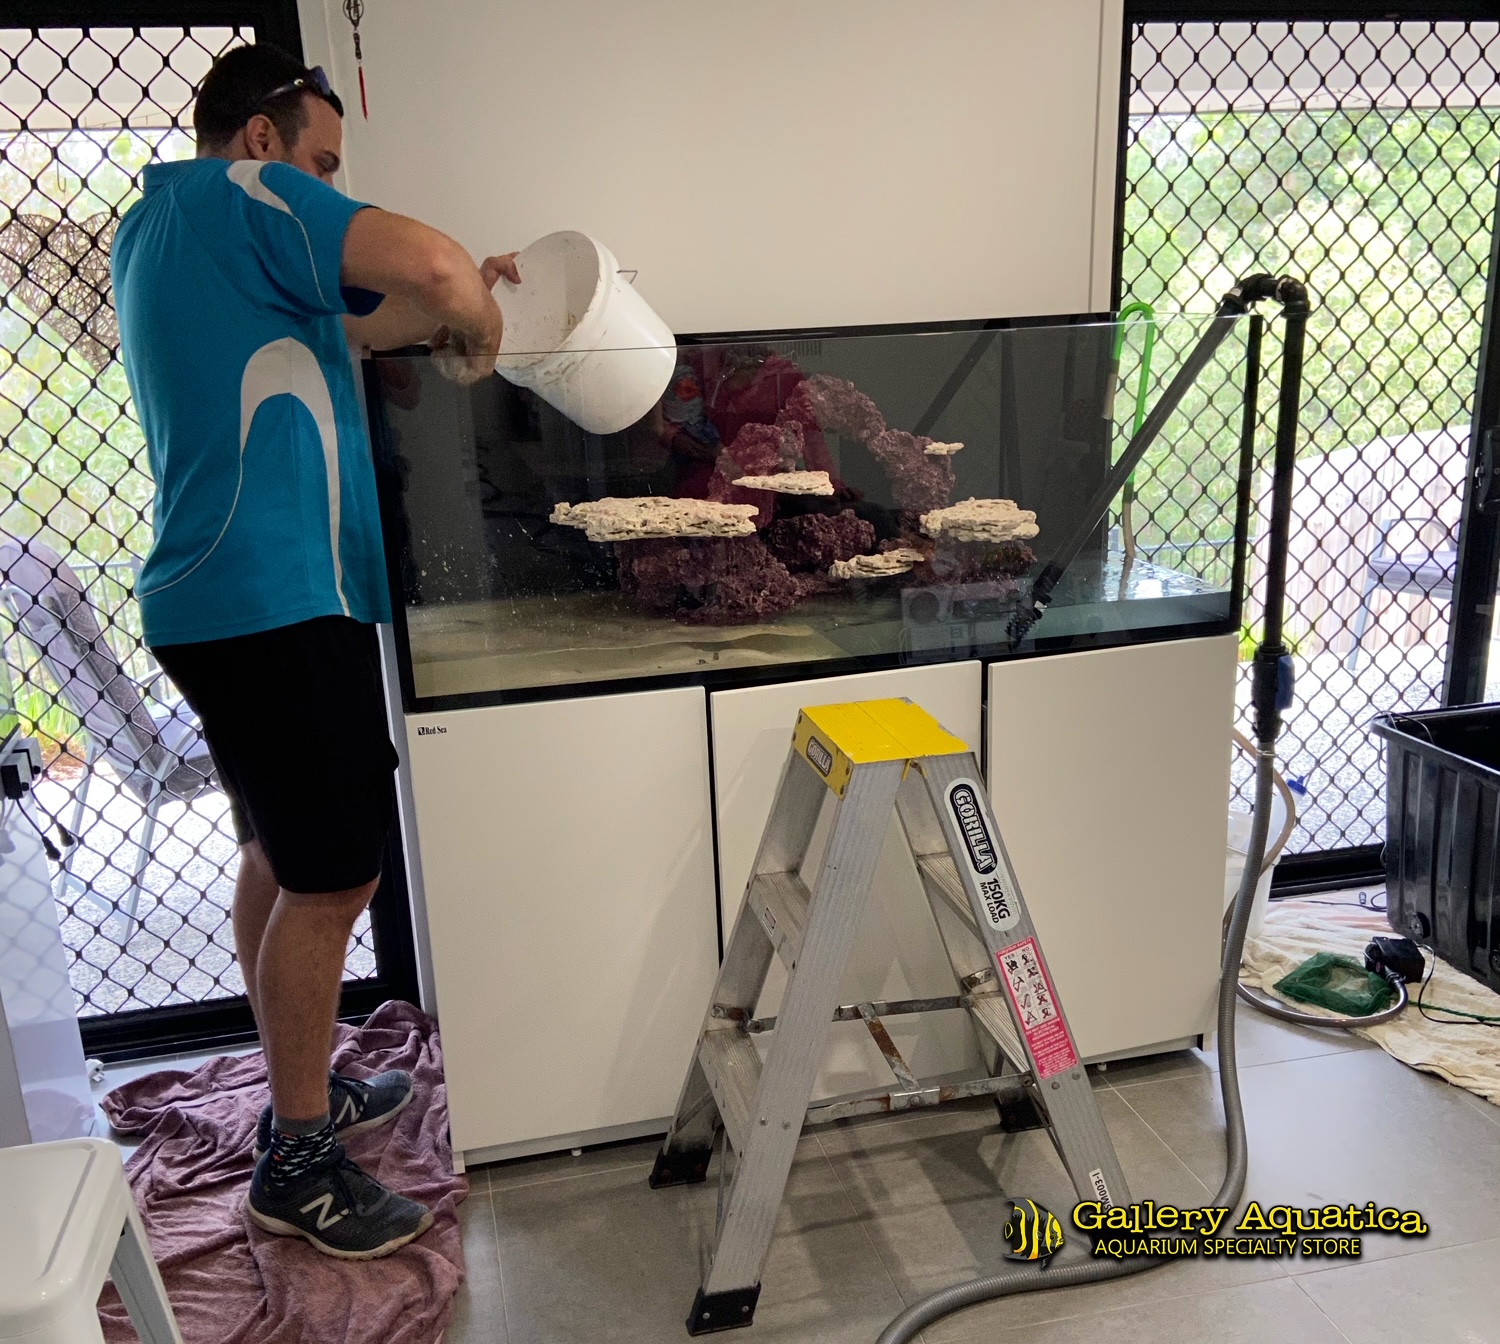
8. Sand removal… you can go 4 ways here because old sand that is stirred up can be very detrimental if it goes toxic from a build-up of detritus, this can happen over a short amount of time when moving a system. A lot of beneficial bacteria and benthic creatures live in the sand bed so moving the system with them intact would be ideal but moving sand can be problematic in avoiding any die-off that may start a chain reaction of death in transit. Tip Dustpans are great for removing sand.
Keep the sand live: In my personal experience this option is one I always avoid, but if you aren’t moving a long distance and can get the move done within a few hours then you’re off to a good start. If you have lots of detritus in the sand then cleaning it out will destroy most of the bacteria and putting the sand back in the new aquarium while dirty is a setback for the water quality before you even begin.
Get new sand: If you can’t guarantee the current sand will stay live or can’t spare the time to thoroughly clean the old sand then it will be worthwhile to replace it. The loss of nitrifying bacteria on the sand is a minor setback for the system stability but I believe it’s easier to add more bacteria than it is to clean sand or ensure that it stays live while you’ve got time limitations. –
Clean the sand really well: As we just covered, you will likely find the sand to be really filthy when you start removing it. This detritus isn’t what you want to start a new tank with so decide if it’s too dirty to use again. You could also make this decision prior to moving so you can have new sand ready at the new house if you consider the sand to be too much work. –
Go bare bottom: You can always add sand later but you may like the bare look and some of the benefits that come with it. There are negatives as well so research your decision.
9. Load the tank, stand, and anything else into the vehicle on the blankets. Bend the knees! Tanks are heavy. Strap it down, give the straps a firm pull, and say the magic words: “ She’s not going anywhere mate” to ensure the drive ahead doesn’t end up on prime-time news.
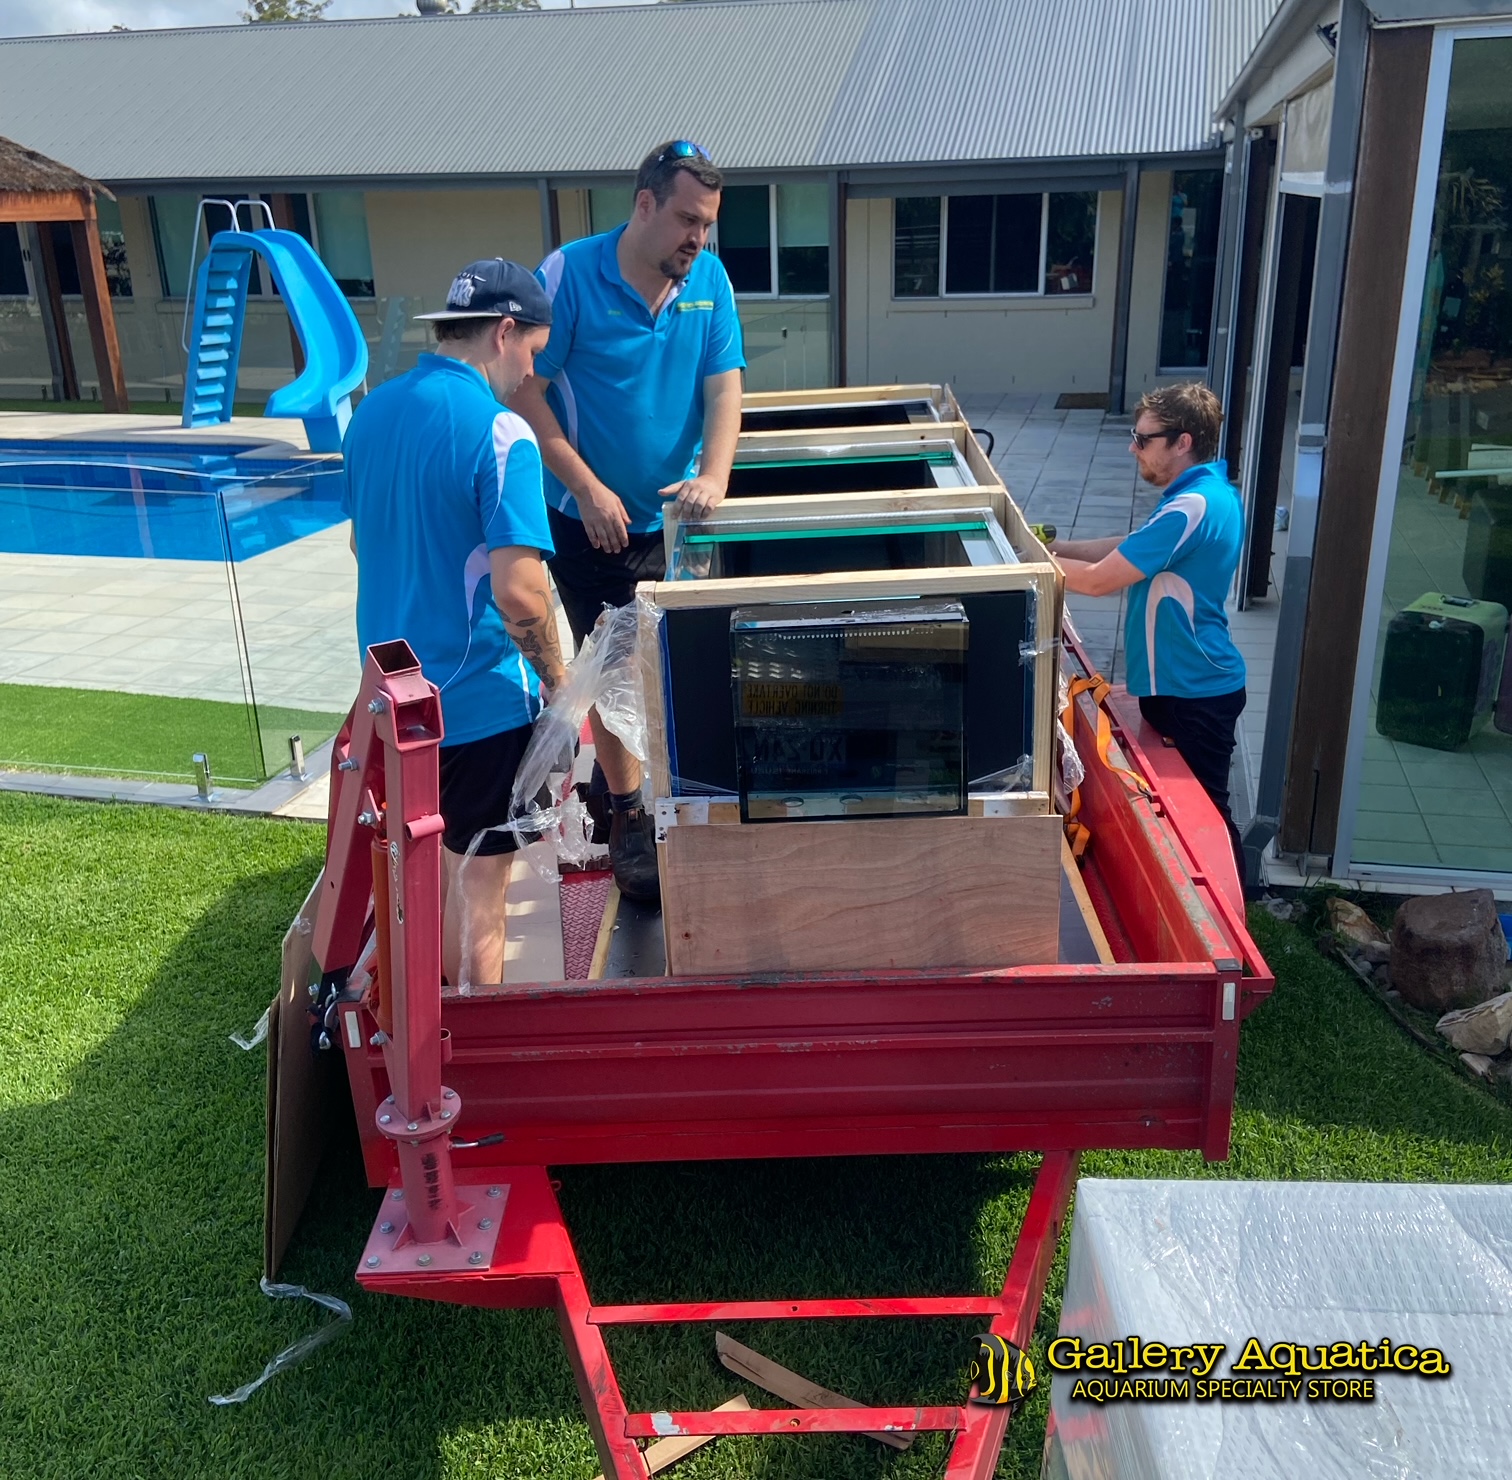
10. Unload and get the tank set up in place, you could also try cleaning the tank up a bit if you really need to but don’t delay the process on things that can be done later. Non-essential electrical equipment can be left off, for now, the live rock and livestock are more important.
11. Add sand if you kept it, add some water from the IBC you prepared earlier, and get the live rock back in the tank, shake the rock in the old aquarium water to remove as much detritus as possible. This step will likely involve some profanity and frustration but your aquarium mates are there to help. Get the scape as good as you can but don’t stress because you know you’ll probably change it after.
12. Fill the rest of the tank up and get it circulating.
13. Drip-acclimate the fish and inverts over at least an hour.
14. Put the corals back in as best you can.
15. Install the remaining electrical or aquarium gear.
16. Crack a celebratory drink and order the pizza for your mates.
17. Monitor the system and periodically check ammonia levels for signs of a system crash. If things are going south you can do water changes or add your bottle of Dr Tim’s (or similar) nitrifying bacteria to help stabilize the system. You will also find that running some extra mechanical filtration such as filter socks or wool for a few days will help catch any loose detritus that was stirred up during the move.
I hope this is helpful and as always, feel free to drop your thoughts in regards to improvements or how you managed to move your aquarium without a problem, or even share your tank move disaster!
Happy Reefing.
(Thanks to Gallery Aquatica for the pictures!)
