For the last three years, I’ve used a simple auto feeder that has worked very well to deliver a mix of planktonic foods to my aquariums. Some potentially novel ideas about this auto feeder seem worth sharing with the larger hobby community.
For the sake of simplicity and to distinguish it from other types of auto feeders, in this article, I’ll refer to it as the “Wandell Auto Refrigerated Feeder” (WARF); I make no claim to being the first person to come up with this idea but I haven’t seen it described elsewhere, at least not in writing. However, the idea is simple enough that I imagine many other people around the world have built something similar.
The WARF has a few basic components:
- A small refrigerator
- Two programmable peristaltic dosing pumps
- Tubing & tubing fittings
- Food container
The concept
The WARF should allow for the feeding of a variety of fish and corals for one month or longer without any intervention by the aquarist. The need for such a feeder was borne out of a desire to feed non-photosynthetic corals in my home aquarium without the need to target feed them every day.
A previous iteration of a similar style of auto feeder was developed by veteran aquarist Steve Weast. He passed a continuous flow of aquarium water through a small refrigerator via PVC plumbing. Inside the refrigerator was a peristaltic dosing pump that delivered preserved food into the flow of water. This concept works well but there is one disadvantage; the continuous flow of aquarium water through a refrigerator leads to inefficient use of energy as the refrigerator is constantly fighting to chill the warm water.
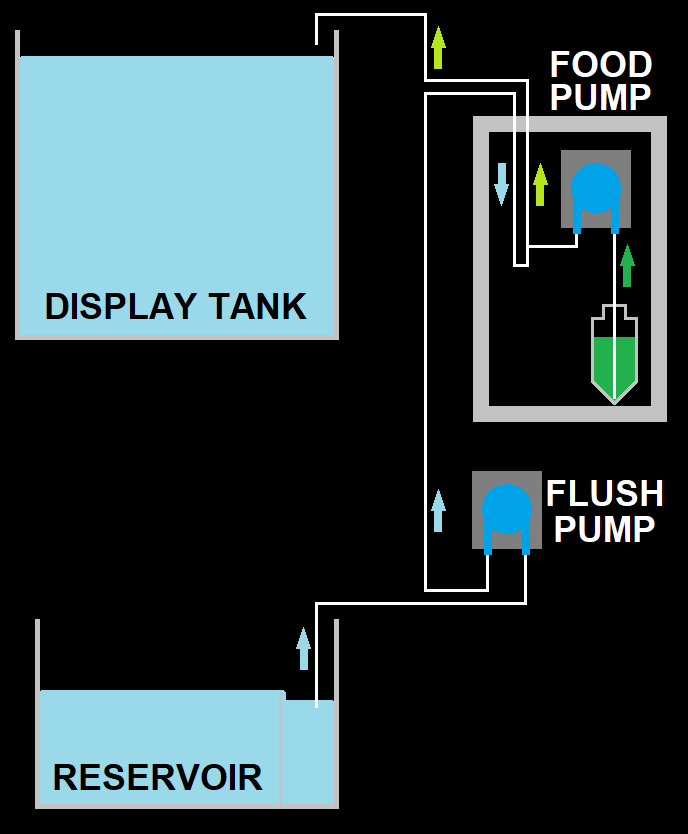
With the advent of dosing pumps that can easily be programmed to move water at precise times, we can simplify and improve the concept a bit. Instead of relying on a continuous flow of water via a centrifugal pump to flush the food into the aquarium, a second dosing pump flushes the food into the aquarium for a short amount of time with “just enough” water.
A dosing pump inside the refrigerator, let’s call it the “food pump”, pulls food out of a container and delivers it into a line of tubing on the discharge side of a second dosing pump. That second dosing pump, let’s call it the “flush pump”, pulls water from the reservoir and delivers it into the display tank. (Could your flush pump pull water from the display tank instead of the reservoir? More on that later, but the answer is it’s not a good idea.) At every scheduled feeding event the food pump turns on to deliver a dose of food, and then a couple minutes later the flush pump turns on to thoroughly flush the line with a relatively small volume of water.
The refrigerator
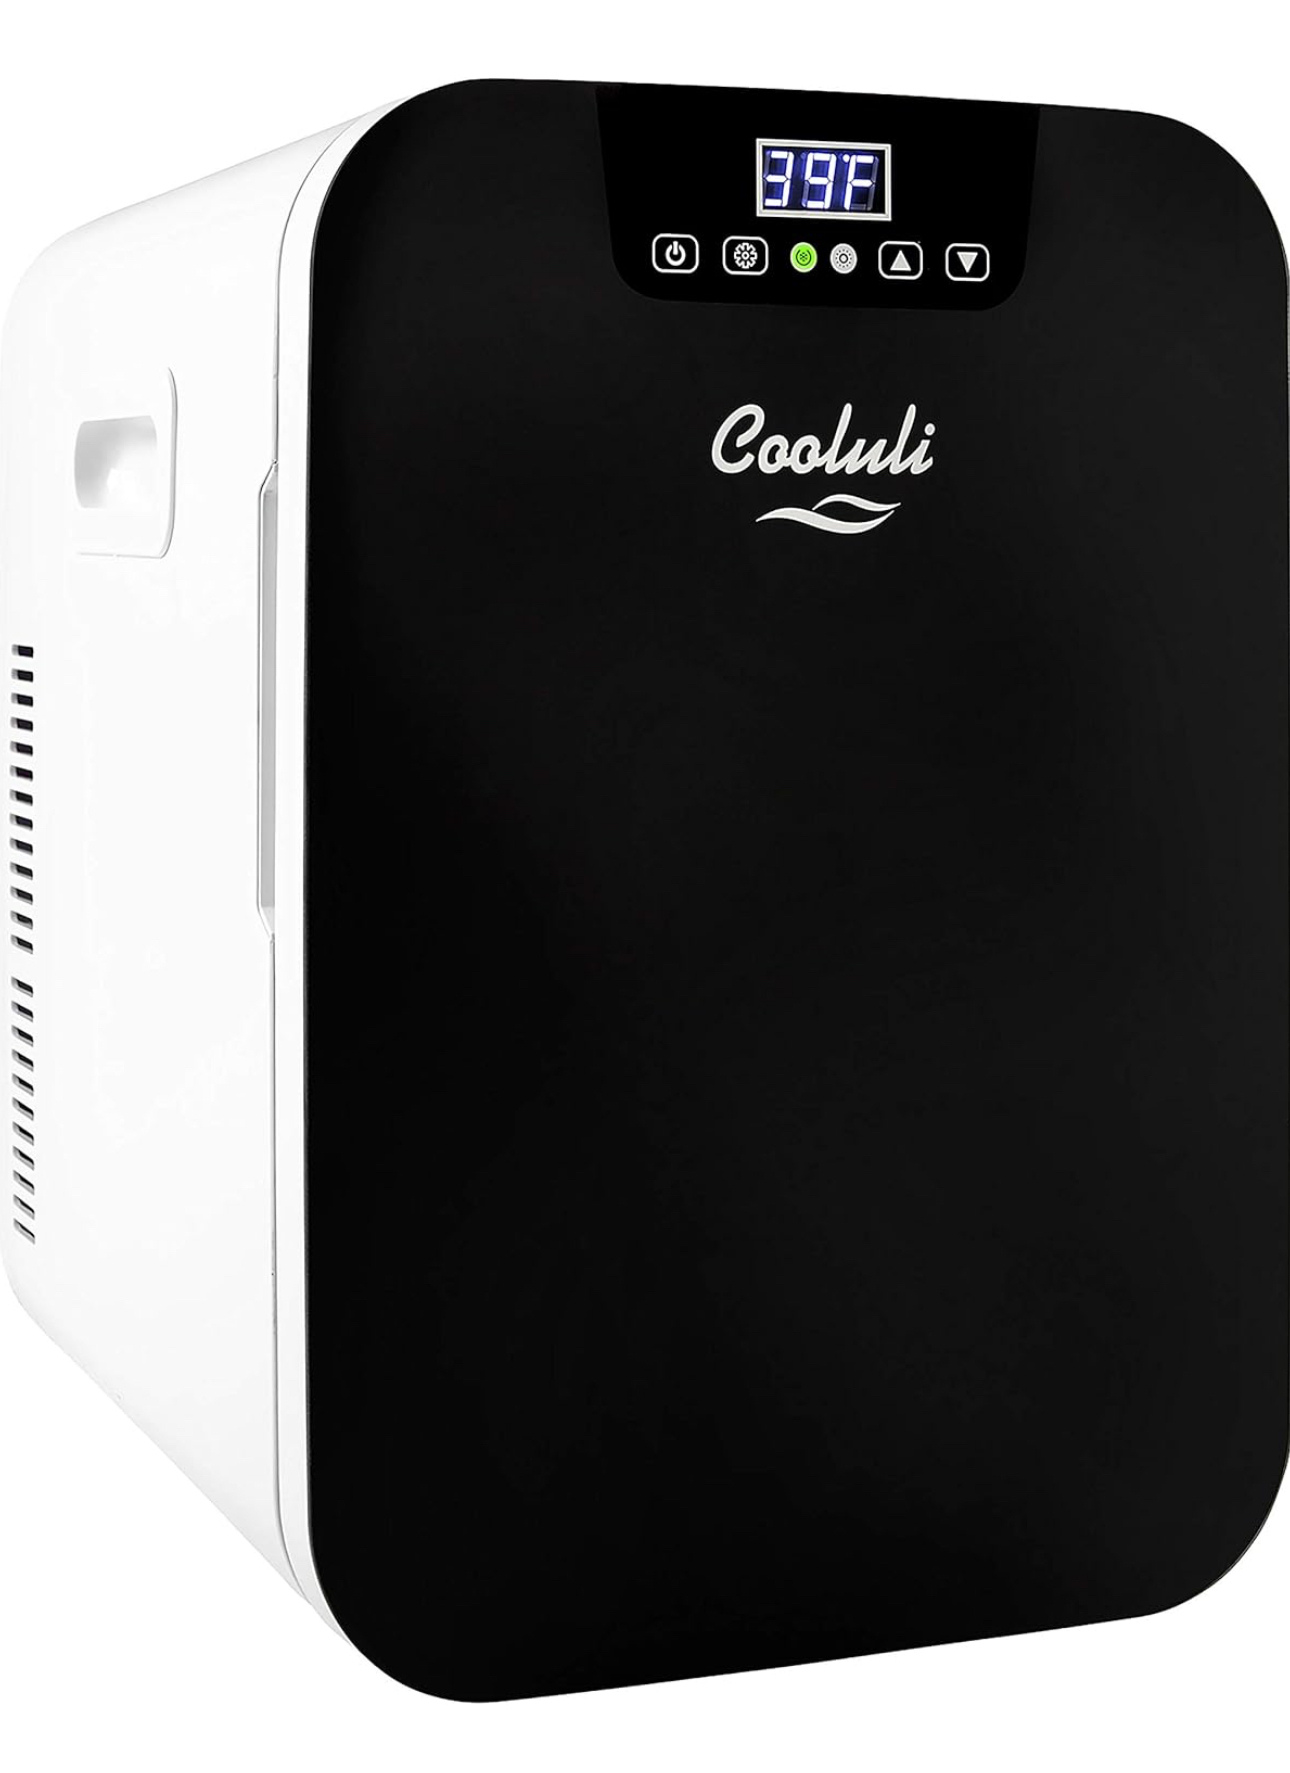
Any refrigerator will work for this purpose so long as it can reliably keep food below 40°F. I use a 20L Peltier refrigerator made by Cooluli. Peltier refrigerators are able to be made very small and are quite inexpensive, but run nearly nonstop and will consume a lot of energy. A compressor refrigerator will be more efficient, and more reliable if ambient conditions get above 80°F. You’ll need to drill three holes in whichever refrigerator you use, so keep that in mind when selecting a unit.
The food pump
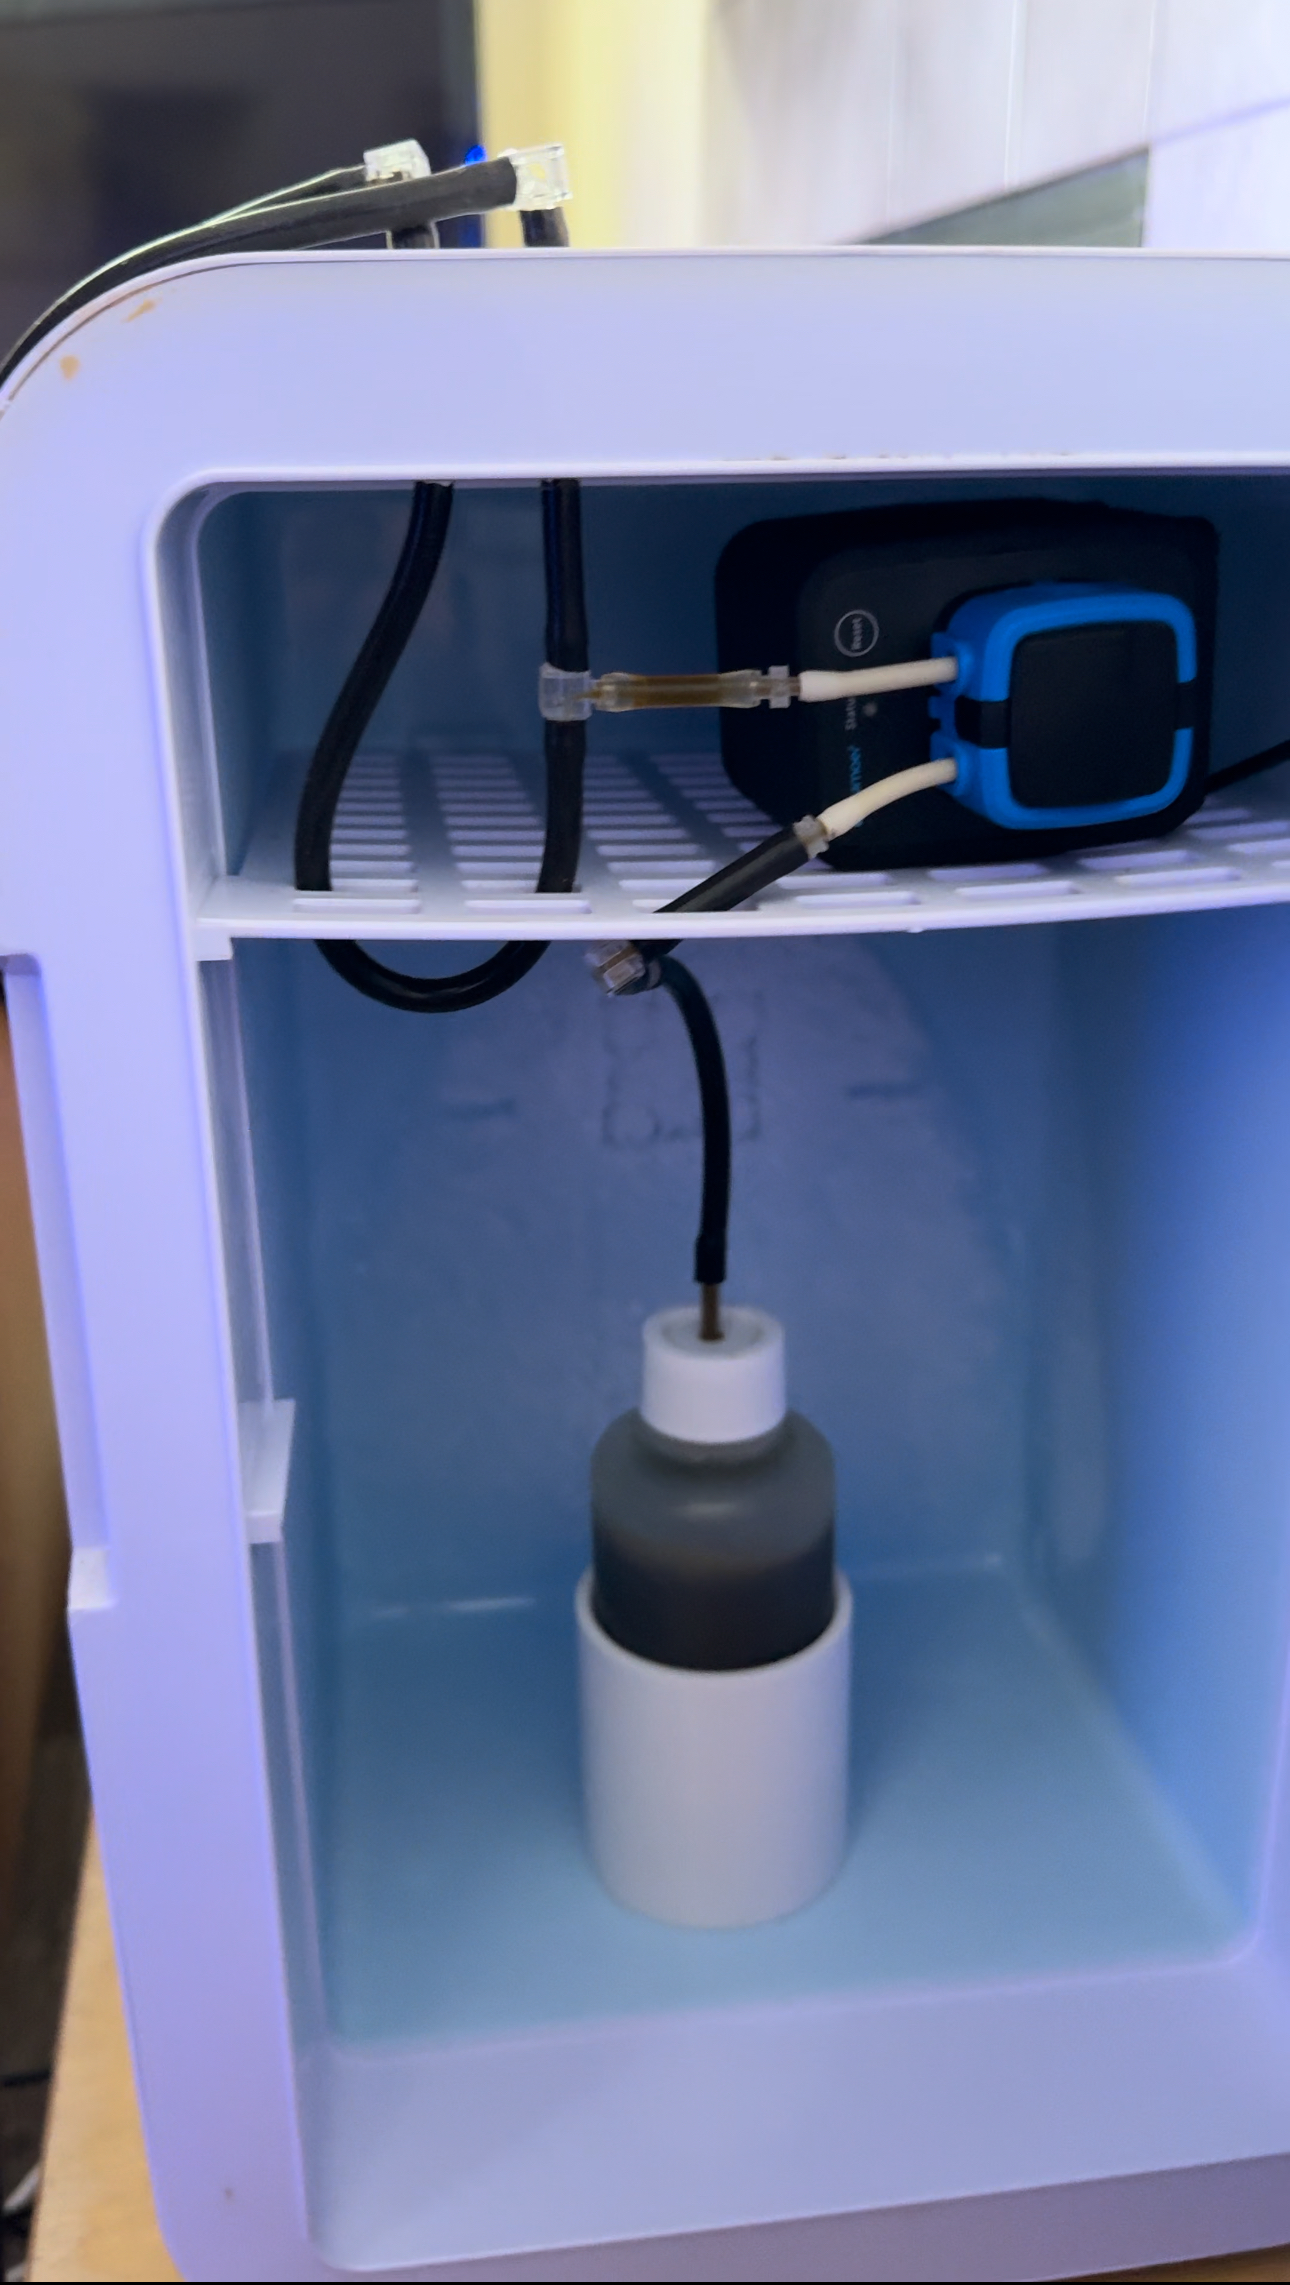
Any dosing pump that allows for dosing at specific times will work. I prefer to use the Kamoer F1 dosing pump, but virtually any model nowadays will likely work.
There is a concern that keeping a dosing pump in a refrigerator will shorten its lifespan due to the higher humidity. Thus far I haven’t experienced this as an issue with the Kamoer pumps. Tasking the tubing inside the dosing head with moving thicker liquids will shorten its lifespan, so I would recommend keeping a couple of spare lengths of tubing to swap them out as needed, or proactively once a year.
To install this pump you’ll need to cut the power cord to pass it through a small hole in the refrigerator, and then reconnect it on the dry side. If you’re not comfortable doing this, talk to an electrician.
The flush pump
The second dosing pump pulls water from the reservoir and discharges it into the display tank, first passing through the refrigerator. I set my flush pump to deliver 200 mL of clean water, two minutes after the food pump does its thing.
To reduce the risk of a massive flood I place the suction side of this pump just slightly below the water surface in the last compartment of the reservoir. In my case, if all hell broke loose and a line became detached or severed only about 500 ml of water would end up on my floor before the pump would pull air. You can imagine that if you pulled water from your display tank or from the bottom of your reservoir, you might remove a whole lot of water before the pump ran dry.
Whichever way you set up your pumps, you should consider the worst-case scenario of what might happen if the dosing pumps were to leak. The last reservoir compartment also seems like the best spot to pull the “cleanest” water without any debris in it. It’s a good idea to put a bit of sponge or screen around the suction side of this pump. You don’t want to suck up a baby snail shell or anything.
You’ll also want to place the end of the line where food is discharged into the tank slightly above the water surface. Submerging it would cause a couple of problems; algae and microbial growth will foul the tube, and you would be risking the possibility of creating a siphon back into the refrigerator.
Tubing, fittings, and cleaning
Virtually any food-safe tubing will work for the WARF but I am a particular fan of silicone rubber tubing. It doesn’t have a memory like vinyl tubing and is quite easy to remove from barbed fittings without any danger of popping off. Silicone rubber is the Ferrari of tubing so you will pay a lot for it, but the 10 feet or so you’ll need won’t break the bank.
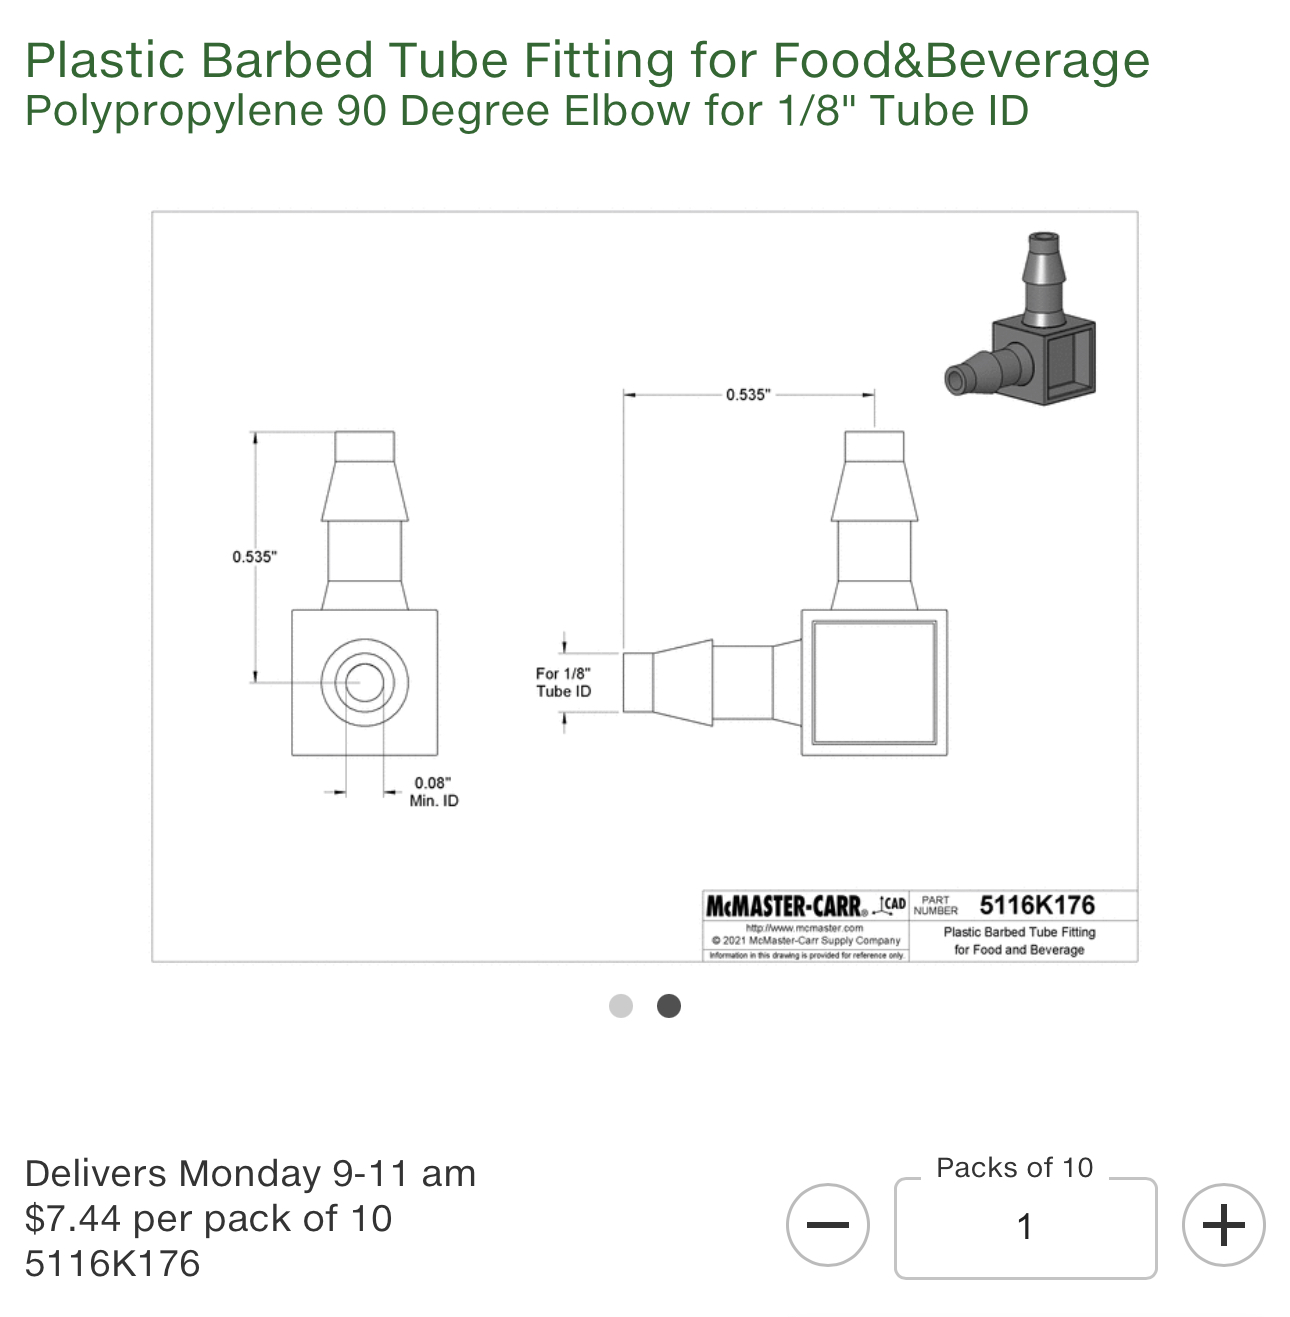
I use 1/8” inside diameter and 1/4” outside diameter silicone rubber tubing from McMaster-Carr. McMaster also carries an endless variety of small barbed tubing fittings for 1/8” inside diameter tubing; elbows, wyes, tees, connectors, etc. These fittings and the tubing are all compatible with the Kamoer dosing pumps right out of the box.
The food container
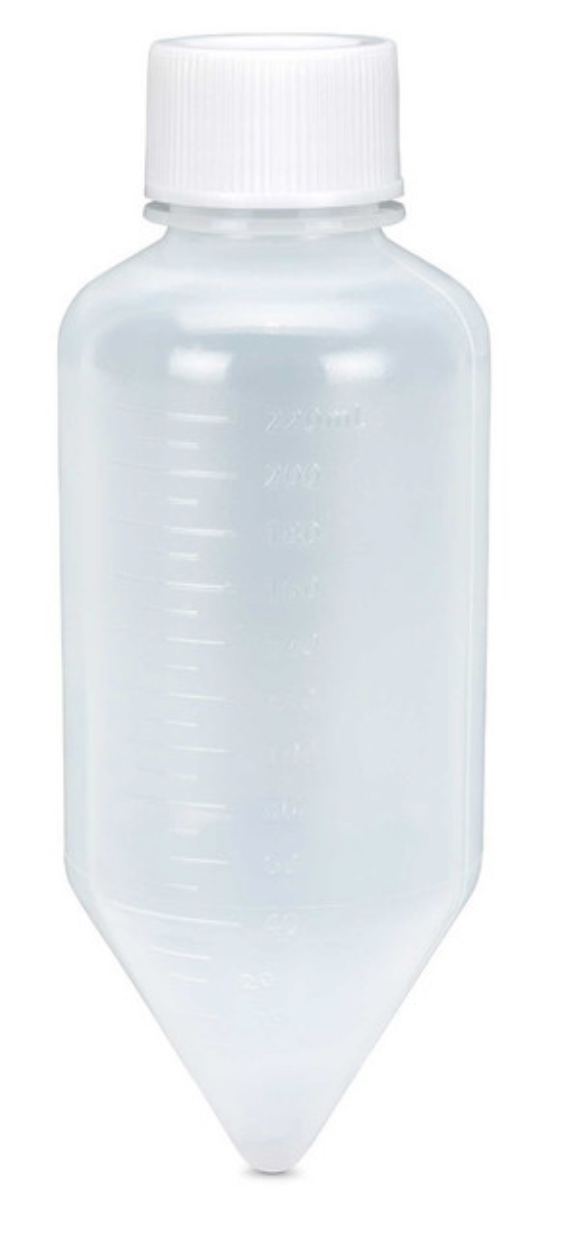
Any old jar will work for this purpose but I prefer to use a 250 ml cone bottom centrifuge tube. It ensures that all the food gets pulled out, and it’s a bit easier to clean. On my home aquarium this tube will hold about one month’s worth of food, added 10 ml per day. I use a bit of rigid airline through the lid to make sure the food is pulled from the bottom, and I cut the bottom at an angle so it doesn’t suck to the bottom of the container.
Whatever food container you use, I would recommend getting an identical spare. That way you can prepare your next batch of food in advance in case someone needs to swap it in your absence, and you can clean out and sterilize the older container at your leisure.
Food to use
There are probably lots of different foods you can use with the WARF, but I designed it around the use of Reef Nutrition brand foods like PhytoFeast, OysterFeast, Roti-Feast, Arcti-Pods, Tigger-Feast, R.O.E., etc. All of these foods are suspended in a mix of organic acids and alginate to preserve them. Initially, I had some concerns about mixing all these foods together into one delicious reef mix, but the old sniff test indicates that the mix seems to stay viable for at least a month.
I’ve also thrown the mix under a microscope after a month and it looks the same as it does on day one. This is definitely not a practice recommended by Reef Nutrition, so follow my advice at your own risk. I have also added some very small dry foods to this mix, up to about a teaspoon, such as PolypLab Reef Roids, TLF ZoPlan, and the smallest TDO pellets, without any problems.
An interlude about organic acids
When I first started dosing Reef Nutrition foods to my tank I noticed a curious thing; my nitrate and phosphate concentrations dropped to undetectable. My usual solution to this problem is simple—add more food. So I did, doubling the amount of Reef Nutrition food added every day. Still, my nitrate and phosphate wouldn’t budge. I increased it even more without any movement in the numbers. It was only when I started adding more DRY pellet food every day that my nitrate and phosphate concentrations started to go up a bit. So what was going on here?
My hypothesis is that adding the organic acids and alginate in preserved Reef Nutrition foods has the same effect as adding vodka/vinegar/methanol in carbon dosing, which eventually removes nitrogen and phosphorus from the water column as bacterial biomass via protein skimming. Counterintuitively, adding more Reef Nutrition food seems to be able to DECREASE the dissolved nutrients in your aquarium in the same way that carbon dosing does. I don’t say this as an endorsement or criticism of the foods, only to point it out so that advanced reef keepers who carefully track these nutrients in their tank are aware of the effect.
Cleaning
The day will come when you’ll need to clean out the tubing on your WARF to prevent biofouling. The speed of fouling depends on a few factors, but the most important seems to be the frequency of feeding. When feeding 12 times per day it seemed I could only go about 6 weeks before needing to clean the lines. When I eventually reduced the feedings to once per day my frequency of required cleanings decreased to once or twice a year.
You can visually check to see how your tubing is doing by observing water discharge during a flushing event and measuring the volume dispensed. If the pump isn’t moving as it used to, it may need cleaning. Alternatively, simply proactively clean the tubing with the method I describe below and see what comes out the other end.
To clean the tubing I leave everything in place and use chemistry, not elbow grease. I remove the rigid airline from the food container and place it into a jar of deionized water. I then manually activate the food pump ONLY to pump 100 ml of deionized water through the “post refrigerator” tubing. This flushes out any remaining food and seawater in the tubing. At the display tank, I make sure to catch all this in another jar (or you could probably just let it go into the tank).
I then pull the rigid airline out of the deionized water and move it into a solution of 1 molar sodium hydroxide. You can buy this as sodium hydroxide solution from Amazon or any chemical supply house. Sodium hydroxide is caustic stuff and should be treated with caution and PPE. It’s typically used as a drain cleaner and will chew right through organic gunk.
I then manually activate the food pump again to pump 100 ml of 1 M sodium hydroxide through the tubing. This time, you will DEFINITELY want to catch what comes out of the tubing. Let the sodium hydroxide solution sit in the tubing for about 30 minutes and then purge it by manually activating the food pump. Again, definitely catch all this in a jar, and don’t let it get into your tank. Once the line is clear, reverse the process and flush it with deionized water, then aquarium water, and then reconnect the food container to go back into normal operation.
Any questions? Shoot them my way. You can find me on instagram @matt_wandell


