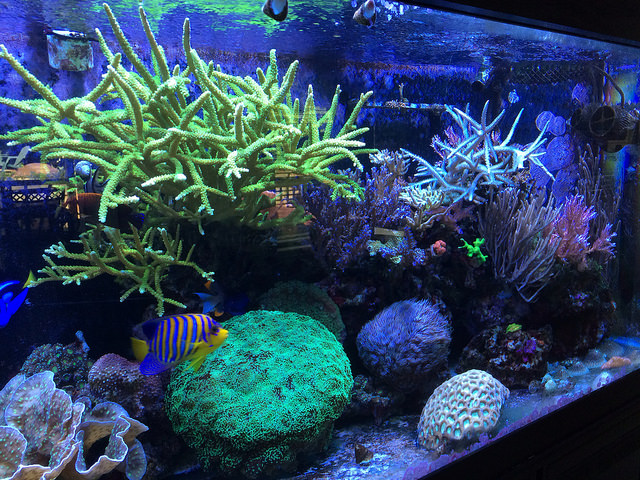
Some of you may have read my recent post about deciding when to reboot. For me, the time is now. My family is anticipating the arrival of another kid in a few months, and so there has been some shuffling of things around the house to make room.
The first thing on the chopping block was my basement sump. I needed to free up the storage in the small unfinished space. Long story short, freeing up storage space would allow us to move a guest room to the basement and free up a bedroom upstairs for the new arrival.
When faced with the idea of replumbing my reef to a traditional “in the stand” sump and considering the age of my glass tank, I figured now is the best time to rebuild. It would be an opportunity to take what I learned and change the things I would have done different. I figured I would share the journey with my ReefBuilder friends. With a new baby on the way, the timeline is tight. The goal is to get everything set up before the due date.
Step one was ordering the tank and aquarium furniture: I already knew there wasn’t a standard tank out there that fit my wish list. My current tank is 180 gallons, so I knew I wanted the new tank to be at least the same volume or larger. That shortened the list of standard tank sizes significantly.
One thing I absolutely hate is dual corner overflows! They take up a lot of real estate, look bad, and are annoying to plumb at opposite ends of each other. That brought me to the Deep Sea Aquatics(DSA) line of tanks. I noticed they had a 225-gallon tank with a single overflow, drilled with 3 drains and 2 returns. The tank seemed like a close fit to what I wanted. It is slightly larger than my current tank, affording me a little more volume and real estate. But I did have some things I wanted different.
For one, I didn’t like that the overflow was hard to reach against the center back wall. I wanted the single overflow to be in the left rear corner, where I could easily access it. I also preferred a smooth acrylic overflow instead the standard rough ABS they use(removing coralline on acrylic overflows is easier).
Lastly, I wanted black silicone over clear. Working with the folks at Pure Reef, we worked up a request with DSA to build the 225 with my changes in mind. The hope was that turnaround time on the tank would be reasonable if I customized a standard tank size, versus going with a non-standard size. I’ve seen some examples of DSA’s work, and even owned a smaller tank of theirs for a while. I feel confident they will do a top notch job.
Step two was the stand and canopy: I decided on a nice combo made by aquariumwoodproducts.com. I made some requests here as well. They offered the option of a side door, which I opted for on the left where the overflow will reside. The side door will make plumbing less of a neck ache! I also decided to go with a 15″ canopy. I typically go with open top systems and hanging lights. I like the ease of access and the added benefit of heat dissipation. However, I couldn’t ignore the glare of the bright lights hitting my young daughter’s eyes. And with kid #2 on the way, this will be a duplicate issue. So, canopy it is… One side benefit to the canopy is the ability to mix and match different lighting without making it look ugly. I like to tinker and experiment with lighting, so this will be a bonus.

Next up is Phase 2, planning out the filtration and lighting! And the patience of waiting on the aquarium to arrive. Hopefully everything arrives as expected.


