Aquarium Maintenance: Water Changes
Regular water changes are fundamental to maintaining an aquarium. The volume and frequency will fluctuate for each tank but almost every reefer performs regular water changes on their aquarium.
Once you regularly maintain your aquarium you will have a better understanding of when your tank needs a water change. For now, here are some guidelines to help you when setting up your first aquarium.
Why Water Changes Are Important
Water changes are a method to remove nutrients and replenish elements. In the beginning stages of your aquarium, it may be the only way elements are replaced.
Additionally, it is an inexpensive form of filtration without the steep initial costs.
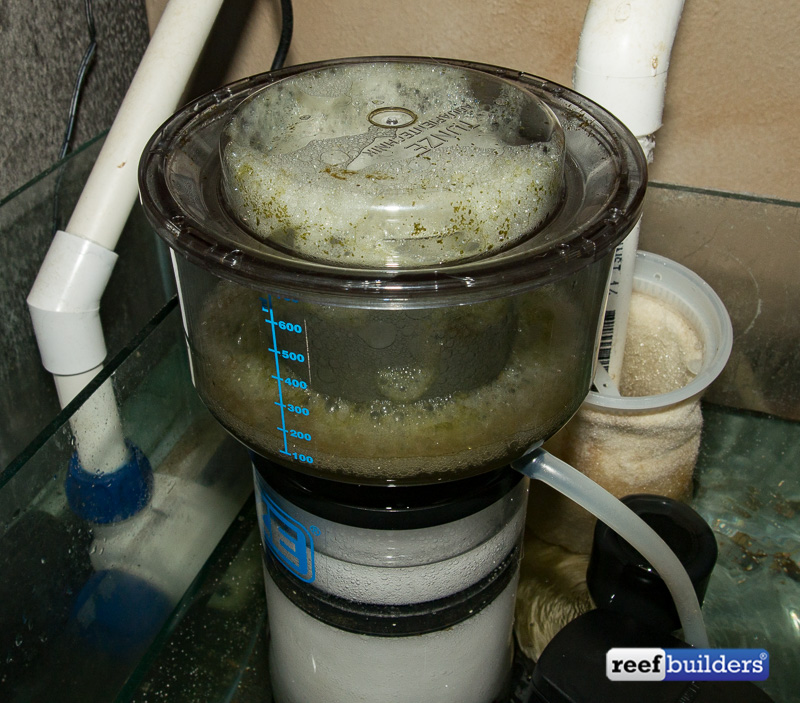
Many aquarists start with minimal equipment, and build a bigger system as they get more involved with reef keeping. You may start with an all-in-one aquarium with built in filtration, or piece your equipment together with a sump and a protein skimmer.
How Often
A good baseline to begin your water changes is to change twenty percent of the water volume every week. Sometimes your tank may be able to stretch that to once every other week, but it depends on your other pieces of filtration equipment.
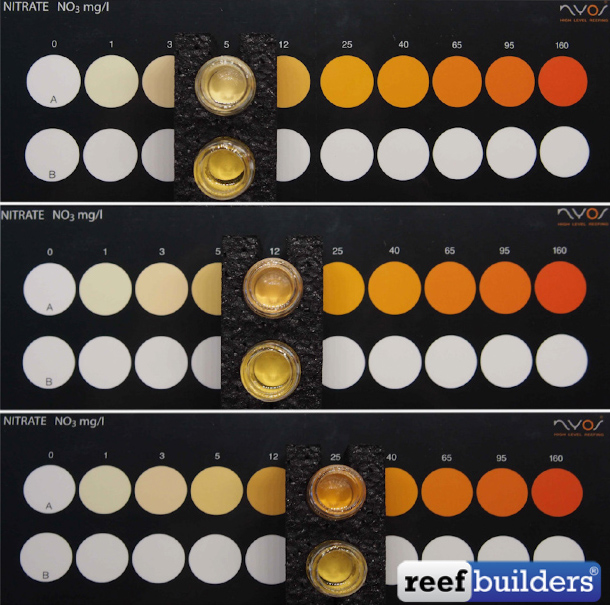
If your tank is looking a bit dirty, or your corals are not as perky as usual, these are indications that a water change is needed. If you are having algae issues or aquarium test results are showing high nitrate, or phosphate, then you need to increase the volume and frequency of the water change.
Reducing Stress
When doing a water change, we have to consider the inhabitants of our tank. Make sure the temperature of the water you are adding, is the same as the tanks current temperature. The ideal temperature is anywhere between 75 – 80°F (23.5 – 26.5°C)
Test the salinity of your new water so it matches your tank water. If you find your tank water has high salinity you may want to consider adding an auto top off system to your tank. Make sure to match the salinity while aiming for 35ppt or 1.0264 sg.
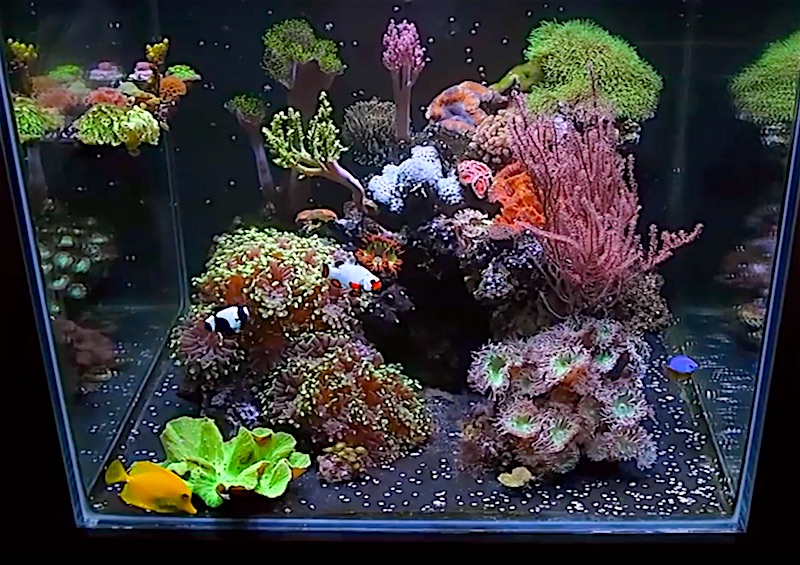
60 Gallon Reef Tank – This is How You Setup a Reef Tank for a Family Member
Saltwater
There are two ways you can get saltwater. Either you buy it from a local fish store, or make your own at home. You will have to decide which method is best for you. For new aquarist, or people with small tanks, purchasing water is the quick and easy way.
Local fish stores will sell refillable jugs around 5 gallons of water. Water is heavy so calculate how much water you need to change. Bringing home 50 gallons of water if you have to walk up stairs or make trips in an elevator may not be feasible.
Make sure to check your salinity before leaving home, and check the salinity of the water at the local fish store. Checking these at the store will prevent having to fix them at home; especially if you do not have extra salt on hand this can be problematic.
Mixing Your Own Saltwater
Mixing saltwater at home is pretty straight forward. You make saltwater by mixing RODI water, and aquarium salt, which you can purchase at a local fish store or online. Most aquarists keep large plastic drums in their homes for mixing saltwater.
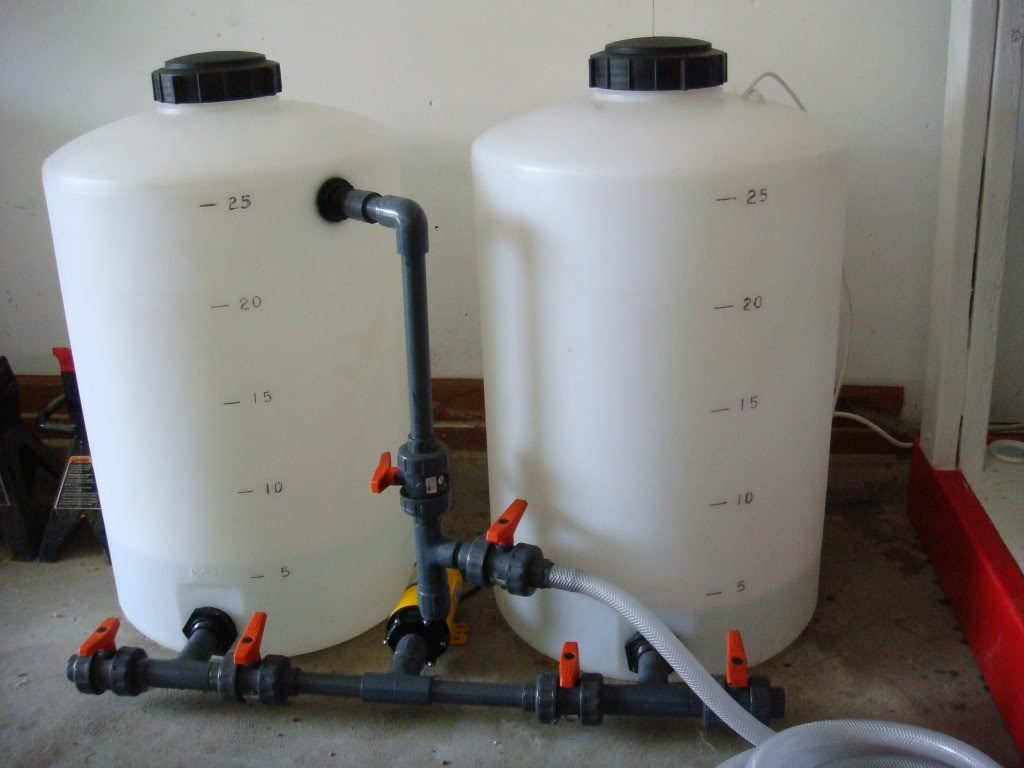
There is no one size fits all solution here and any large Rubbermaid or similar storage container will do. Make sure you have a dedicated spot for your saltwater, and if you can make double or quadruple the amount of saltwater you need for a water change. It also good to have extra saltwater on hand in case of emergencies.
To mix saltwater, first fill the container with RODI water. You will want to install a power head in the container to create flow to mix the water. Once the powerhead is turned on you can add the salt to the container.
The instructions on your salt mix will tell you the water to salt ratio. Once the water is mixed use a refractometer to check the salinity. Make any adjustments from there. You will also want to install a heater in your saltwater container to prepare for a water change.
How To Do A Water Change
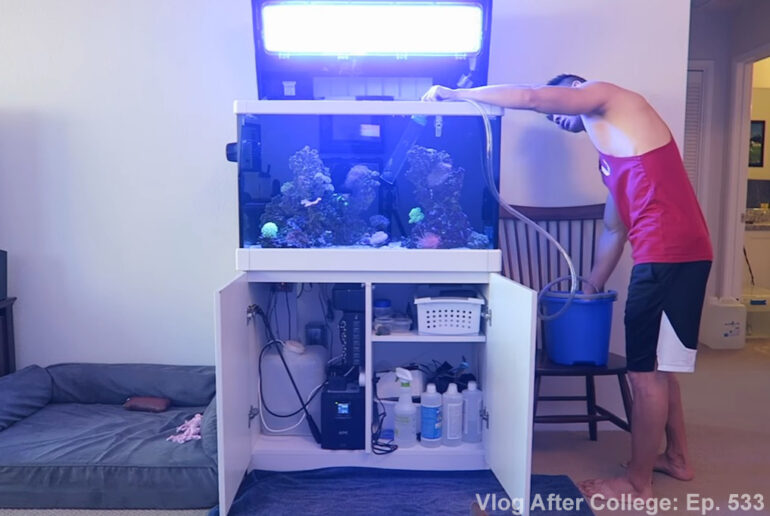
Once your saltwater is ready, and you have verified temperature and salinity you are ready to start removing water from your display tank. Every aquarist has to have a few extra buckets or jugs on hand for moments like this.
Now is also a good time to clear your aquarium glass or clean any algae from the aquarium. You can also clean your sand during a water change but you shouldn’t try or worry about this until your tank has matured. If you are scraping algae into the tank make sure to suck it up with your water change siphon.
Place a bucket below the water level and start a siphon using a rubber tube. Pick a spot on the front of your aquarium 10-30% below the top of the tank. Keep removing water until you’ve reached that point. The first time you can measure it in buckets, then make a note of where the water level was with the water taken out. Either way, works fine.
Ensure that all pumps are turned off when taking water out.
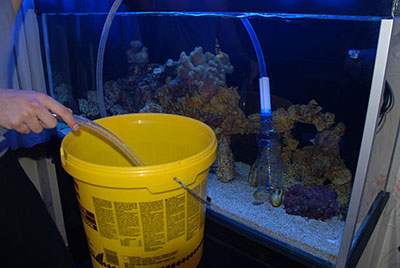
If you have corals near the top of your tank which could be exposed during a water change make sure to turn off any lights. You will want to work quickly to refill your tank, this is why we check the temperature and salinity of our new water before removing old water from the display.
You can refill the tank manually by slowly pouring the new saltwater into the display. Or you could pour the water inside your sump and start the return pump to fill the tank. You can also use a return pump placed inside a container of premade saltwater pumped directly into your display or sump.
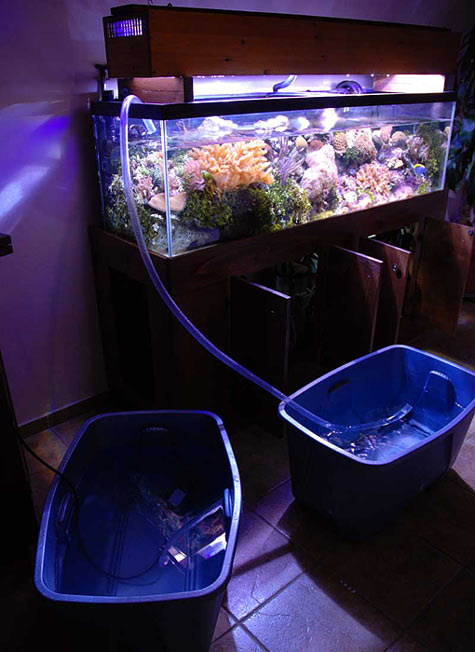
To prevent sand from clouding your tank face the hose upwards or angled towards your rock work. Make sure to monitor how fast the water is flowing into your tank. If it is too fast the water will kick up sand or knock over corals.
Water changes allow you to spot clean areas of your tank that need more attention and it is a simple way to maintain the cleanliness and prosperity of your tank.


