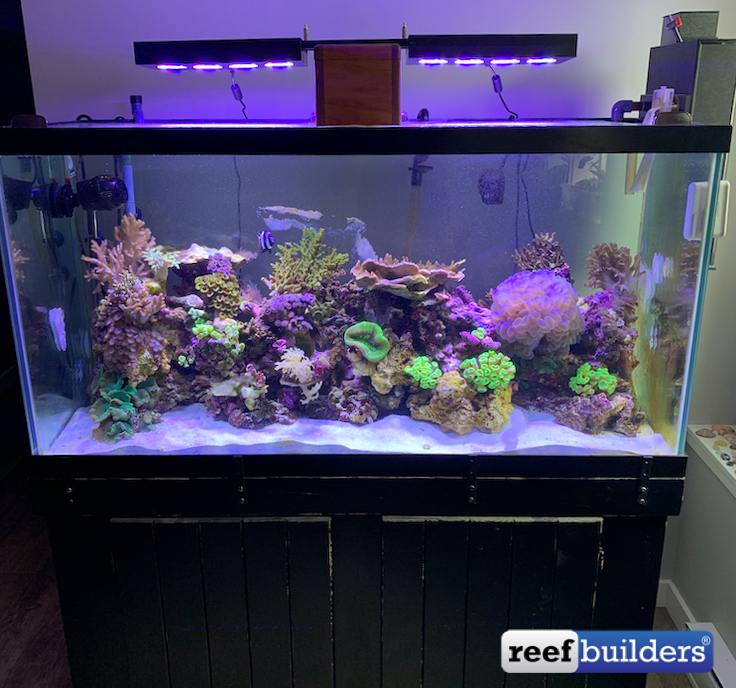
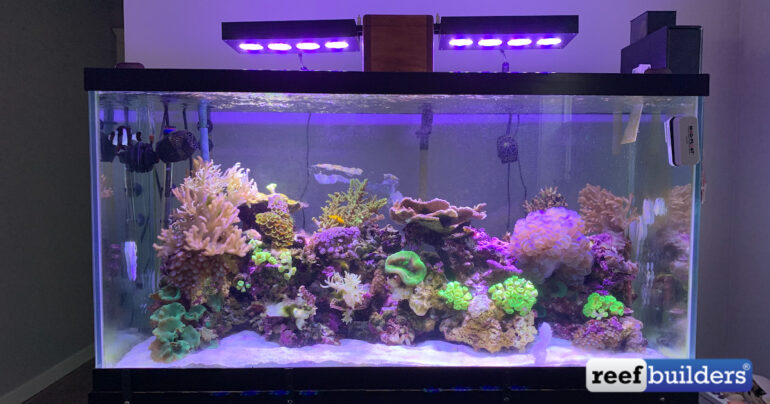
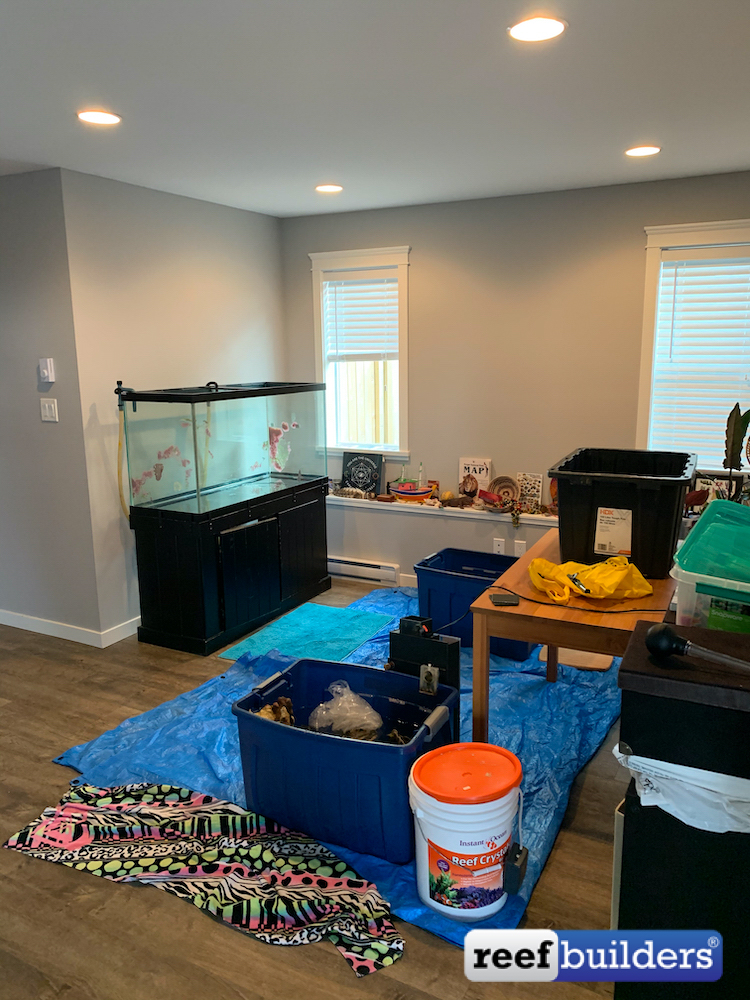
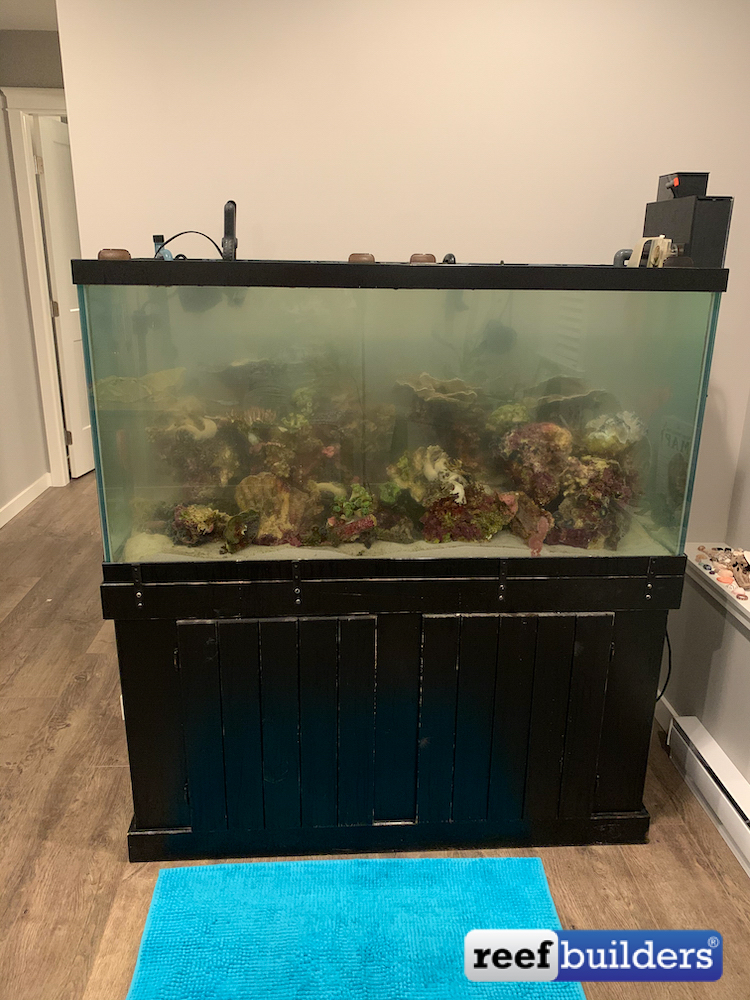
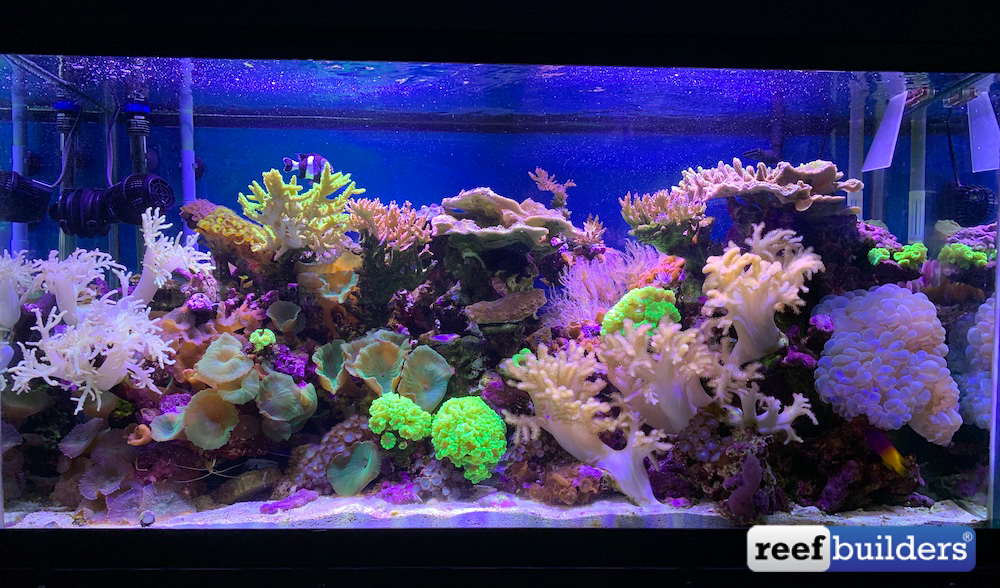
Last month we started our most ambitious aquarium project to date moving a seven-year-old 90-gallon aquarium! Now over three weeks later, and with minimal losses in the process, the reef is happy and settled into its new location.
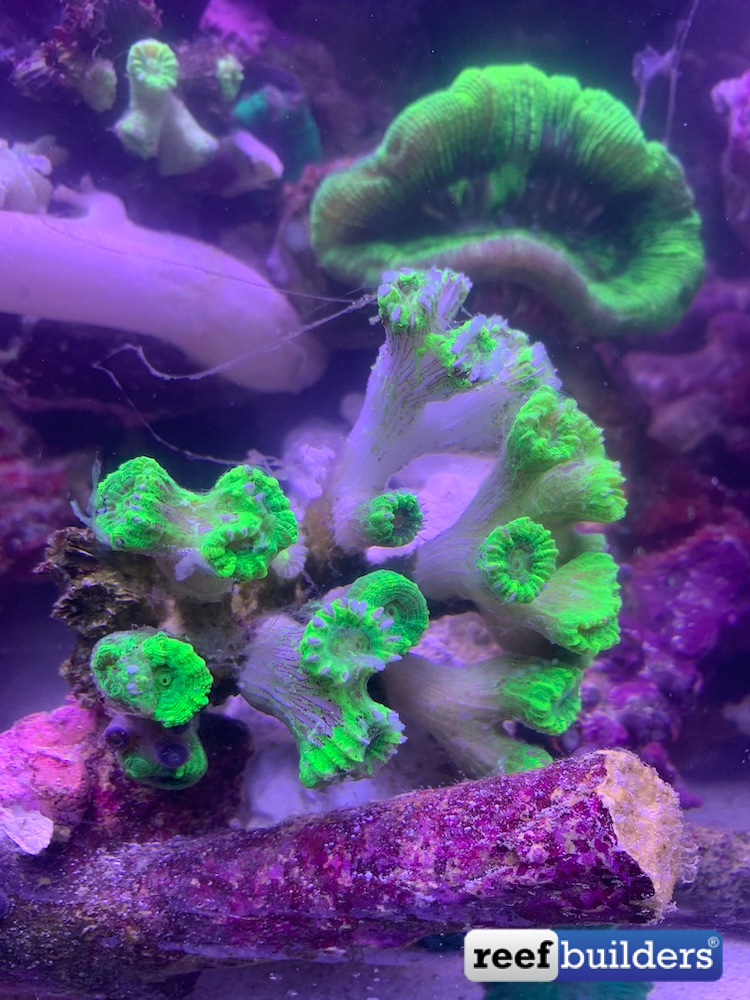
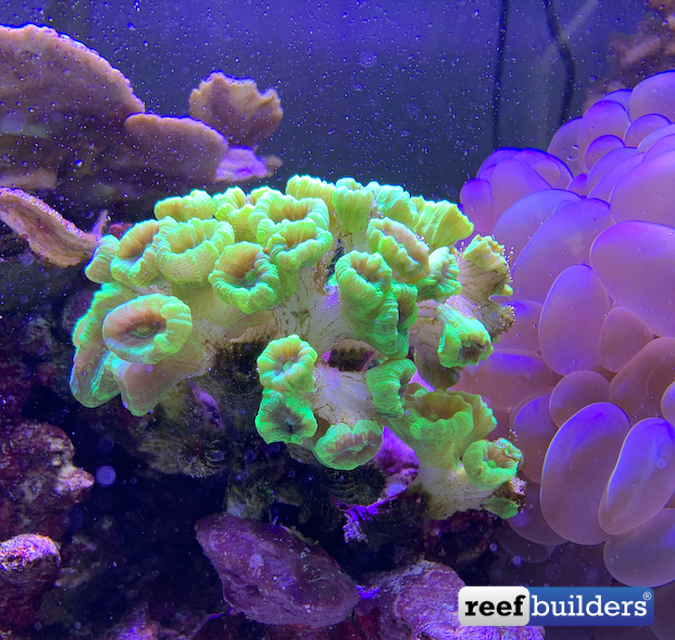
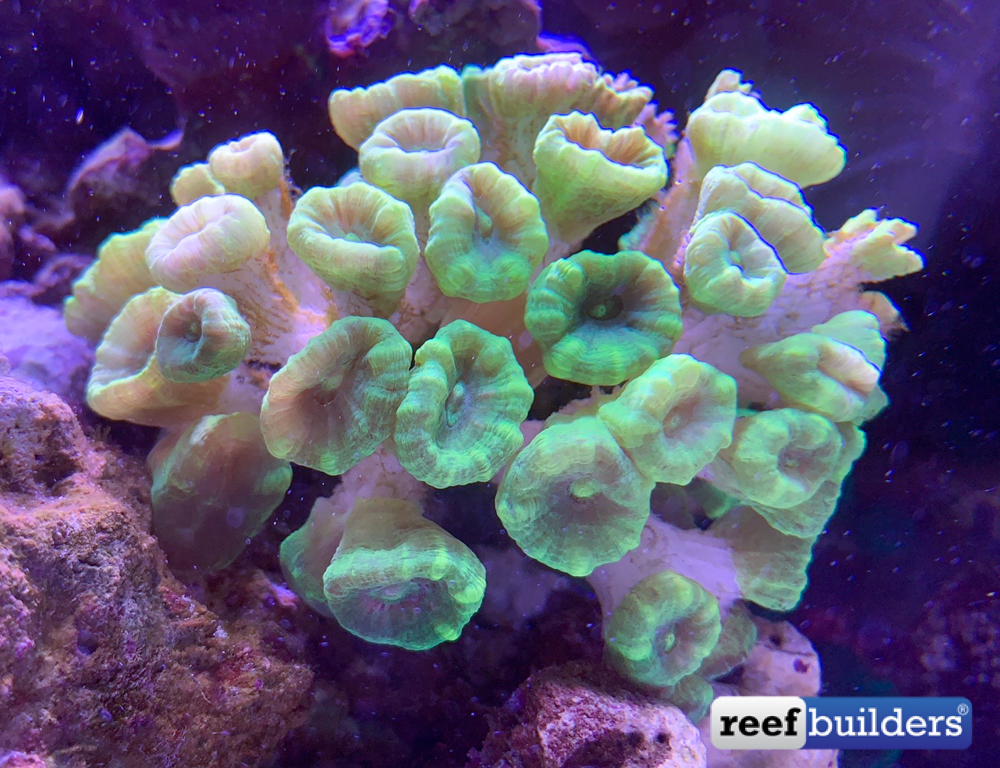
When we first spotted this established reef tank, the luscious bubble coral, neon Caulastrea, and large alien green Discosoma mushrooms stole our heart. We knew this was the start of our biggest reef tank yet.
It felt good to know they were being adopted to a coral loving home. And of course, being Reef Builders we couldn’t resist the opportunity to upgrade this nice looking saltwater aquarium into a modern-day reef tank.
Tank Move
A few days after making a deposit reality set in, moving day was fast approaching. The task started to feel a little daunting, so we turned to our Girls With Reef Tanks group to ask for some advice.
One of the biggest hurdles was the length of the trip including two 1:40h ferry rides. We calculated around 8-10hrs the livestock would be in transit, and started to plan accordingly.
Since this was such an established reef our biggest question about the move was about maintaining the biological community on the rocks. The tank was full to the brim with live rocks and also had a deep sand bed.
Overwhelmingly we were advised to ditch the sand, don’t try to wash it or reuse it just save yourself that hassle and get new sand. If the tank is still new, not too big and the move isn’t too far you could leave some water in the tank covering the old sand and reuse it, but for this tank, and most tank moves, the old sand is a ticking time bomb.
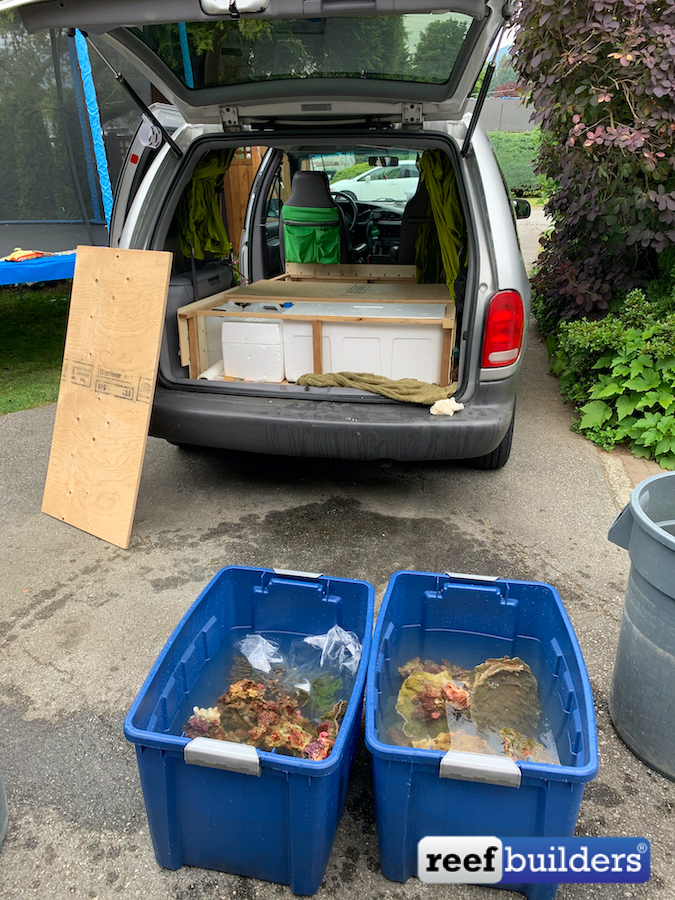
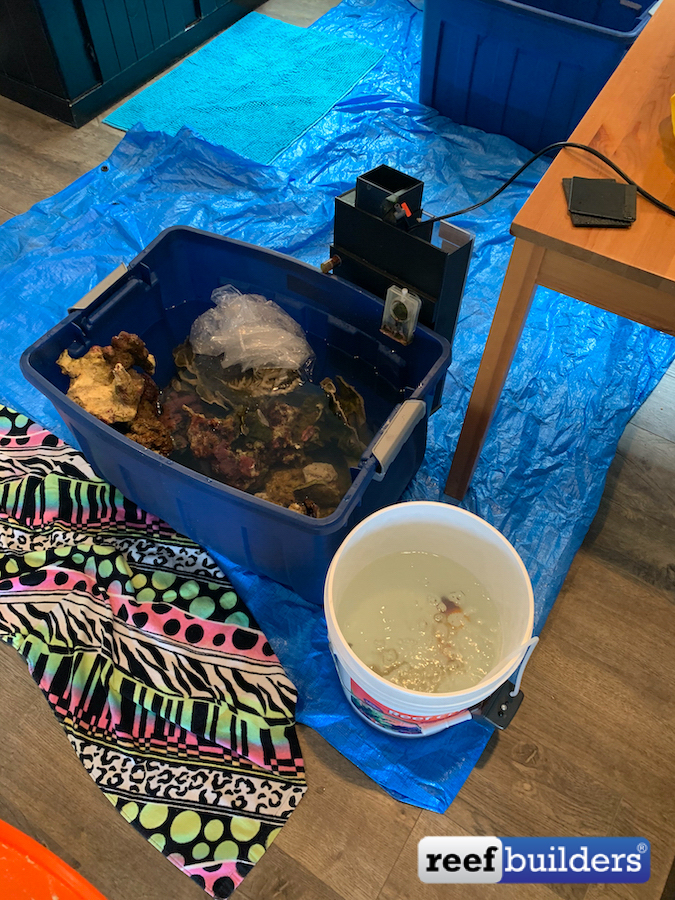
Some of the other key moving advice was keeping the fish in a separate bucket with battery-powered air bubbler and having plenty of saltwater on hand once at home. All the live rock was to be stored in separate bins and covered in water or at least try covering exposed rocks with wet towels.
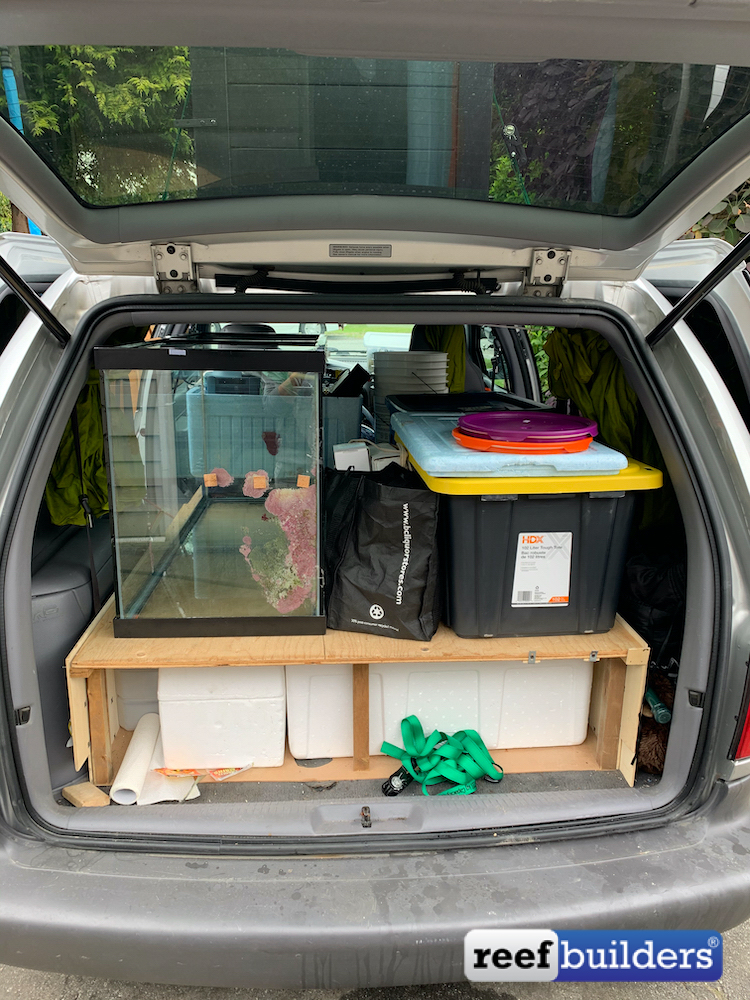
For the more delicate corals, we picked up for fish bags at our local fish store and had separate styrofoam boxes with some hand warmers inside to maintain a stable temperature. Lucky we didn’t have to worry about overheating, however if you’re moving in a warmer climate, keeping the temp down is also a consideration.
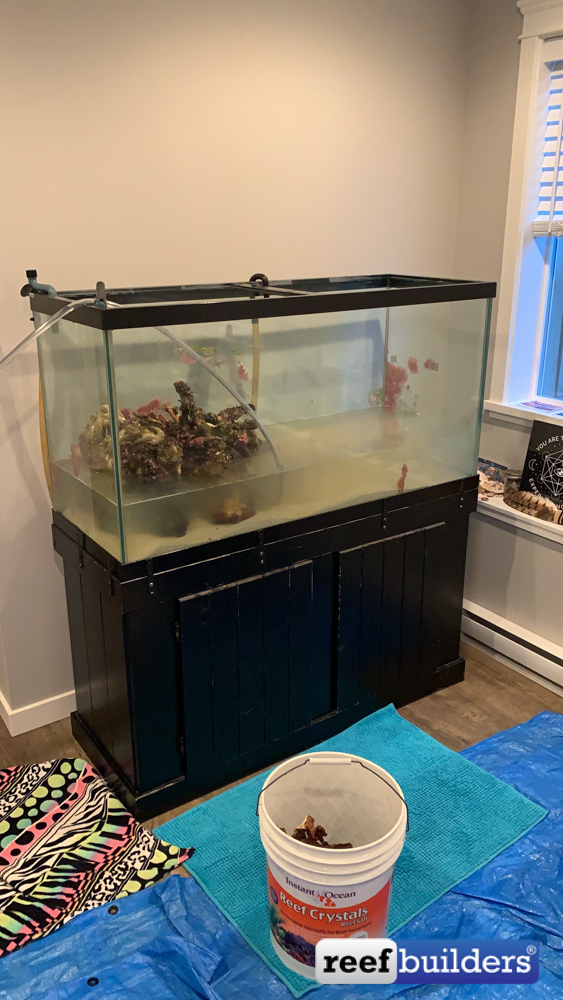
Once we had everything loaded into the car and made the 6hr journey back home all we had to do now was reasemble the tank. This included washing 90lbs of sand in small batches, mixing up new saltwater and trying to guess at the best way of stacking the mountain of rocks waiting in our livingroom.
We added the sand and filled the tank about 1/3 of the way and started stacking rocks, we continued adding rocks and water to keep up with the growing aquascape. At this point, the water was fairly cloudy and our energy level was crashing, we added the remaining rocks and made sure the temperature was up around 78F or 25.5C before adding the fish and called it a night.
Gear Set Up
Whoever said you can’t keep a reef tank with a canister filter, just point them directly to this post! We’re not saying it’s the best idea, however, it is clearly possible.
This established reef tank has been running for seven years with a simple API filstar canister filter and a Deltec MCE600 hang on the back skimmer. Having only a canister filter sure did make this tank easier to move, however, it sure is a big pain in the butt to clean.
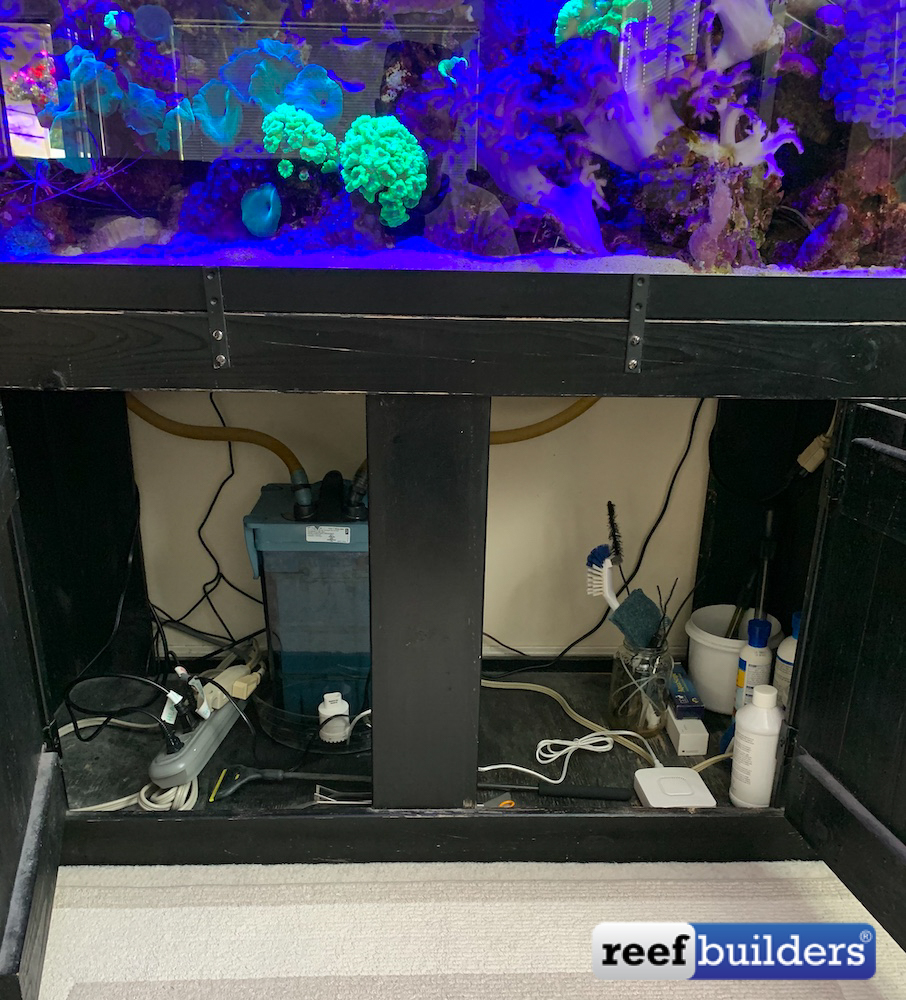
We are looking forward to upgrading the life support systems of the tank and diving into this topic of nutrient export and filtration further down the road. But this tank can serve as an example, don’t let simple equipment discourage you from starting a saltwater aquarium!
Some of the setbacks of this gear however is the noise.
The humming sound of the skimmer pump was more than noticeable, and while we’ve started getting used to it, we will be very happy to silence the hum with a new sump, pump, and skimmer combo. The only reason we can tolerate the constant hum is knowing we will be upgrading soon to more modern quiet equipment.
Aside from the happy corals, another selling point for me was the two Aqua Illumination Hydra 52 LED lights that came with the tank. These classic aquarium lights have proven their worth over time as they were installed four years ago and still going strong. Also having the ability to control the light spectrum and intensity even with the retro controller was essential for acclimating the corals after the moving day stress.
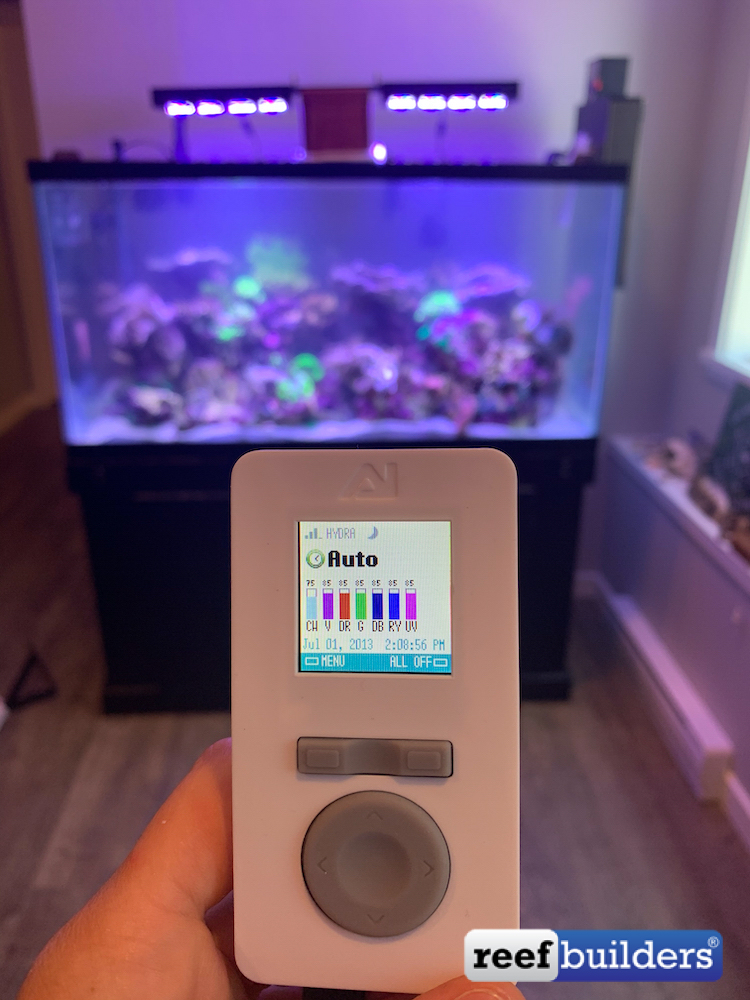
There were no dosing pumps, or automatic tops of, no fancy probes or test kits, only basic aquarium equipment, and a simple once a week water change routine. The tank did include some magnesium and calcium supplements as well as some salifer test kits, but looking at the health of the corals, we have to think the lights must have played a key part in maintaining the healthy corals.
Livestock
We’ve been holding off writing this article as we really wanted to give the corals and fish time to settle in. Unfortunaly we did lose one big Montipora, as well as a smaller colonie of the same species.
After the second day, we started noticing tissue receding quickly from the stems of the Caulastrea candy canes and thought it was only a matter or days if not hours until they were gone. Luckily the tissue loss stopped and the polyp tentacles started emerging at night. And, while the white stems don’t look the greatest they seem to be hanging in there just fine getting puffier every day.
The tank also came with a Sailfin Blenny, a three-stripe Damselfish, a Royal Gramma, and two cleaner shrimp. We were quite concerned about the fish but only ended up losing the royal gramma and one shrimp.
Just this weekend we added some new fishy friends a sand sifter goby, a filefish, a yellow clown goby, and some Durban dancer shrimp.
What’s Next
Our goal for this tank is to document the process of upgrading the tank with modern reef aquarium equipment, silencing the noise, and seeing how far we can get growing some new SPS corals. We look forward to documenting the process on Reef Builders of our biggest project yet!
