Now more than ever reef aquarists all over the world are successfully growing a wide range of stony corals, and experiencing the increased mineral demands that comes with having larger corals. Multi part dosing can go a long way to keeping up with Calcium, Alkalinity and Magnesium but there’s definitely a tipping point where it starts to make more practical and financial sense to use a calcium reactor for this purpose.
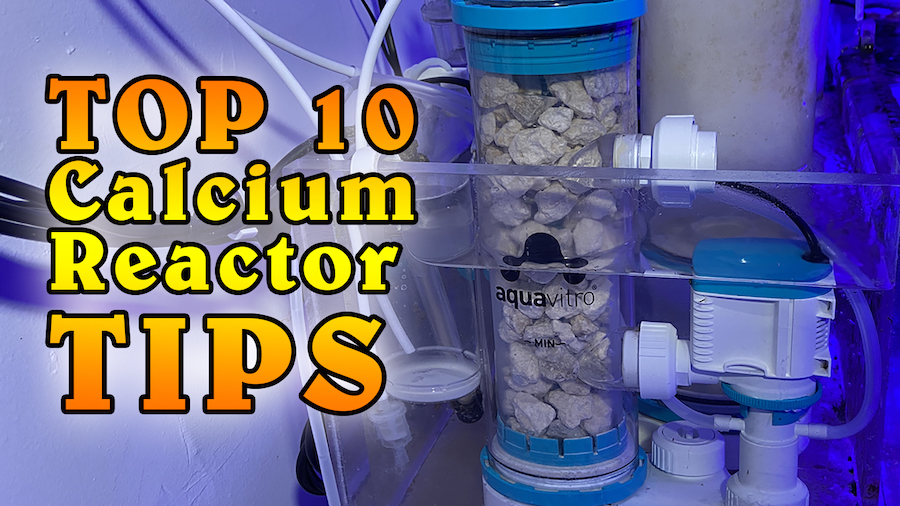
Many reefers who’ve mostly used dosing for maintaining their calcium and alkalinity levels have surely heard about calcium reactors somewhere along their reefing experience, but may not be fully versed in when they should use one, and the various tips and tricks that makes using a calcium reactor a much smoother experience. We’ve worked with some really advanced calcium reactors in the past but with the launch of the new Aquavitro Element CA calcium reactor we wanted to put together a list of ten pointers that should ease the transition from dosing to using a calcium reactor.
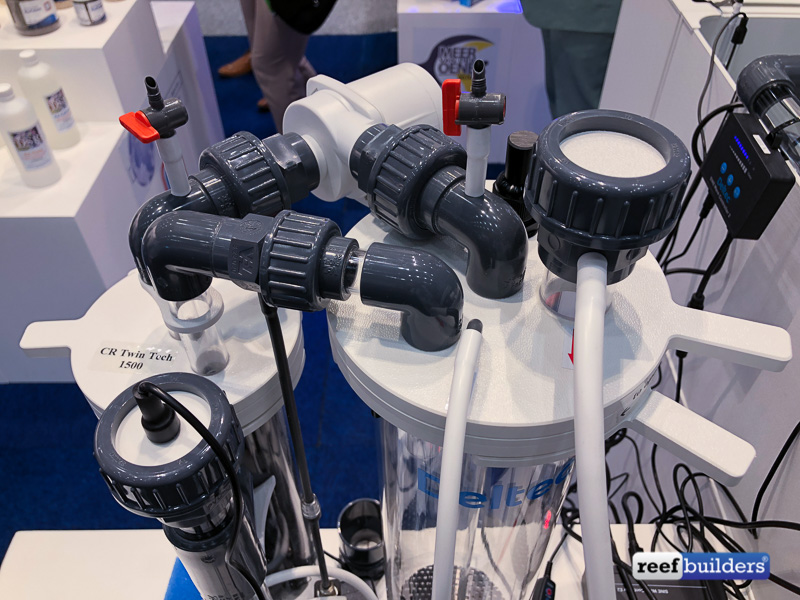
Don’t be overwhelmed. The first thing we want the uninitiated to understand is that looking at a calcium reactor for the first time is more confusing than actually using one. There’s a ton of hoses and tubes and doodads but once you learn what they all do, you’ll feel a lot more comfortable about using one. With all of the different models we’ve used over the years, even we have a moment of confusion when we see a new design for the first time but at their core they are all fundamentally the same.
Why a calcium reactor? As we alluded to above, it’s easier than ever to manage the demand for minerals in reef aquarium water but once your population of corals reaches a certain level, either from lots of corals in a small tank or simply a large tank, it makes more sense to use a calcium reactor. Surely you’ve seen the cost of dosing liquid additives, and mixing dry additives can also add up over time, not to mention the time it takes to resupply and mix your own, it’s just not great if you have lots of fast growing corals. This is where calcium reactors offer a much better long term value over just dosing buffer, and it’s more stable too because it’s constantly working. No doubt a calcium reactor is more expensive up front but when set up right it can coast for up to a year depending on your setup
Calcium reactors have a greater effect on Alkalinity. A calcium reactor is more a pump for alkalinity than for calcium. With a name like calcium reactor you’d think this device would create a lot of calcium for your tank but it actually replenishes the carbonates that boost alkalinity substantially more, which is a good thing for reef aquarium chemistry. Reef tanks consume carbonates much faster than calcium or magnesium so in a different universe a calcium reactor might as well be called a limestone, aragonite or carbonate reactor.
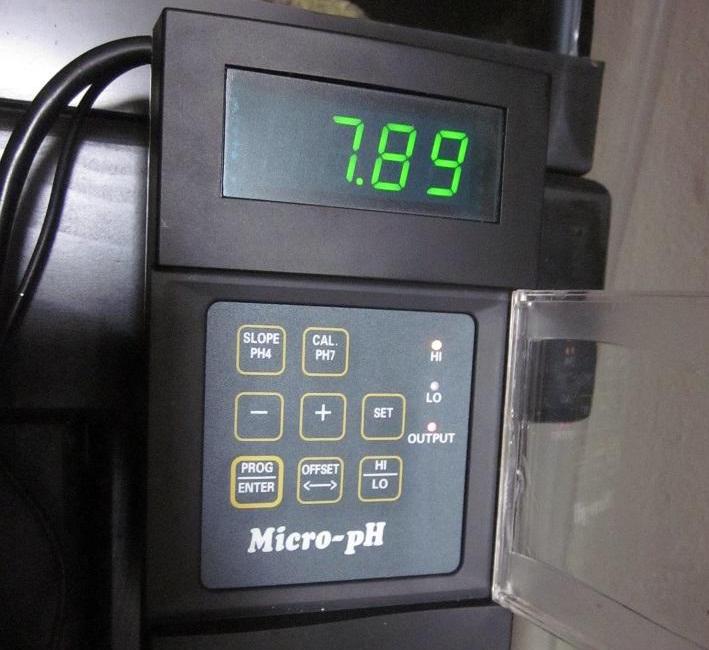
A pH controller is optional. You don’t need a pH controller to run a calcium reactor – it’s by far the best way to control the function of a calcium reactor, but we used them in an analog fashion long before we ever used pH controllers. Testing the effluent is how the hobby started using calcium reactors and you can use a basic pH pen to achieve the same result, aiming for a pH of 6.5 to 6.7, I tend to prefer the higher end 6.7 so as not to add to much acidic CO2 to the tank water.
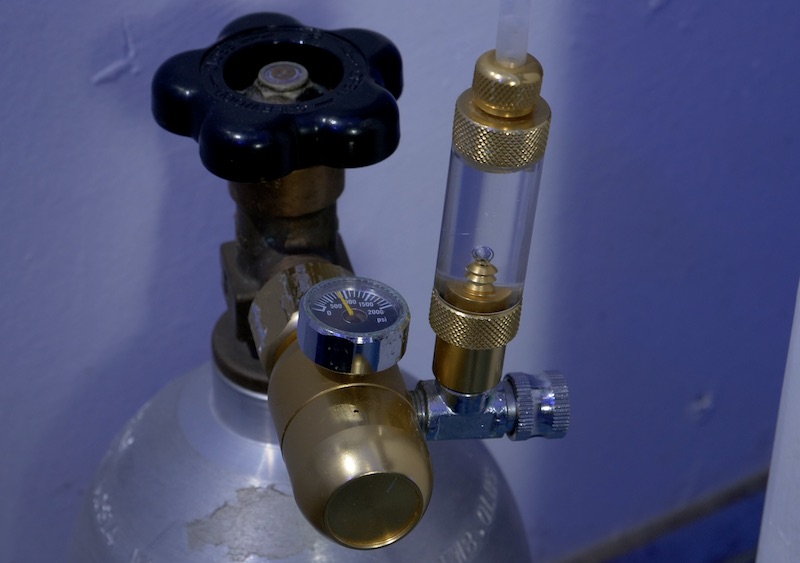
What is a good starting rate? Especially if you’re not using a pH controller you might be wondering at what rate you should bubble in the carbon dioxide and how much water to run through the entire device. A good starting point is one bubble per second of CO2 and 1ml per minute of effluent water – adjust effluent flow to increase the alkalinity, and increase bubble rate as needed to keep the pH at 6.7 or below. These are the guidelines for using an average small calcium reactor but if you have a commercial scale need for mineral replenishment you’re probably going to be using a pH controller anyway.
What size reactor media? One of the newest developments in calcium reactors is the availability of a range of reactor media grades. In the early days of calcium reactors users tended to use mostly coarse sand to provide as much media in the reactor with as much surface area for dissolution as possible. The trouble with fine media is that it breaks down from the dissolution and the fine particles created tends to clog the rest of the media, resulting in poor performance. For this reason calcium reactor media has grown in size with coarse and medium grades available to reduce the clogging issue and higher water flow through is used to make up for the reduced surface area.
When to replace the media? Calcium reactor media needs replacement WAY before the reactor is empty. As a calcium reactor begins to dissolve the media inside of it, at first the level will drop from the top but eventually, a lot of dissolution will occur inside of the mass of media without dropping. You’ll get little collapses that will noticeably drop the level but the voids inside will be harder to spot so you need to wash, rinse and top off the media long before the reaction chamber is noticeably low. For this reason you’ll want to pick a reactor that has easy enough access to the media – sometimes you can simply top off the media, other times you also want to wash off the media to remove the fine particles, but this is much less of an issue with coarse aragonite options.
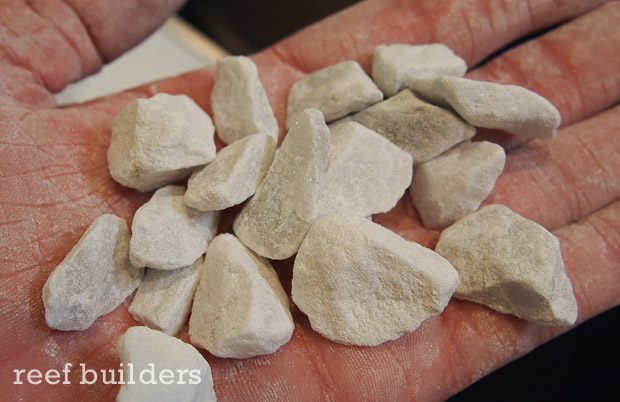
You need to manage the low pH effluent. A calcium reactor will drop your aquarium pH. The very nature of dissolving limestone and aragonite using carbon dioxide means that the effluent water going into your tank has a very low pH. Therefore you really want a dedicated way to treat the low pH and CO2 of the effluent, so one best practice is to have a secondary chamber of finer media to absorb some of the CO2. Another thing you can do is to direct the effluent into the skimmer intake, or better yet a combination of a secondary media chamber than then flows into the protein skimmer for degassing of the acidifying gas.
Use a dosing pump to feed the calcium reactor. It’s not mandatory, but a dosing pump is a huge improvement in managing the flow rate of the calcium reactor. Plenty of calcium reactor designs don’t require a feed pump, but over time even the best gang valve or fine control valve will get clogged – it’s simply a natural process of what happens when you dissolve rock, lime and grit will interfere with the precision of any valve you place at the outflow of the reactor. Likewise, make sure to use some kind of prefilter before a dosing pump used to supply the feed water in order to avoid any problems at the beginning of the chain.
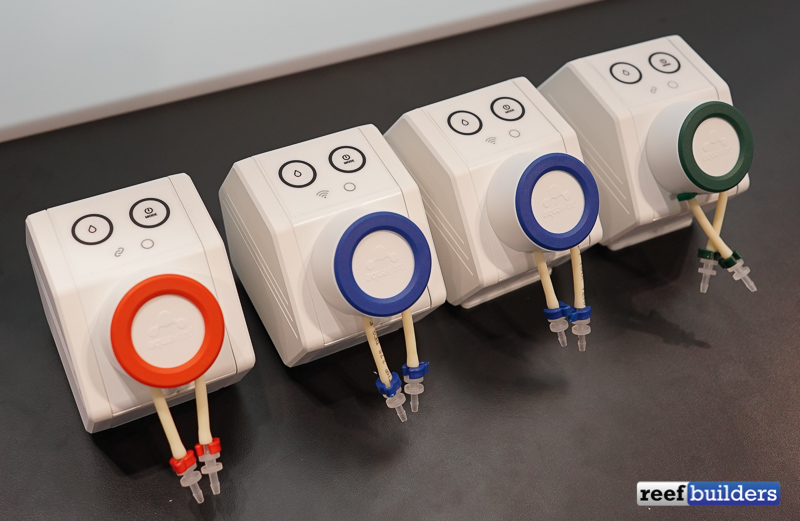
Don’t forget about it! Inspect your calcium reactor to ensure it is functioning properly. A calcium reactor is cruise control for your reef tank alkalinity, and some of your calcium too, but regular observation will help keep things working as expected. There’s a lot of moving parts to even the most basic calcium reactor setups so once a week give a quick glance at the bubble counter, the effluent rate, the media level and appearance just to verify that everything is operating nominally.


