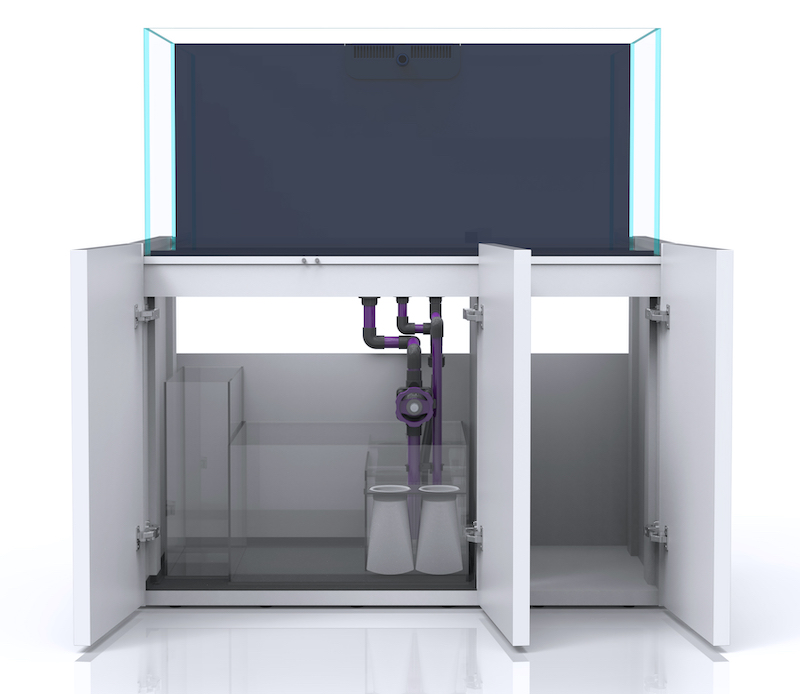
For any of you that are coming from the world of freshwater tanks and have only had experience with a “standard” tank, that is one with all of the equipment either inside of the tank or hanging on the back, setting up a saltwater tank is different. I’m not trying to be Captain Obvious, but besides the obvious differences, a saltwater tank is different in subtle ways. One of these ways is that most saltwater tanks set up today, use an overflow and sump. For those of you not familiar with these, a sump is simply another tank that sits under or away from the main tank and holds most of the equipment used to run the main display tank. It is usually smaller than the main display, but adding its volume to the main display tank’s volume helps add to the stability of the total system. The overflow, as the name implies, is the means by which water is taken from the main display and gets into the sump, usually by having it overflow in some way to get to the sump.
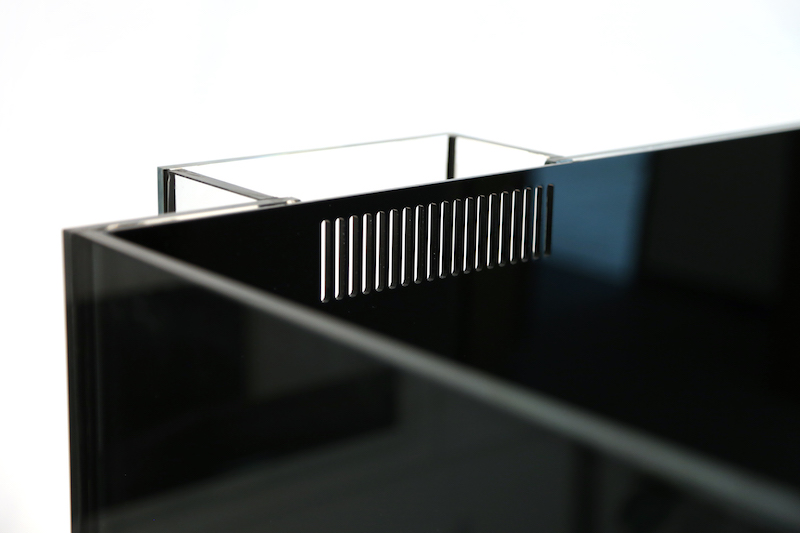
This may sound simple since when it is done right water in the main display reaches a certain level and then it is drawn off in some manner goes over the overflow and into the sump, where it is treated in some fashion and then it is pumped back up to the main tank. Unfortunately, like most things in this hobby, it is not quite that simple. First, there are numerous ways to do this which we will discuss, both in terms of overflows and sumps. All of these pieces of equipment and set-ups have their pros and cons and these need to be considered. And second, and this should not be overlooked, when these pieces of equipment fail, they typically lead to water being out of the tank and on the floor. Sadly, even with the best-laid plans, this happens at one time or another to everyone.
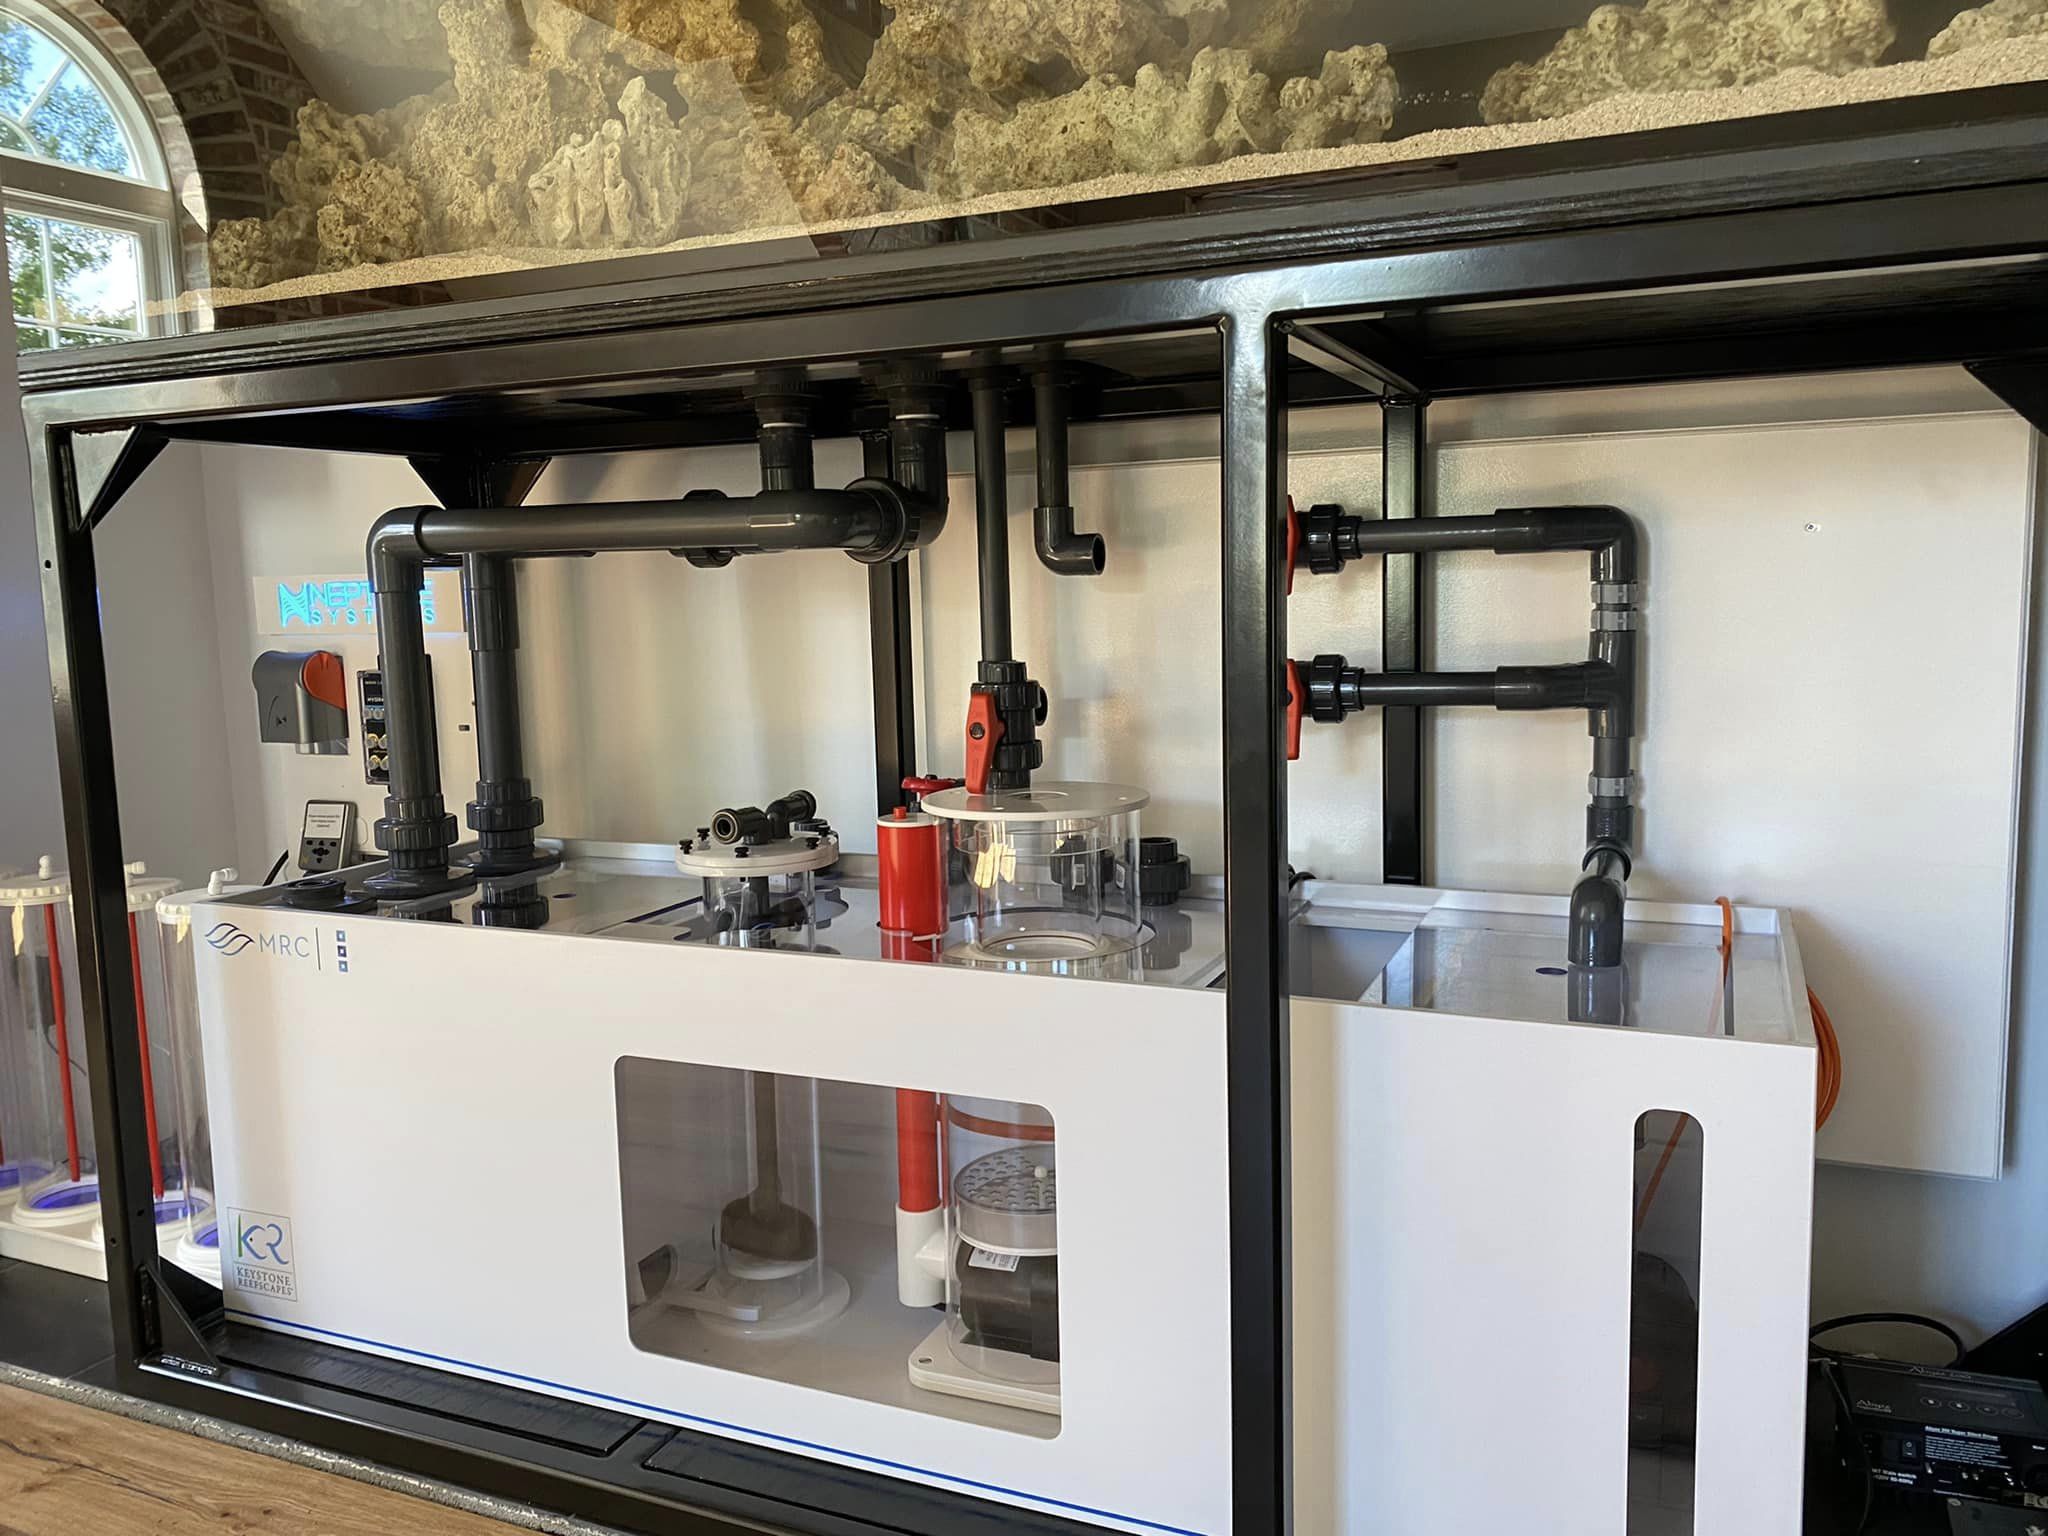
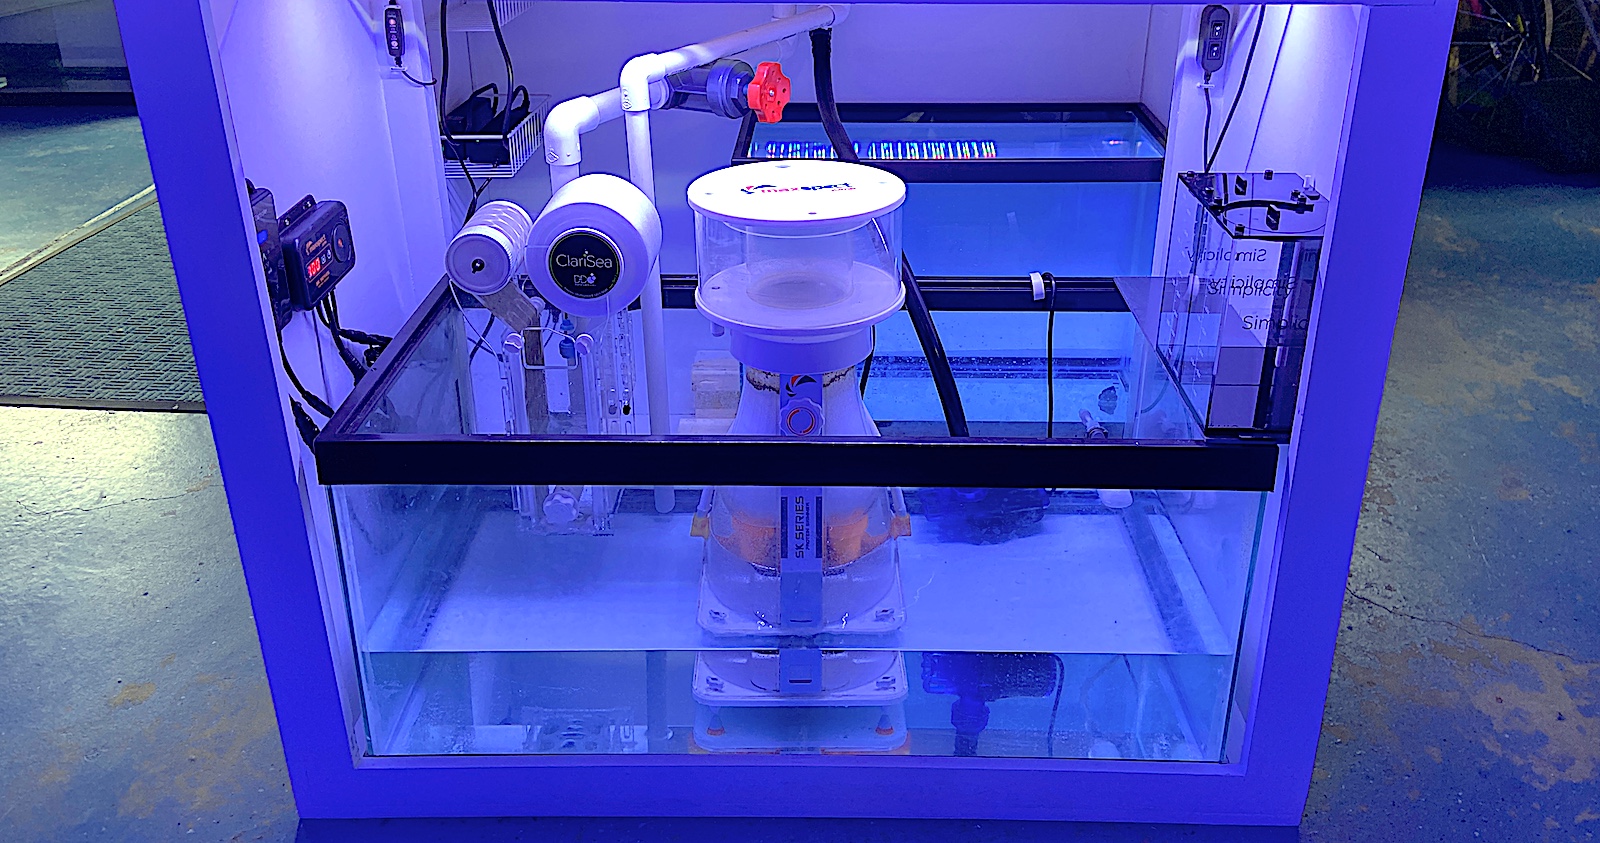
To try and make this as simple as possible we will work backward and start with a discussion of sumps and what they do. A sump is simply a container of sorts, it can be a tank, used or new, a plastic or fiberglass box, or a specially designed acrylic box that sits below or next to, or away from the main display tank. Its function is to hold all or most of the equipment necessary to run a reef tank and be out of the tank so as to not distract from the beauty in the tank. For most new and smaller setups, it rests below the main display tank in the stand and usually fills up all of the space underneath the main display. It usually holds equipment such as mechanical filters, protein skimmers, heaters, media reactors, top-off systems, and return pumps. Some of these pieces of equipment can be outside of the sump, but this requires more plumbing expertise.
Since all of this equipment is usually considered essential for a successful tank, the sump needs to be well designed to hold it all and do so, so that the flow through it optimizes the equipment. That is, the water coming through the overflow from the tank should not flow through the media reactor then the skimmer, and then the mechanical filter. Instead, the flow through the sump needs to be optimized so that filtration occurs in an optimal manner, so the sump needs to be large enough to allow for this and still hold all of the equipment. The sump should also be designed so that access to the equipment should be easy so that it can easily be maintained.
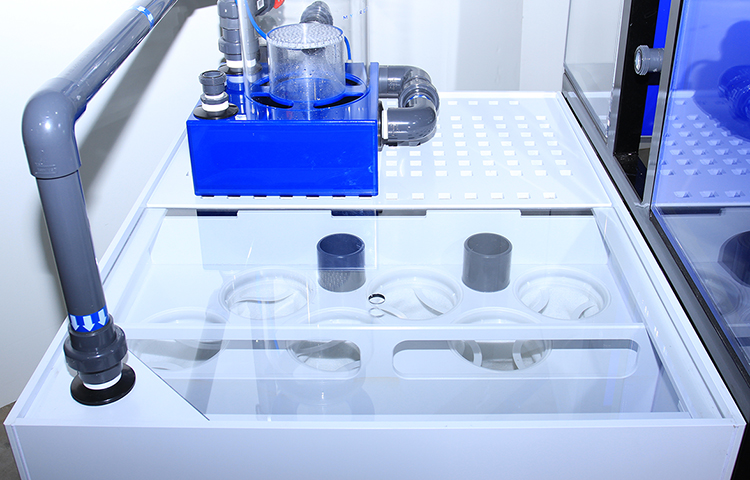
A used tank will do
A sump does not need to be expensive, I usually use used tanks that I pick up inexpensively at my local fish shop. It just needs to be planned out so that the equipment fits, the flow is optimal and everything can be accessed for easy maintenance and cleaning. For smaller tanks, I generally recommend that it be 1/3 to ¼ the size of the display tank. So for say a forty-gallon tank, the sump should be at least ten gallons in size. But as with everything reef-related bigger is usually better. There is no standard sump, so I strongly suggest you look at the sumps on successful tanks to get an idea of what a practical sump looks like. Most people who are successful do not have sumps that are unworkable.
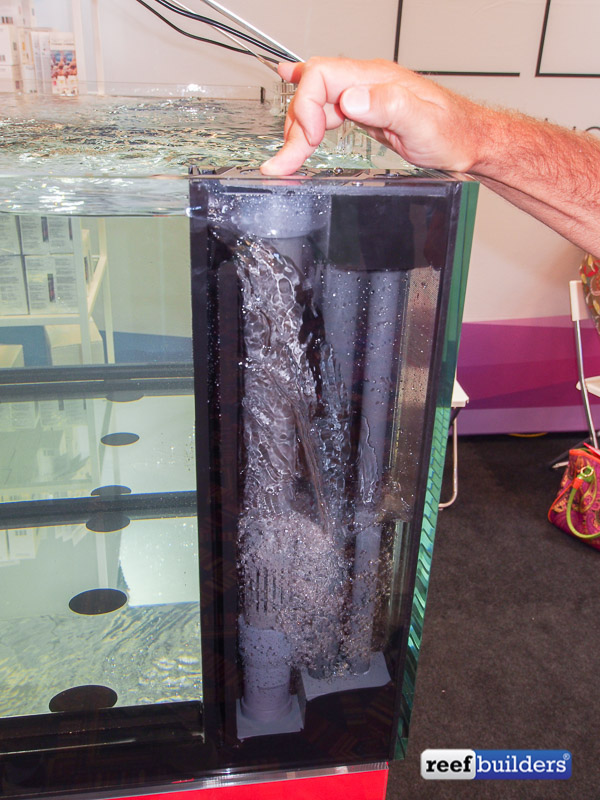
Just as a sump may sound simple, so too does an overflow. In its simplest form, water from the display tank flows over something so that it moves outside the tank and down to the sump. The reason water is removed via an overflow from the top of the tank rather than just from the bottom or middle is that waste products and other pollutants tend to be lighter than water and hence float. By using an overflow these unwanted items are more likely to be removed by the filtration. Unfortunately, the total overflow system is not quite that simple. The reason it is not that simple is that things, fish, snails, detritus, air bubbles, etc., tend to get stuck in various parts of the device interrupting the flow and sending water out of the tank. In the early days of the hobby, an overflow usually consisted of two plastic boxes, one inside the tank and one out, with siphon tubes flowing between them, and the one outside the tank connected to the sump. So water would flow from inside the tank over the overflow into the first box, through the siphon tubes into the second box, and then from there into the sump where it would go through filtration and then be pumped back into the main tank. This method worked satisfactorily most of the time, but it was prone to having the siphon break or getting knocked off, or gradually got filled with detritus or other material, so more elaborate overflow devices and methods have been developed.
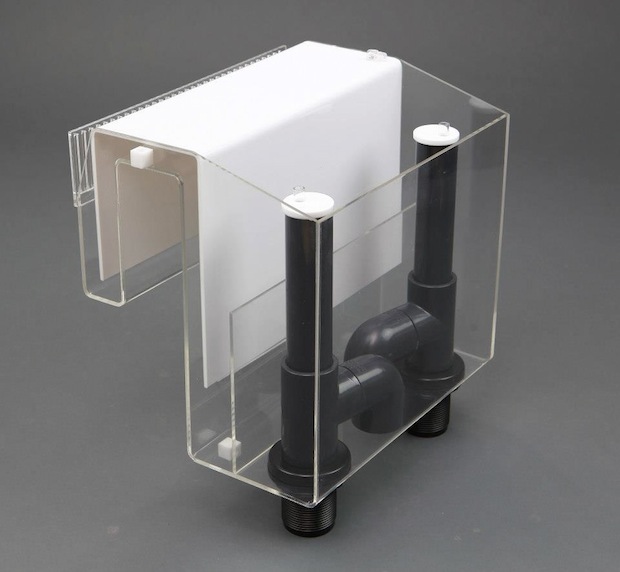
These better-designed overflows include plastic or acrylic boxes with only a small overflow in the tank, with a large cross-section built into the box allowing for a large amount of water to flow through the overflow without it taking up a large amount of real estate in the tank. These devices also often have a valve built into them so that any air which accumulates in them can be drawn off via either a step pump or a powerhead. This is critical because I have never found an external overflow that did not accumulate air in it without utilizing this type of system. And this is important because if air accumulates, even if it is a slow accumulation, the siphon will break leading to a wet mess.
Drilled tanks
In addition to these new overflow devices, many hobbyists have gone to having their tanks drilled so that the overflow is built in and thus there is no siphon to be broken. In the most common form, holes are drilled in the back corners of the tank and boxes are built around these drilled holes. The holes are filled with bulkheads and in these pipes are placed so that the water flowing over the overflows does not need to drop a long distance to keep it from being noisy. More recently, the sides of some tanks have been drilled instead of the bottoms and the bulkheads are placed in these holes with a narrow overflow covering these holes within the tank. All of these methods are superior to an external overflow as they have no siphon to break, but they do require to be planned for before the tank is set up.
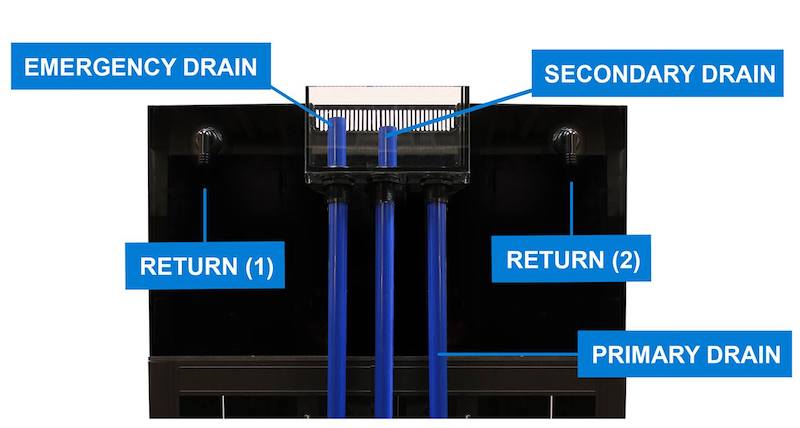
The best overflow systems take up little space within the tank, have no risk of the siphon being broken, and allow for large volumes of water to pass through them. Most manufacturers of external overflow provide an approximate idea of how much volume they can handle. In my experience, I typically opt for overflows that can handle slightly higher volumes of water than what is listed as I do not want to take the chance that something small will plug the overflow reducing its intake volume and leading to an overflow in my house. Even the best-designed overflows require maintenance as algae, especially of the bubble type and other pests like tube worms and vermetid snails will sometimes make their homes in the overflow and over time clog the system. For this reason, I highly recommend that all overflows be cleaned every six months. Corner overflows should be cleaned even more often as these types of overflows often act as detritus sinks with large amounts of detritus settling in the corners out of sight and as a result releasing a lot of nutrients back into the tank over time.
A properly designed overflow and sump are integral components of most modern reef tanks. They can be as simple or elaborate as the owner wants and can afford, but as with most aspects of this hobby, you get what you pay for. While you do not need to spend an excessive amount on either of these, they should be easy to maintain and simple in design, and when done right they will almost be forgotten about, which is a good thing as there are a lot of better things to think about when enjoying this hobby.


