Ongoing renovations to my house have given me a rare opportunity to improve how I run my tanks by utilizing a hole in the wall. When it comes to suitability for tanks my place isn’t brilliant. It has raised wooden floors for a start, on rickety old floor joists, so the floor isn’t level, it moves when you walk around and I’ve even had to replace the floor in some rooms. But when we ripped out the dilapidated old kitchen to make way for my fish room and office, apart from the lousy flooring, the kitchen came with some cool fishkeeping apparatus like lots of wall sockets, an extractor fan (for the old hob,) mains water, and a drain. I lost the fight to keep the extractor fan and had to cap off the mains water pipe, but I did get to keep lots of electrical sockets, and right in the corner of the room, the drain pipe that the washing machine and dishwasher used to connect to. And I’ll be using that drain for my newest reef tank.

The problem of CO2
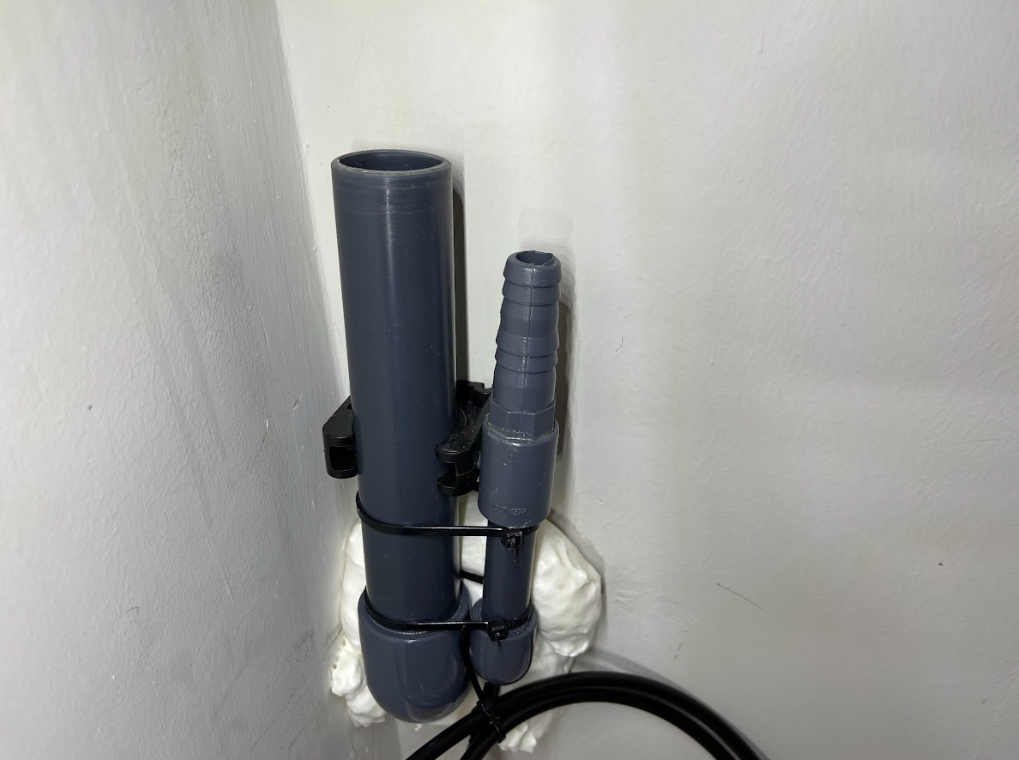
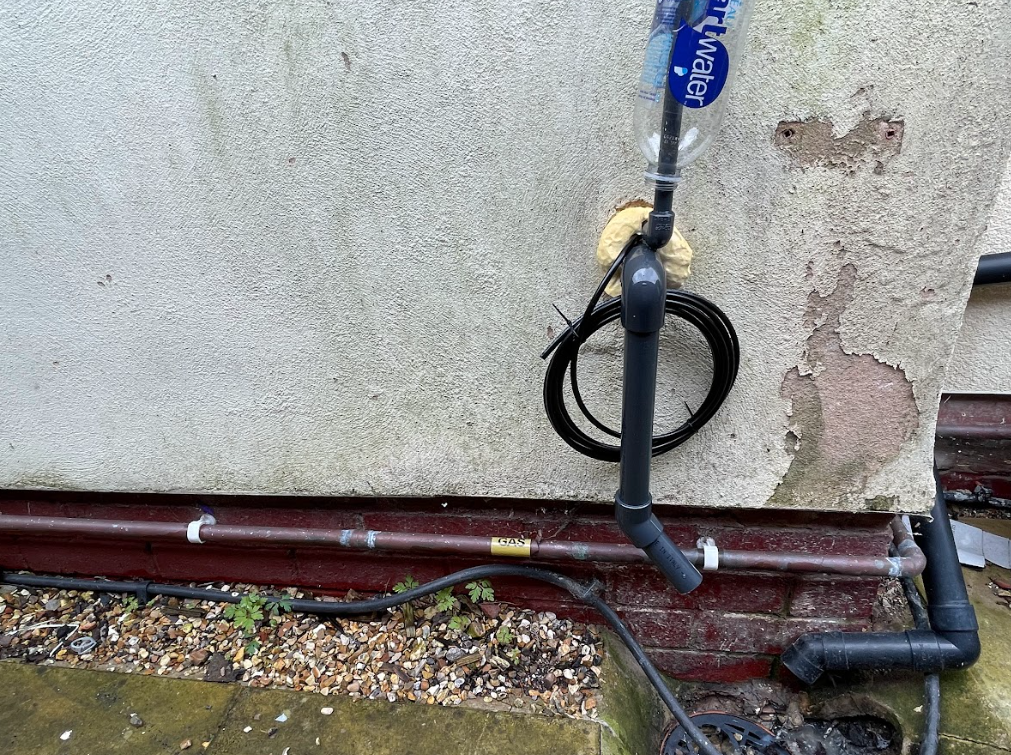
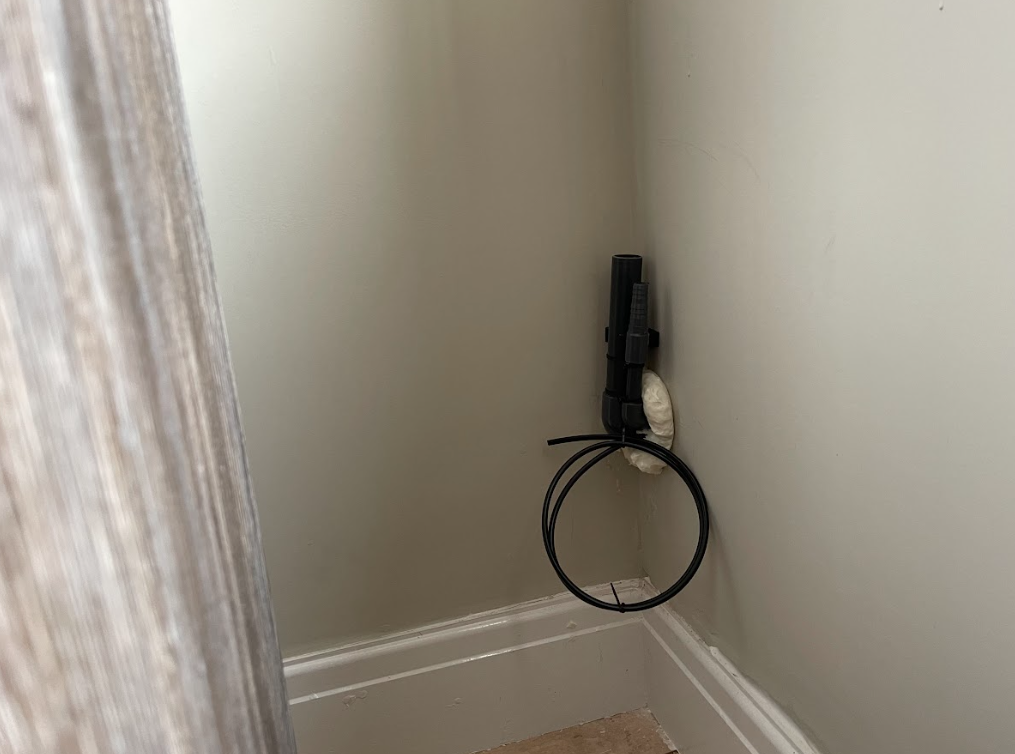
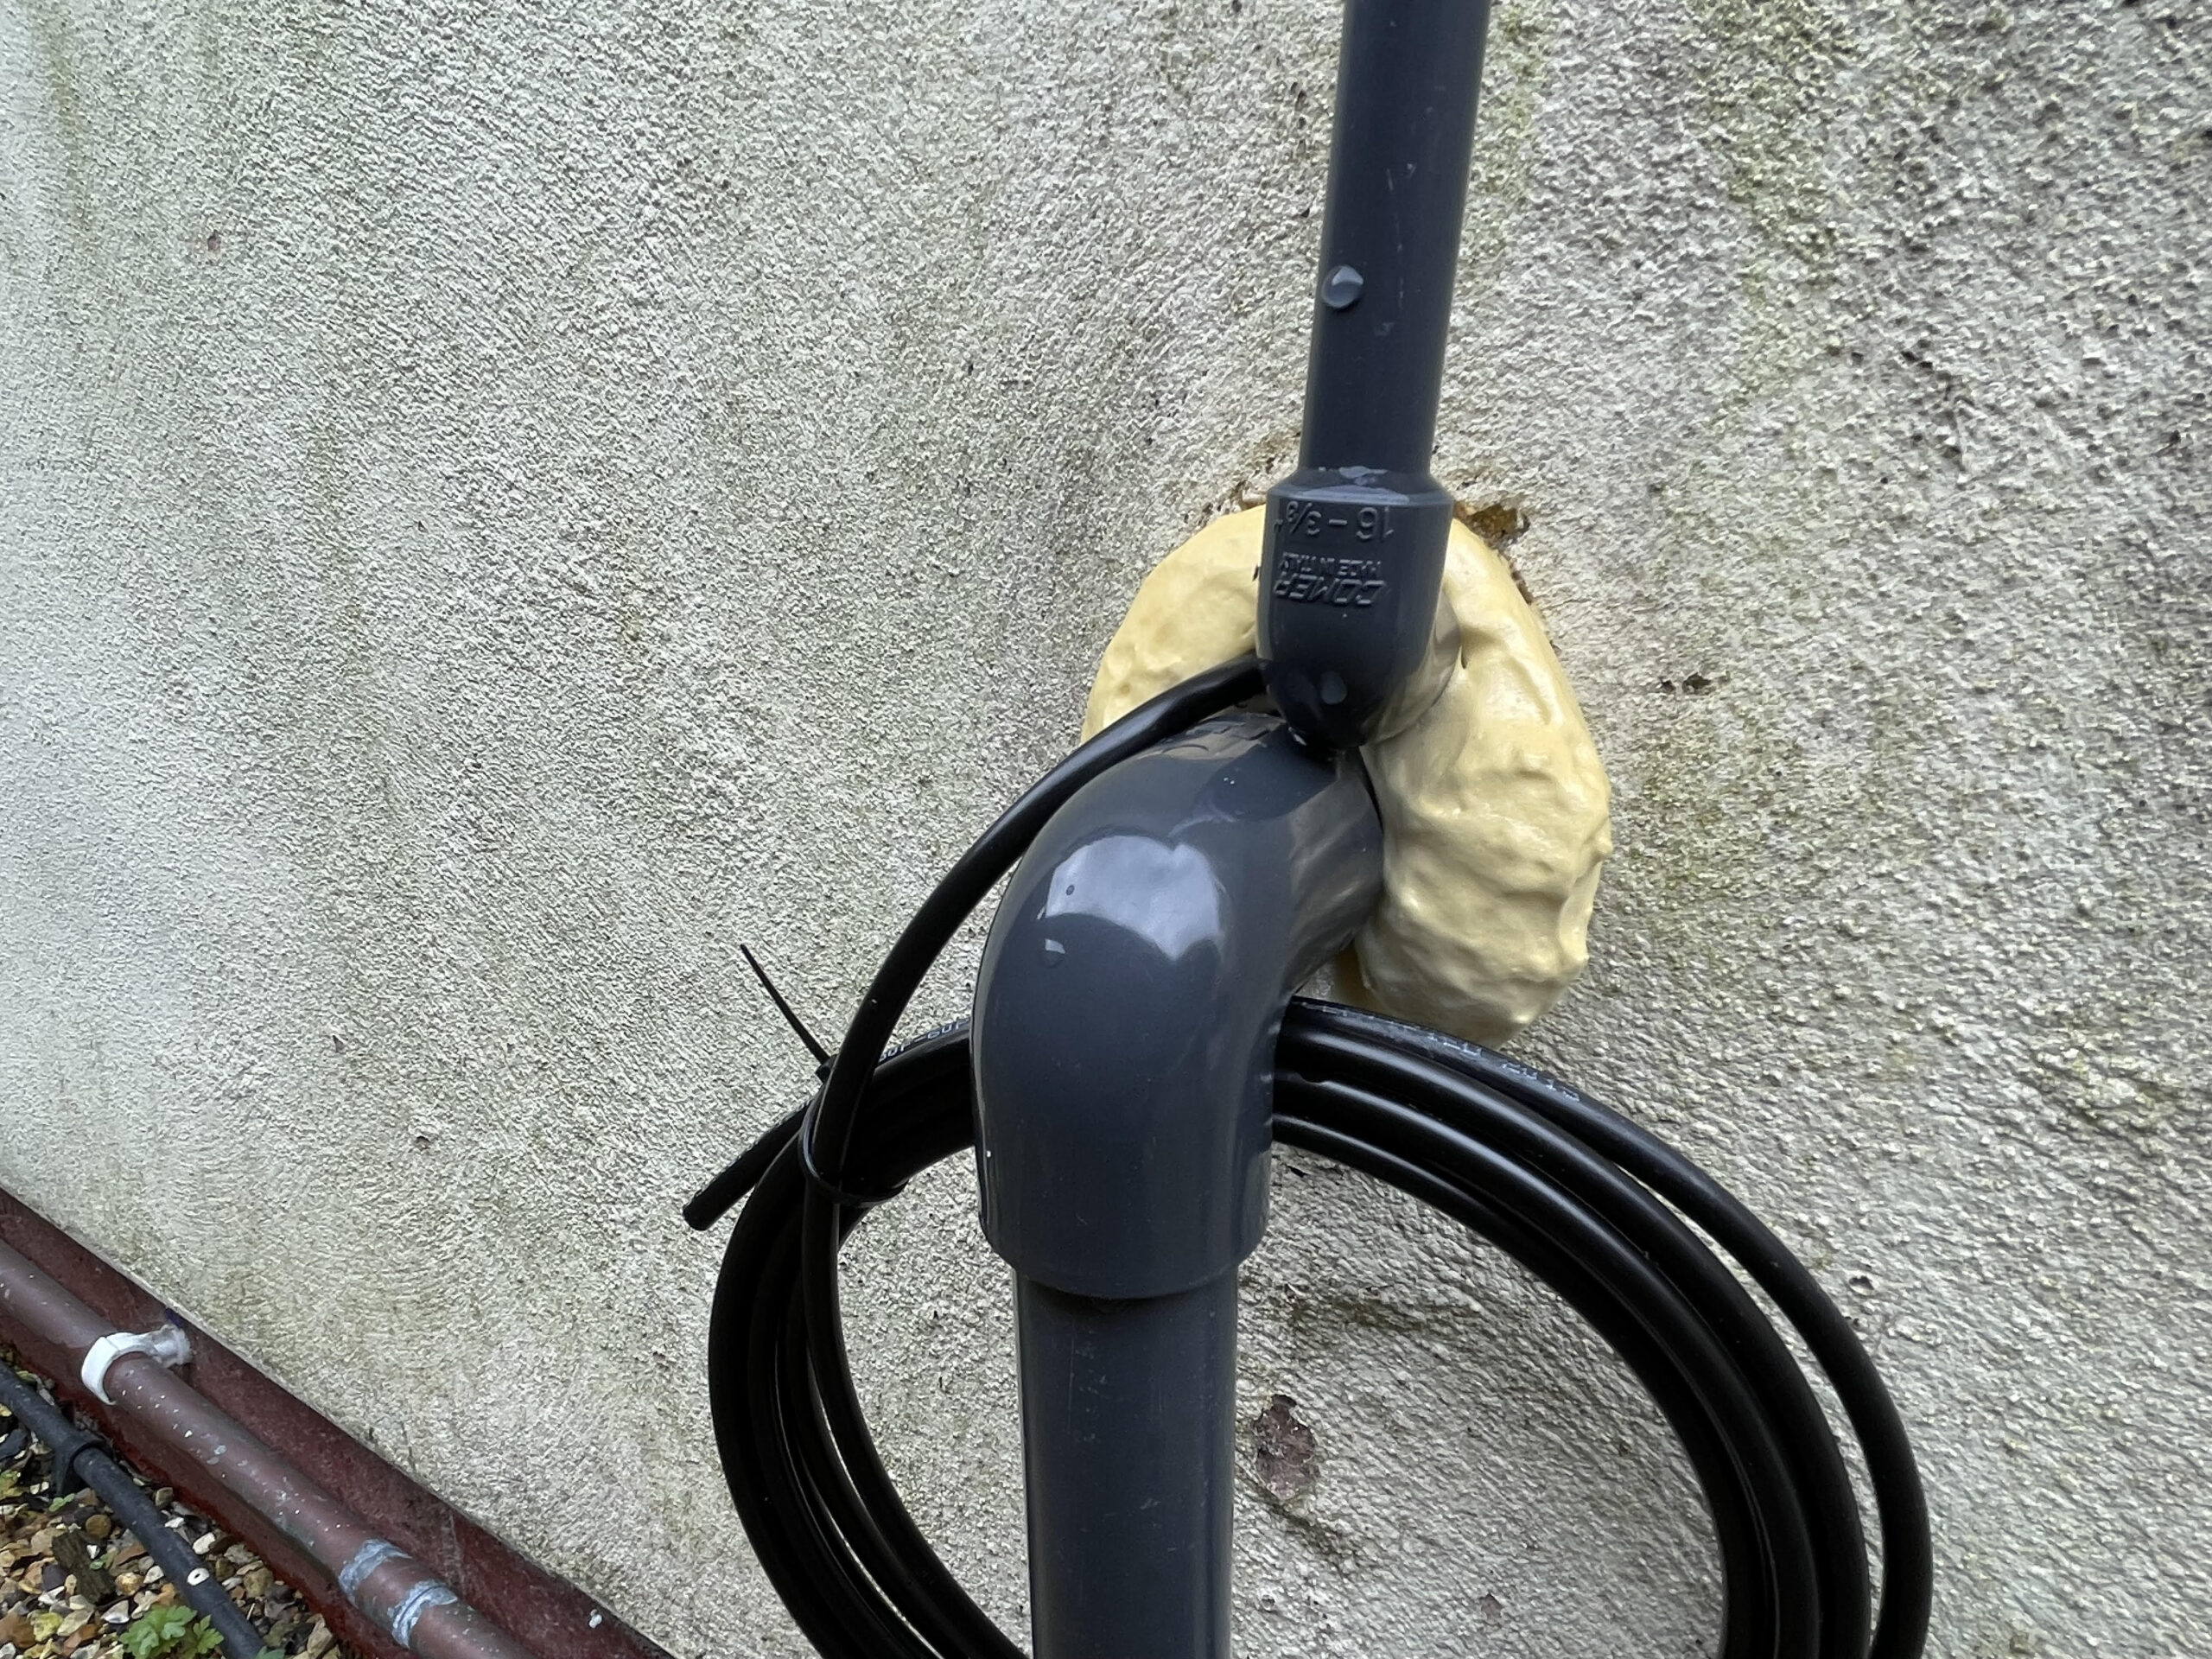
There is a lot of talk about CO2 and pH right now. Mike Paletta is talking about it, Jake Adams was talking about it, and both experimented with simply drawing in air for their protein skimmers from outside. So a pipe leading out that I could connect my skimmer to would be pipe number one to go through the wall. Next is the age-old issue of lugging heavy buckets of water around. They ain’t getting any lighter, so with the opportunity to put a new, 32mm diameter waste pipe from my tank to the drain outside, pipe number two was a no-brainer. As it is I have put an elbow on it so that I can stick the end of my siphon tube down it and do away with the need for buckets, but the commercial installer in me might just hard plumb it to a “T” on my return pump so that I can actually pump to waste simply by turning some valves. It’s a luxury in a home aquarium but it is so worth it.
And after a week or so of staring at my two new pipes and contemplating all the possibilities that they would bring I installed another, this time for RO water. My RO machine is outside anyway so I can connect my RO product water feed to my top-off reservoir via a float valve or sensor and a solenoid, and top-off automatically too. So that’s pumping out, drawing air in, and topping off all sorted. But my thoughts have run beyond that. If the tank ever became freshwater I would reinstate the mains water feed, and introduce that via an inline dechlorinator and a float valve too. And even swap the skimmer airline or RO tube for an airline, sitting an air pump outside where no one can hear it, but giving my future freshies extra bubbles. The opportunities!

Potential Issues
With the old, smaller tank still running independently in the other room I have had the luxury of taking my time with this new build. After visits from a plumber, an electrician and a plasterer my old kitchen now looks a bit more like a room, with my desk at one end and my intended tank at the other. I had the opportunity to purchase a five-foot tank from a friendly retailer at a great price. The only thing is, it’s a freshwater tank, so every saltwater conversion thought has gone through my mind from simple external canister filters to a hang-on overflow box, to drilling the tank, building my own weir, and installing a sump underneath. Knowing how much I love Herbie- style weirs as well as wanting ten times turnover through the sump per hour, I’ve gone for what I think is the right choice and will drill the tank and install a central weir, just like on a Red Sea Reefer or similar.
I’ve had to source a sump too but have already gone from sourcing a DIY glass sump for the equivalent of $40 to being given an unused acrylic sump by a guy I used to work for. More about that in the future. But running at about 450 liters/120 gallons total volume plus rocks, I’ve brought in a carpenter too to strengthen the floor joists. Now I wish I’d have gone bigger as I can just about stretch to six feet long wall to wall, and with all the costs of buying a weir comb, glass for the weir, diamond-coated hole saws, bulkheads, and pipe fittings, I probably should have just gone for a custom, or an off-the-shelf reef ready set up.
Back to pipework, it does terminate over an external drain that is connected to my washing machine, kitchen sink, and drain in another room. I don’t really want the smell of a drain in my office when I’m not pumping down it so have shut the largest pipe off with an end cap for now. This will also prevent any cold drafts, insects, or undesirable mammals from entering the pipe and ultimately, my house.
For the skimmer line, I turned the pipe up so that it draws in air away from the drain, and if I want to I could extend that inlet pipe right up the side of the house to draw in the cleanest air higher up. I live near the coast so should have good air quality, but am also surrounded by fields that have high pollen. I intend to use some carbon and filter wool as a basic air filter and place it inside an upside-down plastic water bottle, which will also keep the rain out of the pipe. Drawing in cold air in winter may increase my heating costs, but I’ll test it out over the next 12 months to find out. I sealed the gaps in the masonry with expanding foam on both sides.

Future-proofed
I will regret not keeping that oh-so-handy 4” extractor fan, especially as the inevitable condensation builds up in winter, and yes, I’ll always regret not going bigger still with the tank and filling the new wall space completely, but I’m really glad that I kept the hole in the wall and will be reporting on the benefits long term. I can always go bigger with a tank in the future, and from the outside, that pipework looks like something only a fellow reefer will understand, (and the wall needs re-rendering!) but I like to think that by plumbing to waste and strengthening the floor, I’ve future-proofed the space.


