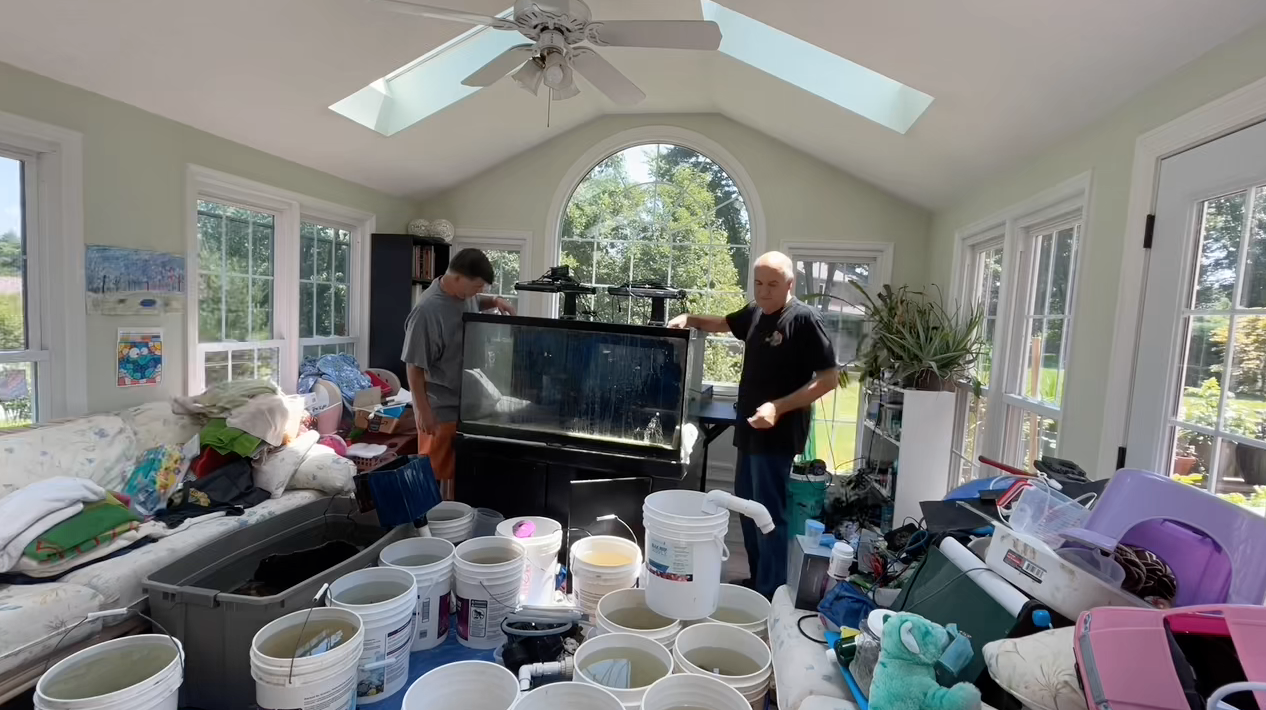
We reefkeepers are a fickle bunch. We achieve a thriving healthy tank full of corals and then we break the tank down so we can go bigger as we never seem to have enough.
I say this from experience as I have changed my tanks from healthy tanks to bigger tanks at least a dozen times over the last 39 years. I still remember starting with my first 55-gallon reef tank which was doing well for the time. It was in my small apartment and as soon as I moved to a house I immediately upgraded to a 120-gallon tank.
When it was empty, I still remember thinking how big it was and how I would never be able to fill it. A year later it was switched out to a 240-gallon tank, and I promised that would be big enough. Three years later that was replaced with a 540-gallon tank, and I knew I would never want a bigger tank. Six years later I built my own 1200-gallon tank, as I could not find a manufacturer to build me one, and everything was moved again.
Truth be told I should have never moved up to the 1200 as to this day the 540 was the best tank I have ever had. It was the perfect size to work on, I had access to all sides, the corals thrived, and I did not need to find or build industrial-sized and over-priced equipment to run it. So, before you decide to move to a bigger and I mean lots bigger tank, take this into consideration.
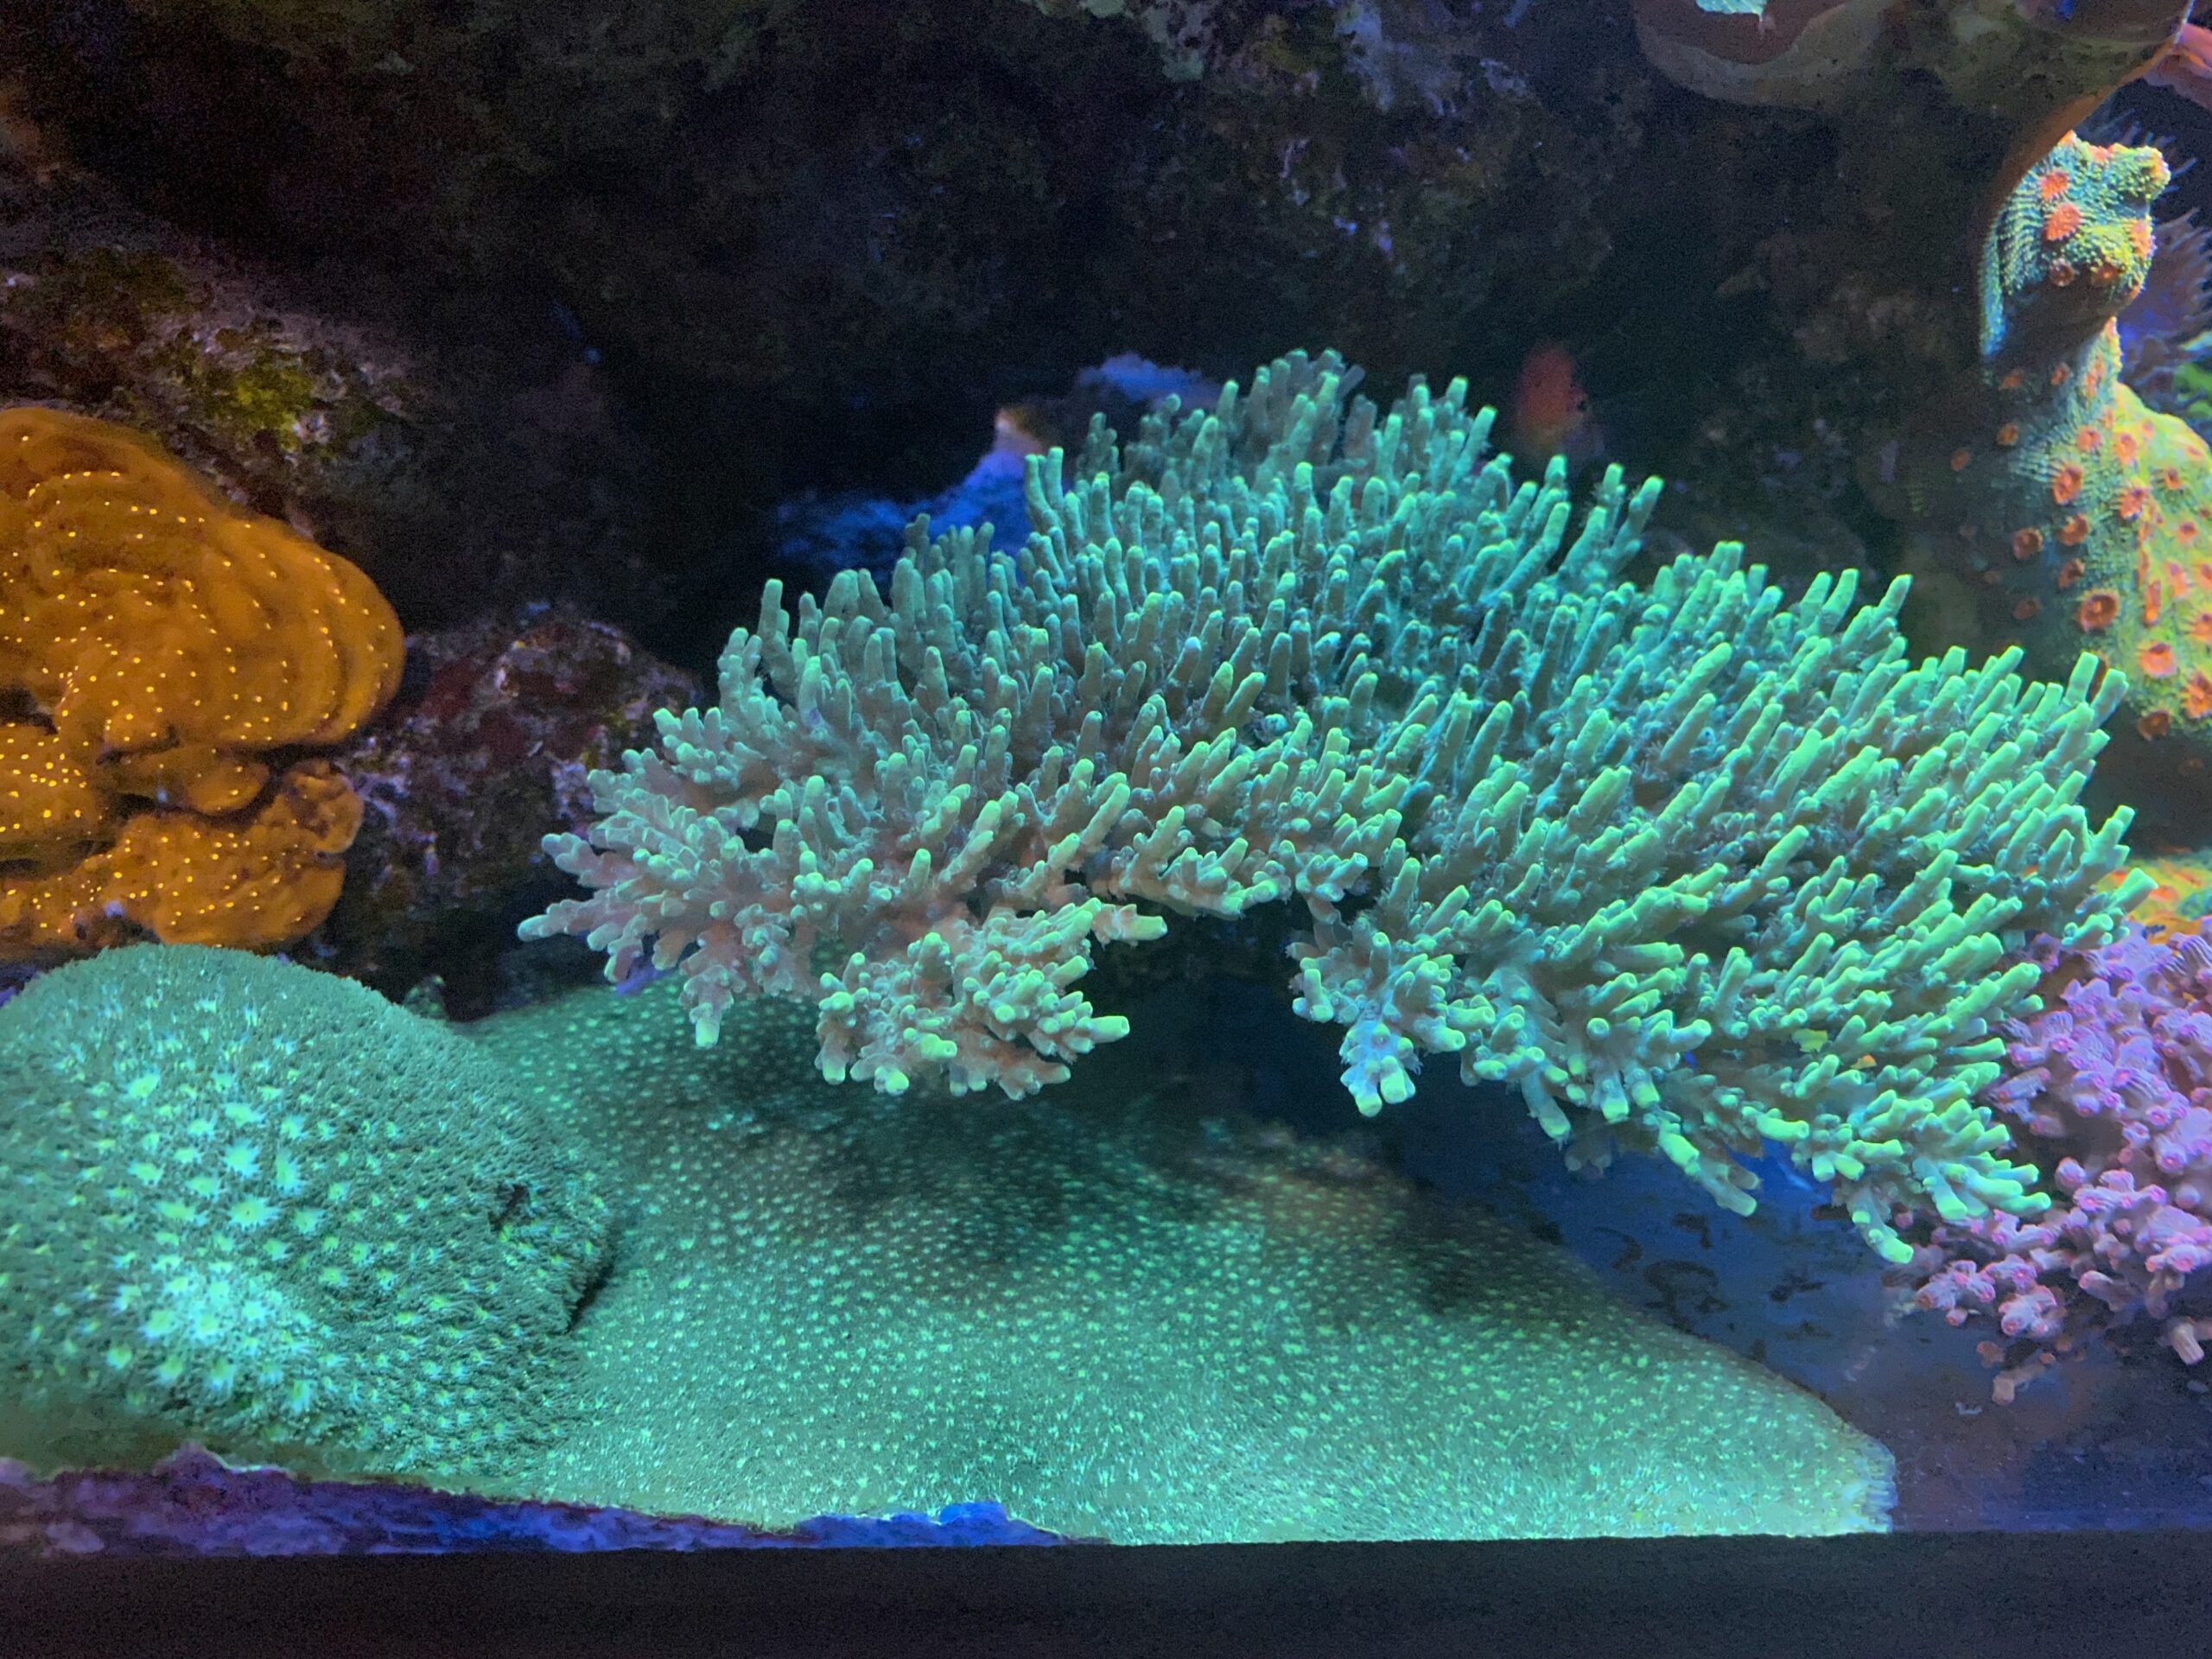
A unique set of skills
As a result of all of these “upgrades” I have developed some skill at changing tanks to move up in size and also how to move a tank from one location to another, which I have also done at least half of a dozen times. This is a good skill set to have, considering how often I have done this and also how many times I have helped friends do this as well.
I am bringing up this topic now, as for some reason late summer or early Fall seems to be the time when most of us tend to decide to exchange our smaller tanks for larger ones, and one of the things crucial for doing this successfully is to plan for this event well in advance. So even if you are not expecting to do this until Fall or winter, the time to start planning for the move is now.
Need a bigger tank
There are lots of reasons why we move up in size for our tanks or need to move them. Having corals or fish outgrow a tank is one of the biggest reasons, as is our desire to add more of the beautiful corals that are out there. These are the reasons why I personally have switched to bigger tanks. I have also changed or moved tanks due to a leak occurring in a tank, desiring to put a tank in a better location, our replacing the flooring in the tank’s room, and recently when I wanted to put a better stand on a tank. Regardless of the reason or how long it took it was a stressful event for me, but over time I have learned to make it less stressful for the corals and fish.
The first part of planning for the move is to determine the size of the new tank and to have it and all of the equipment purchased, tested, and ready to go. If the new tank is going to be in the same room but in a different location, this is a relatively easy move. But if the tank is going in the same place as the old tank or if the move is to a new house, then the planning and the process is considerably more elaborate.
In this case, in addition to having the new tank and equipment ready, you also need to plan for the increase in water volume and have adequate water prepared. If the change in volume is not too great this is not that difficult, but if you are changing from say a 120-gallon tank to a 240-gallon tank then a vessel big enough to hold this increased capacity of water will need to be purchased and filled.
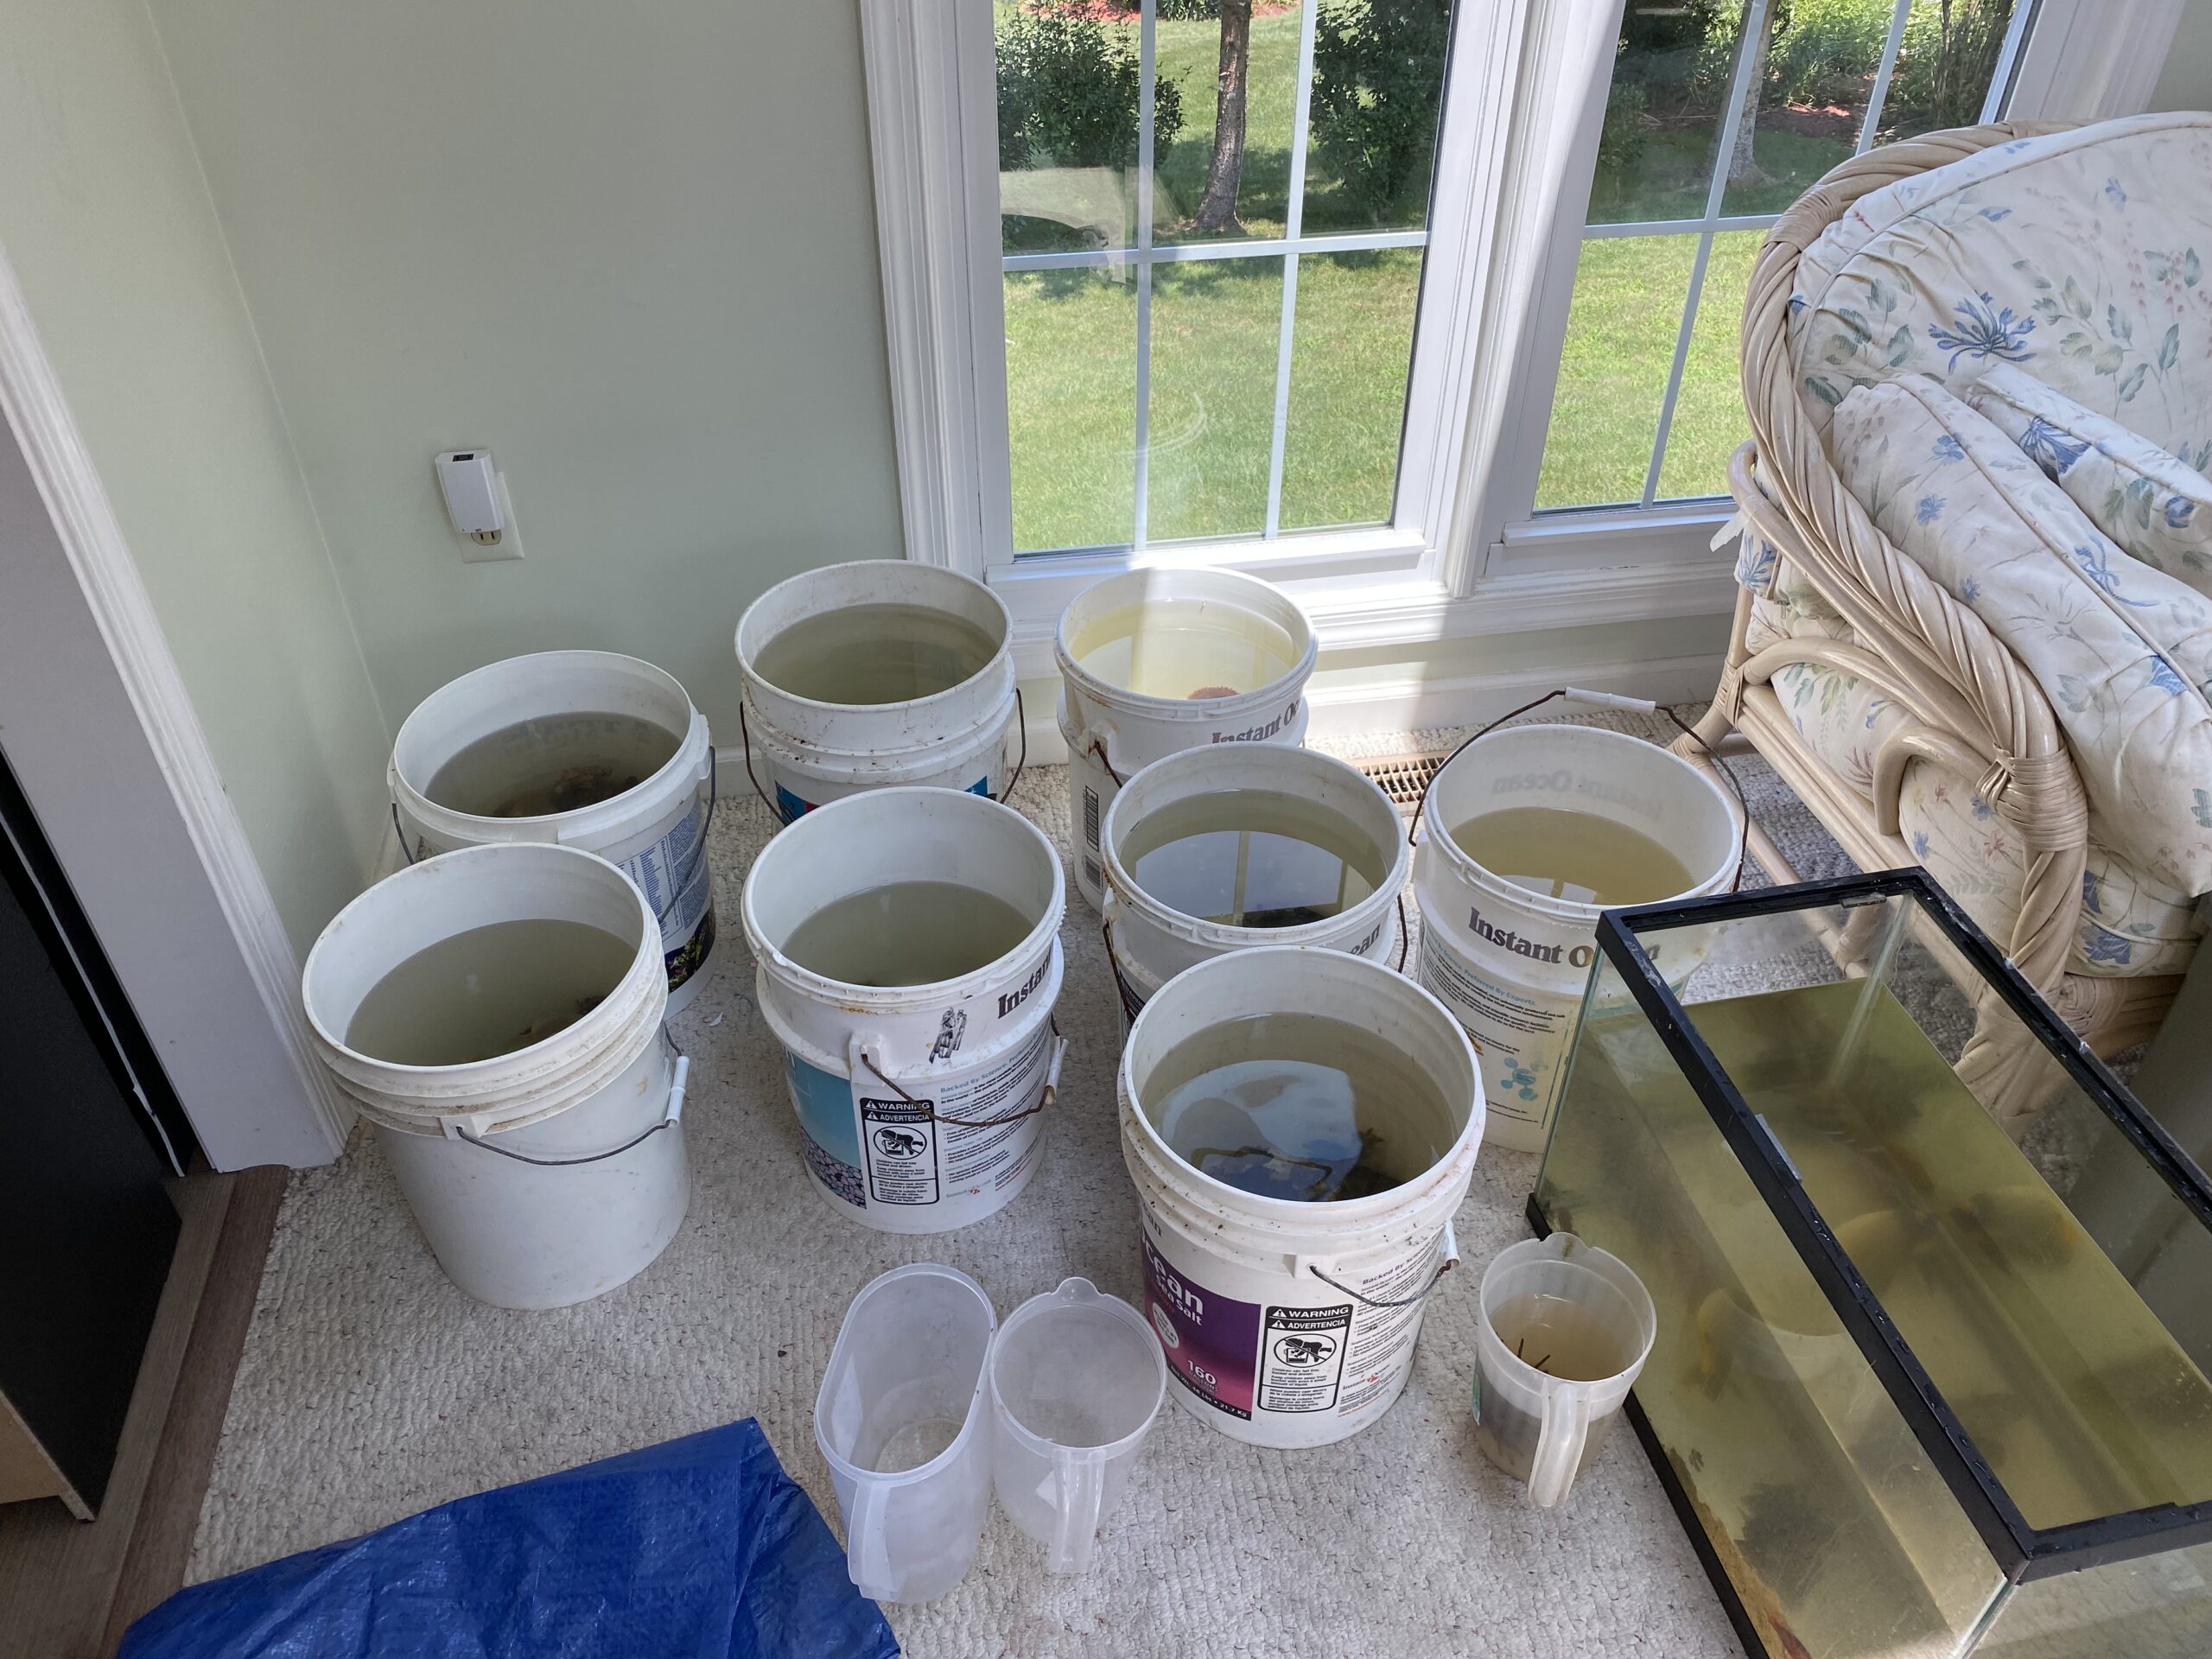
It has also been my experience that despite my best intentions, some water is lost or spilled in the process. So now I know to have at least an extra 25% of the new tank’s volume prepared in case this situation occurs. Little could be worse than you move all of the tank’s inhabitants and get them in their new tank, but you do not have enough water to fill it and the sump properly so little of the equipment will work properly.
The next aspect that needs to be planned for when making a move is how is the water going to be handled. Will most of the old tank’s water be used, if not what percentage will be saved and in either case how will the water be stored or held. While the water in a 120-gallon tank may not seem like much when it is in the tank, when it needs to be moved and stored while a new tank is set in place it takes significant planning and preparation.
Will the move be done quickly, in less than a day, or longer like a week or a month? If it is longer than a semi-permanent means for storing the water, fish and corals need to be planned for and obtained. If a large amount of water needs to be stored and maintained a large Rubbermaid trough can be used. These can be purchased at most big box hardware stores or garden and feed stores. I have even used a drinking trough to hold my fish and corals when I was moving tanks from a 540-gallon tank to a 1200-gallon tank.
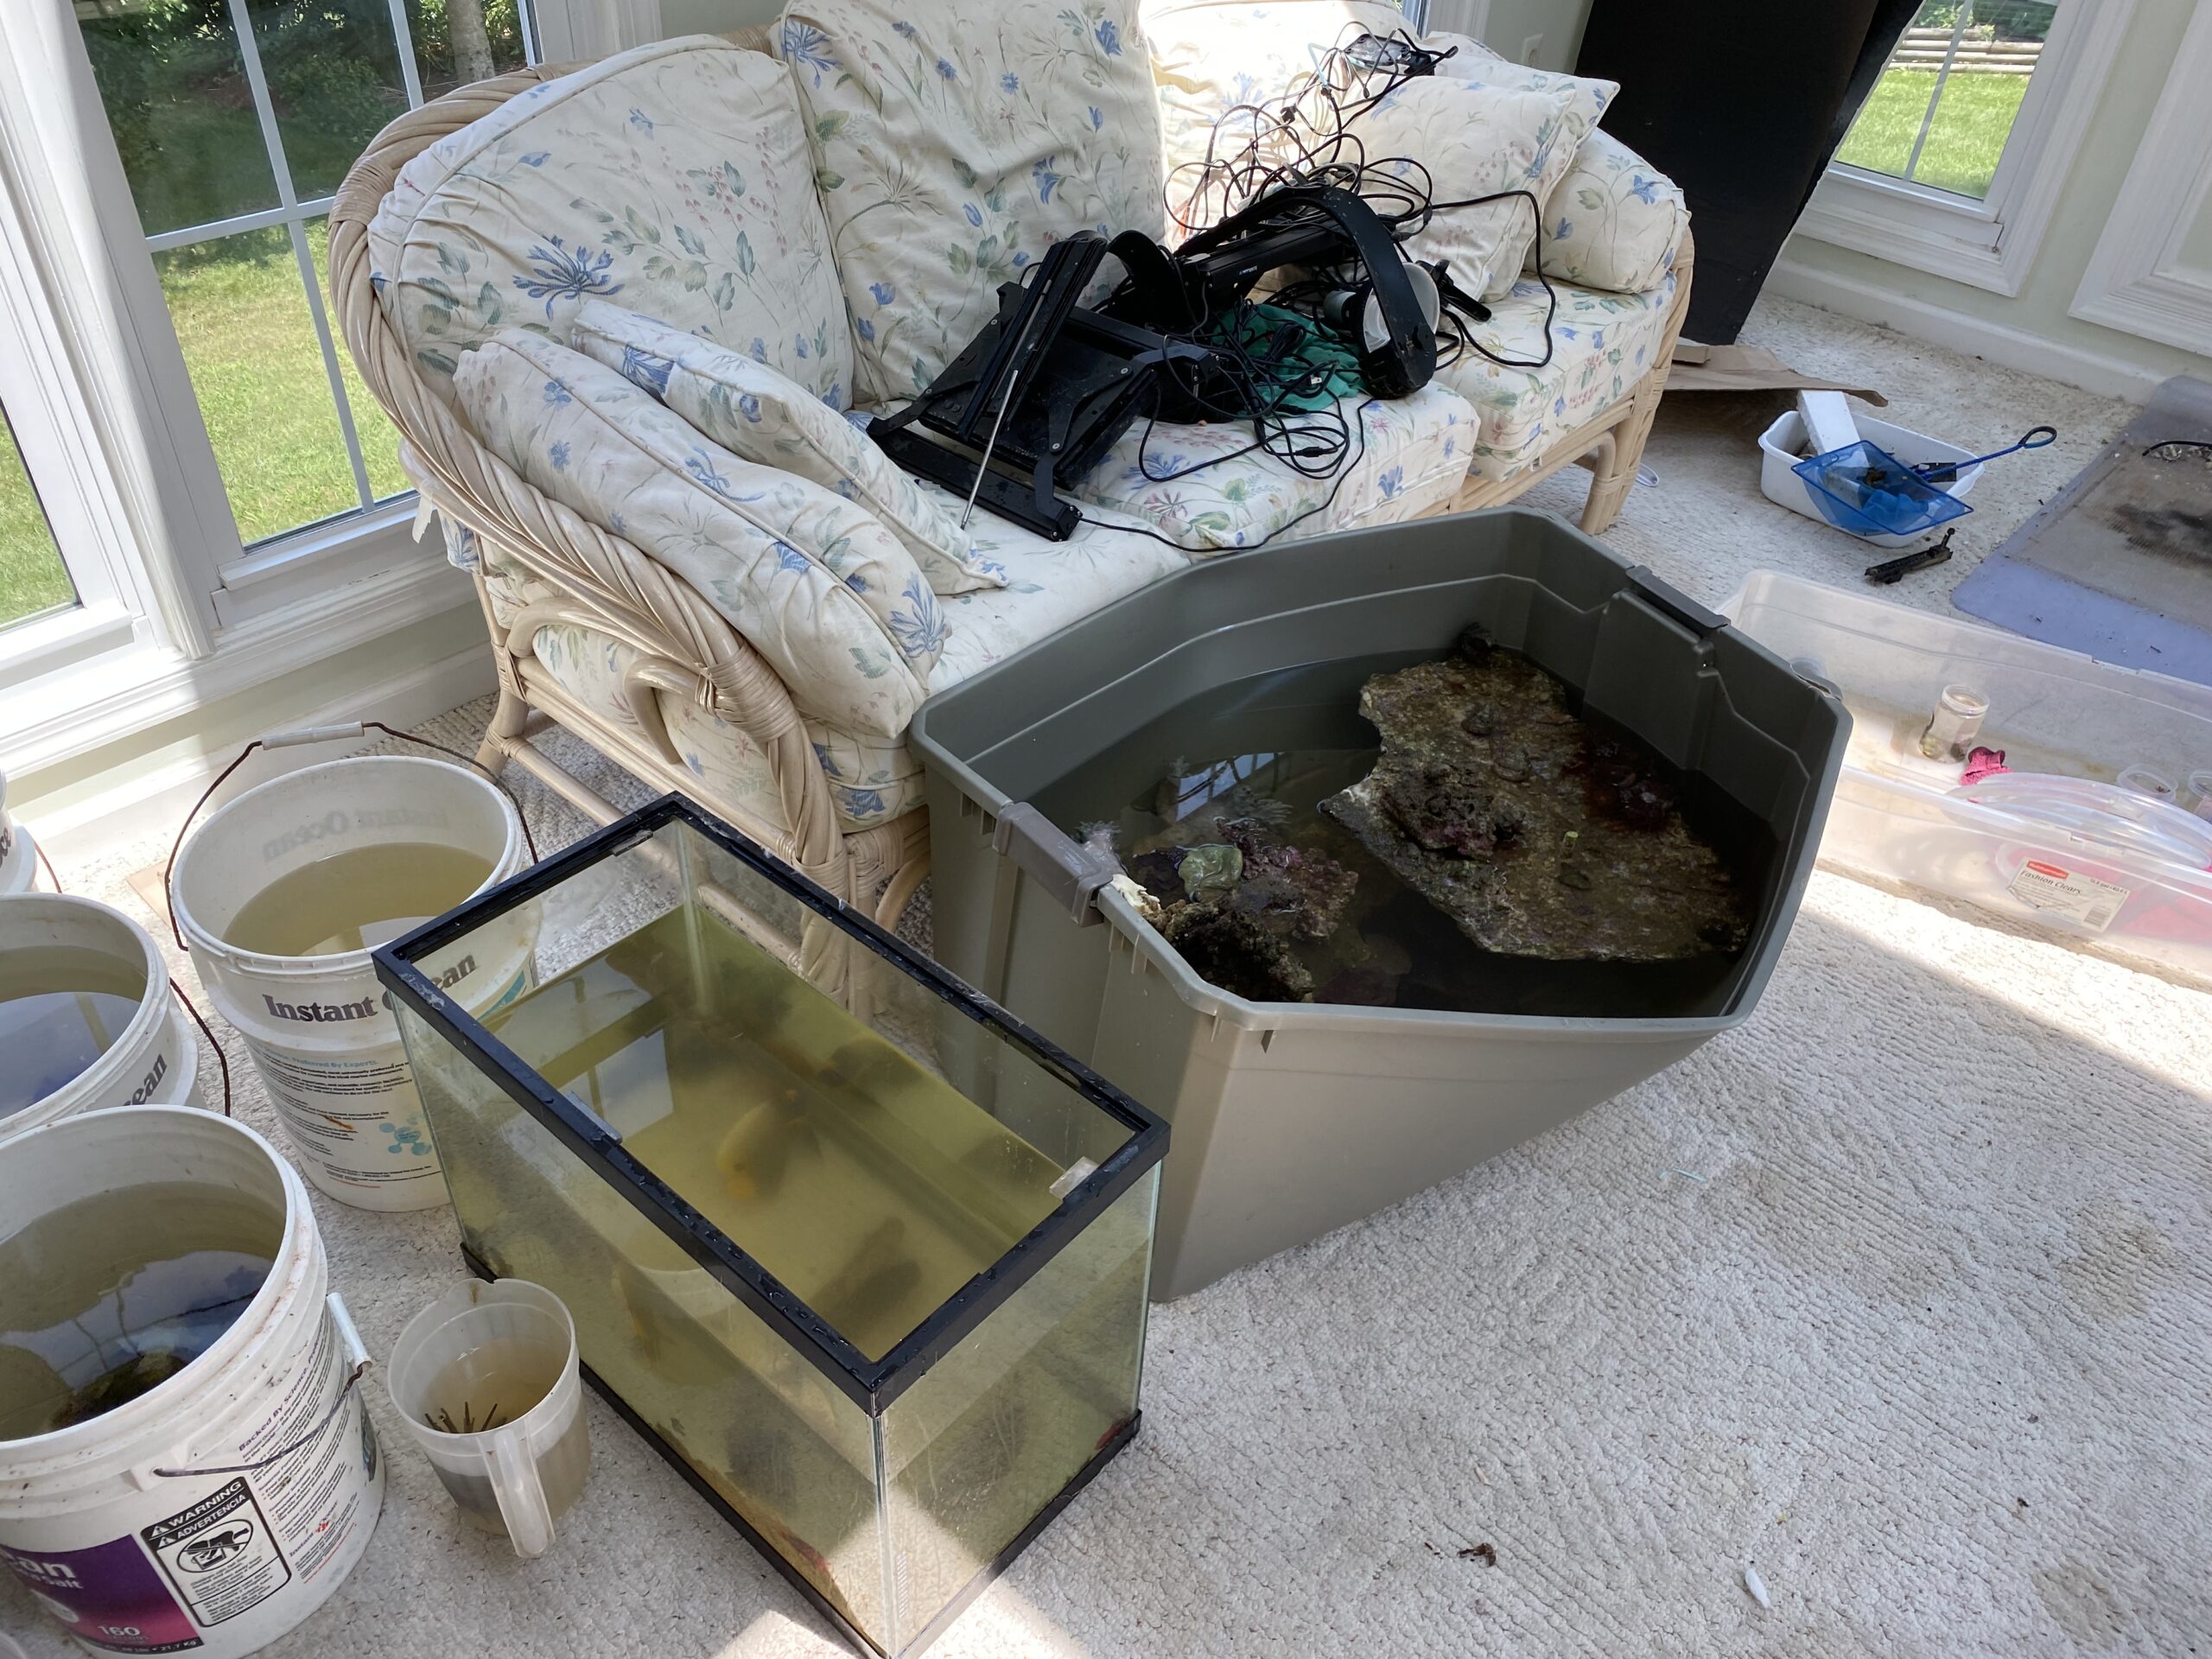
If a smaller amount of water is being moved, then new clean trash cans can be used or plastic storage bins. If the bins are chosen be forewarned they cannot be filled to the brim as they tend to tip and leak when filled up completely. After these are obtained and put in place the next thing that needs to be planned for is moving this water back into the tank once everything is completed.
Moving water, fish, and corals all day is exhausting, so you don’t want to be schlepping buckets of water back in to refill once everything is done. In order to make it easy I suggest getting a small pump or powerhead to move the water back into the tank. It does not have to huge, it just needs to have a nozzle the same size as the hose that will be used to siphon the tank. Having a pump to quickly refill the tank will help make the move less stressful and physically demanding.
How to move fish and corals
Once adequate water storage is in place the next consideration is where will the fish and corals be held during the move. If it is a quick move, then multiple small containers like used salt buckets can be used. But if the move will be longer, then a more permanent system will need to be put in place that includes filtration, heating/cooling, water movement, and lighting.
If this route is needed, please do not do it in a haphazard manner so that there is a chance that equipment is set up with the possibility of it either falling in the water or getting splashes so that there is a possibility of electrical issues or fire. When I had to do this in the late 1990’s I tended to rush things and not plan well and as a result, when I moved a big tank that took weeks I did not adequately plan on how the lighting would be set up.
By not planning well and setting things up safely, a set of lights fell into the tank and nearly burned my house down. As a result of this I do much better planning and setting up of equipment when doing a move. Since most of the moves that will be done will be smaller in size and done in a day that will be the focus for the rest of this article.
Since water, fish, live rock, and corals will be moved from either tank to tank or tank to holding containers some water will be spilled. To limit the trauma this will cause to the carpet or floor the floor should be protected with plastic tarps or drop cloths should be laid down in the area all around the tank and the holding containers. On top of these old towels should be placed to pick up any spills before any water even gets to the tarps.
An adequate supply of towels should also be available just in case any major spills or splashes occur. On top of these, the holding containers should be placed, and they should be laid out so that it is easy to move around them. It is bad if you fill up all the containers and then realize you have no means of working around them.
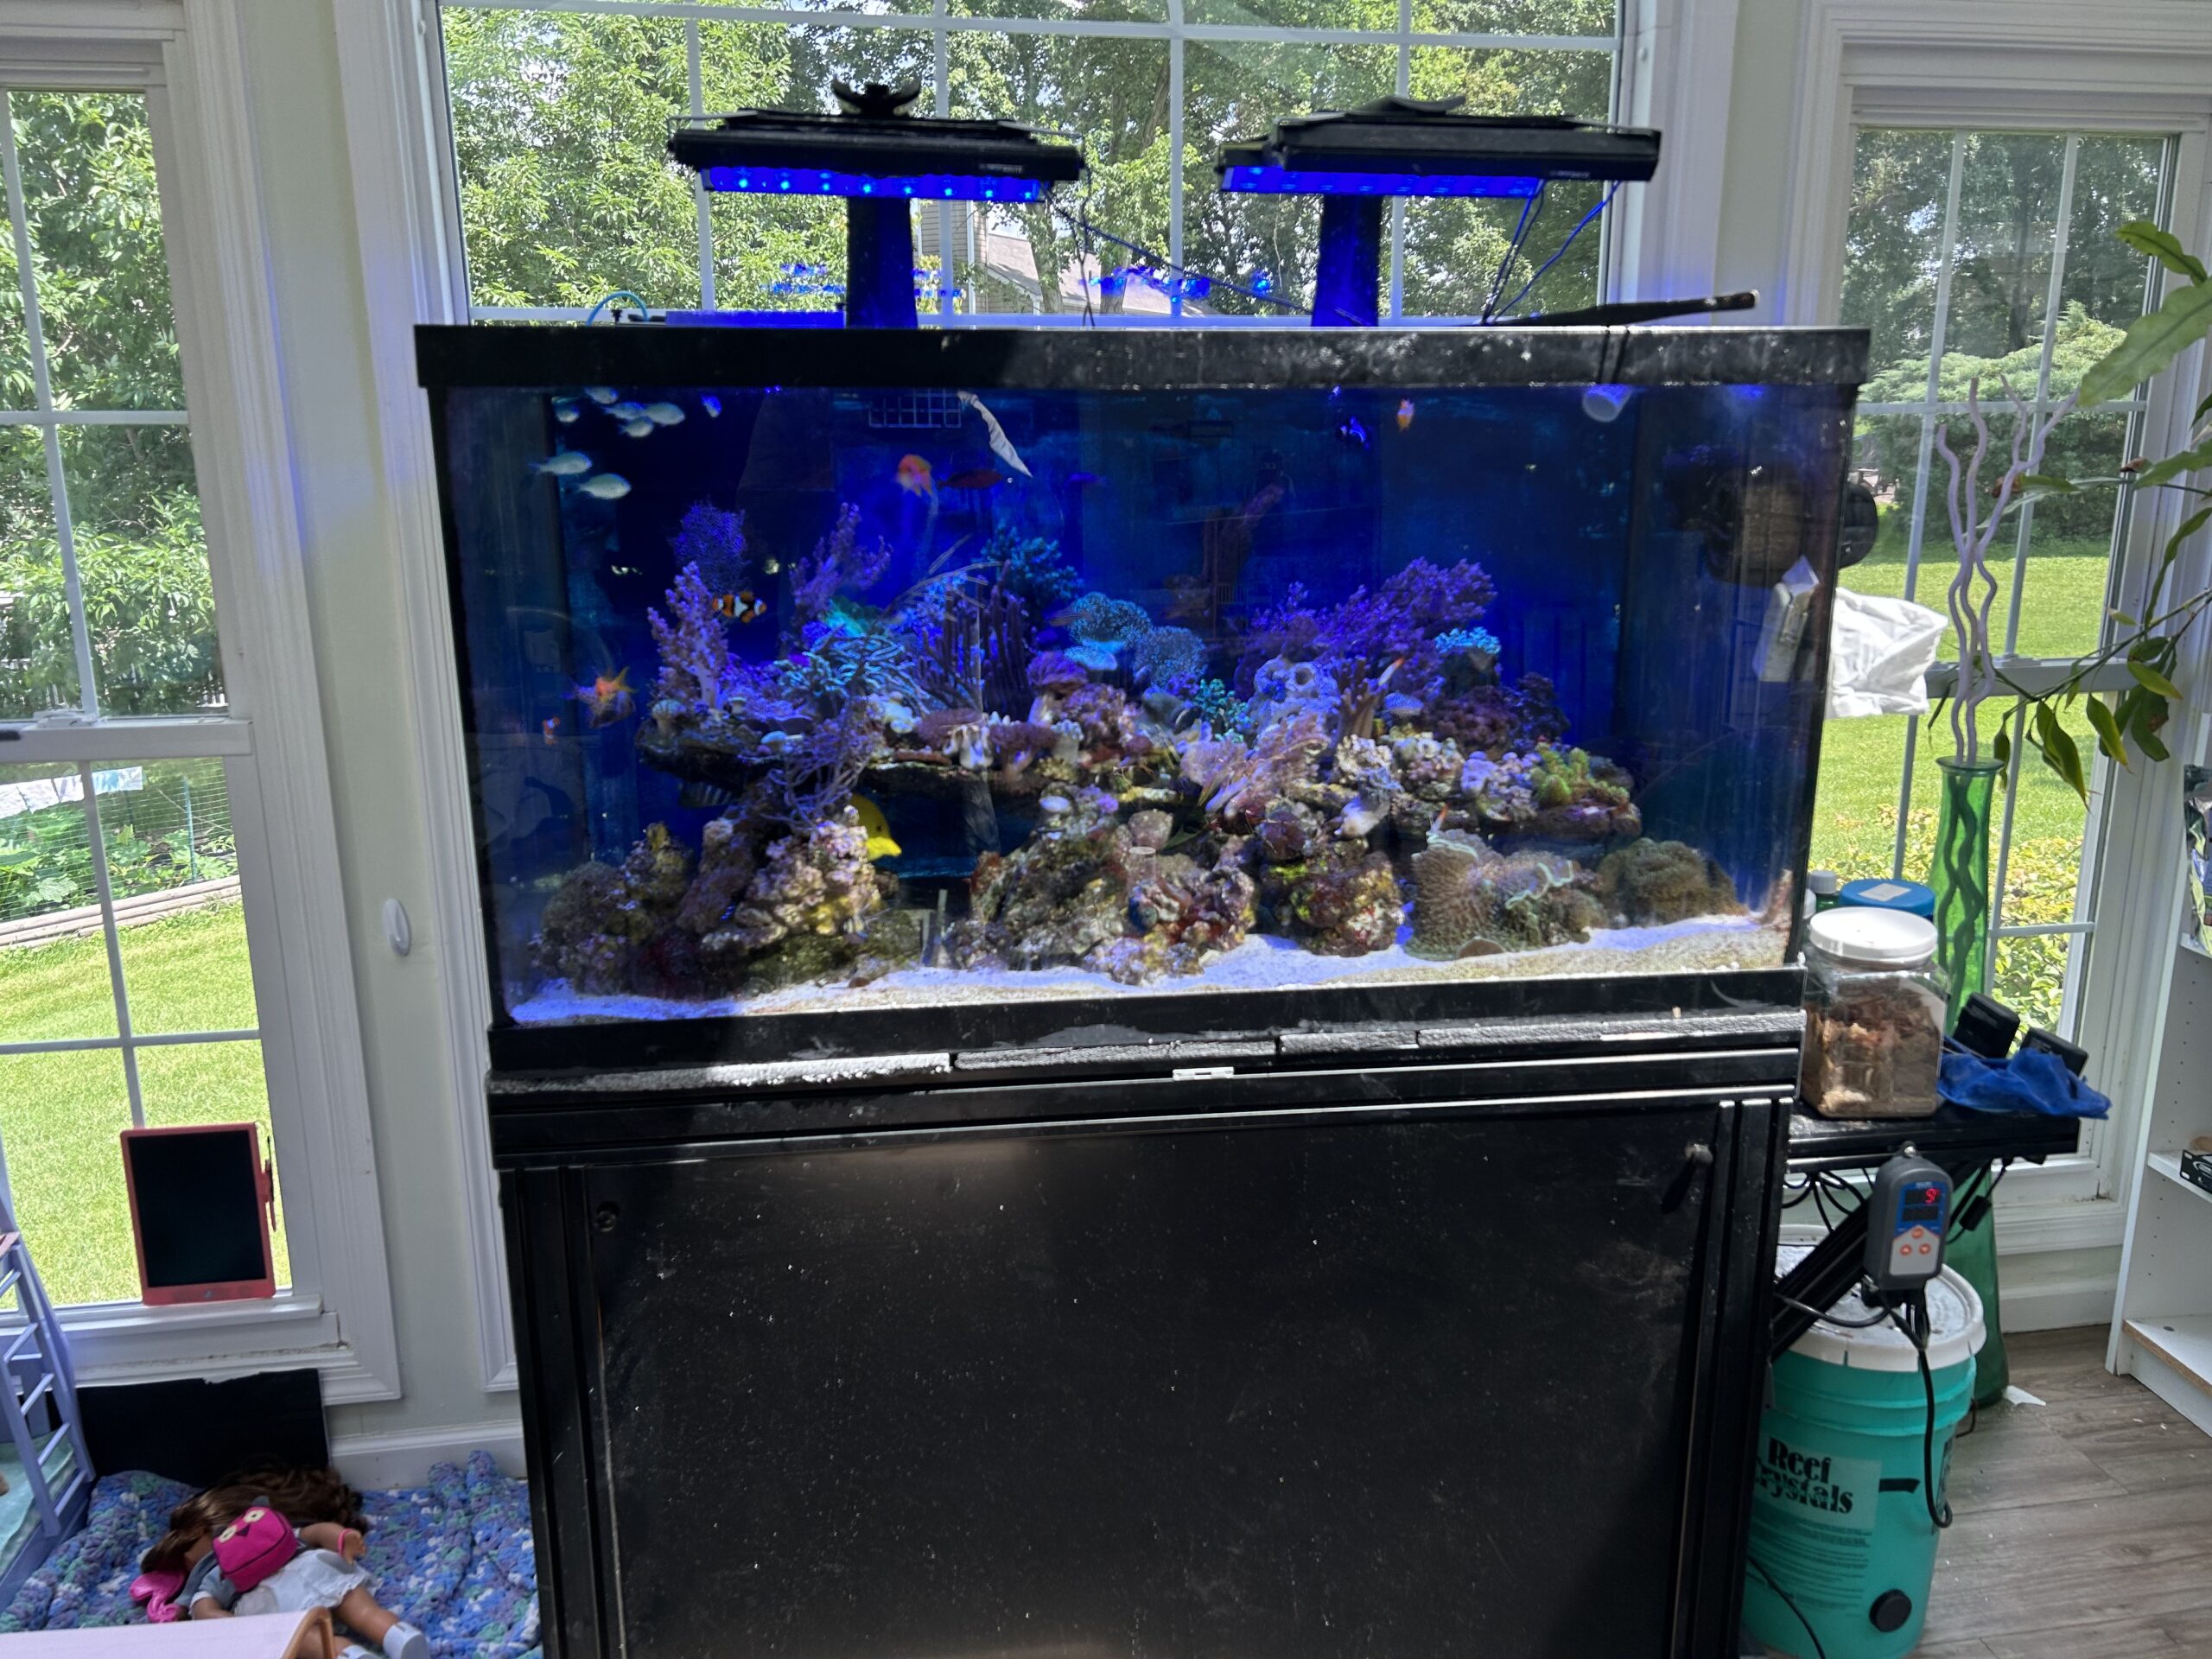
Speed is key
During the move, the main goal is to do this as quickly as possible, while producing as little stress as possible on the fish. This may be one of the other reasons why so many moves are done in the Fall. The weather is not as hot in the summer nor as cold as the winter so water can be moved and stays at a reasonable temperature, so a heater is not required in every container to keep it warm, and it also does not overheat.
Once the containers and floor protection are in place the next step in the move is to unplug all of the electrical equipment, except possibly the lights. This is done to reduce the likelihood of something electrical causing an issue and also to make it easier to catch and remove things. The lights can be left on if it is necessary in order for the fish to be seen. I try to start any moves I make as early in the day as possible so that I can work in daylight for as long as possible.
Once the power is off, the tank can start to be drained. Water is siphoned off into the buckets and other holding containers until the water level gets down to the corals. Once this level is reached corals are removed and placed in these containers. Corals should be given adequate space in these containers especially if they will be in these containers for any length of time. This is important because while they are stressed from the move, they are also more likely to burn or injure neighboring corals.
Once this process is begun more water can be removed and then more corals until all of the corals are removed and the water level is at the live rock. If corals are attached to the live rock, then the live rock should be treated as a coral and kept submerged. I should also note that while live rock can be kept damp during the move, I have had better results when it was kept submerged during the move. Therefore, adequate space should also be planned for holding the submerged rock during the move as well. But if this is not possible the rock can be held in bins under moistened paper towels.
Two things should be noted when moving live rock. Fish tend to hide in the smallest nooks and crannies in the rock so they should be looked for lest they die from being crushed during the move. Second, the bottom of the live rock often holds sharp piercing things like vermetid and bristleworms, so wearing something to protect your hands while moving the rock is a good idea.
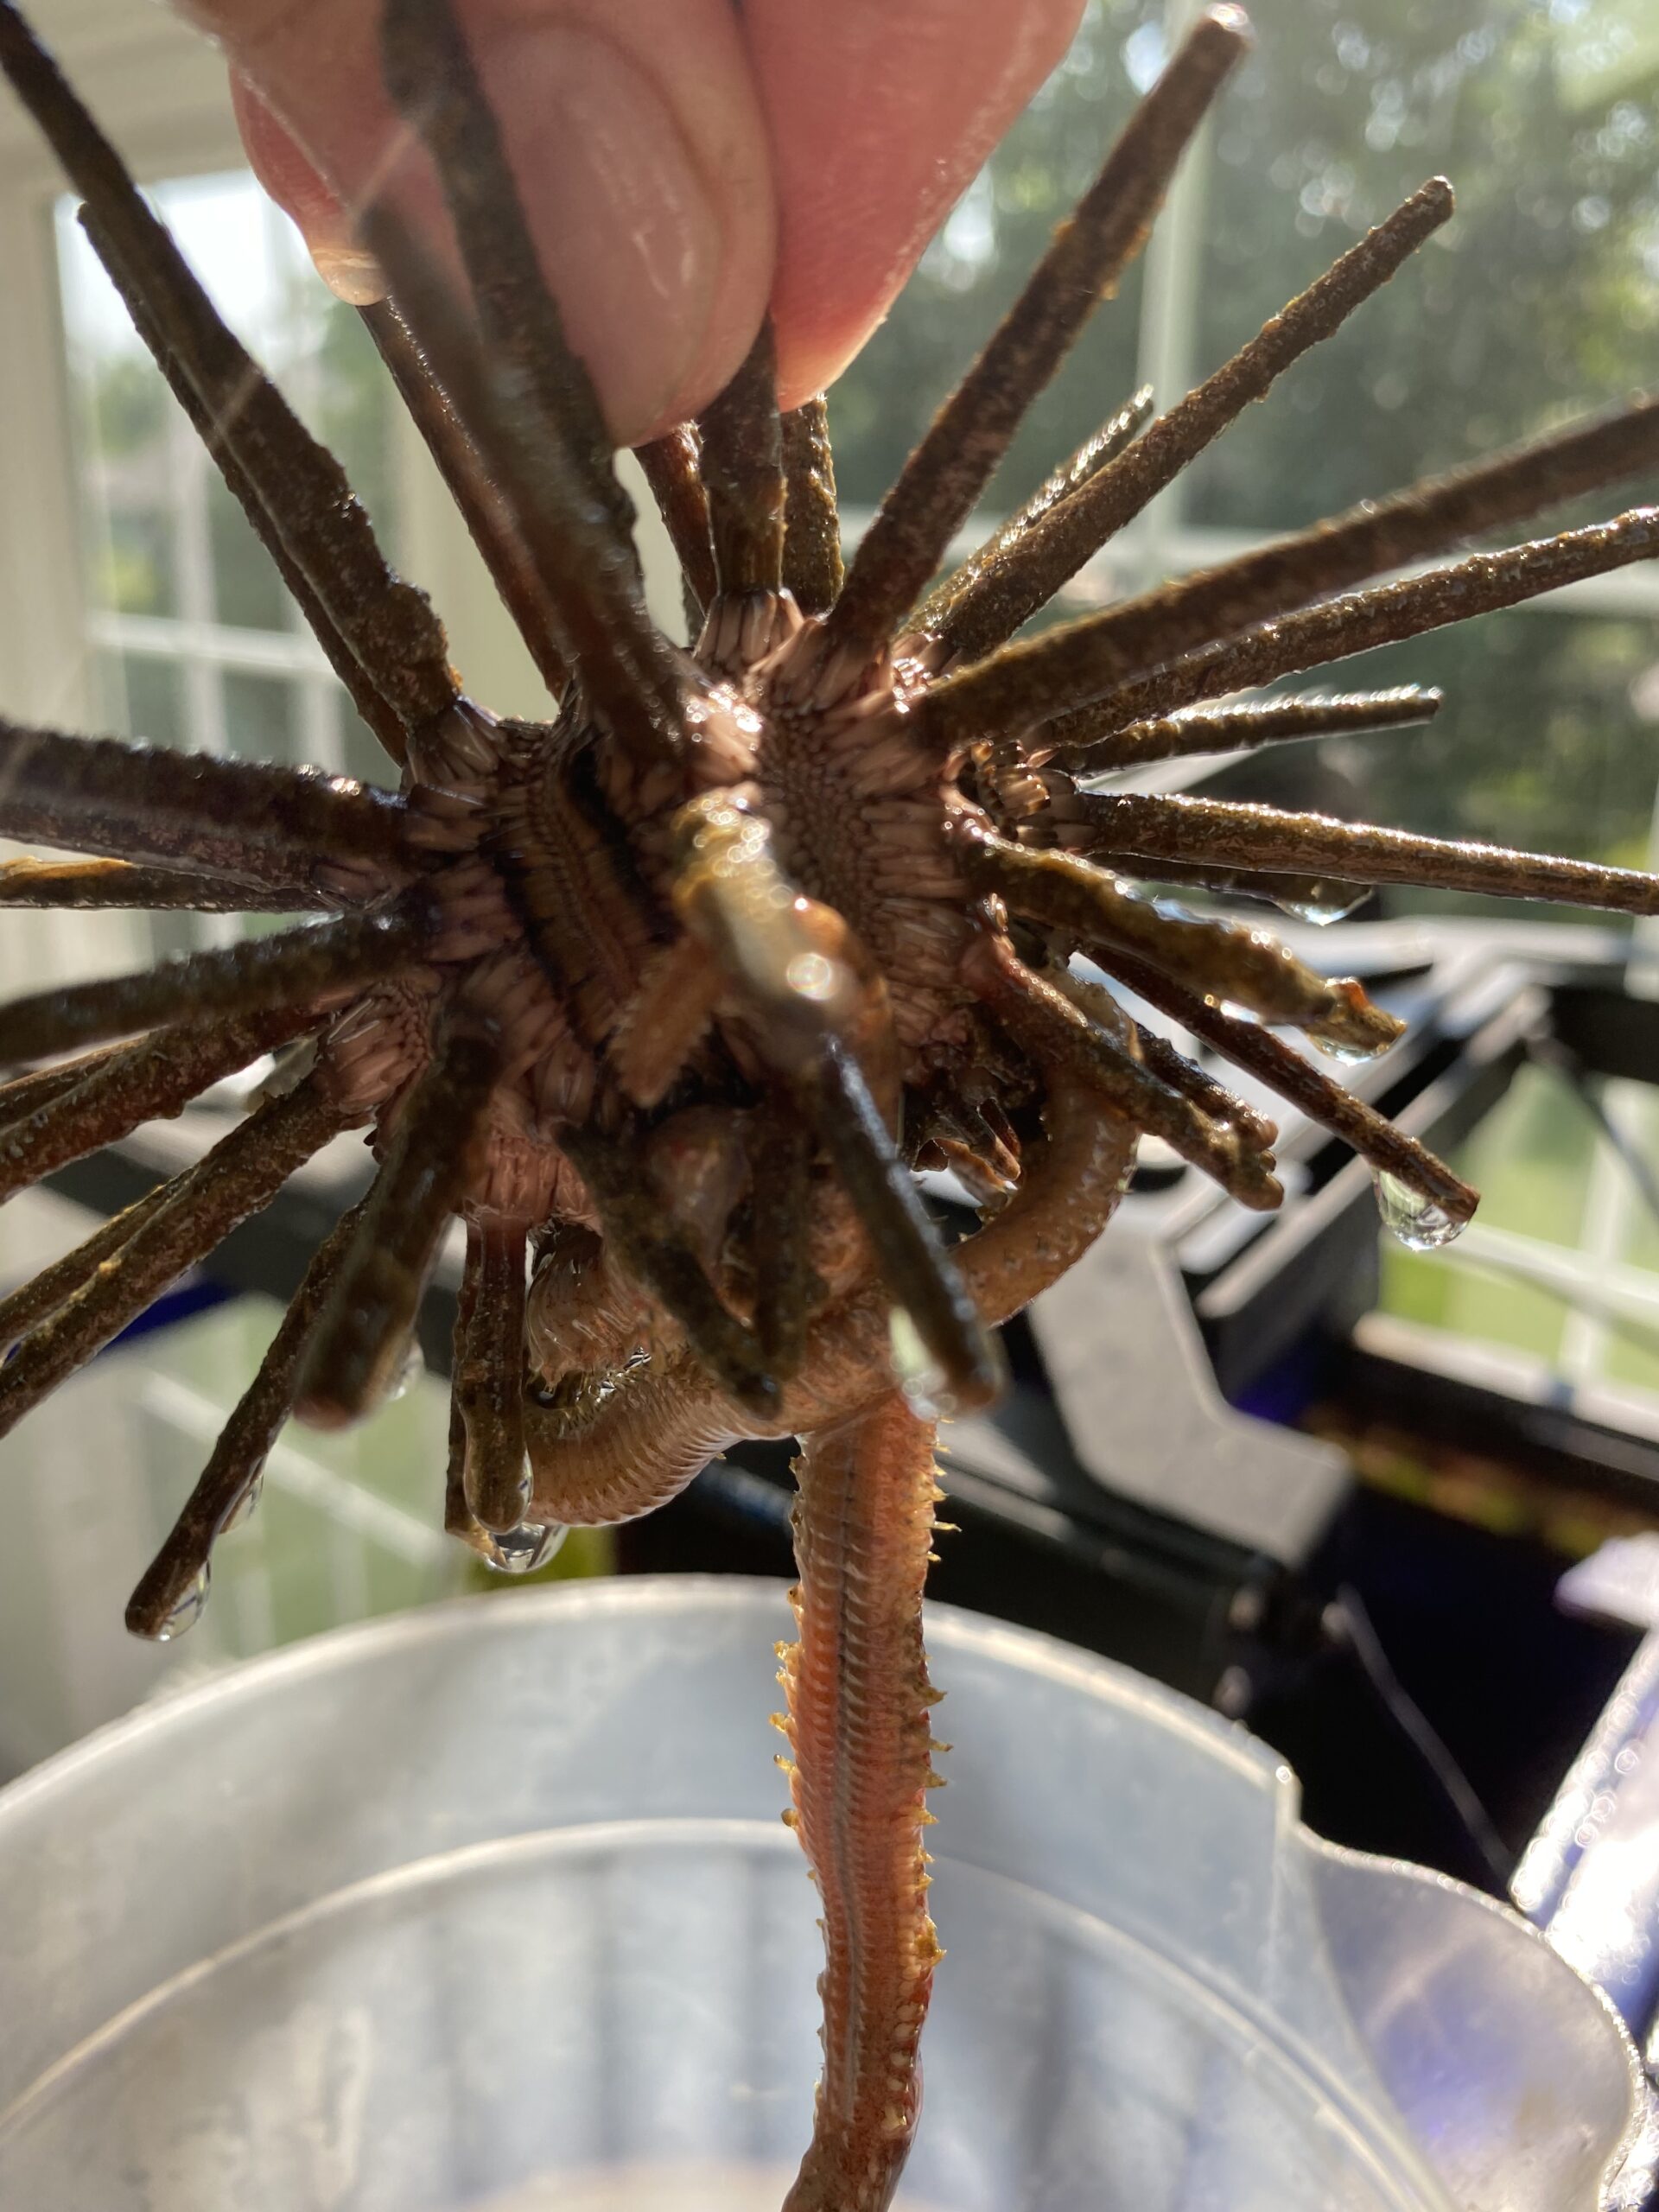
When the live rock has been removed, all that should be left are the fish and some water, with the water at a significantly lower level, so catching the fish should be easy. Since the goal is to stress the fish as little as possible, I do not use a net to catch them, but instead use a plastic water pitcher into which they can be easily chased. If this proves difficult, the water level can be dropped lower so that it is easier to capture them.
As they are removed the fish are placed in various containers and buckets with pairs or schools being placed together and rare fish given buckets of their own. For the fish that have a tendency to jump, a towel is placed over their bucket. After the fish are out the remaining water is drained and all of the equipment in the tank should be removed. If the sump is under the tank and a different stand is going to be used it needs to be drained and removed. Getting this is the most time-consuming and least fun aspect of the move.
Once the tank and sump are empty, they can be moved out with the stand, and then the new equipment put in place. The new tank can then be put in place along with any new and old equipment that was planned for. This should all be planned for ahead of time and this is usually when any mistakes of the past are remedied. Once all of the equipment is in place, substrate, if used, should be added and then the live rock can be laid in according to how it will be aquascaped.
It does not have to be constantly submerged so it can be laid out exactly as desired moist, which makes doing so very easy. Once the rock is in place water should be pumped in to cover it and then the corals can be put in place with water being added as the corals are added to keep them submerged.
During this time the extra water that was made to help fill the tank can be added as this will act as a water change and also help to keep everything submerged before the water in the containers is all drained. Once the majority of the water is in place, the fish can be re-introduced and all of the equipment turned on. If there are any issues they should be fixed or adjusted at this point. If done properly the water temperature should not have changed significantly and there should be little stress on the fish and corals.
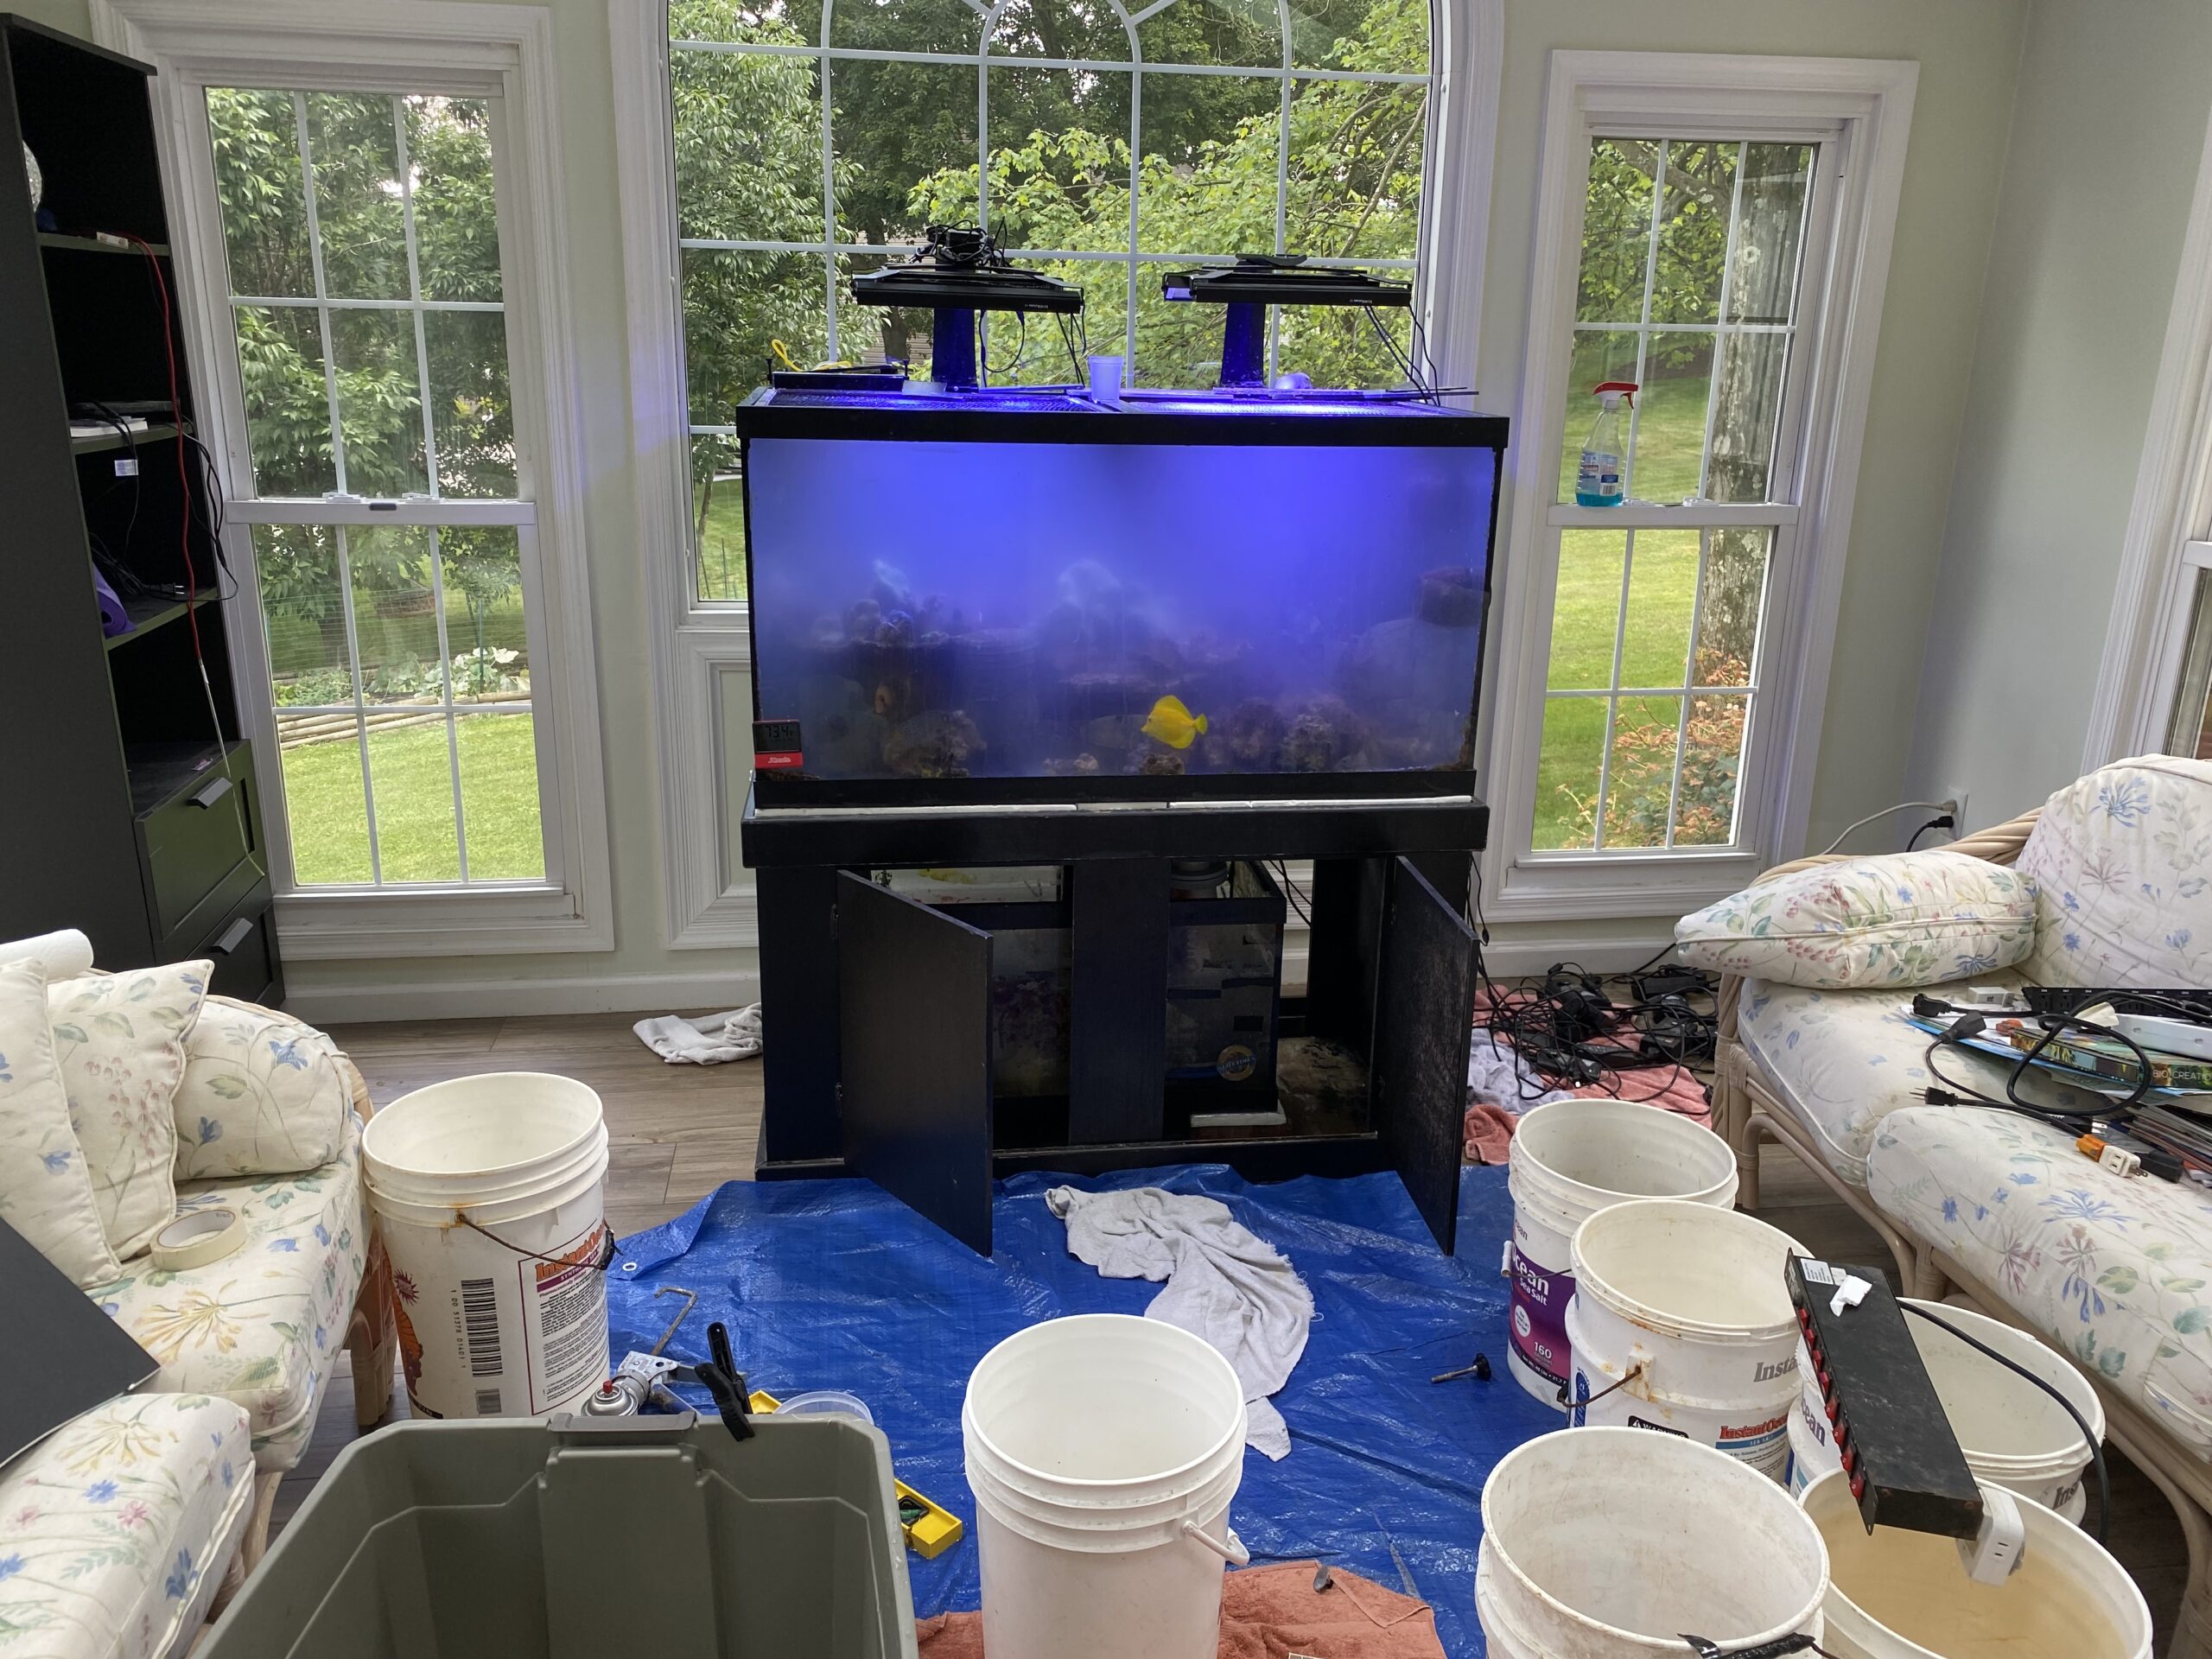
Despite our best effort, the tank will be extremely cloudy. For this reason, I run carbon and multiple means of mechanical filtration to remove the cloudiness. This usually subsides overnight. During this time it pays to keep an eye out for any fish or corals that look stressed. If any occur I try to remove them to a separate container to give them an opportunity to recover. After having done this so often, I now use the rule of it taking one hour for each ten gallons of new tank.
So a move to a 120-gallon tank takes approximately 12 hours. This is a general rule, and as we know most reef tasks always take longer than expected. Moving up to a bigger tank or having to move a tank is always stressful and exciting at the same time. Proper planning and having extras of everything can help reduce this stress. Changing a tank also allows for us to make up for past mistakes in aquascaping, fish selection, and equipment. Plan well and allow enough time to make the move properly and your reward will be a bigger/better tank in the end.


