There are few inevitable things in life and even fewer in this hobby. But the one inevitable that everyone encounters when they set up a new tank is that there will be an ugly phase. It does not matter if you are starting out or have been doing this for a long time use the best wet live rock or dead dry rock, a new tank will have an ugly phase.
I thought I would not have this problem when I simply moved the live rock from a five-year-old 300-gallon tank to a new 500-gallon tank as the rock I was using was twenty years old. I was wrong. Despite everything that I knew, or thought I knew and all the preparation and improvements made on the new tank, once everything was switched over the tank still went through what has come to be known as the ugly phase.
So, what exactly is the “ugly phase”? As with most living things, a reef tank and the live rock in it are living things, and when there is a change, even a small one, there is an adjustment phase. In a reef tank, until things are all in equilibrium some of the bad actors, like diatoms, cyanobacteria, dinoflagellates, and algae tend to take over the tank and cover most of the surfaces. Some of these are self-limiting and rely on nutrients that are typically only present during the early stages of a tank. Others require or can be sped along with some management.
Regardless of what shows up it is not time to panic or rush as that typically only makes things worse. Plan for this happening, be prepared, and expect that some intervention may be necessary. Most of all be patient and understand that everyone and every tank goes through this.
Diatoms
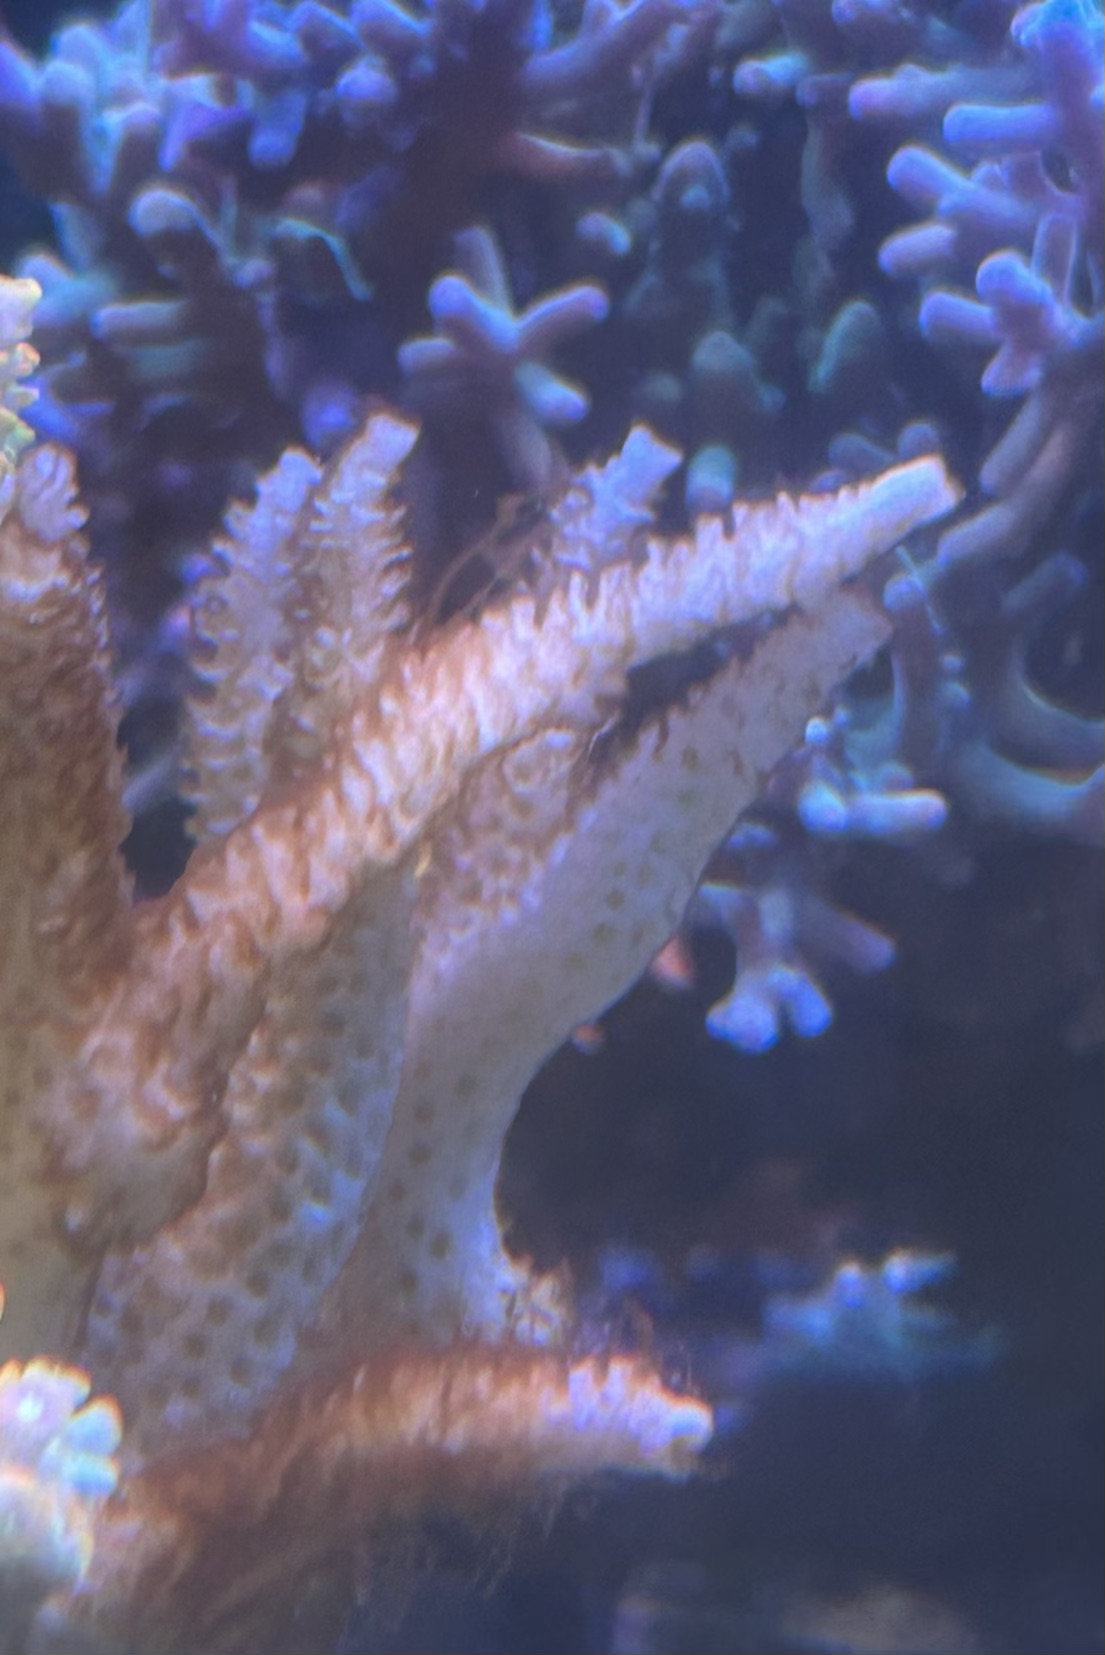
As mentioned, the ugly phase can manifest itself in a number of ways. The first of these has occurred in every new tank I have ever set up, but fortunately is self-limiting and usually goes away on its own over a short time. This part of the phase is a diatom bloom. During this phase what look like little hard brown dots, and diatoms, occur on some surfaces, but especially on the glass.
Diatoms occur as a result of there being excess silicon in the tank. This can be the result of new salt, new live rock, or even because some sources of water are high in silicon, and this causes the bloom. These diatoms tend to bond strongly to hard surfaces, especially glass and actually bind even more tenaciously to acrylic, so it takes some effort to get them off the glass and other surfaces. But this may not be necessary. This is because over time as the silicon levels drop this pest gradually just fades away.
This usually takes anywhere from two to four weeks. If however this problem persists then it may indicate excess silicon in the make-up water. If this is the case then it may be necessary to add a cartridge specifically to remove silicon to the RO/DI unit. There are resins specifically formulated to remove silicon for this reason.
Cyanobacteria
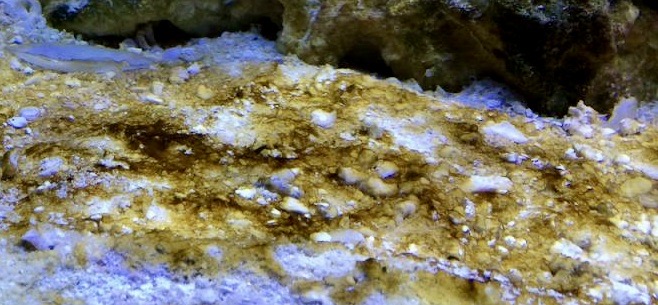
Another potential cause of the ugly phase is a cyanobacteria outbreak. While cyanobacteria can occur in even long-established tanks, it looks worse in a new tank since it is so sparsely covered in coral. Cyanobacteria are interesting organisms in that they are considered to be one of the earliest life forms and even though they are related to bacteria they are also photosynthetic.
Because of this, they are able to utilize any energy source available so are difficult to get rid of. A cyano outbreak might occur for a number of reasons in a new tank, but the main cause is that as detritus falls from the rock it tends to accumulate in a dead spot. Over time as the material in this dead spot breaks down it acts as a nutrient source from which cyano springs.
It also might occur on seemingly clean wet live rock. It occurs here because when wet live rock is cured there is often living material within the rock that is not readily seen. As it dies it also acts as a locus for nutrients that the cyano can take up. There are a variety of species of cyano and they can range from black to red to purple. While unsightly, they usually are not overly destructive and unless they totally overgrow a coral they do not do much damage. Despite their usually not damaging corals they still should be removed and the conditions promoting them rectified.
Since cyano gets its energy in a number of ways it is usually not just a single change that will eliminate them. In my experience, I have learned that a number of tactics need to be employed to eradicate and keep them from coming back in a tank. The first step is to try and eliminate or significantly reduce their nutrient source. Since detritus is often the initial locus for their growth, all detritus should be siphoned from their tank during a water change. Since in a new tank, adequate and beneficial flow has usually not been perfected, this should be improved to limit the formation of dead spots and to keep detritus suspended as long as possible so that the filtration systems can remove it.
To limit cyano from coming back, I have also found that basting the areas where cyano has formed with 3-4% hydrogen peroxide reduces the likelihood of it coming back in those spots. Lastly, since cyano can also utilize light as an energy source, in tanks where it has broken out a blackout of the tank for 2-3 days has proved beneficial.
An alternative or addition to these methods for eliminating cyano is to treat the tank with one of the manufactured treatments designed just for this purpose. These remedies usually contain antibiotics and are designed to treat the symptoms rather than find a cure. So if this remedy is used but the conditions leading to the outbreak are not repaired cyano will usually come back over time.
So it is necessary to take the above-described steps to eliminate a cyano outbreak and reduce the likelihood of it coming back. If it does repeatedly come back then the nutrient level, flow, and lighting in the tank need to be adjusted to determine the cause and adjusted accordingly. As with most pests, it is easier to remove or eliminate cyano as soon as it starts to show itself, rather than waiting until it covers the entire tank.
Dinoflagellates
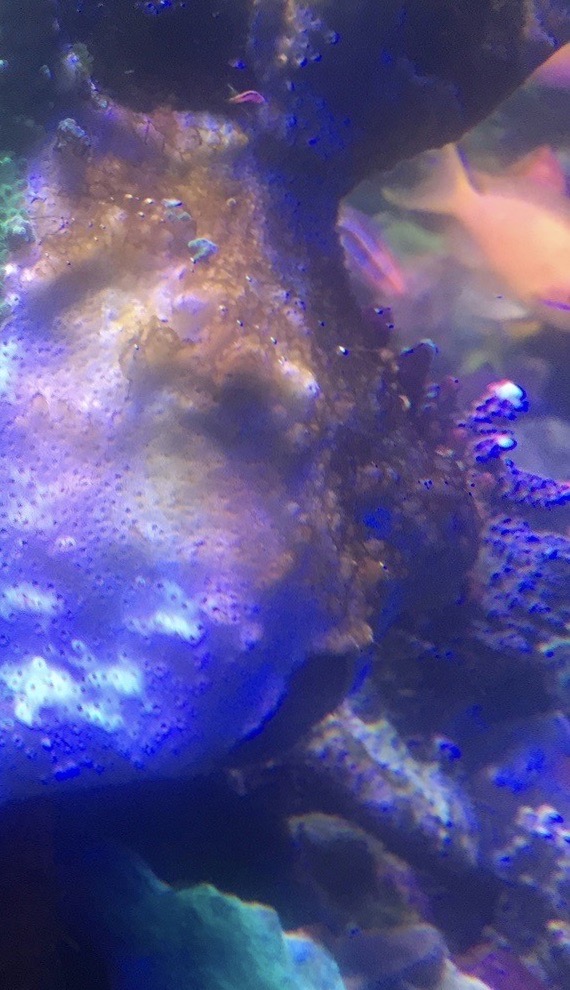
While the first two potential ugly phase causes are usually not especially harmful to the corals, the next one does have a significant likelihood of causing issues with the corals. Dinoflagellate outbreaks are a common outbreak when a tank is starting out and unfortunately can also occur in older tanks when conditions get out of balance. Dinoflagellates are single-celled organisms that are difficult to classify as animals or plants as they have characteristics of both and make up some of the plankton in the ocean and some species can move on their own owing to their having flagella.
These organisms usually become problematic when conditions are not in balance, especially when nutrient levels, nitrate (<2), and phosphate (<.02) are too low, or when bacterial levels are out of balance, both of which frequently occur in new tanks. But they can also occur even when adequate nutrients are present, possibly due to bacterial or trace element imbalances. Some of these dinos produce toxins, Red Tide, and some of these toxins are poisonous to corals. For this reason, it is critical to remove them as soon as they start to manifest in an aquarium.
In my own experience with dinoflagellates over the years I have found several treatments to be useful for eliminating them or at least reducing the chances of their becoming problematic. As stated above, new tanks frequently encounter dino outbreaks owing to their often having low nutrient levels coupled with bacterial community imbalances. However, even when conditions are seemingly perfect a dino outbreak can still occur. This begs the question how do dinos get into the tank?
Dinos are part of the food web and as such part of their survival relies on their producing cysts to increase their chances of survival when conditions are not optimal. They are also part of the food web and as such they and their cysts are present in everything from the guts of fish to the bases for aquaculture. Therefore, they are literally always present in a tank. However, despite being always present, they usually are not problematic, however, they have become more frequently encountered over the last five years for a still unknown reason(s). However, as with everything in this hobby, over time we have gotten better at eliminating them once they become problematic.
In this regard, we have found one group of dinos that are easy to remove and a second group that is more difficult. The first group is those that are free swimming and seemingly disappear at night, only to reappear the next day after the lights have been on for a while. This group can be eliminated by employing strong UV sterilization to kill these pests while they are free-swimming. I have used a large pond UV sterilizer for this purpose when I have encountered it. Usually after a couple of nights of running it, the dinos have completely vanished.
The second group requires more intervention as they remain present on the rock and substrate so they cannot be removed when they are free-swimming. To reduce and eventually eradicate this group the first thing that needs to be done is to gradually bring up the nutrient levels in the tank. Even if the nutrient levels are above the levels listed above they should be raised so that nitrate is in the 10-15 range and phosphate is in the .08-.1 range. Once this is achieved, the tank should undergo a three-day blackout period. While this blackout period is occurring, various strains of bacteria should be introduced.
Beneficial bacteria
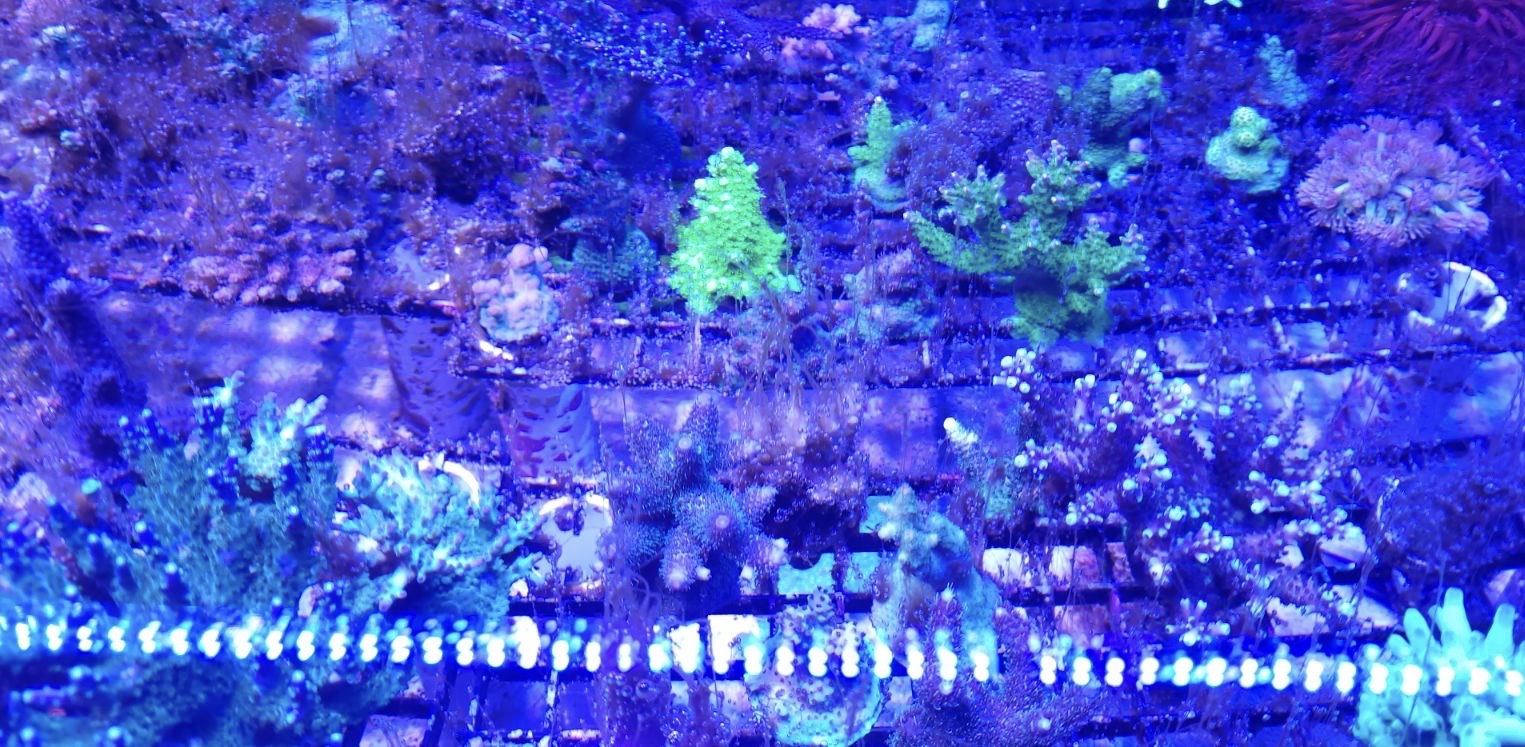
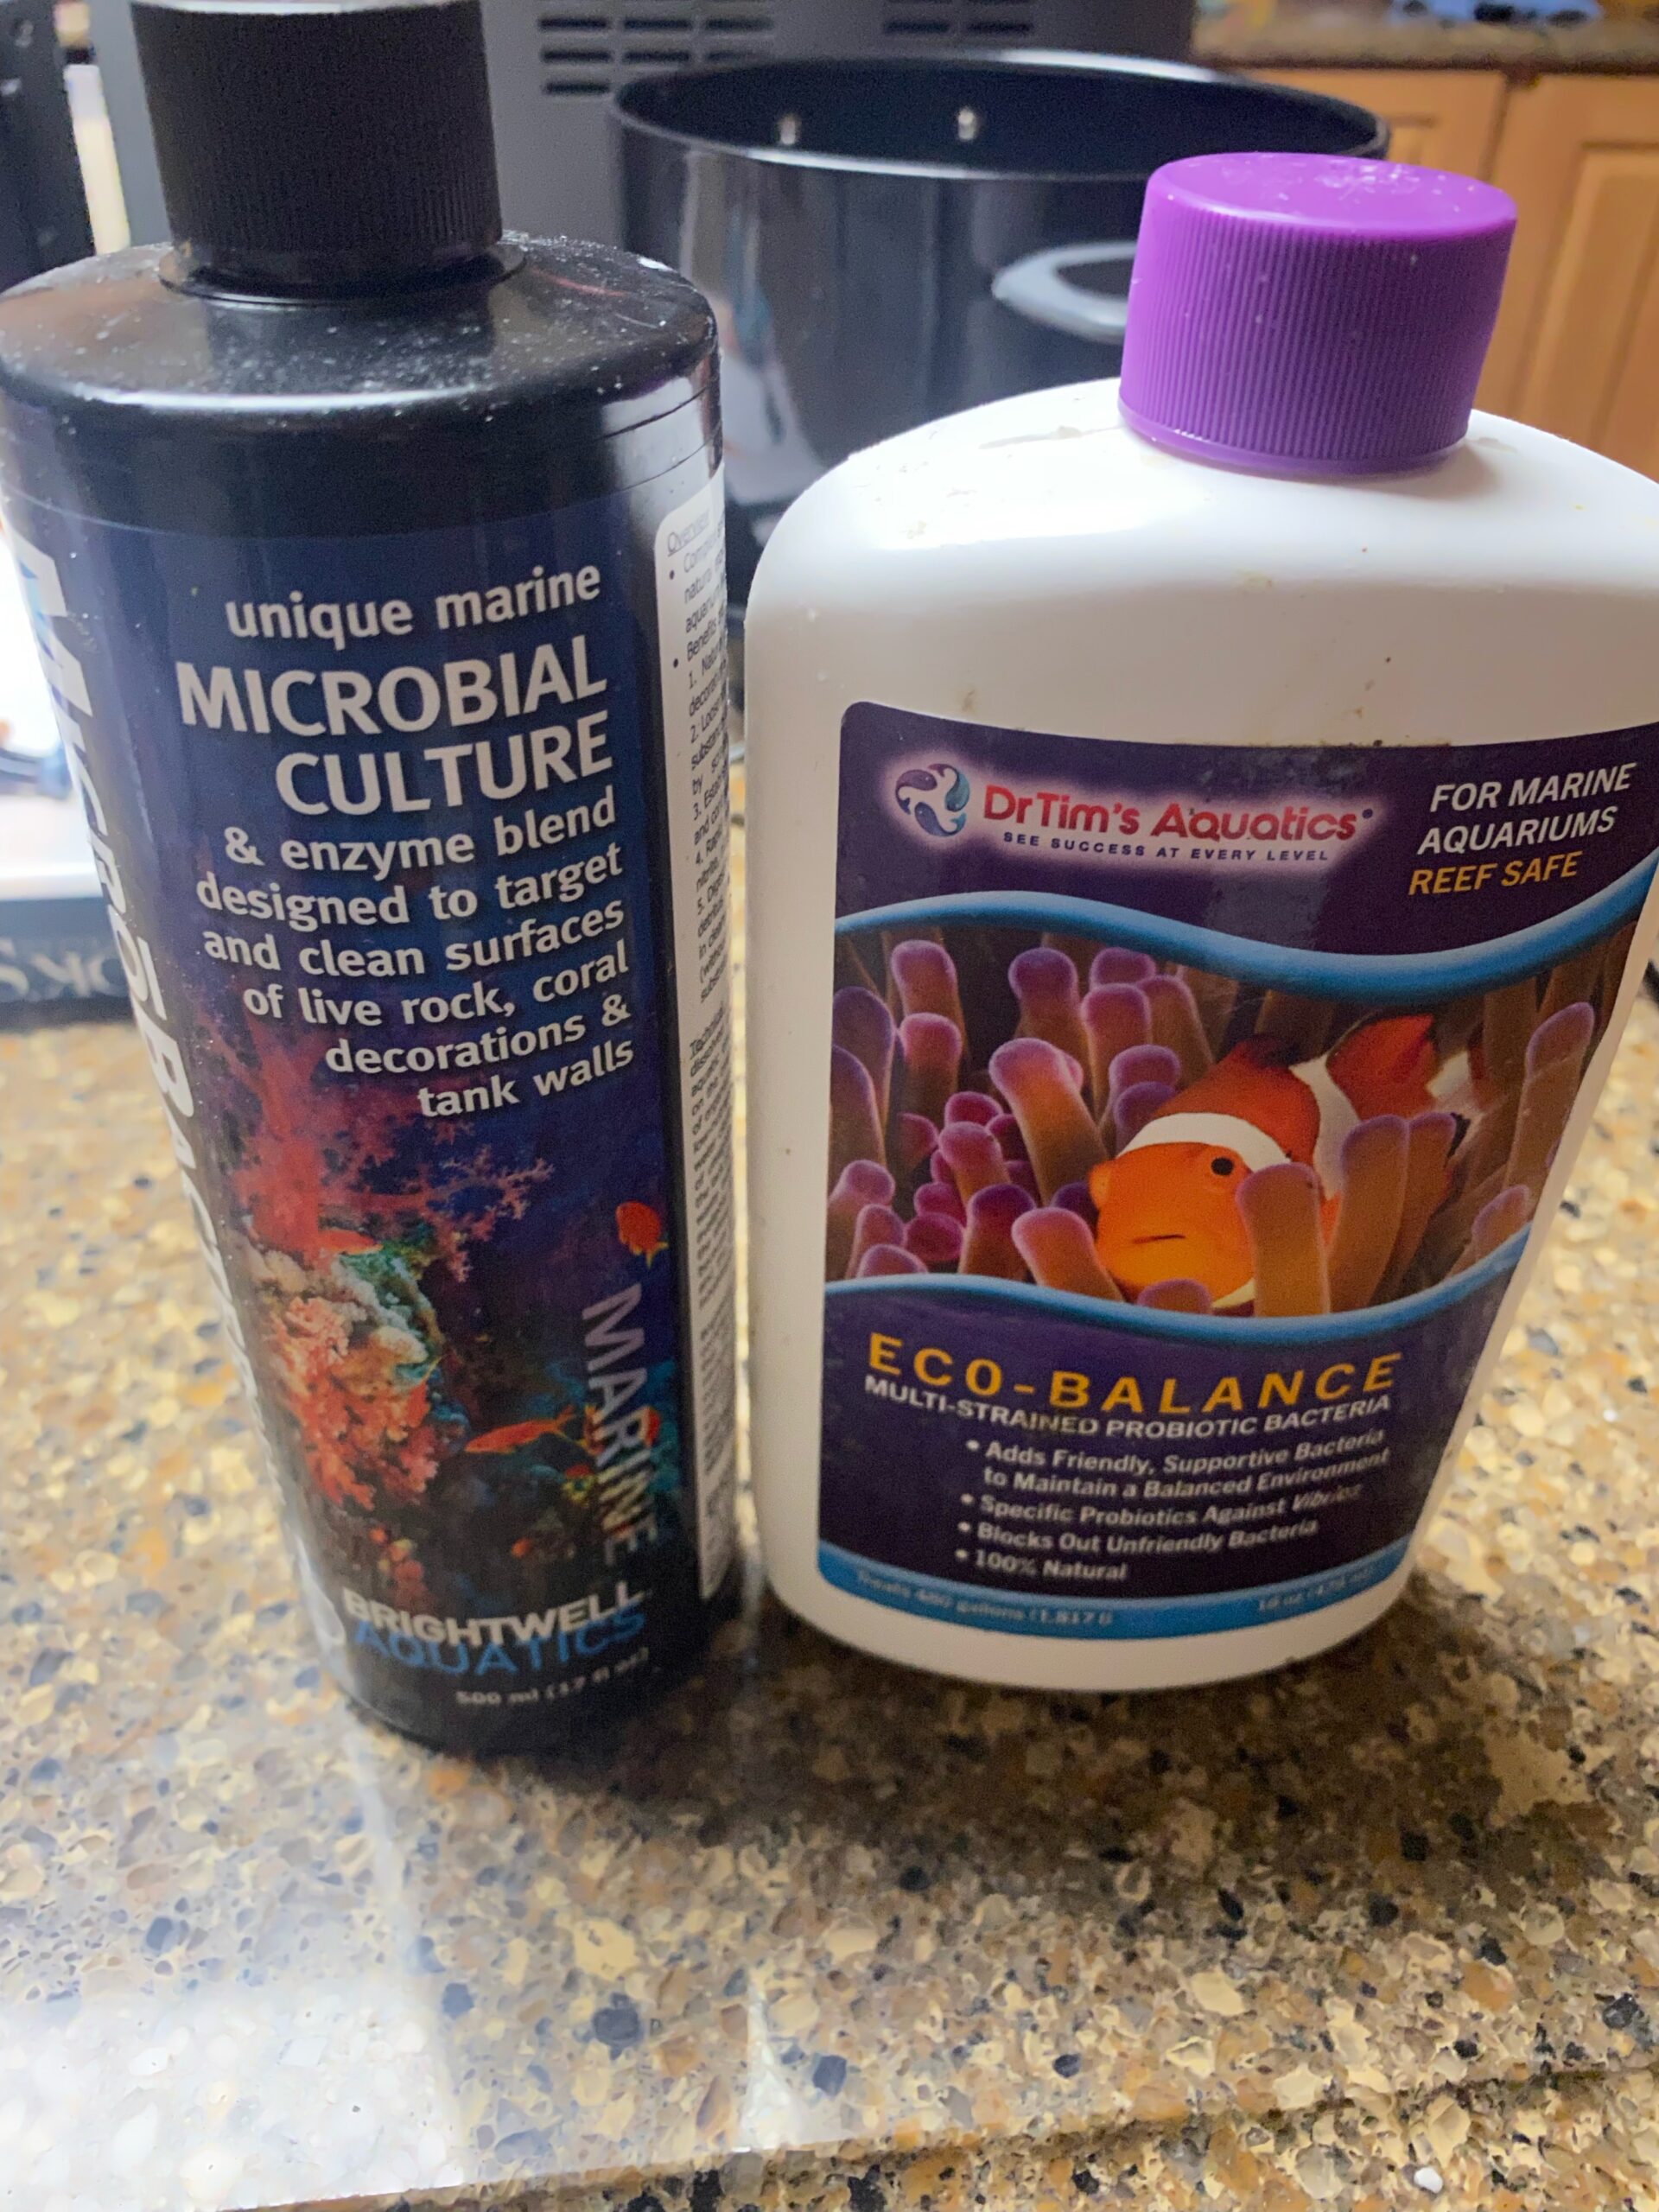
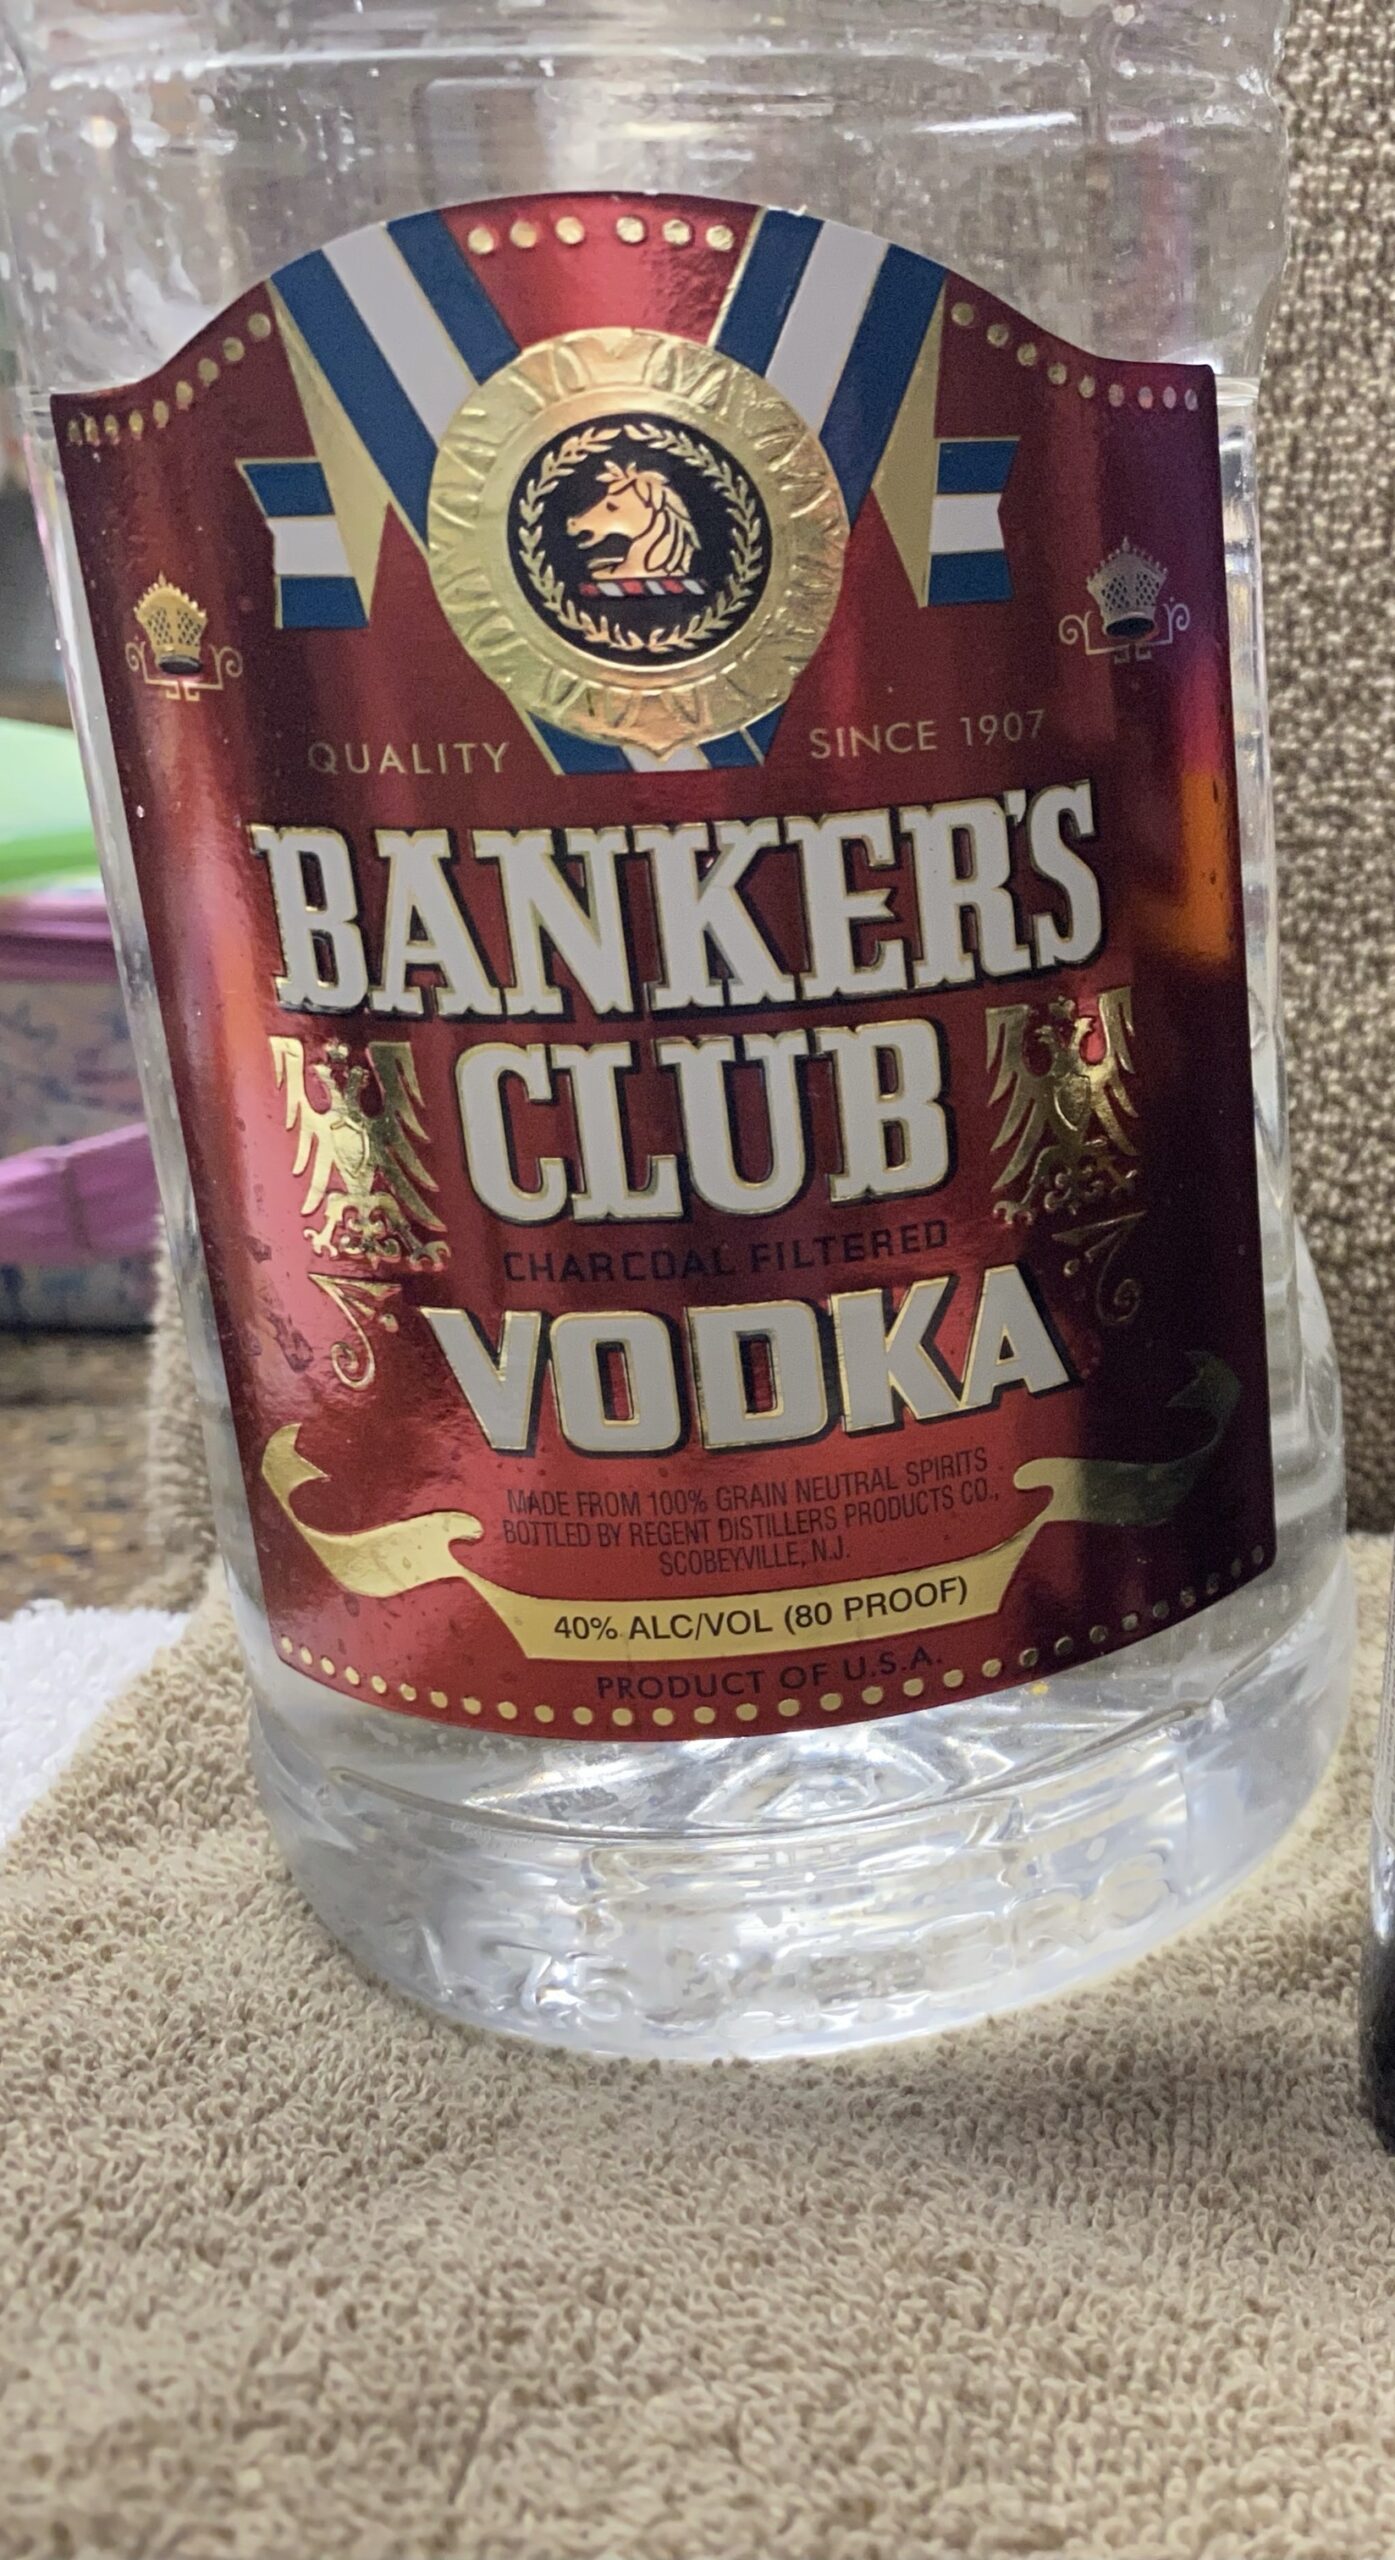
I have found using a variety of bacteria, not just from a single manufacturer to be beneficial. This should be added while the tank is dark. After the second night, a small carbon source in the form of vodka or vinegar should be added to provide nutrients for the bacteria. Bacteria should be added for a full week and the carbon source should continue indefinitely until the tank is stable including the nutrient levels. Once this occurs the carbon source can gradually be weaned off.
Once the bacteria and carbon source are added the nutrient levels may start to drop. Before they get too low, a source of nitrate and/or phosphate should be added to keep these levels optimal. I have found this method for removing these more difficult dinos to be highly effective, but there are many other suggestions for eliminating dinos out there.
The above descriptions cover three of the four most common causes for an ugly tank but do not cover the one that is most frequent and most problematic: algae. In the next article, algae in a new tank and how to manage it will be covered. While it, like these other causes of the ugly tank phase occurs in almost every new tank to some degree. Knowing what to look for and how to treat it and knowing that you are not alone will hopefully make managing these problems more tolerable unlike in the past where many of us thought that we faced this situation alone.


