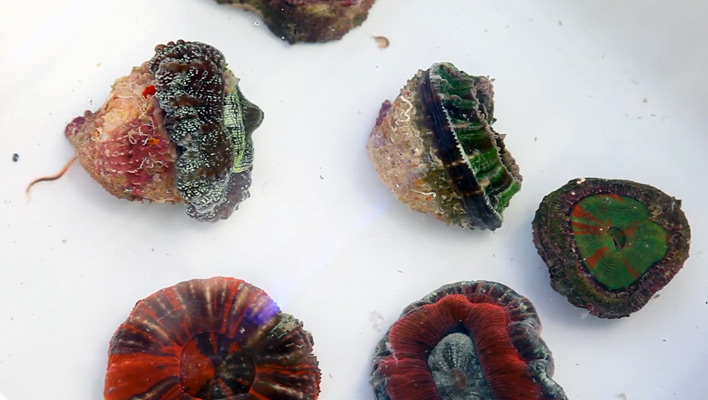
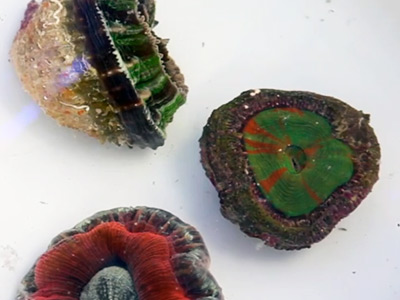
Is there a better feeling than adding something new to your reef tank? Buying new corals feels like opening presents on a holiday. We got in some new corals and while acclimating them to our tanks, it reminded me how many times my customers ask how to go about acclimating new arrivals to their own reef tanks. I’ve probably acclimated new corals a thousand times over the years, so it’s become a bit of an afterthought, but I can relate to some apprehension on the part of newer aquarists.
Like many things in the reef aquarium hobby, there are many ways to do it, but the fundamentals are fairly consistent. We want to introduce the new corals to the tank with as little shock as possible and avoid as much as possible any issues with unwanted hitchhikers. The former deals with ensuring the safety of the new additions while the latter is all about protecting the original inhabitants from the new corals.
Step 1: Float the corals to stabilize temps
 The first step in acclimation is to float the new arrivals to stabilize the water temperatures. Even a short car ride can result in a significant change in temperature. It probably won’t change to the extent that the coral will die, but to shock the coral further by quickly introducing it to your tank isn’t the best idea. Some hobbyists commented that they skip this step, but in my experience, temperatures can differ by up to 10 degrees F, which is a huge gap to fill suddenly.
The time it takes to equilibrate the temperature in the bag or shipping container will depend on the amount of water and the difference in temperature. As a general rule, we like to float the new corals for at least 10-15 minutes.
Step 2: Place corals in larger container
 The next step is to get the new arrivals introduced to the water in the system. What we like to do is empty the corals into a new container and add water from the system slowly.
This can get tricky with orders received online because they often do not come in a lot of water. Shipping large bags of water is incredibly expensive, so shippers will often use as little water as possible without threatening the safety of the animals.
The best thing to do in this case is to pour the water into a smaller container, like a cup, before setting it into a large basin. That way, the coral stays submerged the whole time and you can add water slowly to the cup and let it overflow into the basin.
Step 3: Slowly introduce water from your system
Now that all the corals are out of their bags, it’s time to start getting them adjusted to the water in their new home. How long is slowly? It isn’t too long, just long enough that the differences in water chemistry don’t cause too much stress.
The longer this step takes, the less effective the temperature balancing in step 1 is because the water will tend to cool down. If possible, set up a drip system to add water drop by drop into the basin. Some folks use a pinched siphon hose directly from their tank and check periodically to make sure it doesn’t overflow.
This approach works fine, but as a personal preference, I like to use a 5-gallon container filled with just enough water to fill the basin so if I were to forget that I started the drip, I wouldn’t empty my tank onto the floor.
Step 4: Use corals dips to prevent infestations
At this point, the new arrivals could be introduced into the system, but here we like to take an additional step to cut down on the risk of pest critters. We add some coral dip, like Coral Rx, to kill off unwanted hitchhikers. There is no guarantee that the dip will kill off everything, but it is a good practice and if it prevents just one infestation, it’s worth it.
The dipping procedure lasts about 10-15 minutes, and during the process, we blow off the corals with a turkey baster to dislodge potential hitchhikers that have been stunned by the solution.
Hopefully these guidelines (and the video below) are helpful to folks curious about how to acclimate new corals.


Hi Dave; wonderfully, & clearly written article on dipping. I’ve just ordered my dip from Amazon but what I’d like to ask you is which do you do first, dip or acclimatise your new purchase OR could the two be done in one procedure?
From what you’ve said clearly the dipping has to come first or you are possibly introducing unwelcome visitors into your tank?
thanks
Russi
I have done this at least a thousands times and I do all the steps 1,2 and 3 in step 4 I will just pick off anything with close inspection I see that is not wanted in the aquarium. I do not use any dips unless there is a problem with shipping. Like a late delivery and the water is extremely bad. My set up ensures that most infections are taken care of.
What about light-acclimating?