We recently picked up a pair of X-Adventurer M6000 video lights and have had a week to test them out in Sulawesi. And while we’re still dialing in the perfect combination between white balance and camera settings, get ready because our coral photography is about to get a heck of a lot brighter and full of color.
Why We Need Lights For Underwater Photography?
As we dive, light, especially red light is absorbed into the water column. You may have noticed this when your underwater pictures turn out mostly blue and green. As well the deeper we go less light is available and everything becomes darker. When this happens we need to play with different manual settings to allow more light to enter the camera.
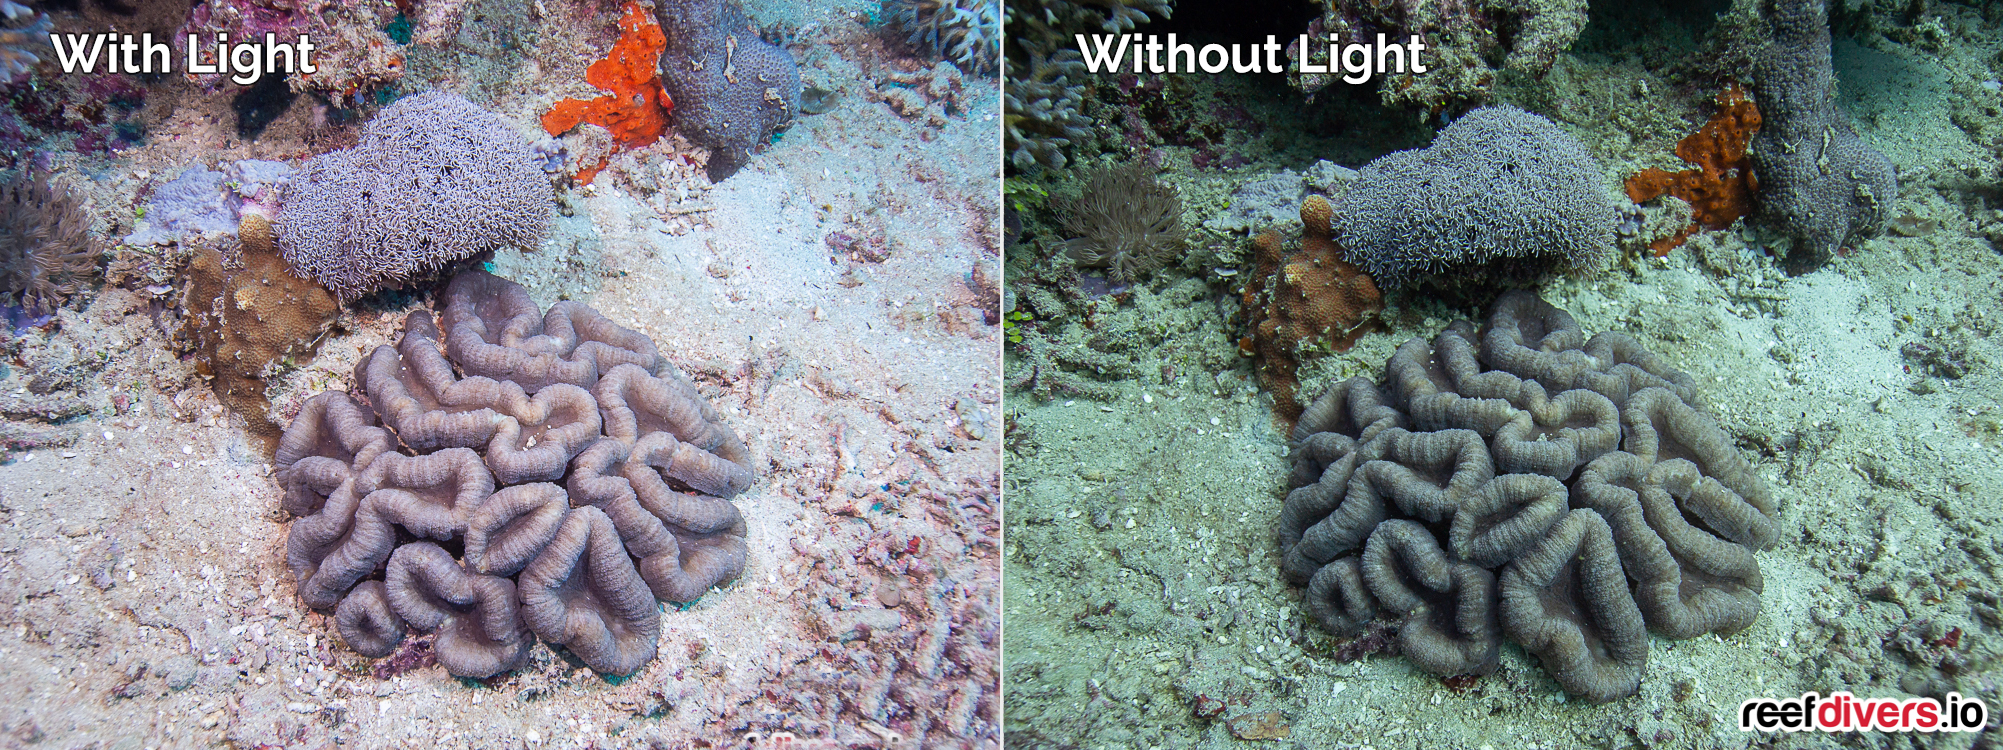
By using external lighting either LED video lights or external strobes (flash) we not only bring color back into our images but our camera has an easier time focusing on small subjects as well as capturing faster-moving subjects like fish. For our purpose (photographing corals) were not too concerned with them swimming away, however, we want to be able to capture the colors and detailed textures.
X-Adventurer M6000
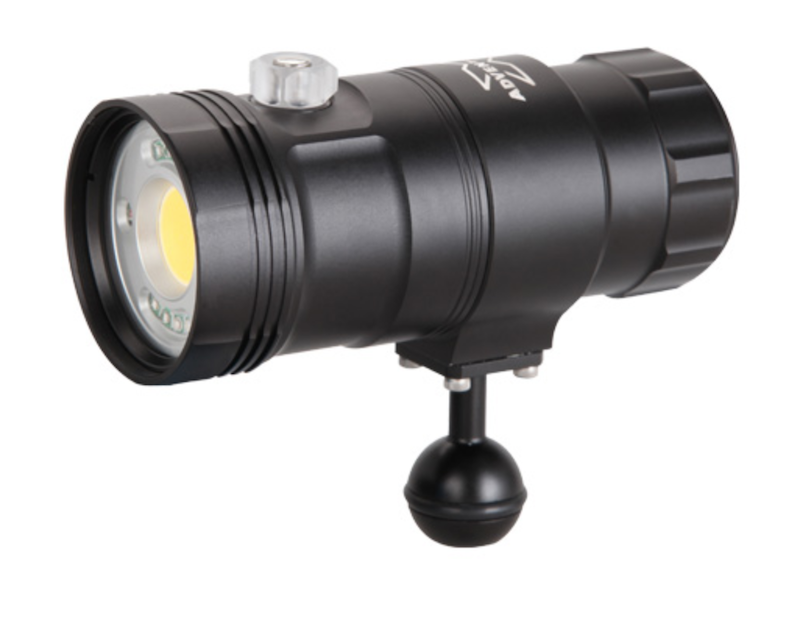 X-Adventurer is lesser known lighting manufacturer which is slowly building their reputation in the dive industry. We’ve tested a smaller X-Adventurer light in the past and really love the design and color output.
The M6000 is a step up from anything we’ve used as our brightest light in the past was 1500 lumens, this new light is literally 4x as bright and now we have two!
The M6000 has a 6000 lumen white flood light which can be warm white or cool white. Not sure how bright 6000 lumens is? Most basic dive torches are 1000 lumen or less, often between 200-500 lumens, and if you take a 6000 lumen light on a night dive, you can easily light up an area 3 meters (10 feet) wide.
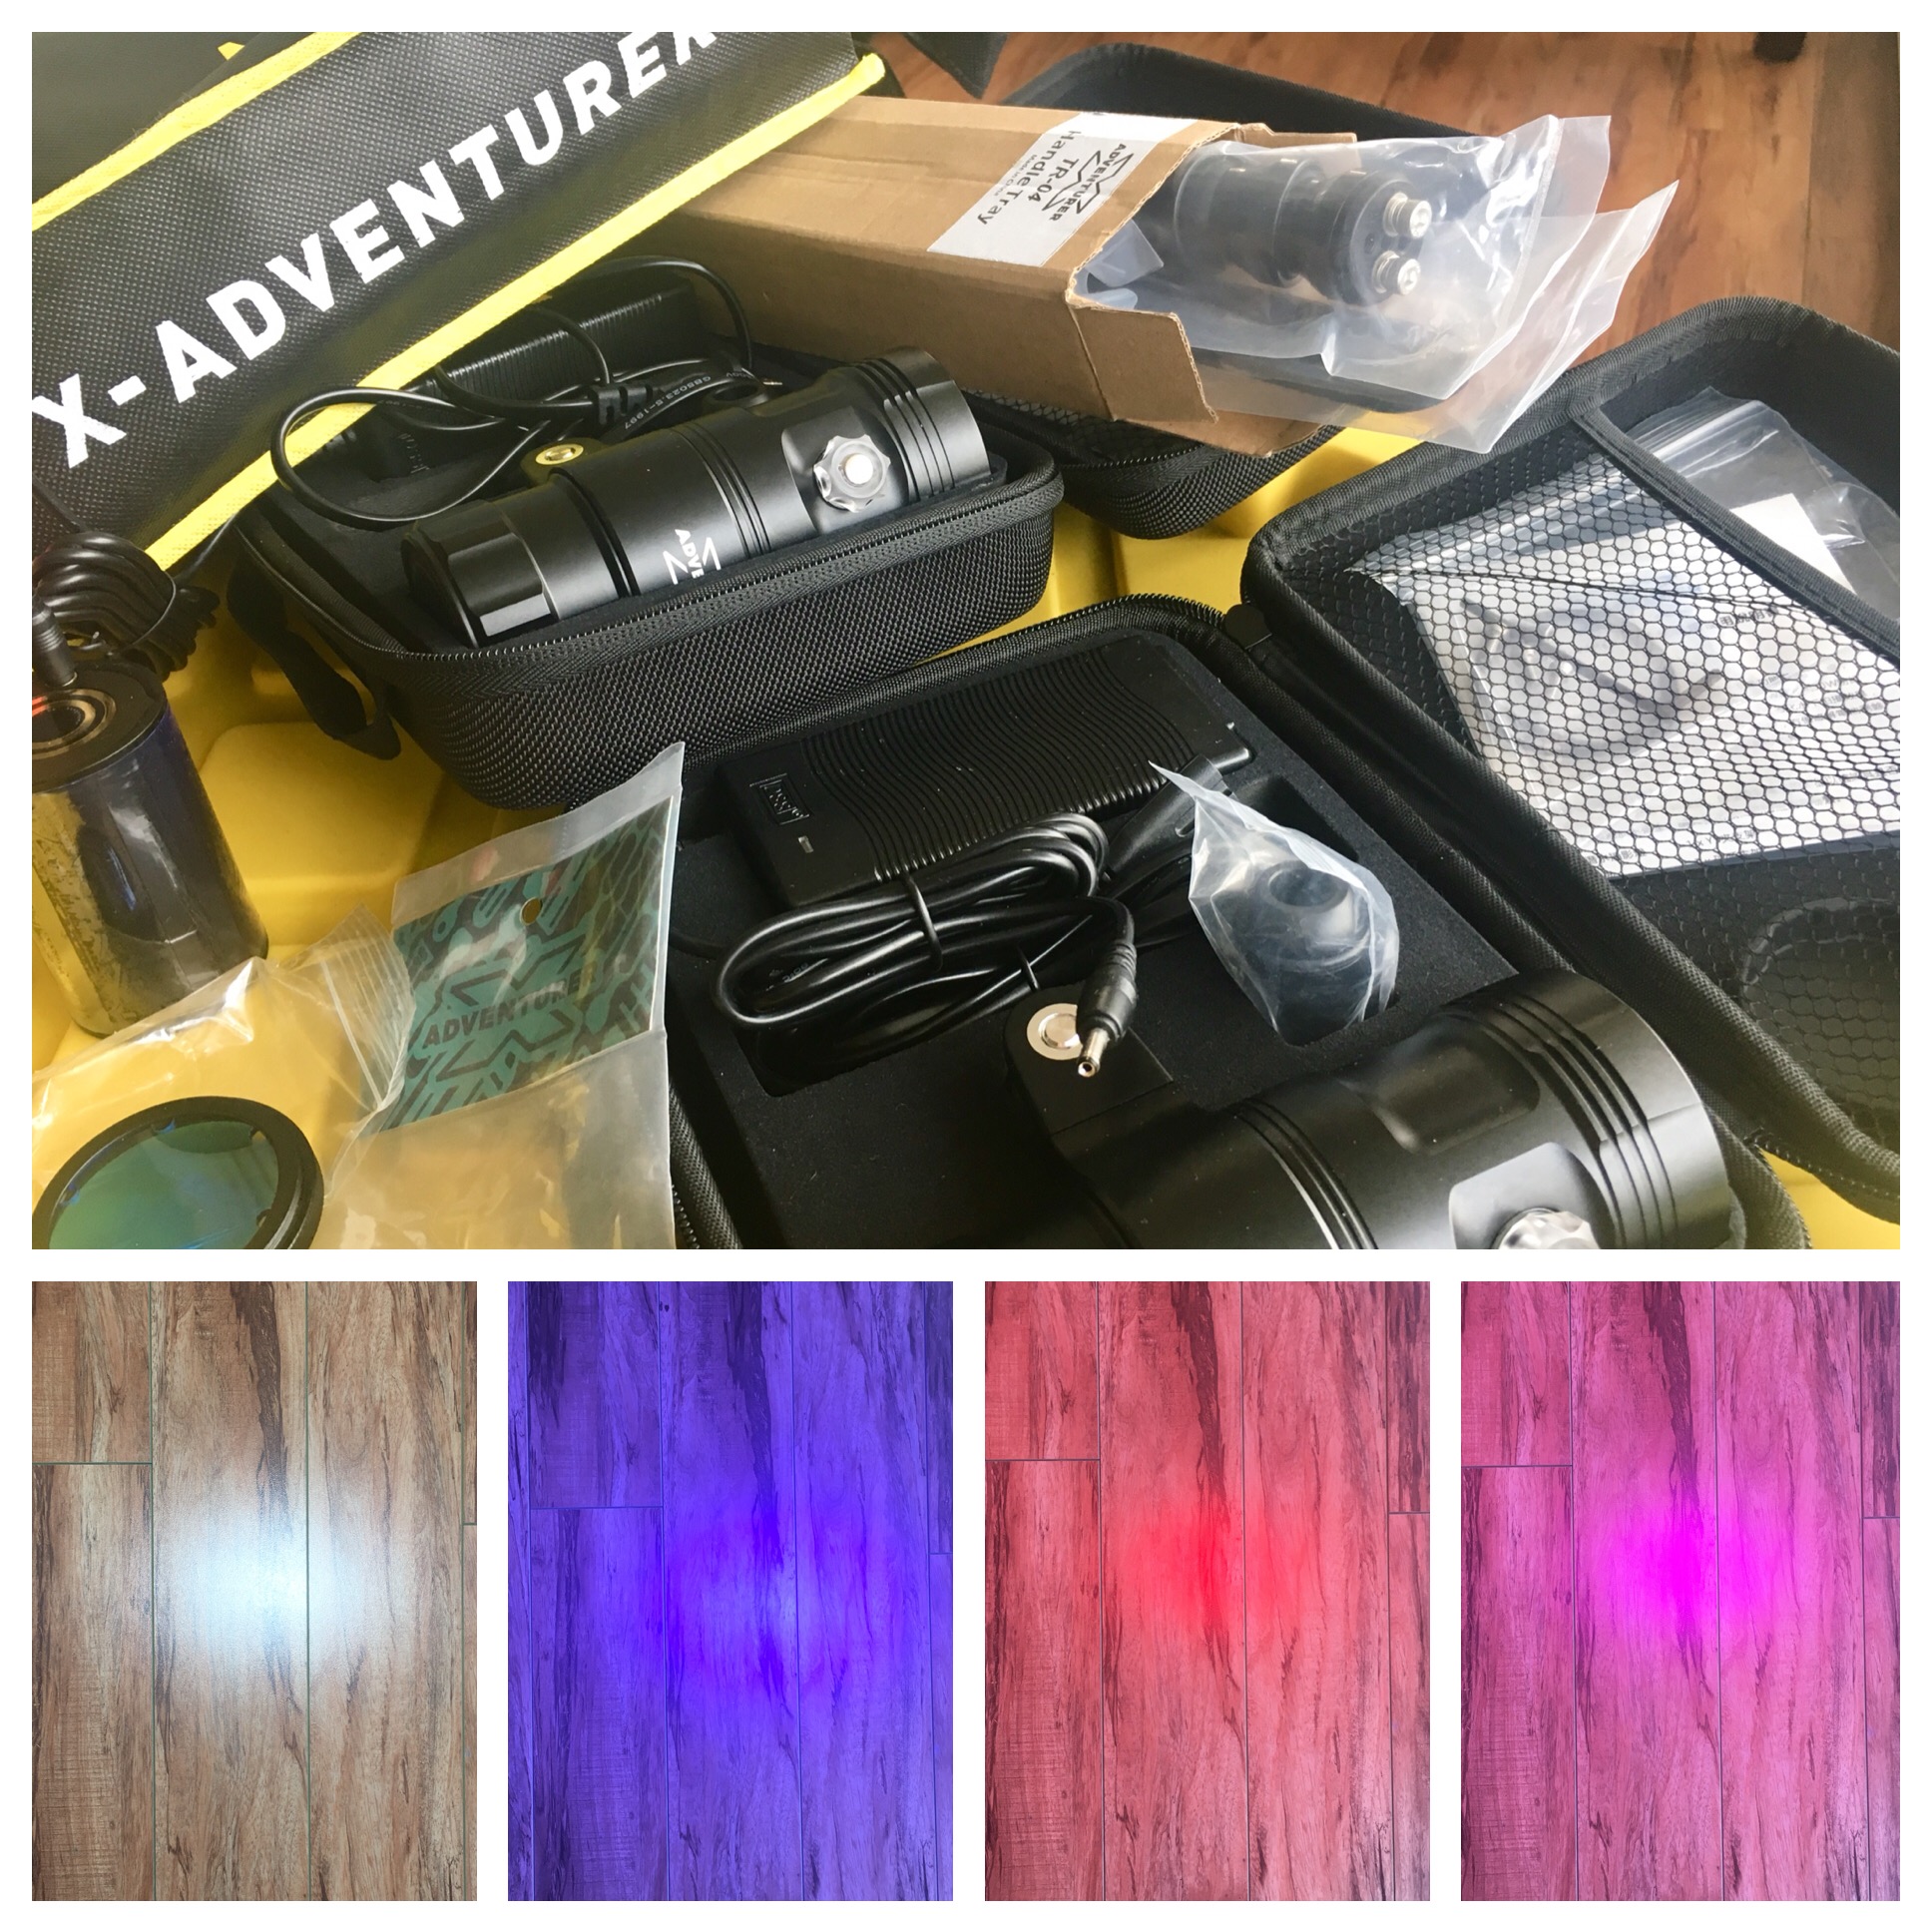 Aside from white, the M6000 has three additional color modes, red, blue, and pink, and all these modes can be adjusted for brightness. The white color has 20 levels of brightness while all other corals have 10 levels of brightness. We love that the M6000 comes with a blue light and have been switching between white and blue on every single dive. Now I just need to carry a yellow filter to start capturing fluoro pictures every dive!
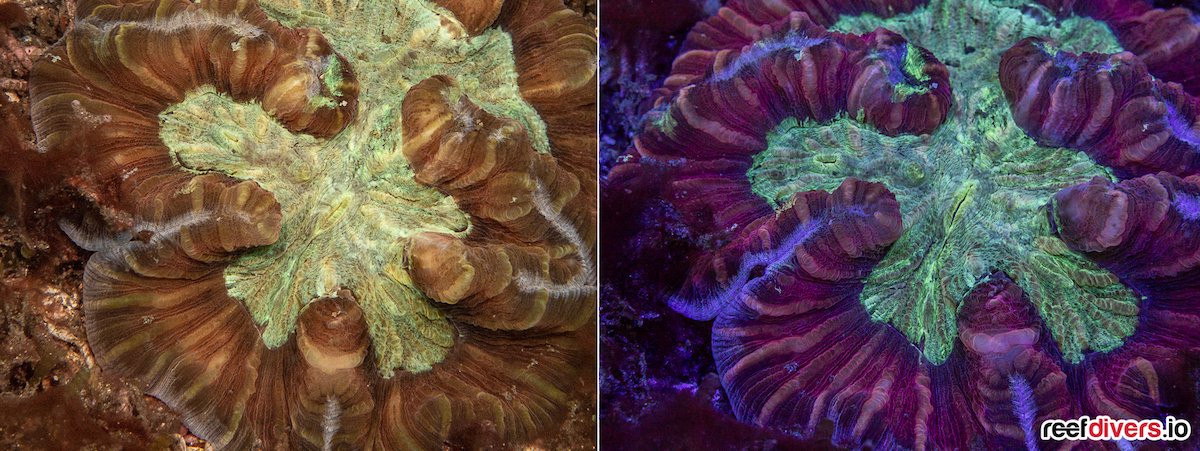
We took this shot of one of our favorite corals, the Trachyphyllia. The image on the left was using white light and the image on the right using the blue light. We used Lightroom to bring back color to both images including the blue light image. This gives you an idea of what you eyes would see underwater under the blue light. If we were to add yellow filter the colors would be even brighter in the camera.
The light is very solid and well built. Each light weights 520g on land (about 1.1lb) and 220g underwater. The lights twist apart at the center and house a rechargeable LED battery. Fully charged the lights should last you around 45minute at full power. The clear adjustment nob glows blue, green, or red indication how much charge is left in the battery.
The Results
Below are a few side by side shots showing how my old coral photography would have looked just using natural light and white balance plus color correction in Lightroom. Versus the immediate improvement using LED lighting.
Some of you may be asking why we are using a video light to take pictures? Underwater photography gear isn’t cheap, so we had to pick out battles. We decided to go with the more versatile video light over strobes for our first underwater photography upgrade. This way was can also shot colorful video, coming soon!
The LED light works just fine for taking underwater images especially for macro and still subjects, it’s when you get into sunny wide angles or freezing fast moving fish in place and avoiding backscater that you want to start using strobes. Little by little however we are slowly building our arsenal of underwater equipment.


