Every day is reef tank day for me, but on Sundays, I take the day off from writing and have the opportunity to execute some of my bigger plans. The 200-liter shallow soft coral lagoon is doing great. So great in fact that is there no room left for any new corals. The softies are starting to really overgrow, shade off and kill off some of the less aggressive LPS in there like Blastomussa, and as anyone could predict, the Green Star Polyp and Pulsing Xenia that I added intentionally to fill spaces have completely overgrown. I run a high pH, as high as 8.6, and it’s not just hard corals that put on extra growth, the softies go mad for it too, but with not an inch of room left and still plenty of corals I want to purchase, its time for a bigger tank.
A year in the making, I took the opportunity to move into what was my old kitchen, taking my laptop, and some empty fish tanks, and making it my new office. Knowing I wanted to go bigger I strengthened the floorboards and ran pipework through a hole in the wall to outside. The largest tank I could get through a diminutive porch door was 22” wide, so I managed to buy a freshwater 60x22x21” high freshwater tank and set about drilling it, sumping it, and converting it to marine. The blank canvas that is a bare tank is always the most exciting time for me, as in every tank I set up I aim to run better than the last, and my only conundrum now is if I opt for self-harm and go Acropora only, a fleshy, neon LPS-only crowd pleaser, or another mixed reef. They always end up mixed reefs as I like all corals but never have enough tanks, but regardless of coral type I always take time to plan the aquascape.
Raise it up
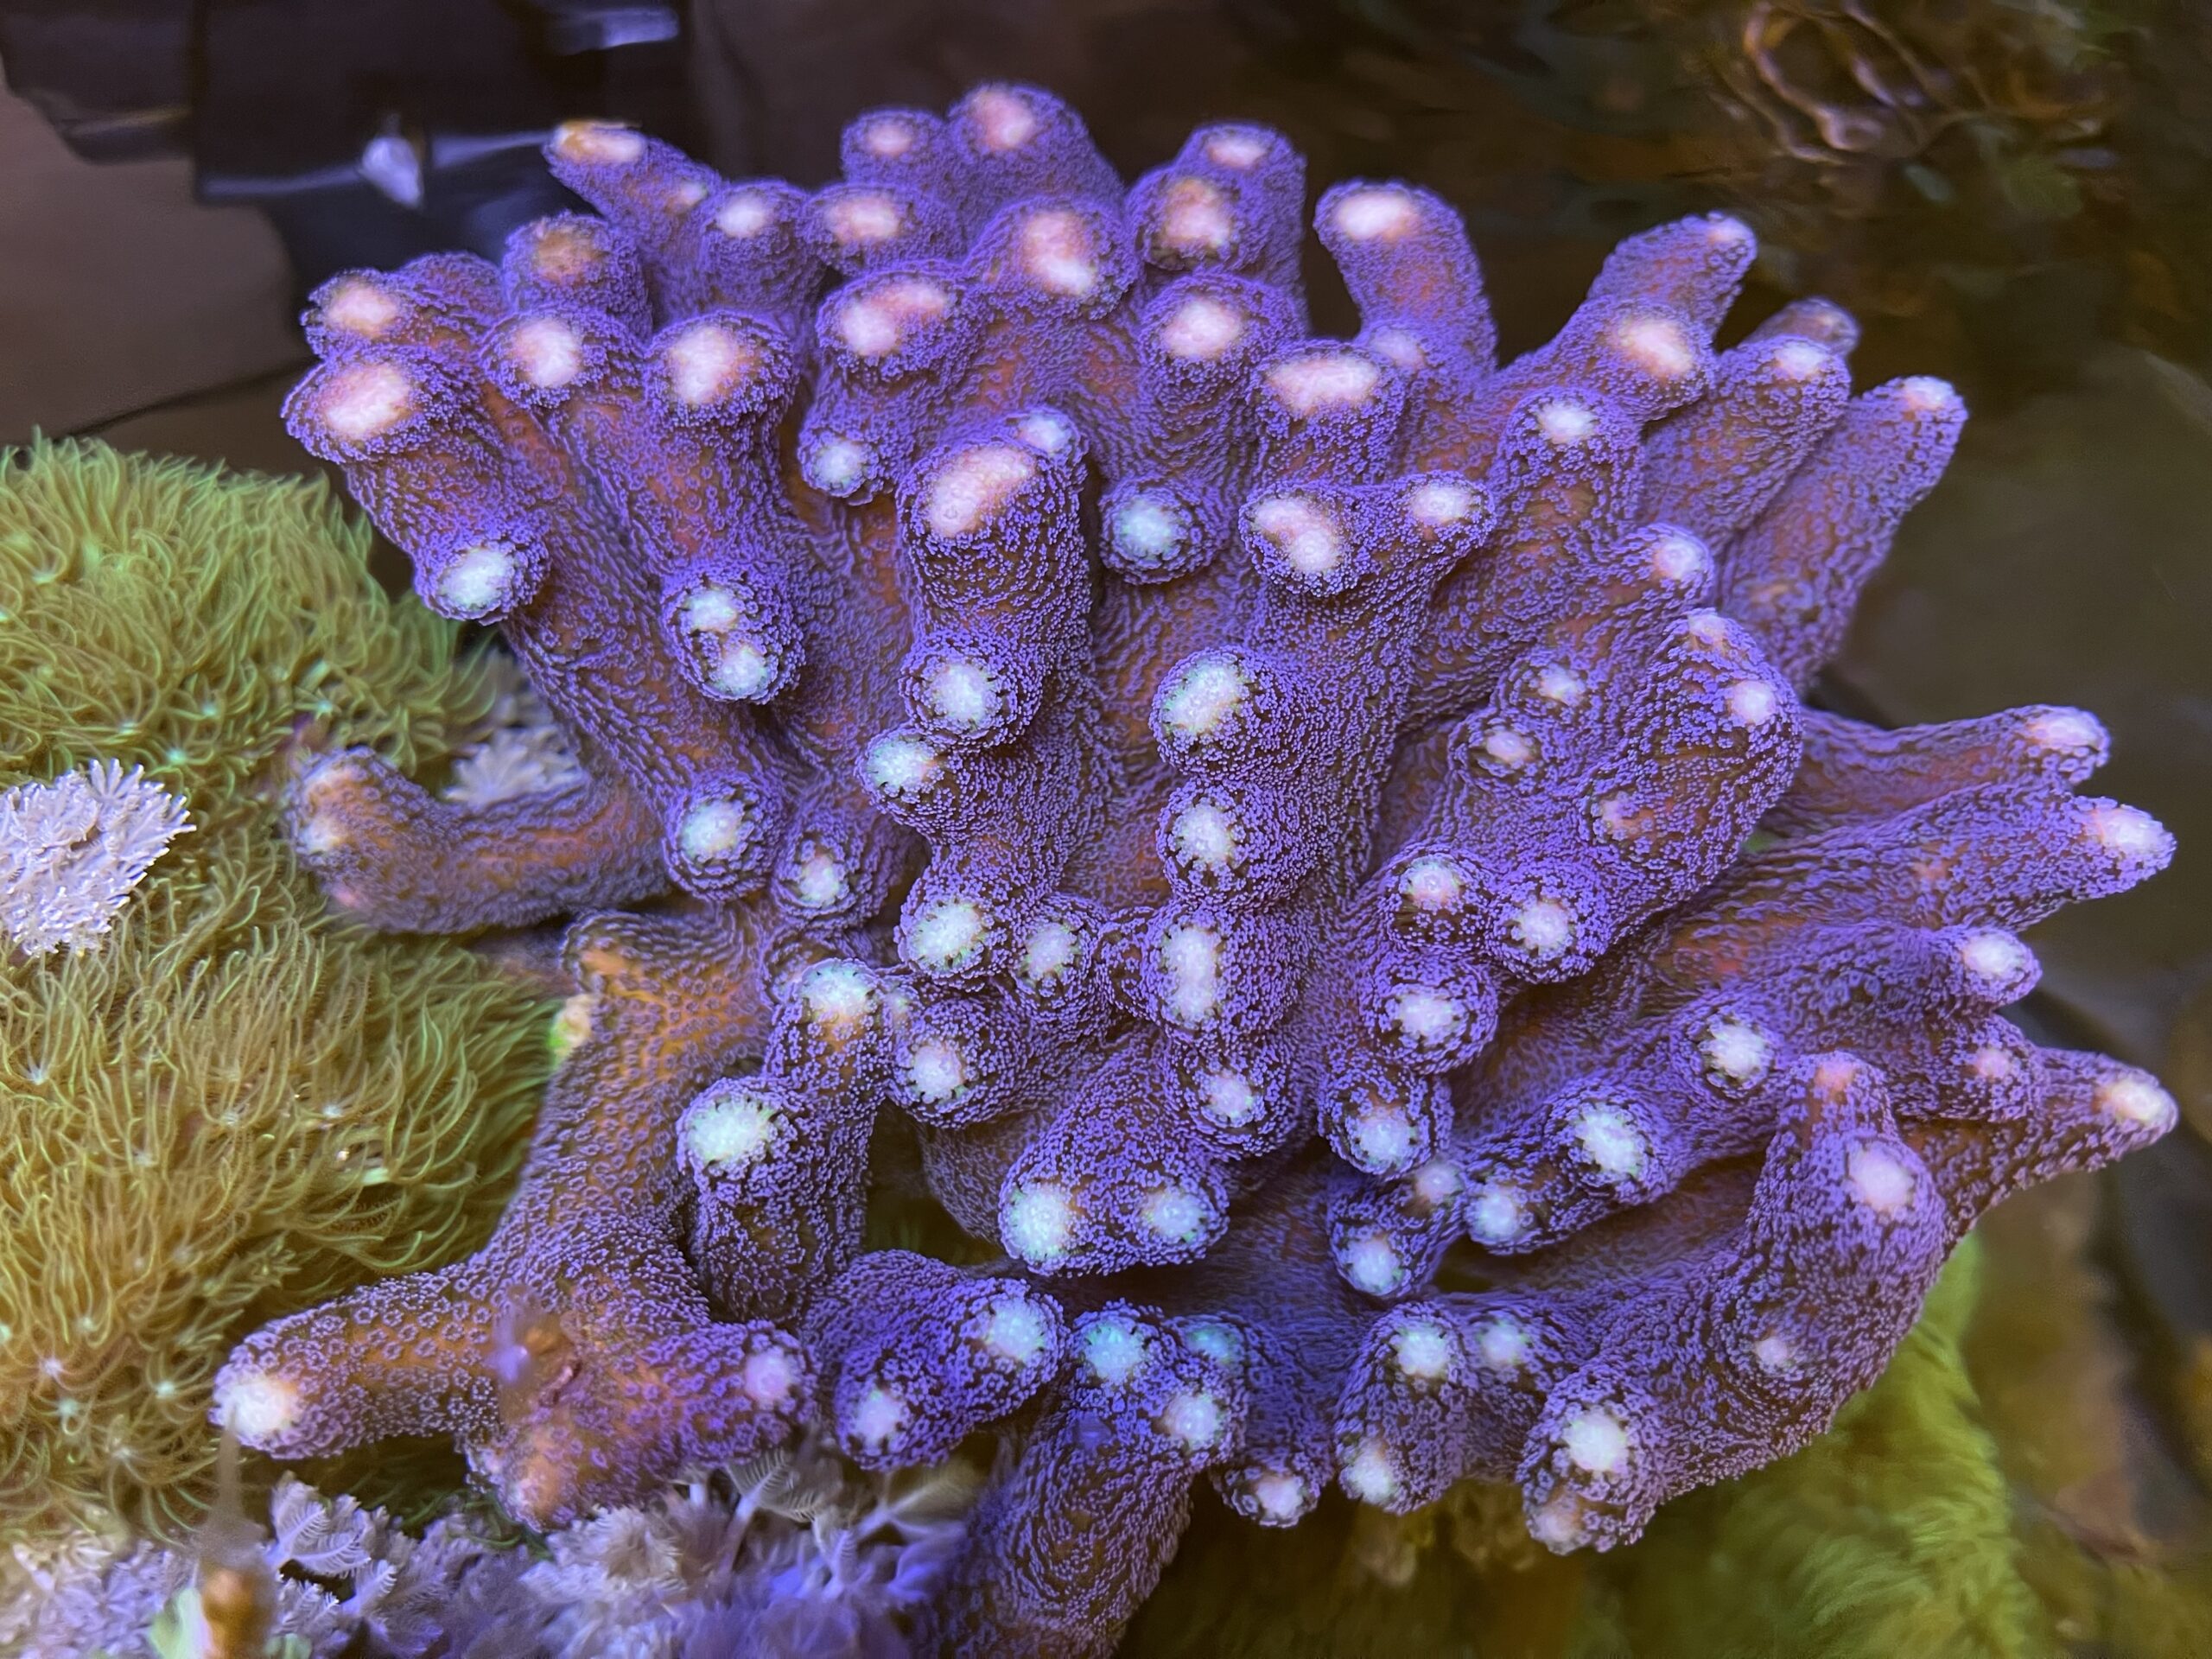
When it comes to scaping I always like to lift the scape off the tank base, making it easier to clean while also offering places out of the bright light for fish to hide under. They say to scape low these days to allow for coral growth and they’re right. Look at Jake’s three-year-old peninsula tanks in the Reef Builders Studio the corals are so big they don’t even need rockwork to stand on, but three years is a long time, I’m impatient, and the old-school reefer in me actually enjoys corals or even rockwork touching the water surface. And after producing a few year’s worth of negative space aquascapes I wanted this one a bit more rocky, with lots more hideaways, more places to attach corals, and a colorful, moving, chaotic look. I like my fish to be able to get away from me, it lowers their stress levels, and some of the best displays I’ve seen have included sneak peeks and fly-bys from fish that appear from behind a rock, do a bit of foraging, and then disappear again. It’s my little take on nature.
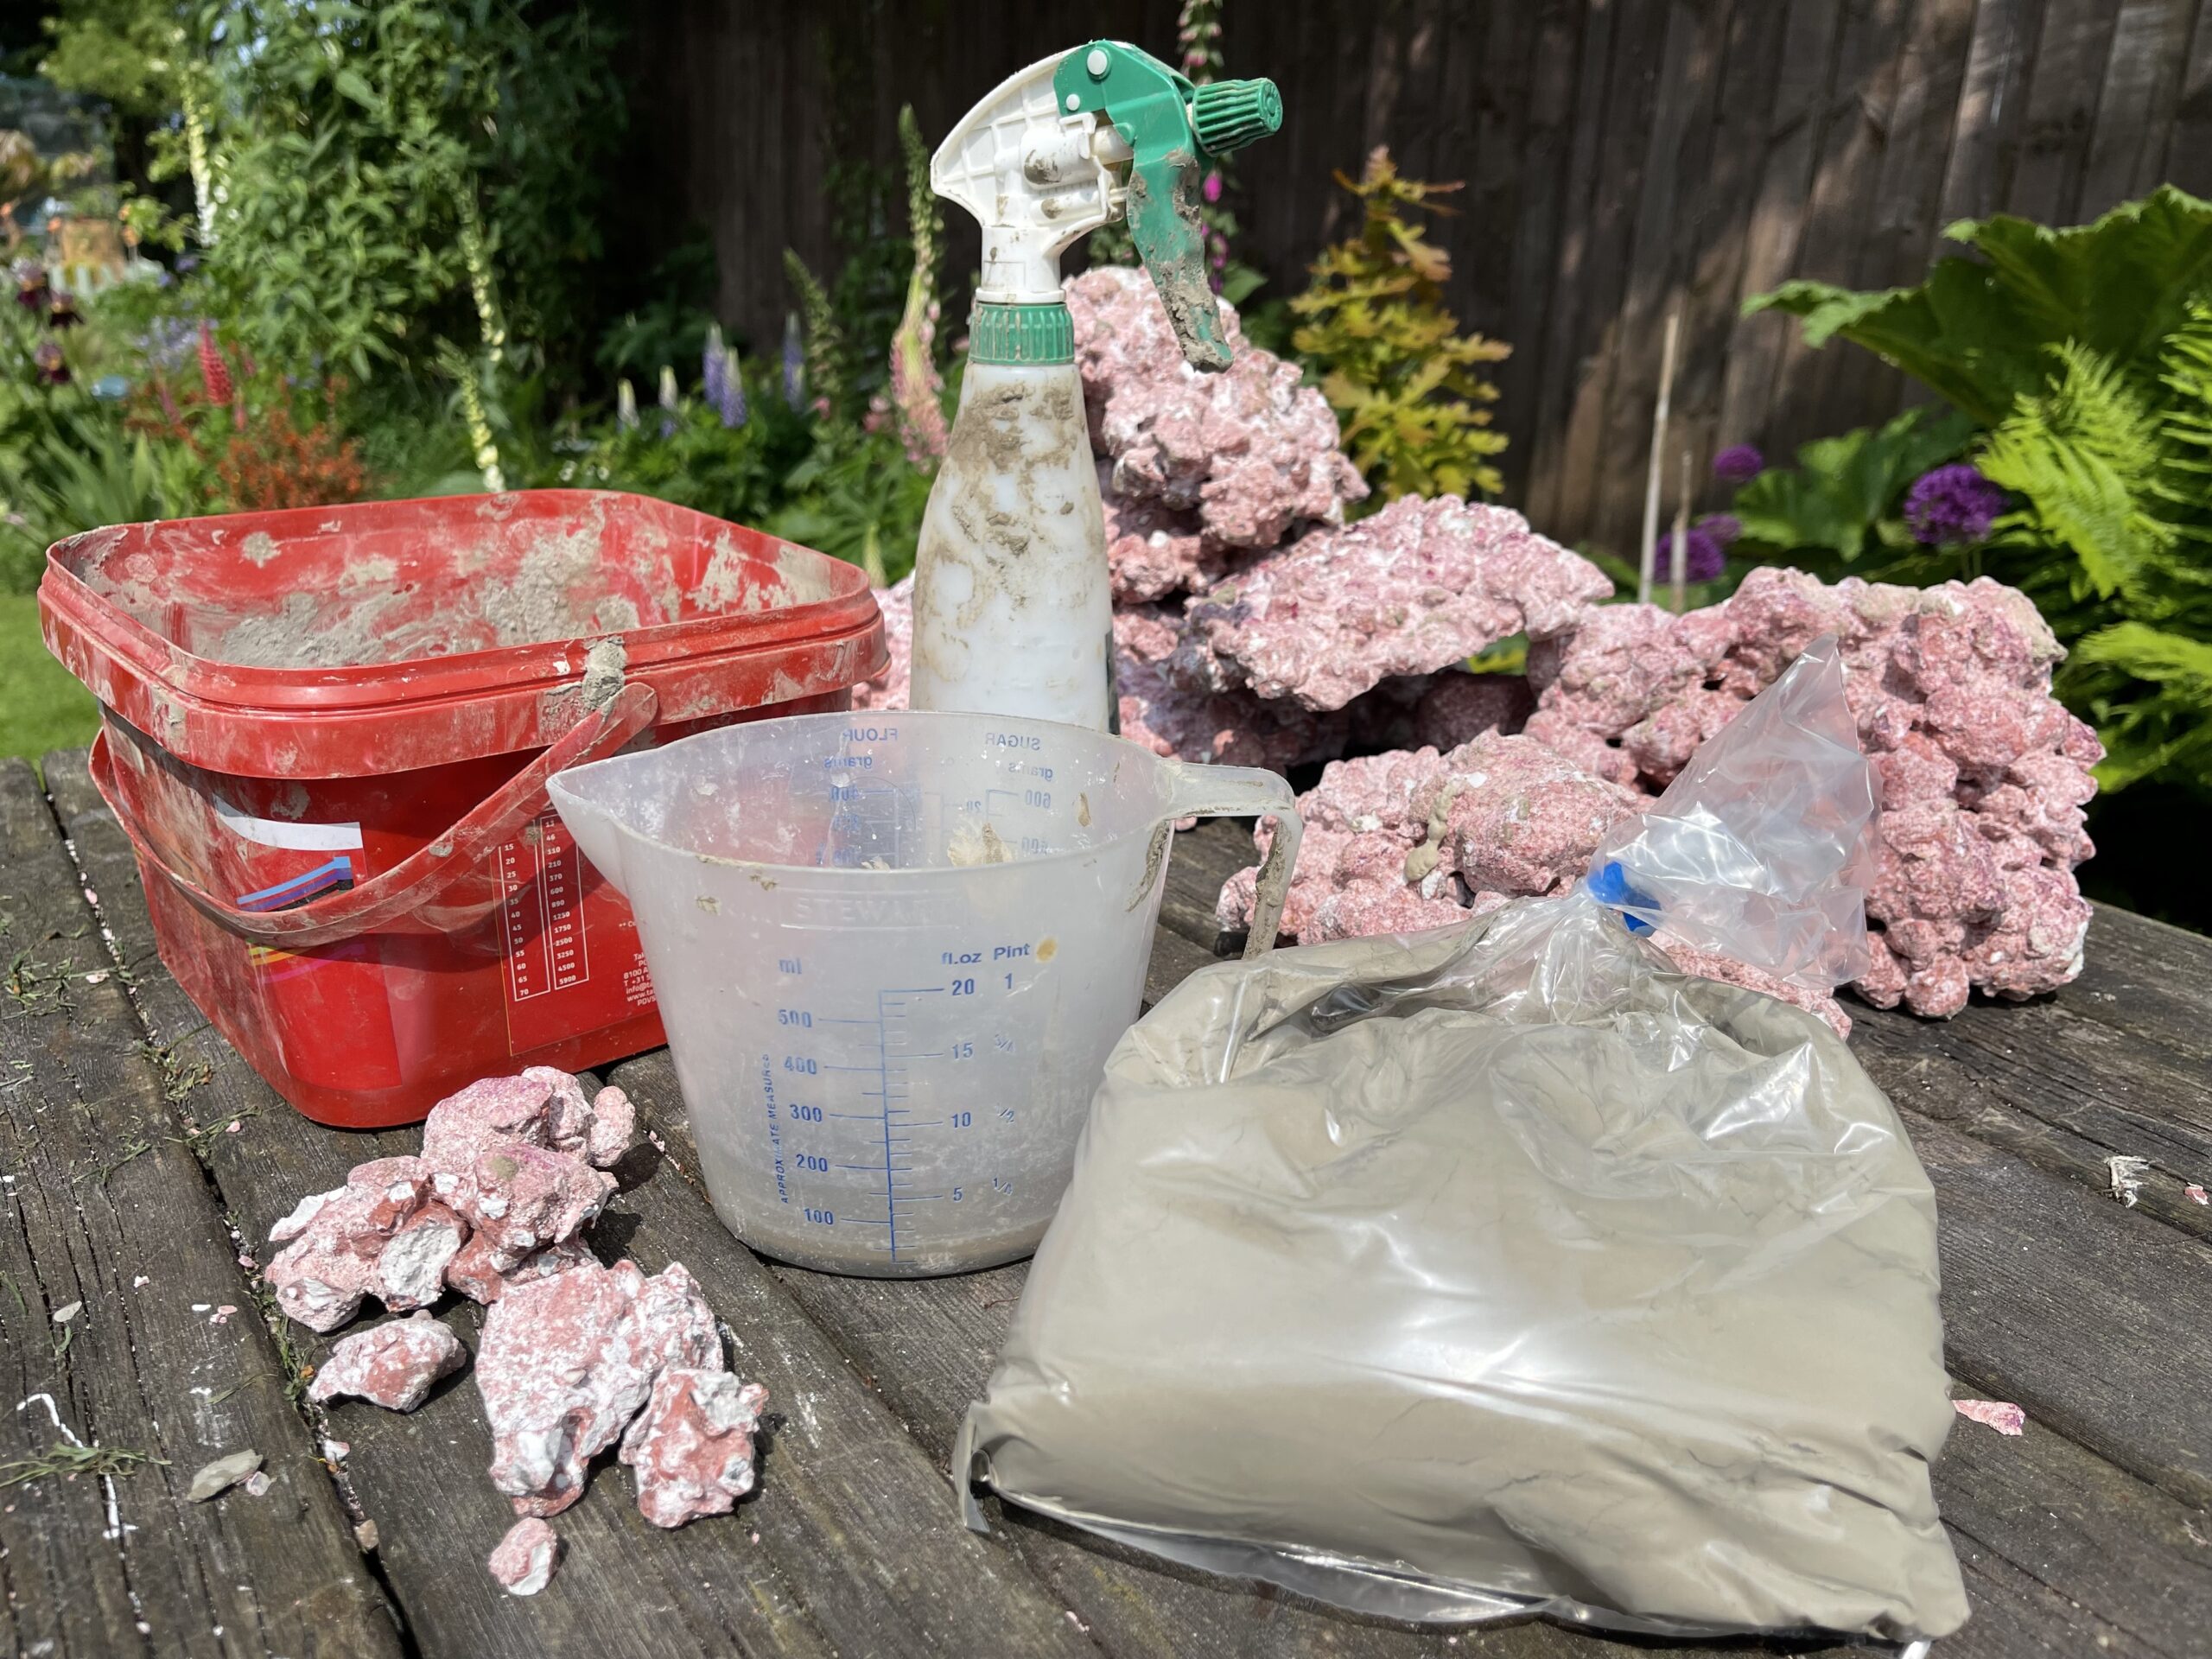
I chose dry, man-made rock for this latest scape, and with no rush to take down the 200-liter lagoon, I got to scape it dry and take my time. I’m yet to try the various superglue methods of bonding small rocks together but am well seasoned in using acrylic rods, epoxy, reef cement, cable ties, and even a hot glue gun (which proved to be reef safe,) but opted for reef cement again this time. If you haven’t used it before, quick-drying reef-safe cement is not for the faint-hearted. It’s probably the messiest process you’ll ever undertake in reefkeeping and it’s really easy to get it wrong. As the name suggests it is cement powder, and you mix it with water to create wet concrete that sets hard. But unlike standard, common-all-garden construction cement that will dry over a day or two, reefing cement goes off in seconds due to a chemical reaction the moment the water penetrates the powder. And there lies the problem.
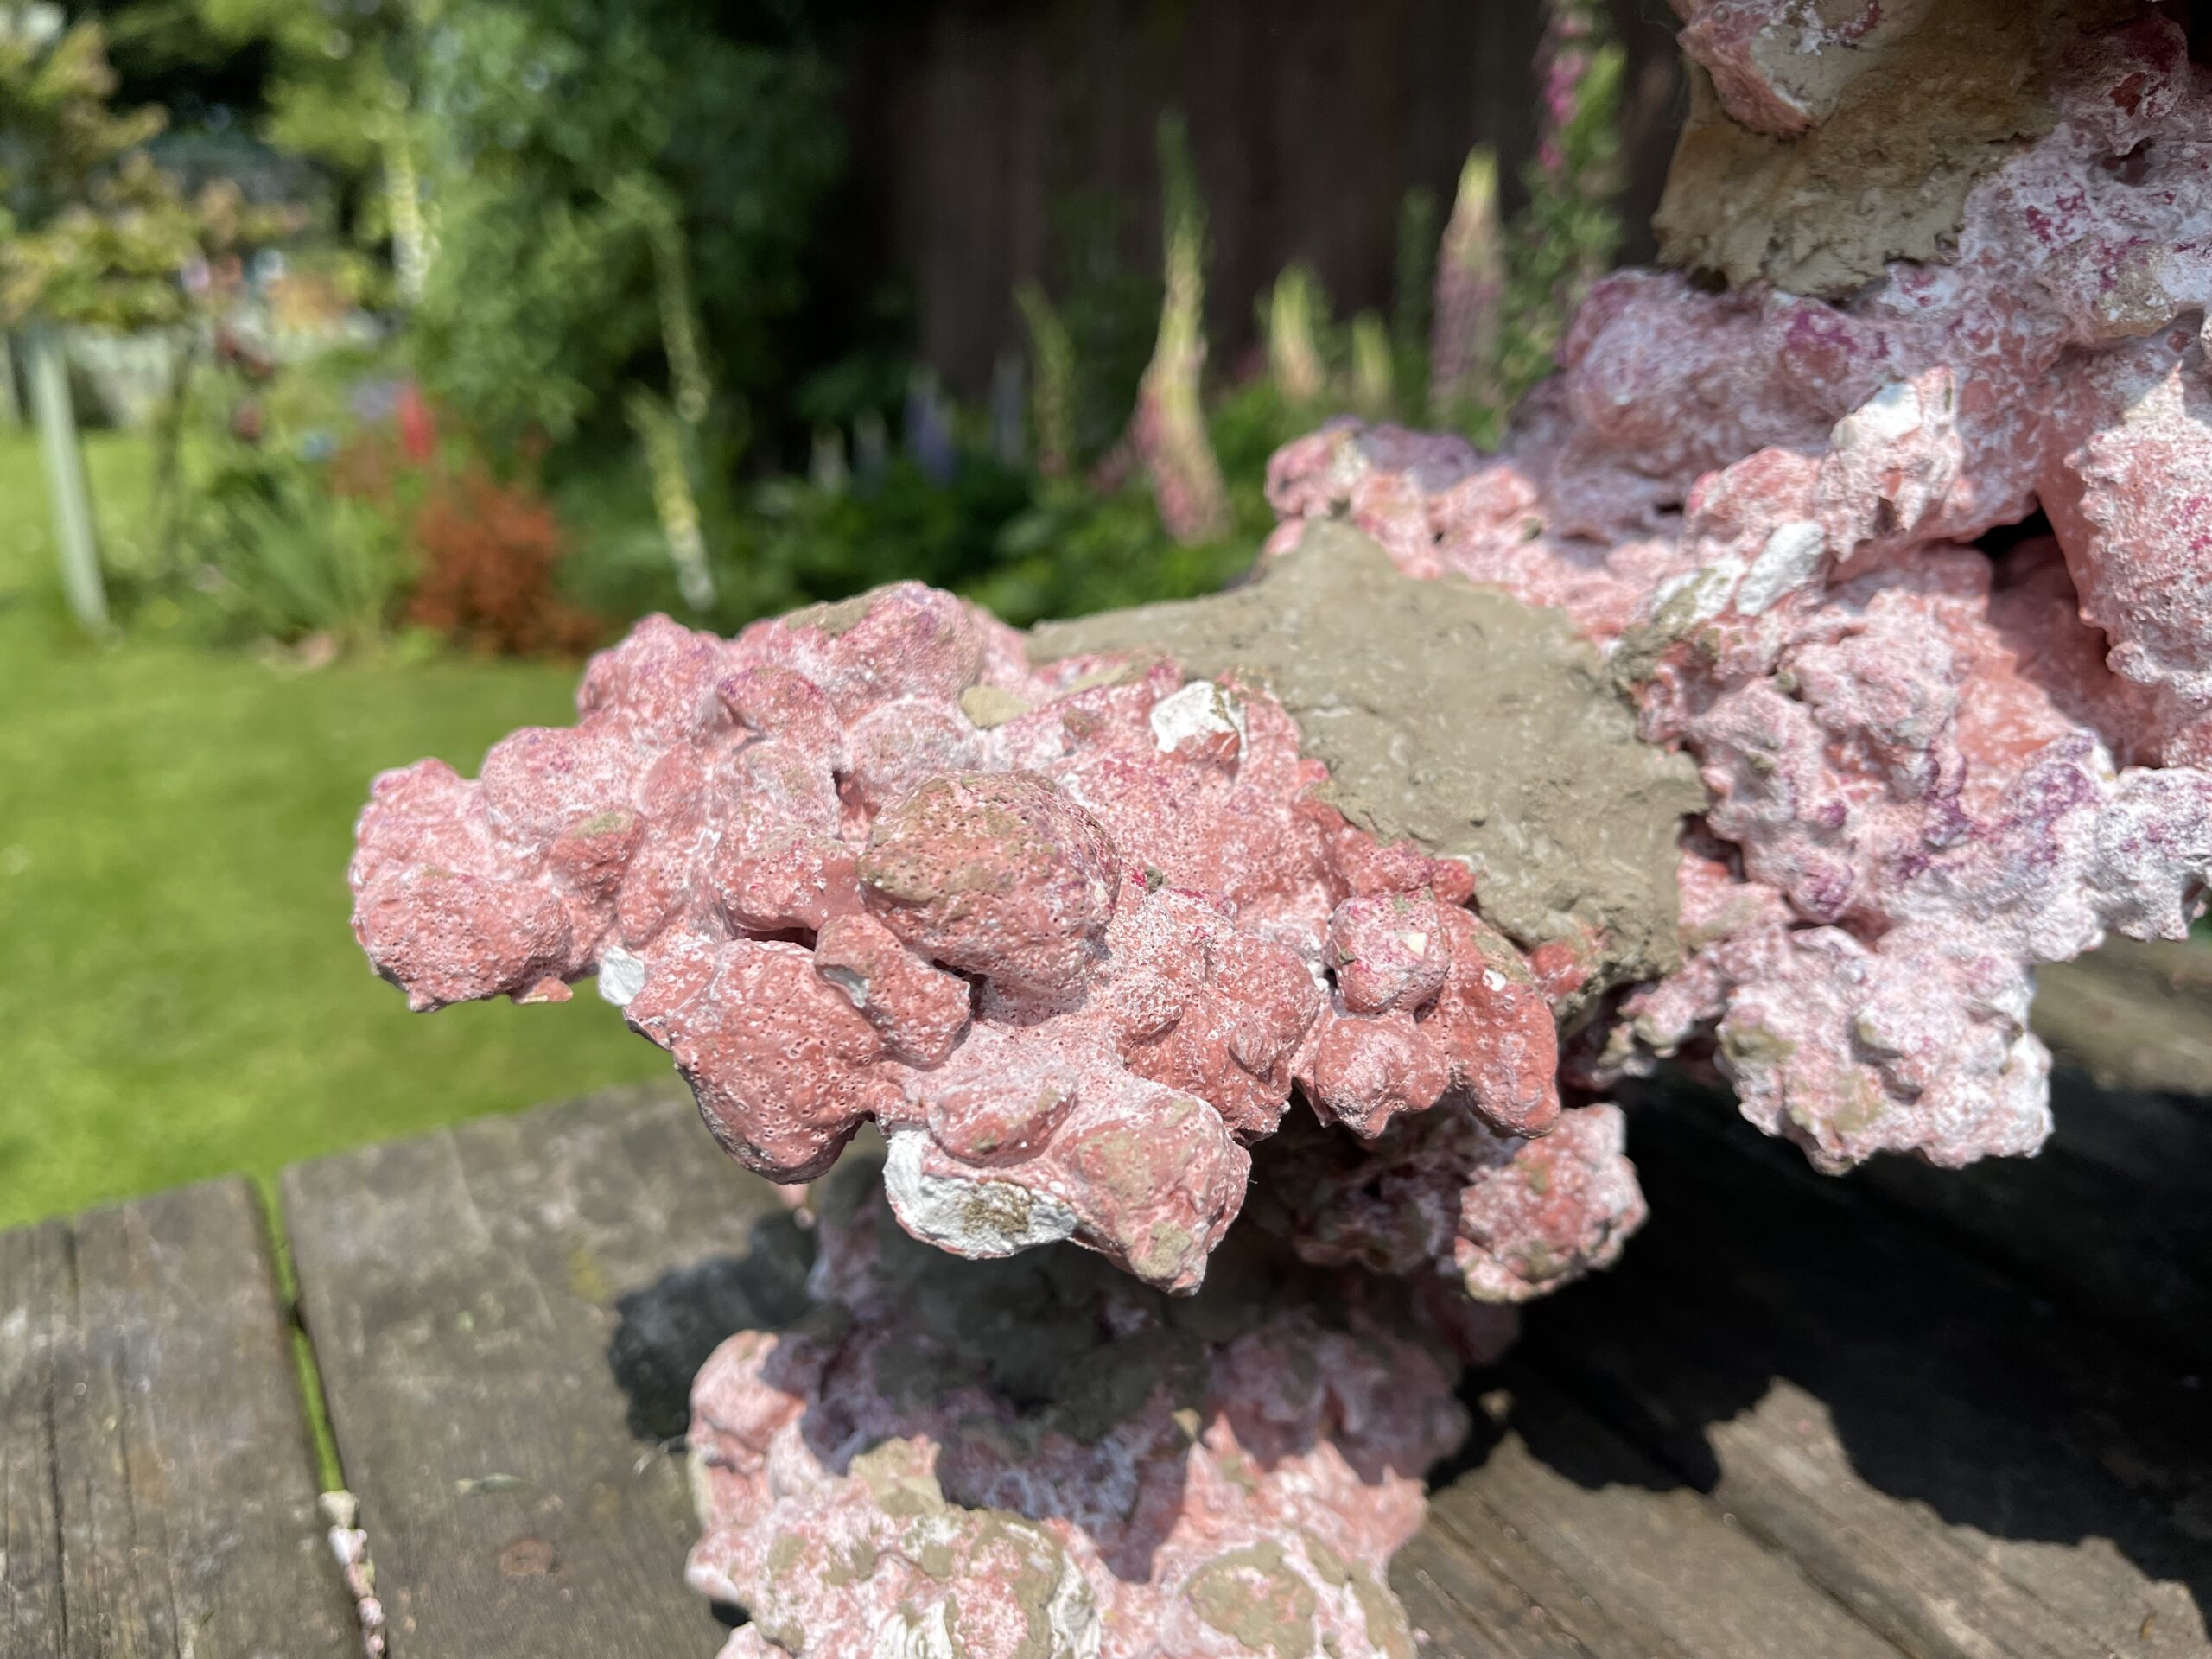
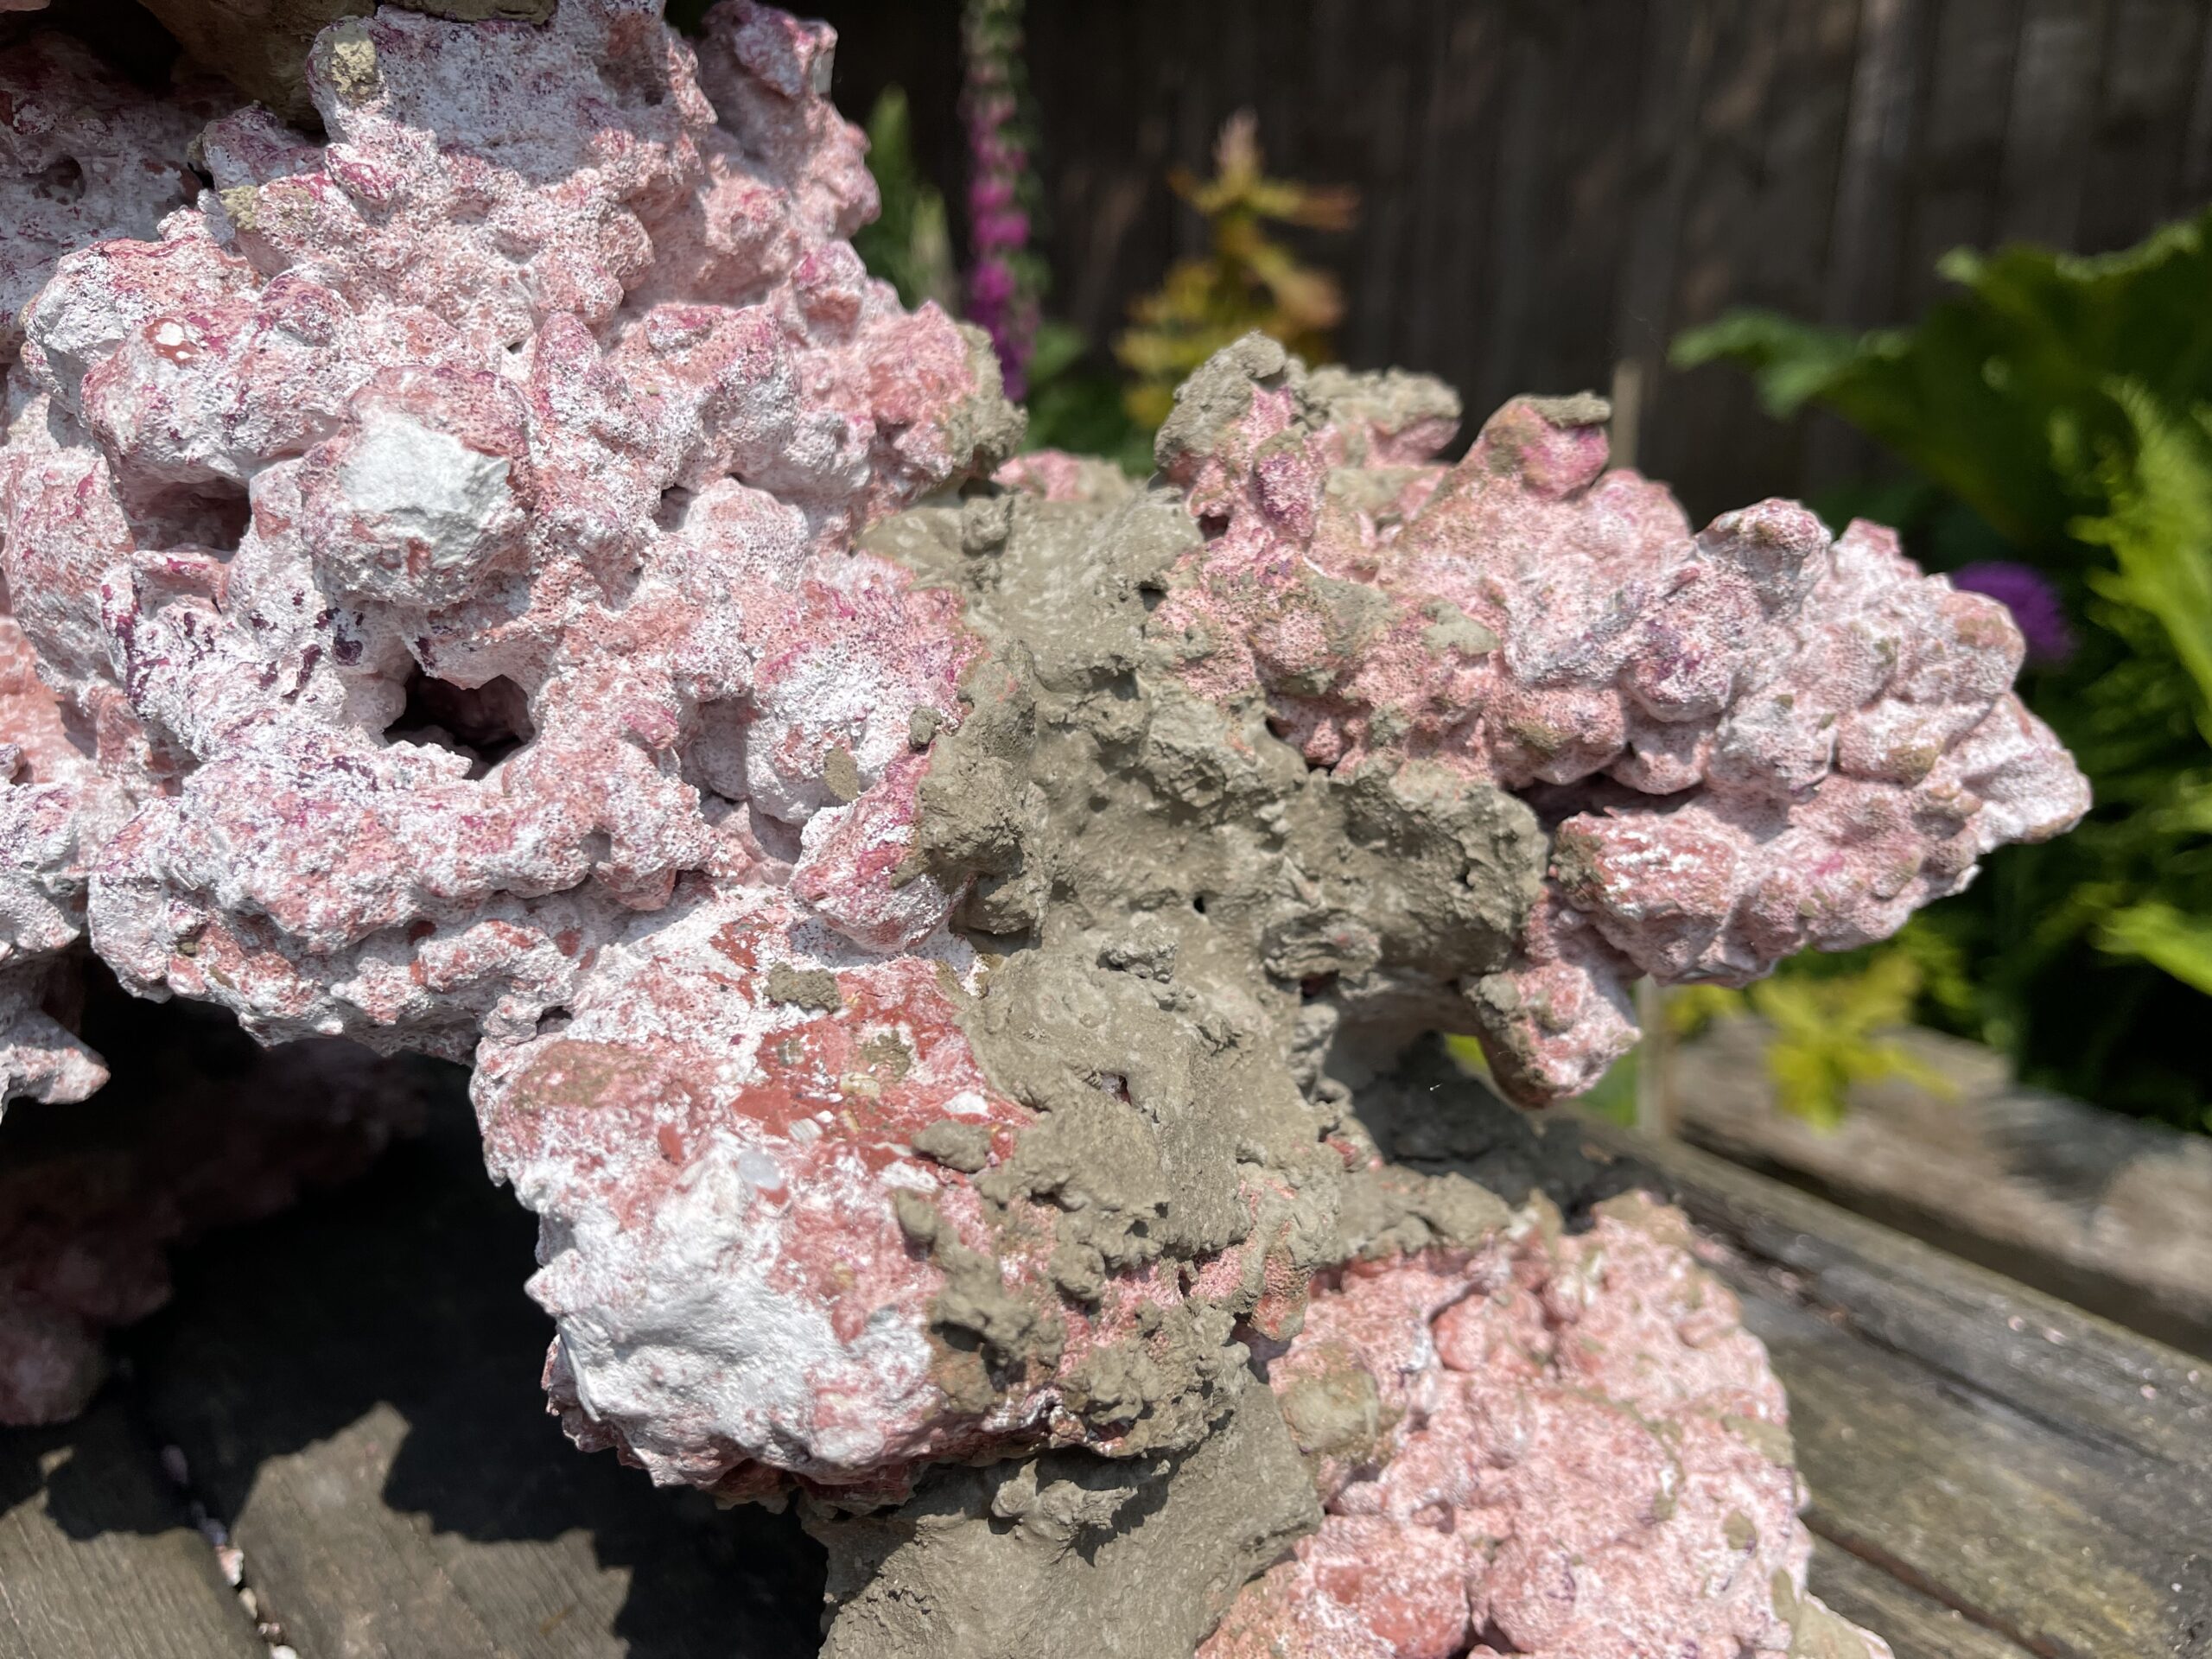
I used two popular brands of reef cement on the first structure and wasted quite a bit in the process. Ideally, you need to mix it up like wet mortar, the type, and structure that you would lay bricks with, but two dry and it won’t stick the rocks together and is too wet, and the liquid won’t fill the gaps between the contact points. I’ve probably used cement five times now but every time I get the first few mixes wrong and the rocks don’t bond. Initially, I made the mix too wet, and in the minutes I used up fiddling with the aquascape, the mix in the bucket was then too dry and starting to set. If it sets before you push it between the rocks it won’t stick then either. I spoke to a fellow reefer who had used it just a few days before and he used a small trowel and wet the rockwork first with a spray gun.
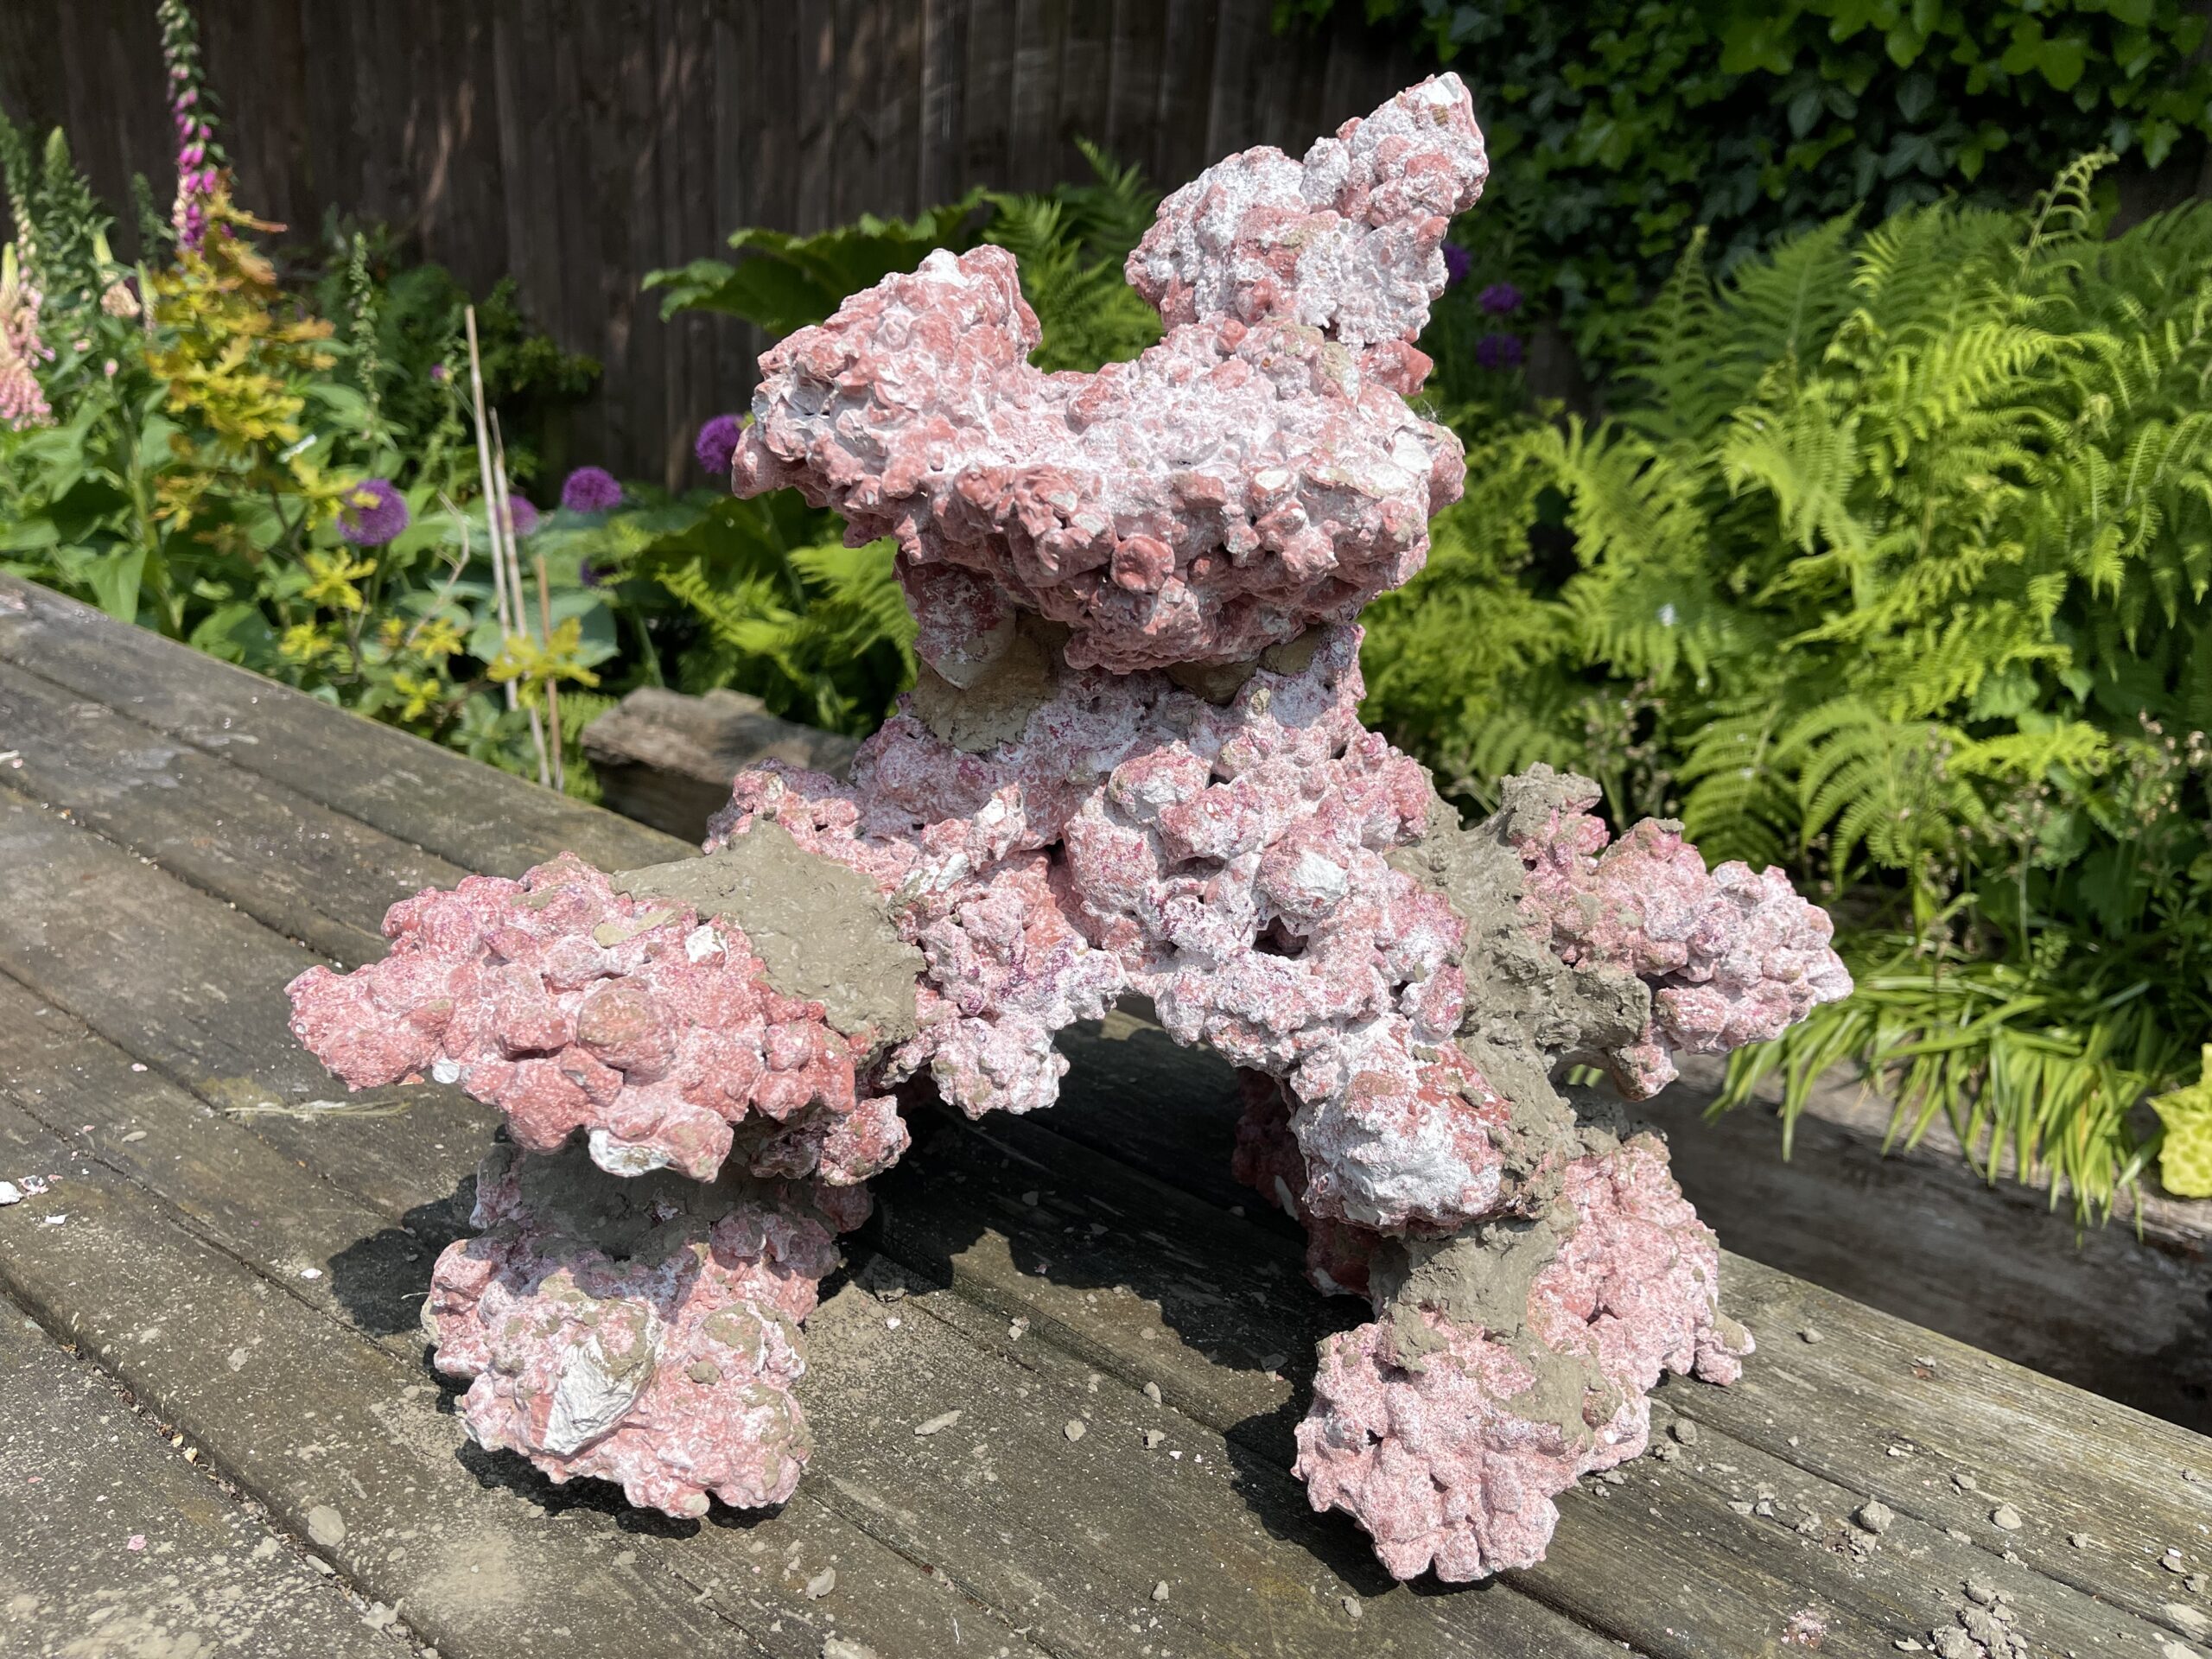
When I use epoxy I like the rock surfaces to be bone dry, but this caused me issues this time using cement. I revisited it, this time wetting the surface, and managed to get enough cement with the right consistency to bond some rocks together. Even though it “should” dry in seconds, again if you mix it wrong it won’t and I’ve been guilty of accidentally breaking unset joints apart hours afterward through not being patient. This time I chose a warm Sunday, bonded the rocks together on a bench outside and left it overnight to give it the longest curing time. I used a lot of it, as of now the cement isn’t looking too appealing compared to the purple rocks, but I’m glad to say it is set solid, and the structure can now be picked up by the joints and lifted as one, single, solid structure. The grey cement will of course quickly cover in biofilm and algae, disappearing, but on an aquascape I worked on recently I smeared some purple epoxy over the grey cement and it blended in really well.
Making shapes
To build a good aquascape these days you need a vision. Always pull the scape in, away from all four sides of the tank so that you can get a 2” diameter gravel vac, and an algae scraper down there, but also use the rule of two-thirds. Like it or not your main focal point will be two-thirds along the length of the tank and two-thirds up, so build a structure with a plate or a branch that will situate your prized, most eye-catching coral exactly there.
There are some really nice shaped rocks available now but mine were mainly flat plates this time, so I have to get creative to build a tall structure and gain some height. I put two large, flat plates on the bench and then an arching plate on top of them, spanning them. I then took another arch but this time turned it on its head, making the feet reach up and naturally form places to stick corals at the top of the tank. This would naturally suit SPS, high light, and high flow. I then gave it 24 hours of cure time before taking some small rock chunks and adding them as spurs and mini plates on the side of the structure to add even more coral sites and create even more shade underneath. I’ve made one so far but aim to make three of these as the basis for the structure in the five-foot tank. I will then apply more plates and branches, joining the three together and completing the scape. I’m sure corals will grow too tall and I’ll need even more room but it’s a nice problem to have. And it makes the case for an even bigger tank in the future.
