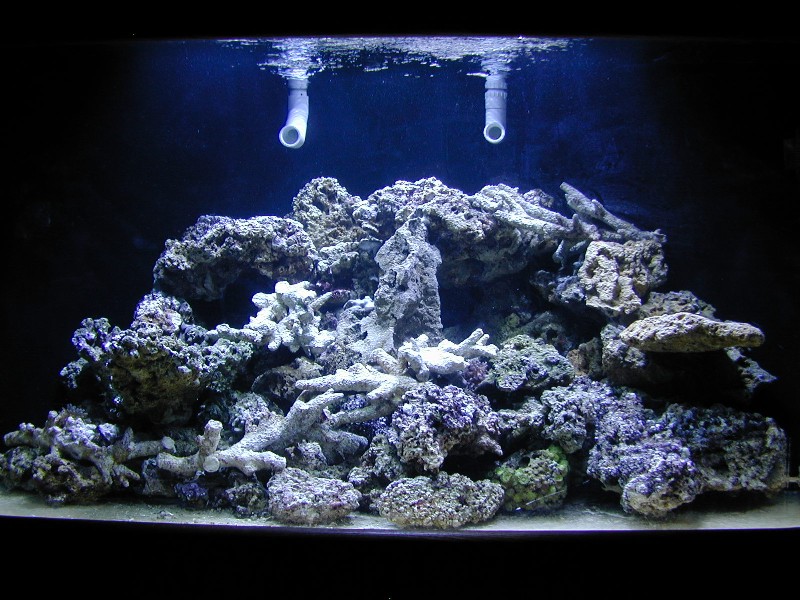
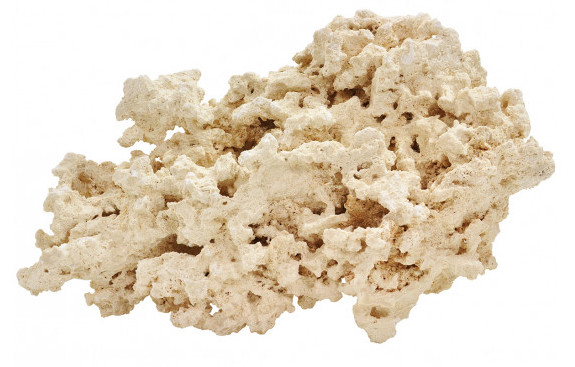
Throughout my years in the marine aquarium hobby, I’ve typically aquascaped my systems using cured live rock from Fiji. However, when setting up my 125-gallon tank in our new home about a year and a half ago, I wanted to try something a bit different. As an informal experiment—and, frankly, to help minimize startup costs—I decided to create the bulk of my aquascape using dry rocks instead.
I would have to describe the results of this approach as mixed—both better and worse in some ways than my past experiences using live rock as the foundation. Here are some of my observations on the process now that the system is fairly well established. Keep in mind that all the insights shared here are anecdotal (results may vary) and merely intended to be food for thought for hobbyists who might be planning the aquascape for a new system.
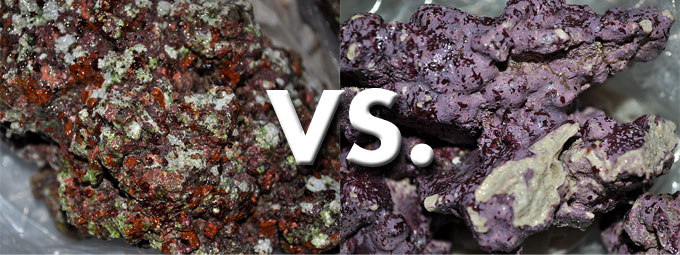
Aquascaping Made Easy
The dry rocks I purchased were Reef Saver Rocks from Bulk Reef Supply, and I was very pleased with their quality. After giving each rock a thorough rinse, I set about building my reef structure. I found it extremely easy to create a stable, almost seamless aquascape using these rocks, and, best of all, I was able to take my merry old time assembling them.
When creating a live-rock aquascape, there’s a sense of urgency about getting the rocks back into salt water as soon as possible to preserve any encrusting organisms. But dry rocks make it possible to assemble your reef structure in an empty tank, or even outside the tank, so you have the opportunity to reconfigure it as many times as you want over as long a period as you like until you achieve that perfect aquascape.
In addition, the gnarly, honeycomb-like nature of these rocks makes for an aquascape with lots of nooks, crannies, caves, and ledges, which is very advantageous for coral placement and offers plenty of territorial niches for fish.
Stowaways Excluded
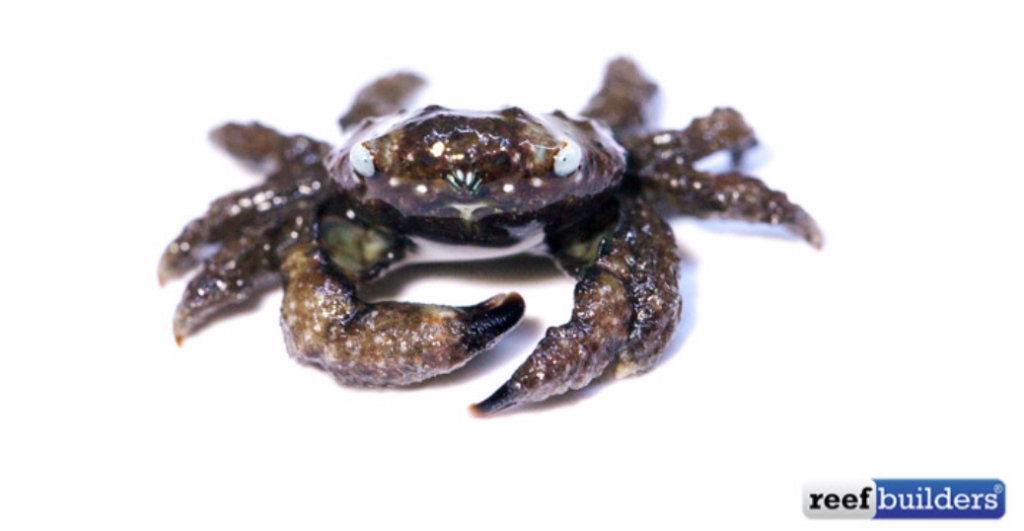
When aquascaping with dry rock, there’s no opportunity for troublesome organisms—aiptasia or majano anemones, parasitic flatworms, bubble algae, mantis shrimp, crabs, etc.—to enter your system unless they come in later on a rock or plug holding a coral specimen that wasn’t inspected/dipped properly. In essence, nothing gets in unless you bring it in, which can prevent a lot of future heartache.
On the other hand, there is a downside to the exclusion of hitchhikers. One of the many aspects of marine aquarium keeping I really enjoy is observing the various organisms that emerge unexpectedly from live rock over time—yes, even those ugly bristle worms. I also like shining a flashlight around the aquascape at night to watch the amphipods, copepods, and other tiny critters crawling around. However, with my dry-rock aquascape, there really were no microfauna to observe, so I eventually decided to top-dress the aquascape with a few small pieces of live rock and add several pounds of live sand to the substrate to help boost the system’s biodiversity.
Slower Cycling
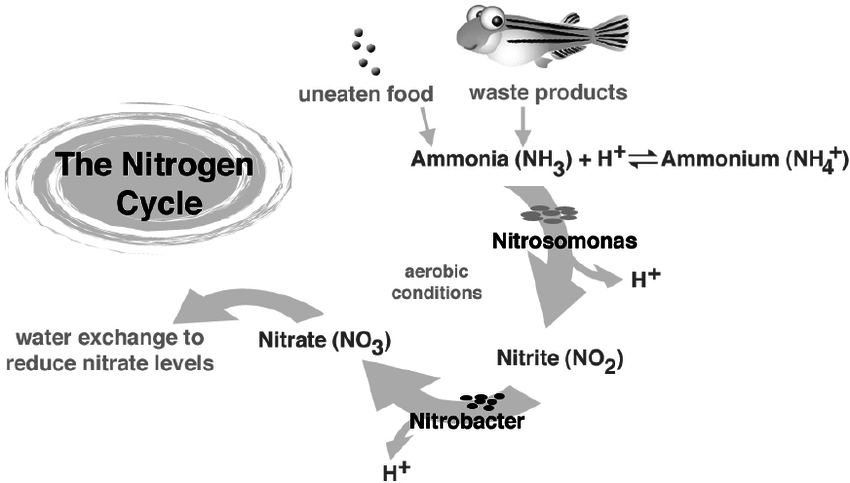
The process of cycling a system aquascaped with live rock has always been a rather fast, efficient process for me. Once introduced to a tank, the cured live rock usually undergoes just enough die-off of encrusting organisms to create an ammonia spike that gets the cycle going. All I have to do is monitor the ammonia and nitrite levels until both drop to zero, at which time I can begin to add livestock slowly and methodically. With this approach, tentative biofiltration is usually established within just a few weeks.
This time around, I cycled the system using ammonium chloride and a proprietary source of nitrifying bacteria (of dubious benefit), and the process took closer to five weeks. This is neither positive nor negative—just something to keep in mind if you’re accustomed to cycling with cured live rock. I was in no hurry to begin stocking the system, so having to wait a few additional weeks for the cycle to establish was of no consequence.
More Aggressive Algal Blooms
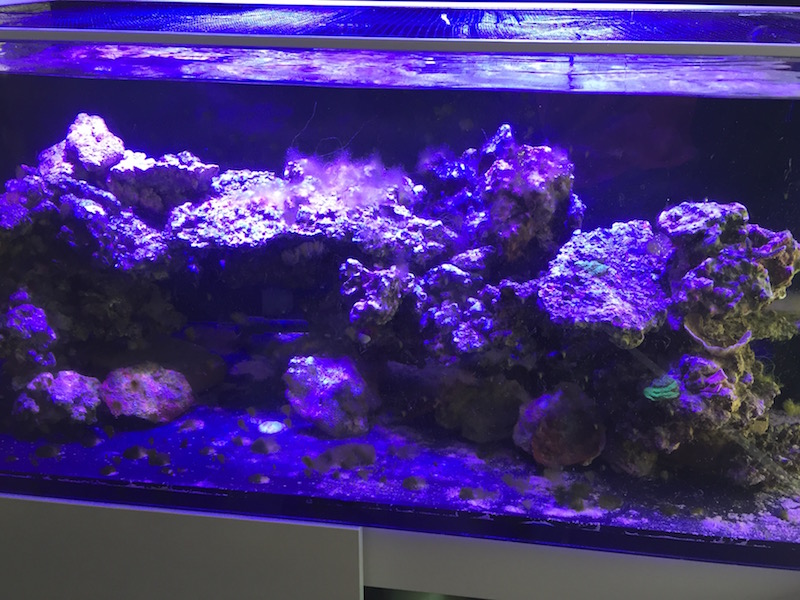
As is typical with any newly established marine system, this one went through a progression of different algae types as it matured. But this time, despite low dissolved nutrient levels, each bloom seemed to be more persistent and widespread than I’ve experienced with past aquascapes. I attribute this to the abundance of niches available for algal growth on dry rocks compared to live rocks, which are already—at least partially—encrusted with coralline algae and other organisms.
Still, just as one would expect in a system aquascaped with live rock, each bloom did eventually come under control with persistent attention to water quality and maintenance, so don’t let this possibility discourage you from trying a dry rock aquascape.
Different Journey, Same Destination
A year and half on, my system is more or less where I would expect it to be, and with dry rock costing significantly less than live rock per pound, I was able to save a fair chunk of change on my initial setup costs. There was a trade-off in terms of overall run-up time and limited biodiversity, but as mentioned, I was in no hurry and I was able to boost the biodiversity by adding a few pieces of live rock and some live sand. I guess you could say that with this setup, I’ve arrived at the same destination but by a somewhat different route than usual.


