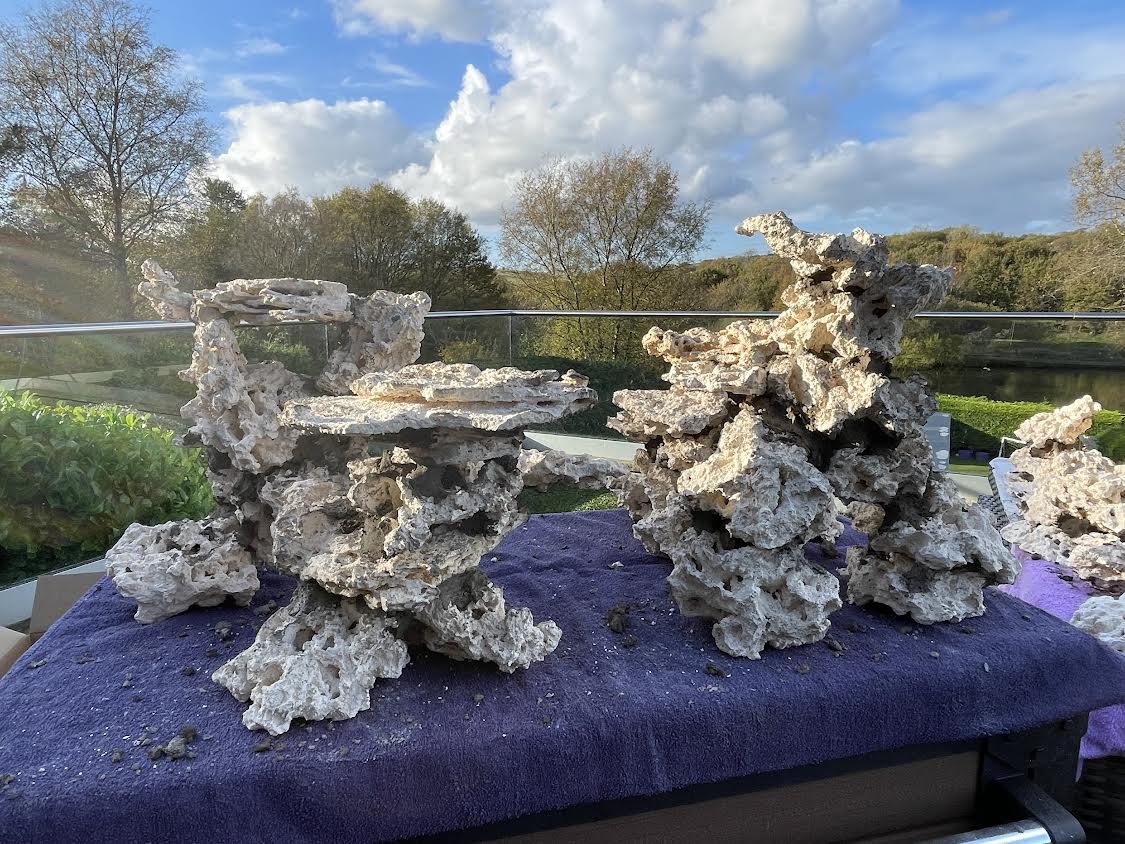
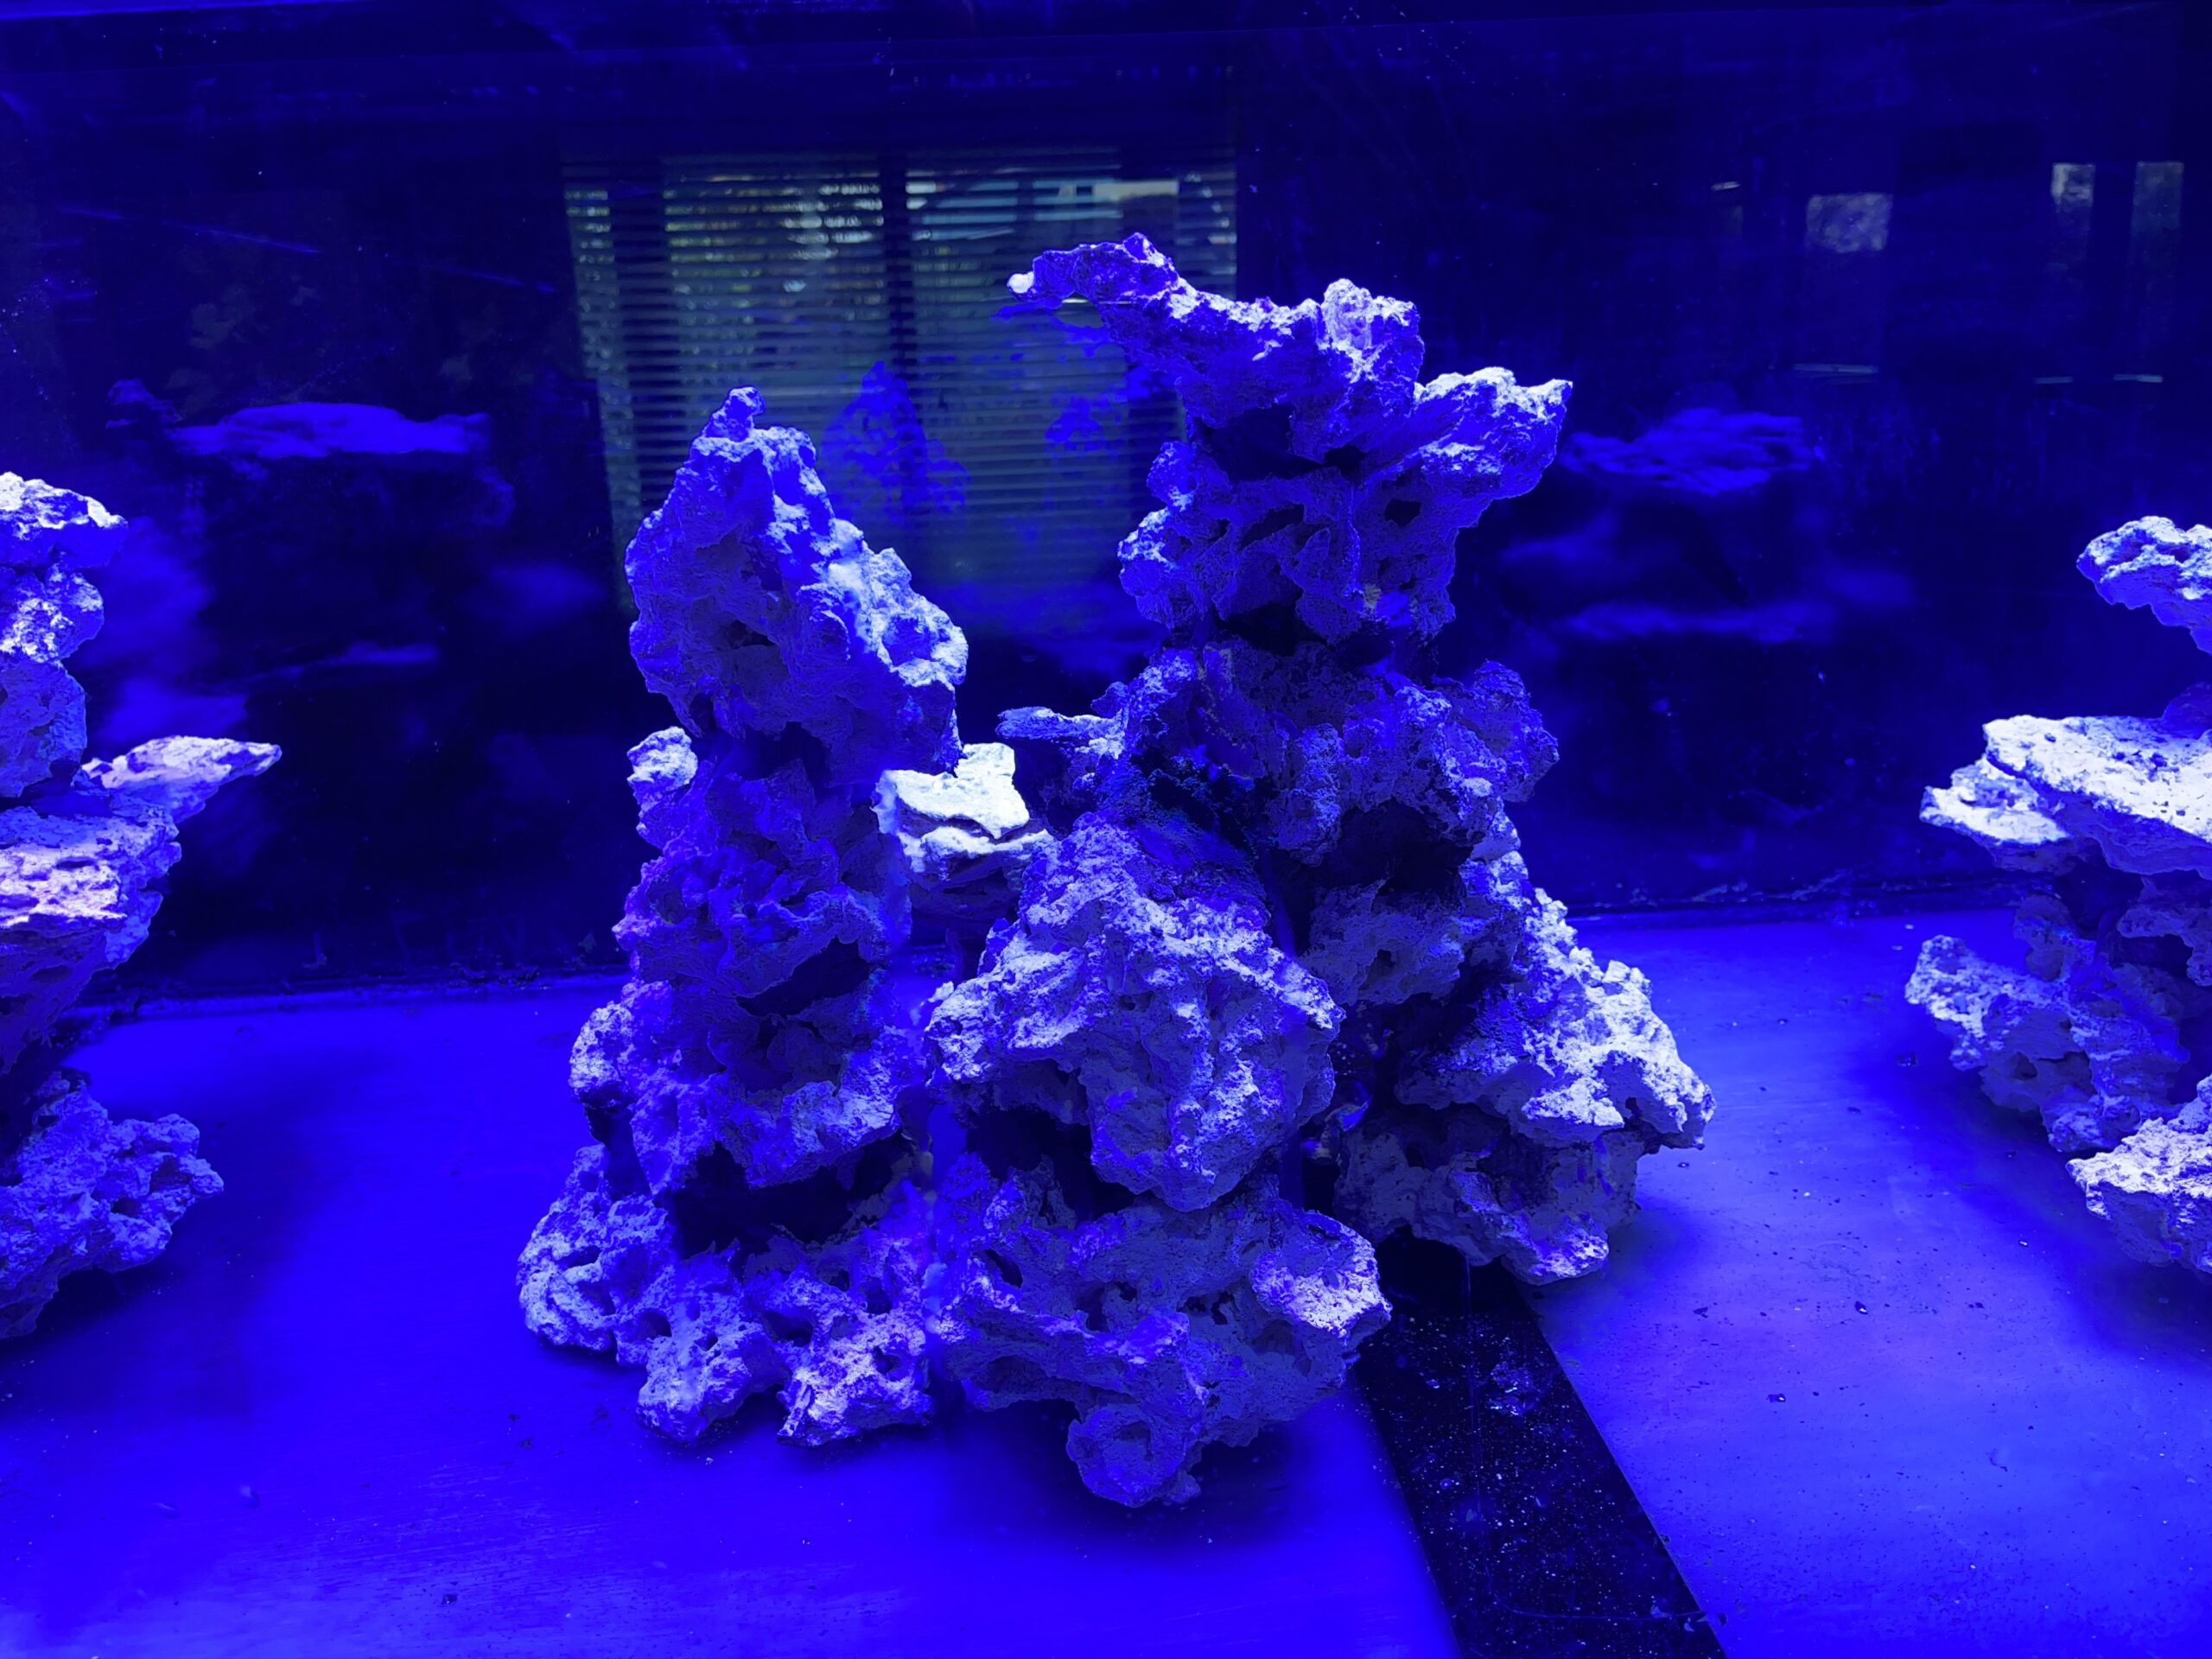
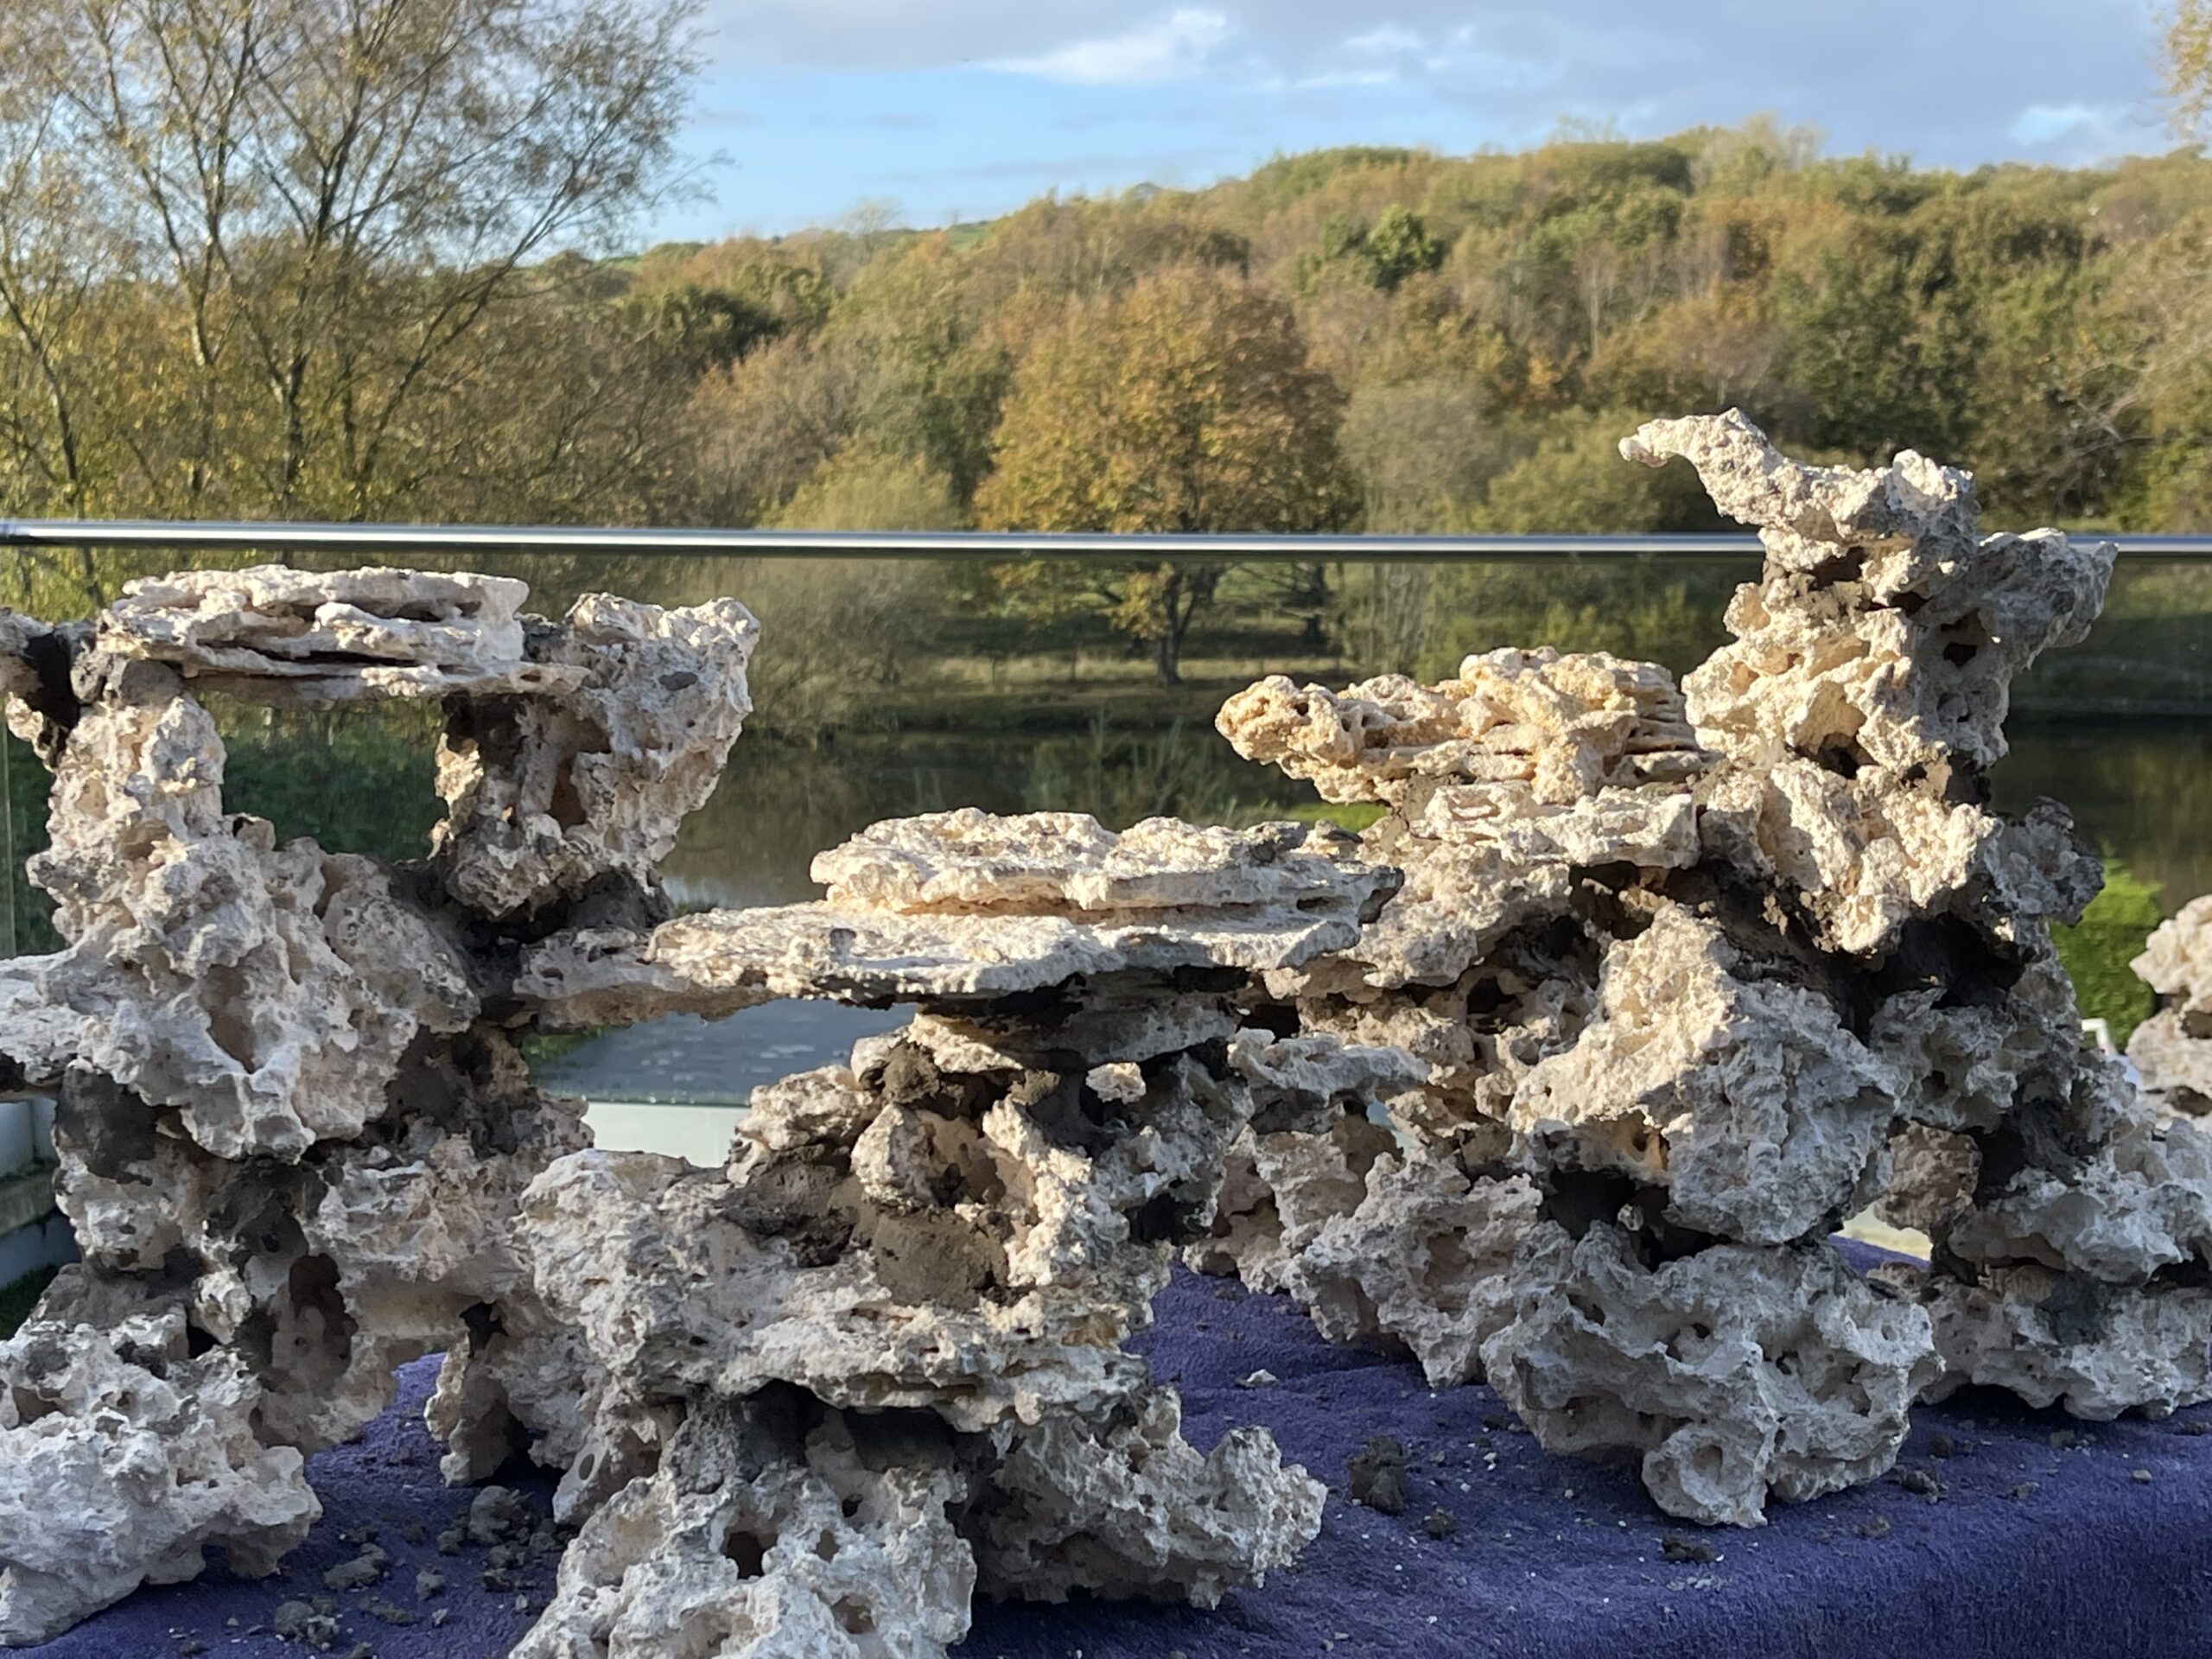
We’ve been out aquascaping this week and have created a dry reef scape in a 7x2x2′ hole-in-the-wall tank. The owner of the seven-footer wanted four stand-alone bombies that would allow good all round water flow and be viewable from both sides.
When you build rock structures they need to be solid and long-lasting, so we opted for reef cement to literally cement the rocks together and stick fast so that we could create some gravity-defying rock scapes with some big pieces, that weren’t going to crumble and fall apart at the first sign of maintenance.
There are many ways to stick reef rockwork together from epoxy putty to polymer and super glue, but when you’re fastening big rocks and creating big structures, cement is the best way to do it. The first rule when using cement is that it has to be reef-safe cement, not the type of cement you would build a house with as it will leach lime and send the tank’s pH through the roof. Reef cement looks like ordinary cement, only the companies that supply it claim that it doesn’t affect water chemistry and is perfectly safe to be used in tanks with delicate corals, even underwater. The second difference with reef cement is how fast it sets.

If you’ve never used reef cement before we recommend some practice with some spare rocks of the same material beforehand. It arrives in a grey, dry powder form, and you then need to mix water into it until it achieves the consistency of mortar, for laying bricks. With ordinary cement, this would be straightforward forward but reef cement starts a chemical reaction the second it gets wet and if you don’t use that wet cement within minutes of mixing it, it starts to set and go hard, and if it does that in the bucket before you place it between rocks, you’ll have to throw it away, so practice making it up to the right consistency and applying it in the right quantities, at the right speed, before it sets.
Although it is reef safe, the use of gloves is advised, and goggles and a dust mask may help too. It really is like a construction site when using it, so if it’s relatively warm and dry outside, take the project outside where you’re less likely to damage home furnishings. To mix ours we literally used a builder’s bucket and trowel, slowly adding small amounts of water to the cement and then mixing vigorously until we achieved the right consistency. Once mixed, make a golf ball-sized blob, and apply.
Unlike glue, reef cement has no stretch so ideally place a blob on top of one rock, place another rock on top and gently press once, like you’re laying bricks. If adjusting the rock you’ll need to adjust the cement by pushing it and needing it into the new position, and if you move the rock and it’s not set solid the two rocks will come apart and you’ll have to start again. We’ve used several types of rock and cement and they all work the same way.

The first thing we found was that we were making the slurry way too wet. This stuff needs to look and behave like concrete, so it needs to be thick and wet to make good contact with both surfaces and set fast. We also found we weren’t applying enough in each bond and went back around and applied more afterward. The most difficult bonds are the gravity-defying ones, especially if the rock you want to hang, plate-like, weighs several kilos. For this, we propped up the rocks, placed them precariously with lots of cement, and then left them for a few hours before moving them.
Although the rock starts to set pretty much instantly we learned the hard way that they aren’t properly set for a few hours at least, and if you have the luxury of time let the rocks set completely undisturbed for 24 hours. Again, consistency is key to making the perfect cement mix but if you get it right and leave it long enough it should set just like concrete.
The reef cement we used made a mess, we probably won’t reuse the bucket or trowel we mixed it with, but it worked out much more cost-effective than using a couple of kilos of epoxy, and when set, it felt more permanent too. We created the structures outside of the tank to get all-around access but then recommend they are lifted in slowly when set, with the bases fully supported. If they aren’t cemented properly rocks can come apart and we dislodged one foundation stone and one plate by not waiting long enough, not fully supporting them while carrying them, and by knocking them into neighboring structures. Cement was everywhere but now that we’ve done it twice, we will better next time and the phrase practice makes perfect certainly applies here. Give it a go.


