Once relegated to very niche applications, aquarium dosing pumps have become a mainstay for maintaining proper mineral balance in a reef tank. Dosing pumps used to be very expensive but there’s been so many new dosers released by aquarium manufacturers in recent years that there’s now an option for every price point with a wide range of features to match.
Some dosing pumps are very expensive with over the top functionality that many reefers will likely never use, but there’s also some very cheap offerings with dubious reliability that can pose a risk to the stability of your aquarium chemistry and the safety of your reef inhabitants. We use a wide range of dosing pumps at the Reef Builders Studio from the most basic to the most advanced but at the end of the day, all we need them to do is reliably dose a precise volume of additive as needed to maintain stable calcium, alkalinity, and magnesium.
We wanted to share with you some of our different dosing setups that use different pumps, different dosing containers, and impart some tips and tricks for best practices on how to use dosing pumps no matter what you’re trying to accomplish. This video of our ‘Good, Better, & Best’ dosing setups was a quick overview but we want to highlight a few things that we didn’t mention such as the importance of placing the dosing containers at or below the same level as the sump to prevent siphoning.
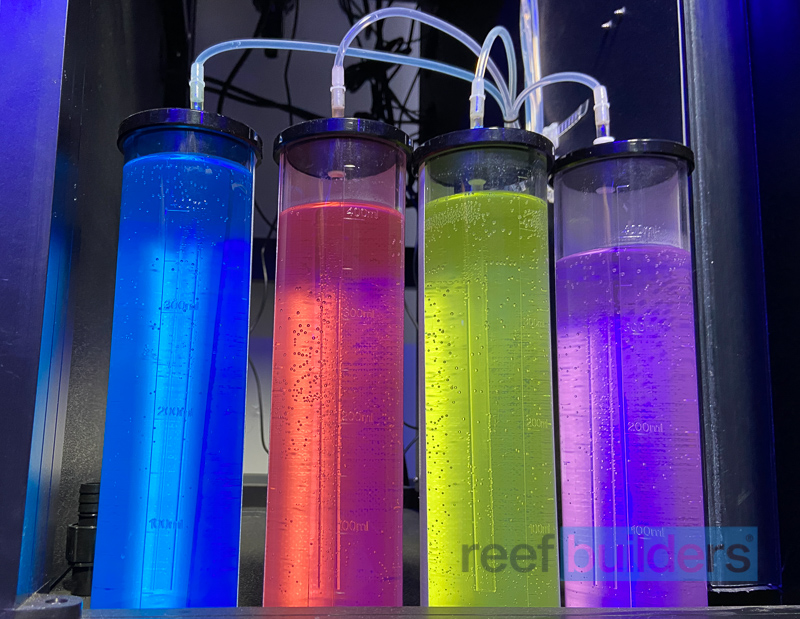
We’ve mentioned it before but it bares repeating that we use regular old food coloring to help us distinguish between our bulk calcium, buffer, and magnesium and of course it doesn’t hurt the aquarium corals. One last tip is not chase your aquarium chemistry with constant back and forth adjustments of the dosing pump programming – we like to stick with a given schedule and use manual dosing to keep the levels in line, and only once certain trends are clearly identified over several weeks will we change the programming of the dosing pumps.
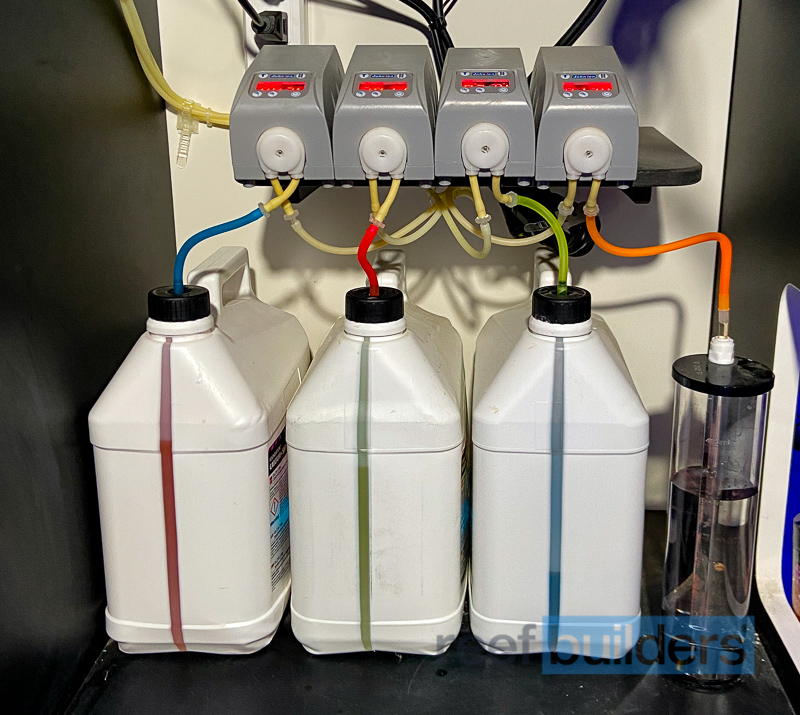
Good – Johnlen & Red Sea Jugs (~$250)
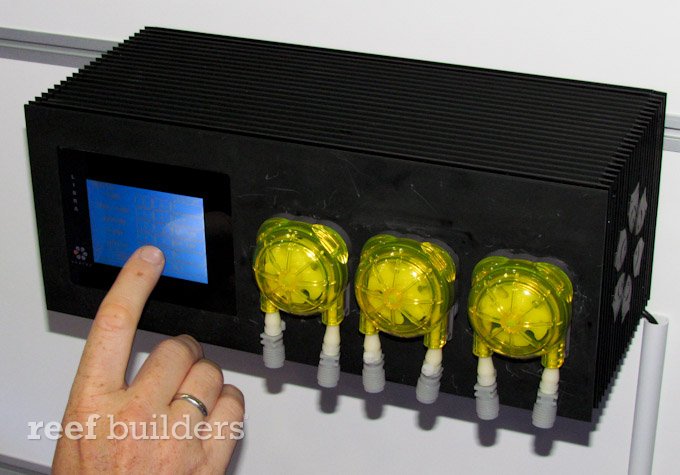
Our ‘good’ dosing setup consists of the very basic Johnlen dosing pump and the stock one gallon jugs of Red Sea additives. This entry level dosing pump may not have any wireless programming but that makes it dead simple to program with the on-screen numeric display, and having multiple single pumps adds a certain level of redundancy for replacing, although we’ve never had a problem in our years of using them. This dosing setup uses no dedicated dosing pumps as instead we leverage the clear window of the Red Sea one gallon jugs which makes it easy to see the remaining additive levels.
Better – Ekoral Doser & Arka Bottles (~$500)
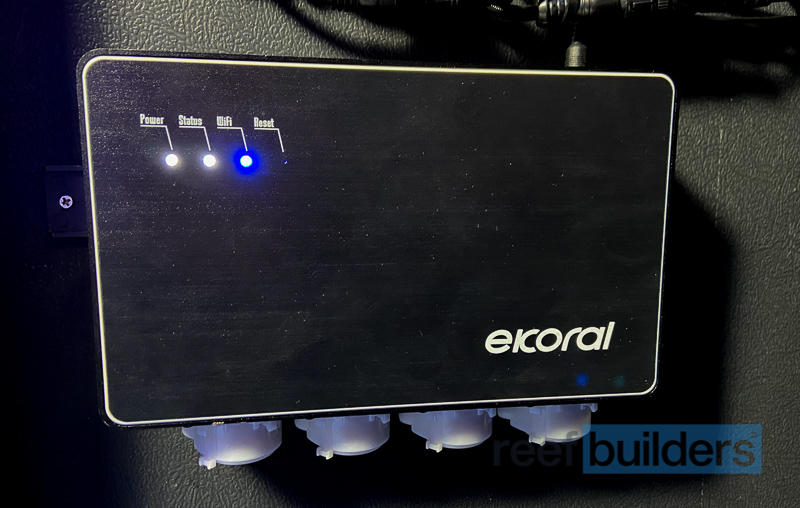
The eKoral doser is the diametric opposite of the Johnlen dosing pumps as it has no buttons and instead relies only on the wireless connectivity and smartphone app for programming and calibration. The eKoral app is much easier to use for calibration, set time points, and it can work in tandem with the eKoral controller so that you can have dynamic dosing based on certain water parameters, and you can tell the app the volume of your dosing bottles in order to receive alerts when are approaching empty. The dosing containers on this setup are the ARKA dosing bottles that came with the ARKA doser but we’re not sure if they are available separately.
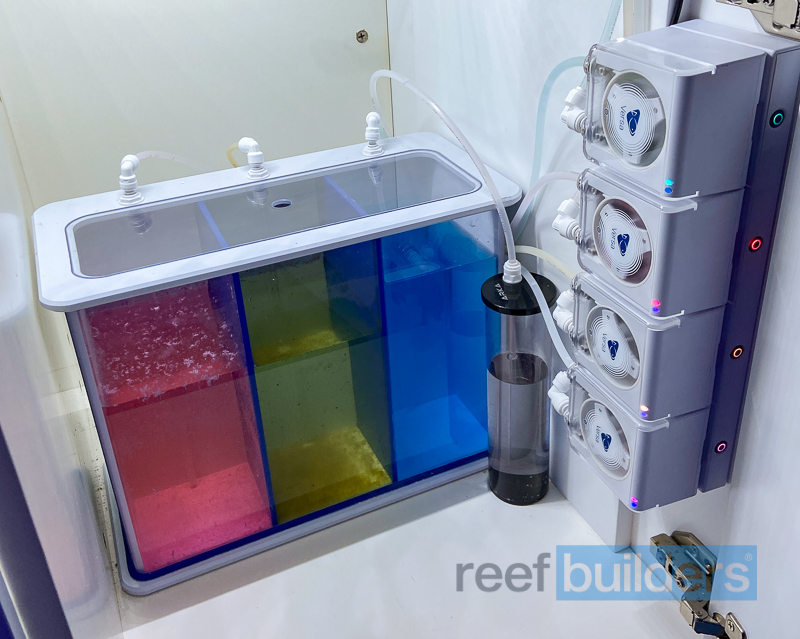
Best – Ecotech Versa & Advanced Acrylics Dosing Container ($1000)
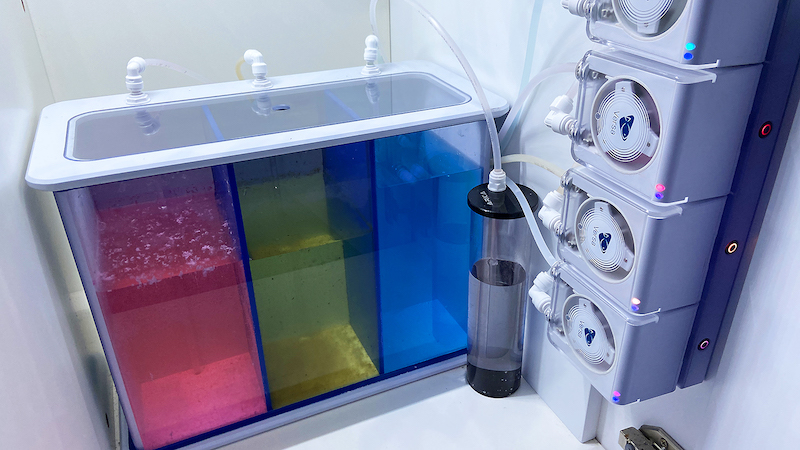
This is the top of the line dosing setup using a 4-pack of Ecotech Marine Versa dosing pumps with a custom made dosing container from Advanced Acrylics. We’ve written at length about the Versa dosing pumps, especially its continuous dosing mode and ultra precise fluid metering thanks to the custom made pancake motor and planetary gears. This pump can dose dropwise amounts of additives all the way up to large volumes for water changing purposes, all easy controlled and programmed using the Mobius app. The dosing container from Advanced Acrylics is beyond overkill for this purpose but it holds a very large volume with three dedicated chambers that are built like a Sherman Tank.
Dosing pumps for reef aquariums are better than they’ve ever been and you don’t have to break the bank, but you also shouldn’t feel comfortable with a $100, 4-channel dosing setup with shifty electronics. We used to use some of these cheap dosers but experienced very inaccurate dosing, and once even had some channels simply start dosing and never stop. These good, better, & best dosing setups we use at the studio have a wide range of price points but at the end of the day, we only need them to do one thing and one thing reliably, and your selection should reflect some of the other features and functions you want to leverage along the way.


