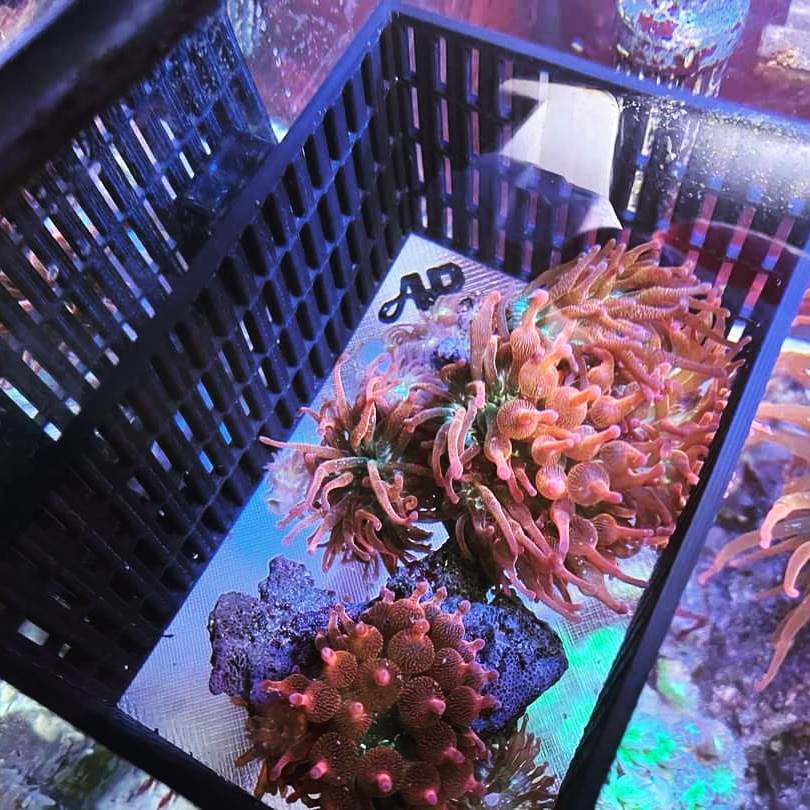
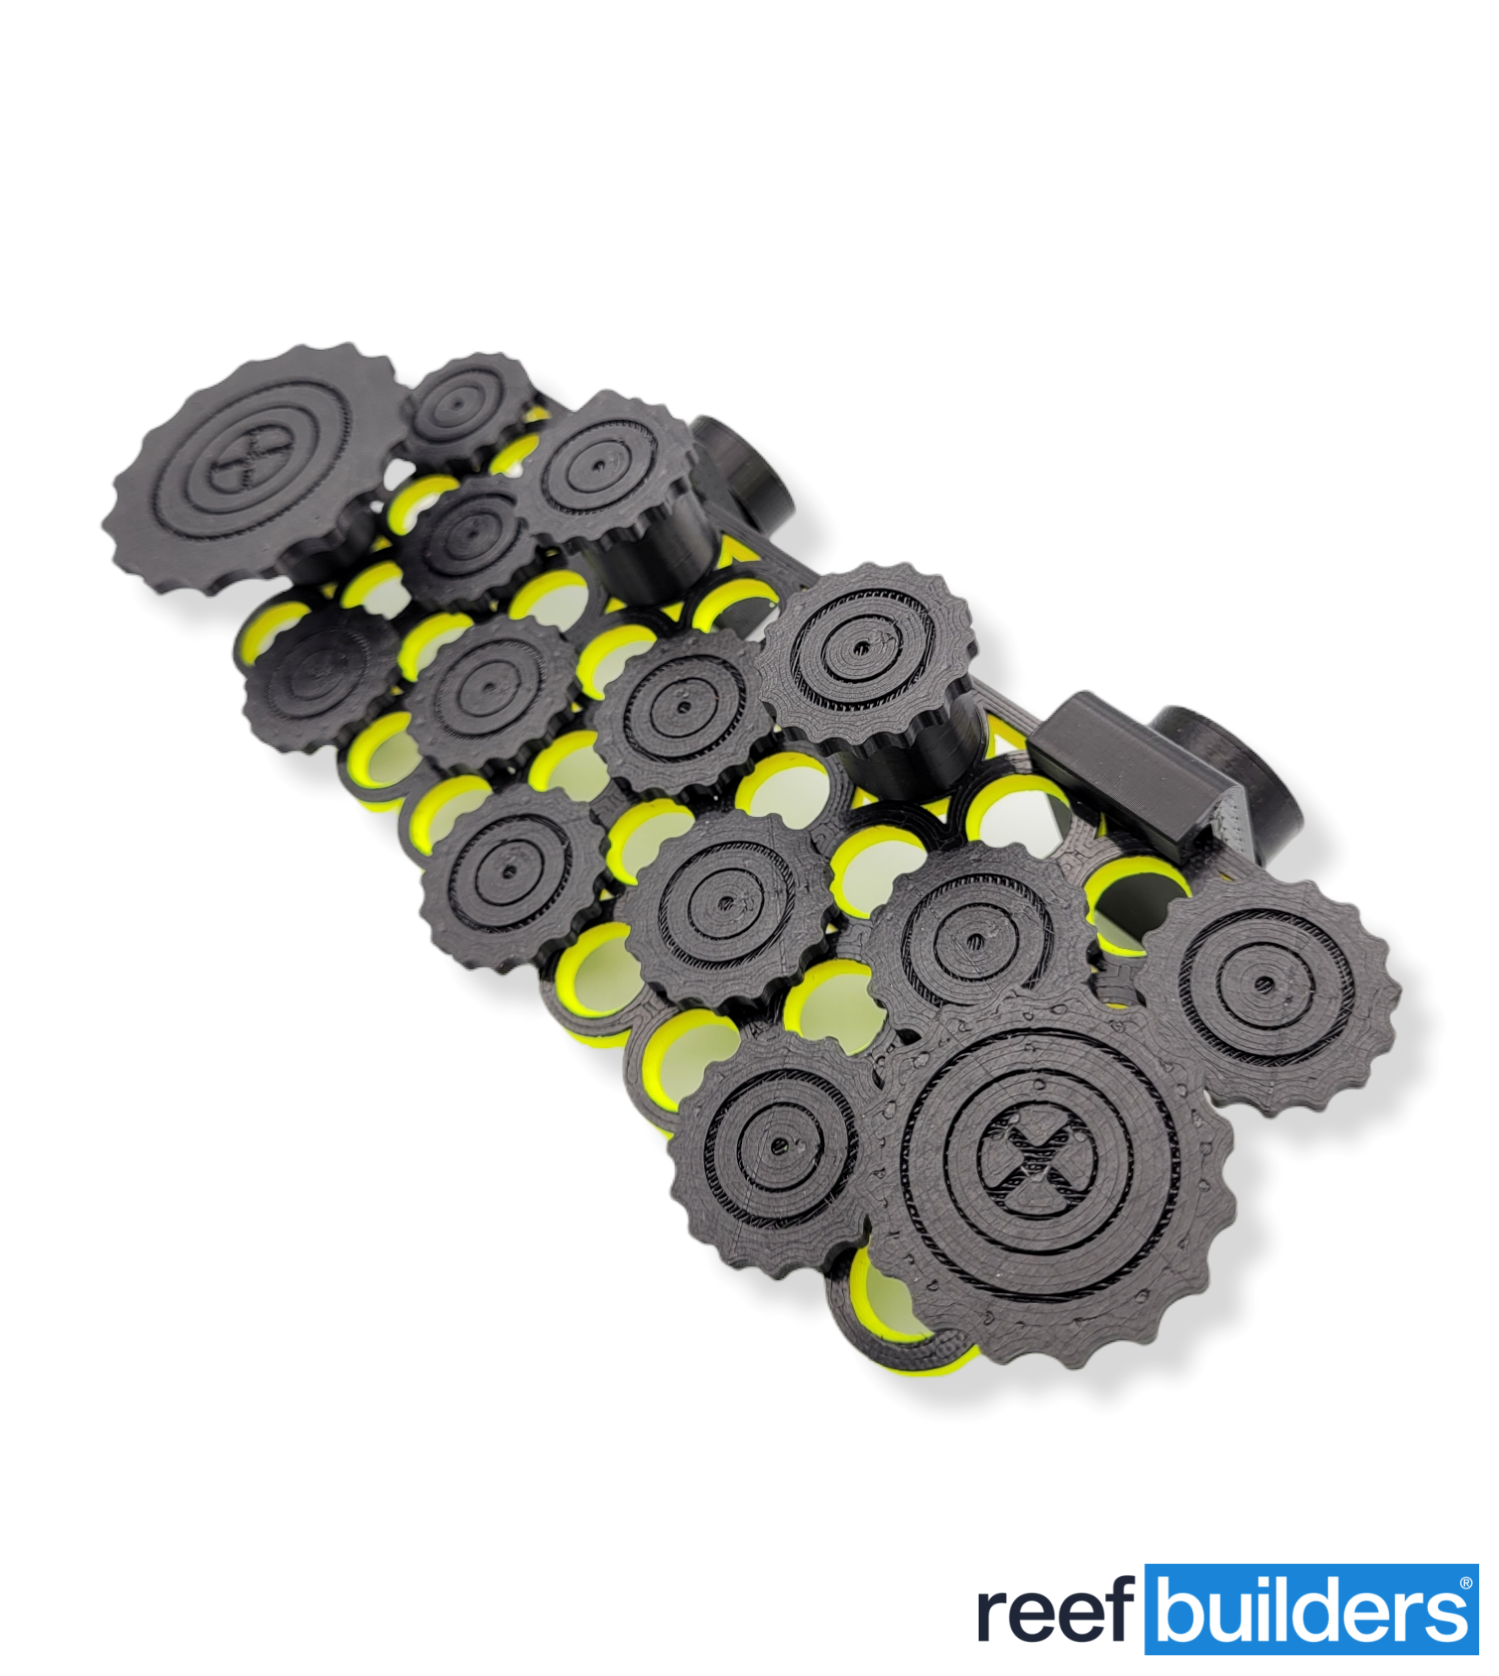
We cover so many 3D printed items these days we thought we would ask expert Jonny Prior at Aqua Print UK what it’s all about. Jonny was only too happy to help out.
How many 3D printers do you have and how many items do you print a week?
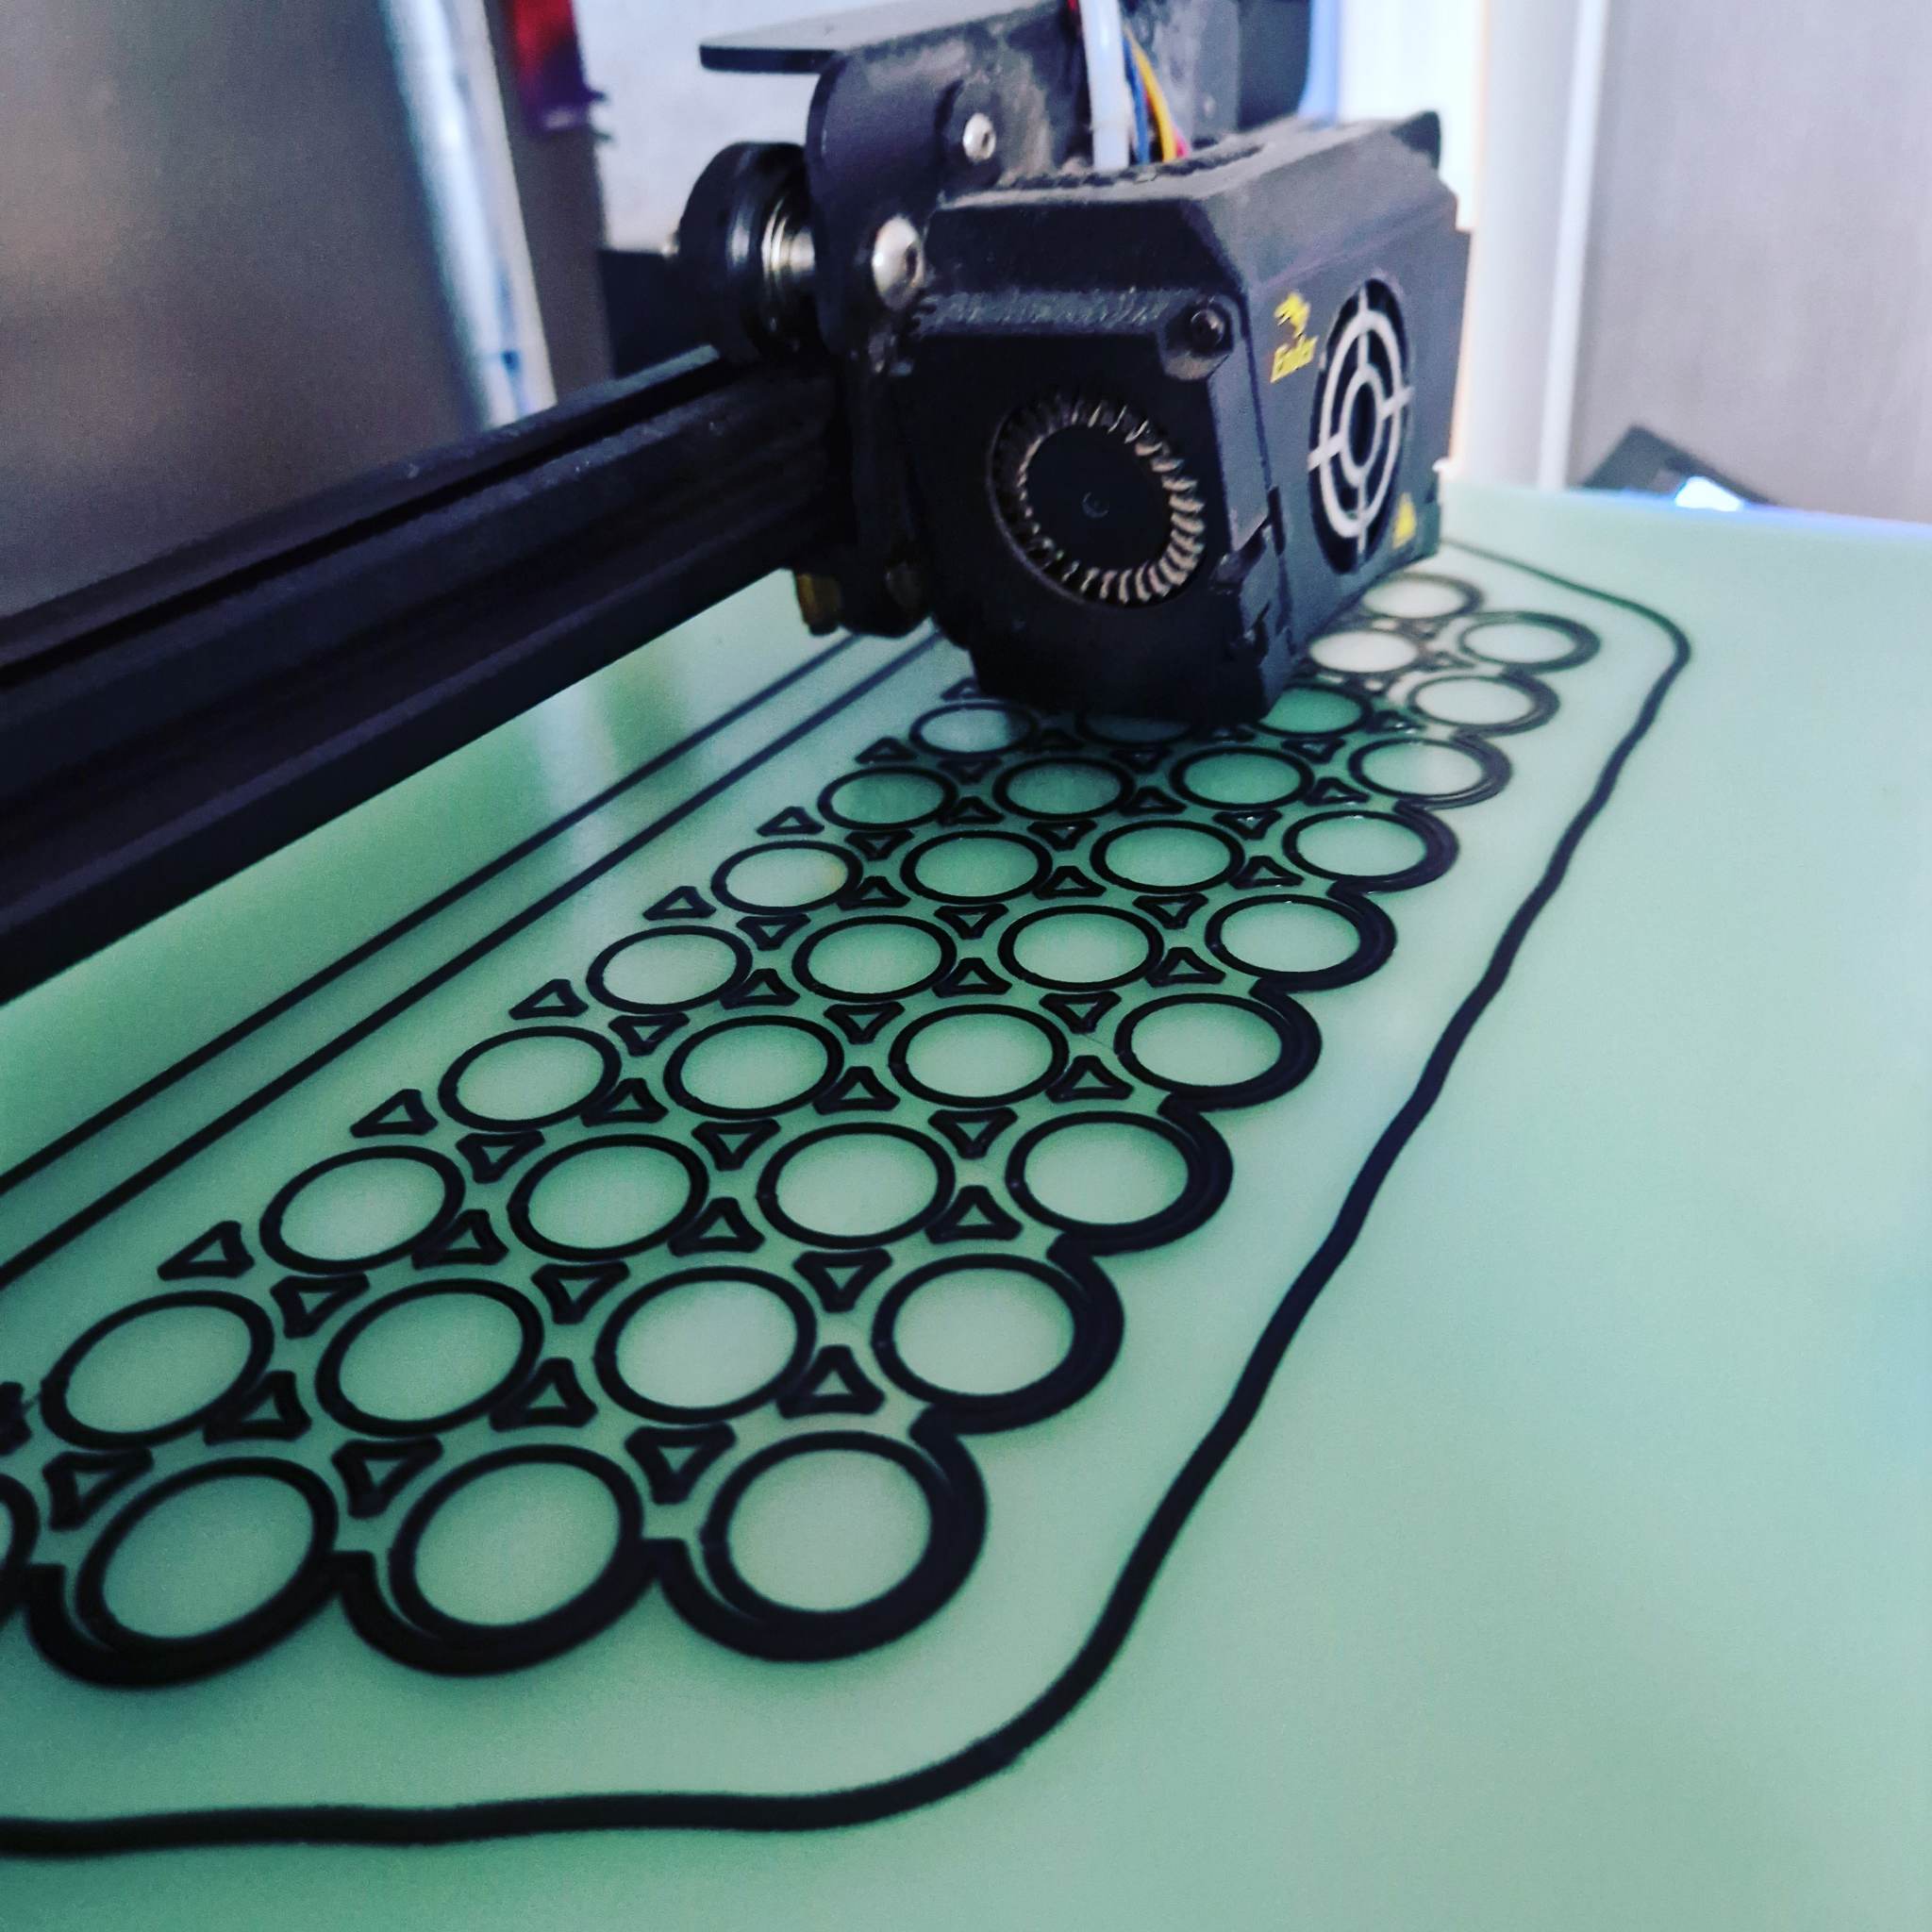
We currently run around 18 printers daily, spread across 2 locations. We have some additional machines in various states of repair and some new ones ready for expansion later this year. These will all be repaired, assembled, and used once we have the additional space, as things are getting cramped and difficult where we are currently. We are very much starting to outgrow our current facilities
We can produce quite a lot of parts in a single day, especially on our bigger machines that tend to run bigger diameter nozzles. If running the printers 24 hours a day, each machine could produce dozens of parts.
Could you just buy one mega printer instead of lots of smaller ones?
I’m sure an industrial printer will produce parts in significantly less time, but it’s not something we have looked into in detail due to the costs of such equipment. Prices can run from thousands to hundreds of thousands. We have focussed on getting the best results possible with relatively inexpensive printers with a few key upgrades. We run 100% Creality printers which are typically low-end, but we have spent years now tweaking our software to achieve great-quality results.
Some people question the safety of 3D-printed plastics in reef aquaria. Which materials do you use and are they reef-safe?
There are quite a few materials that are reef safe, ABS/PETG/PLA/TPU but it all depends on what’s done during the manufacture of each material. We use mostly PETG.
Additives and colorings can also impact how it’s chemically resistant. So, the type of material is not as important as the manufacturer. Whilst we have flexibility in material, we have to be selective on how the material is manufactured and that controls who we order our materials from.
We spent quite a lot of time deciding which materials to go with initially. We tried over half a dozen suppliers and eventually went with one that has the best certifications and mechanical properties. Key safety features to look for are ROHS-compliant, REACH-compliant, and FDA approval. We’re happy to state ours have all these and are fully recyclable.
What are the items you are asked the most for?
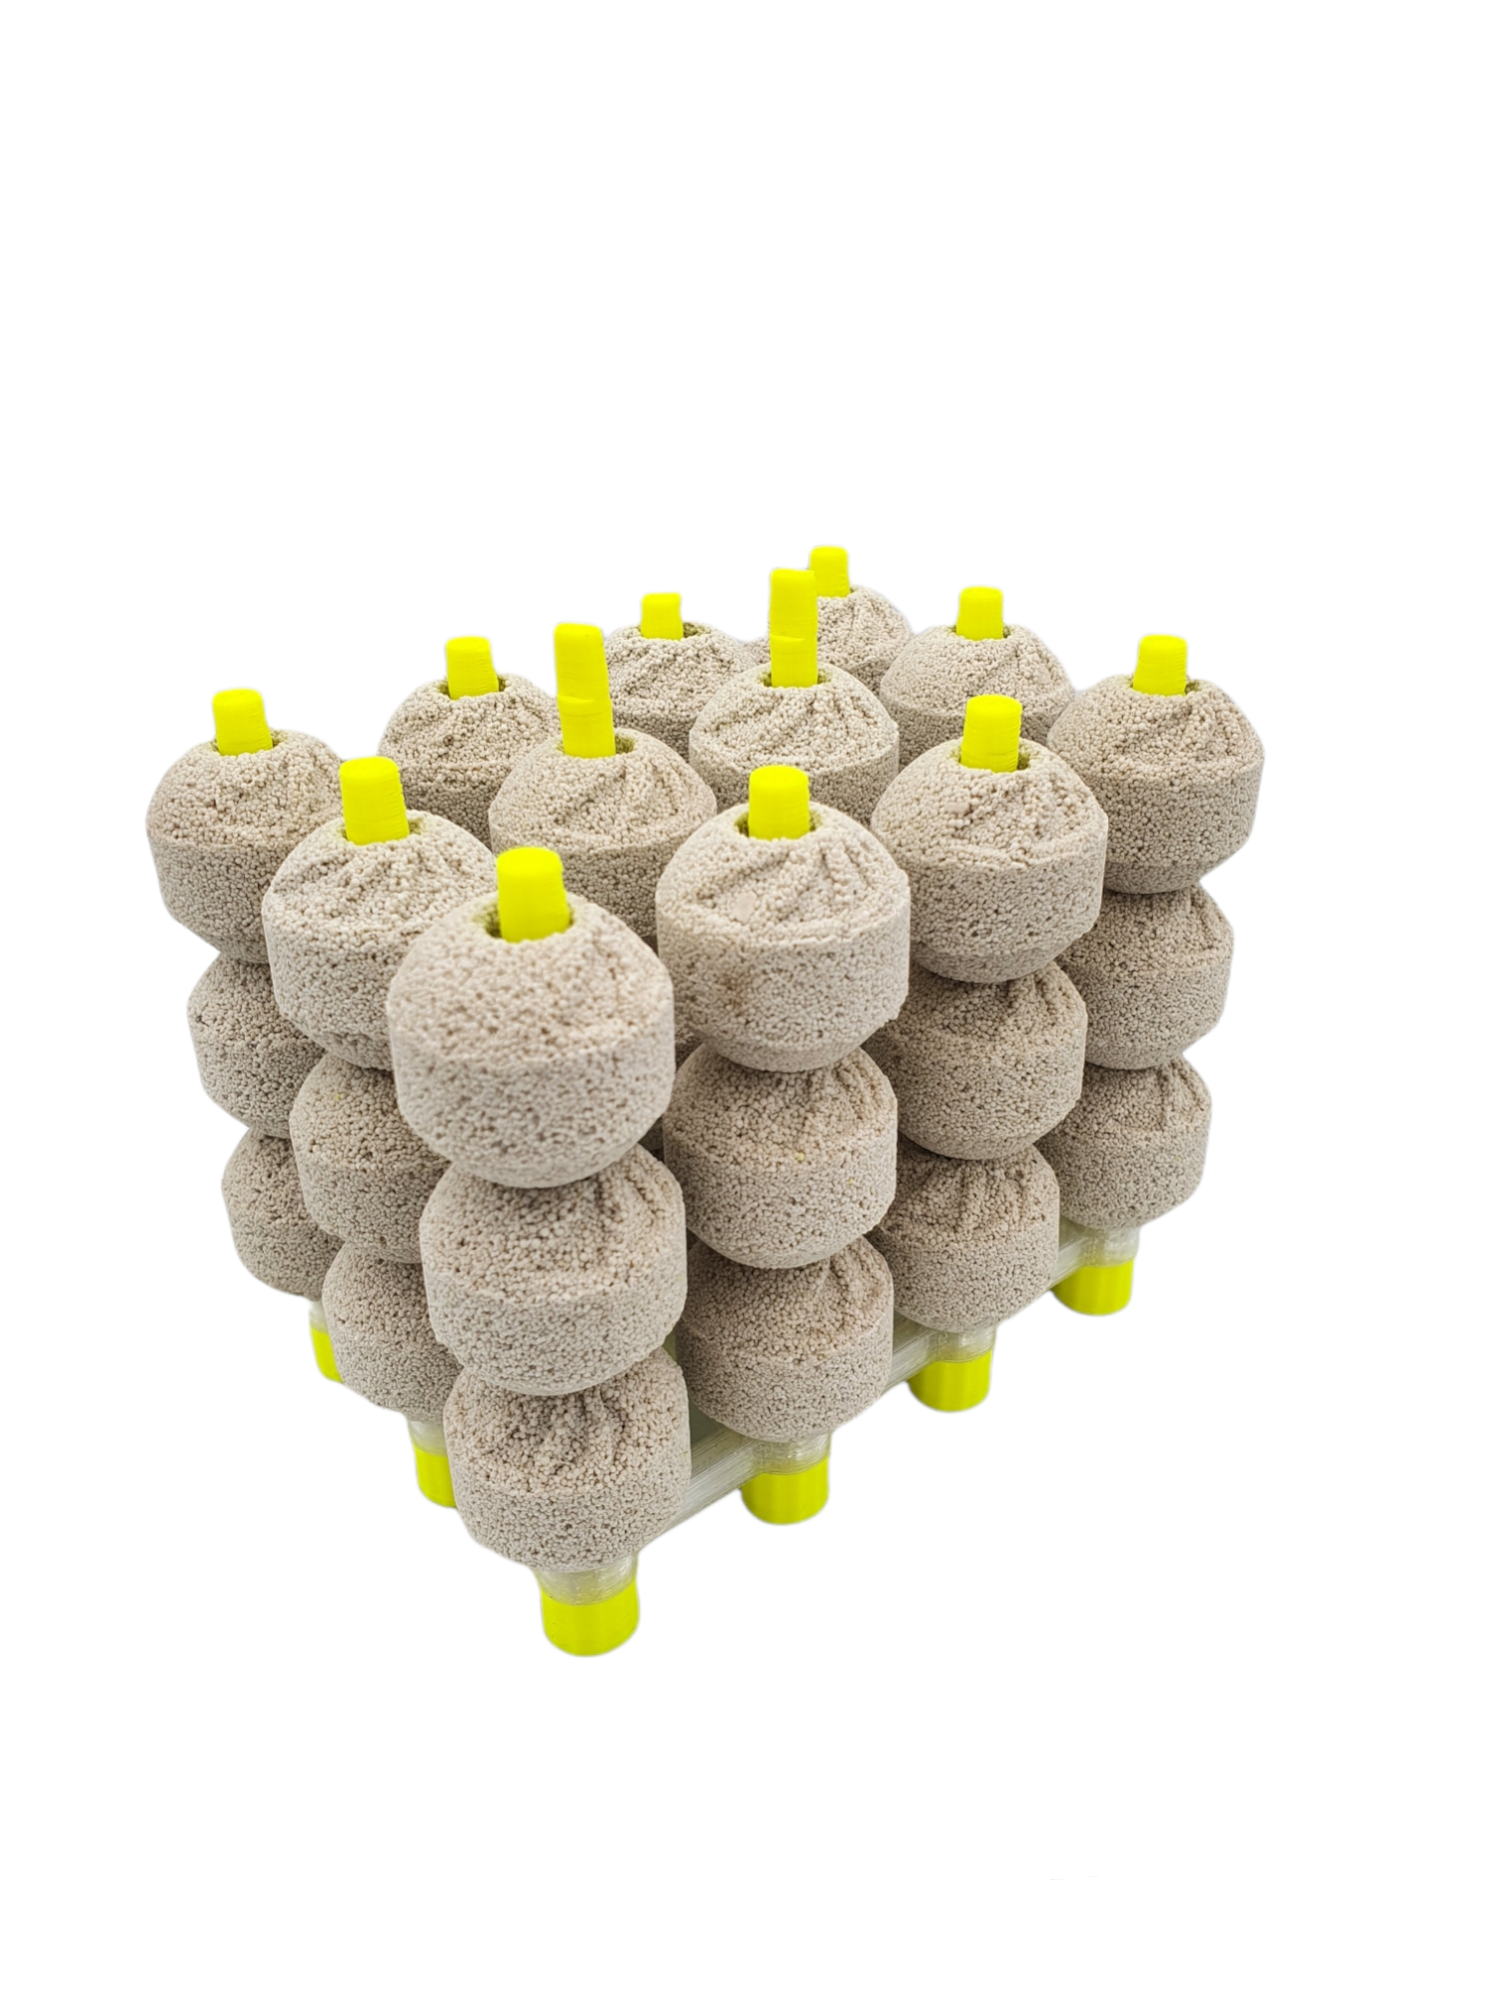
We tend to get a lot of requests for variations on our Bio Ball stands. Difference shapes and sizes to fit all the various AIO systems out there. Our most popular items sold through various outlets are the Magnetic Nori Grazers, Frag Racks, and Bio Ball stands. We have also done a lot of custom work and signage for inside tanks or walls of a fish room.
What’s the weirdest thing you’ve ever been asked to print?
The standout request would be a floating basketball and suction cup hoop for a flowerhorn cichlid that would slam dunk the ball. We have made loads of bits not relating to the aquatic hobby too, from a golf tee caddy to molds for cement candle holders. The variety is quite nice and keeps things interesting.
How long does it take to print a single item?
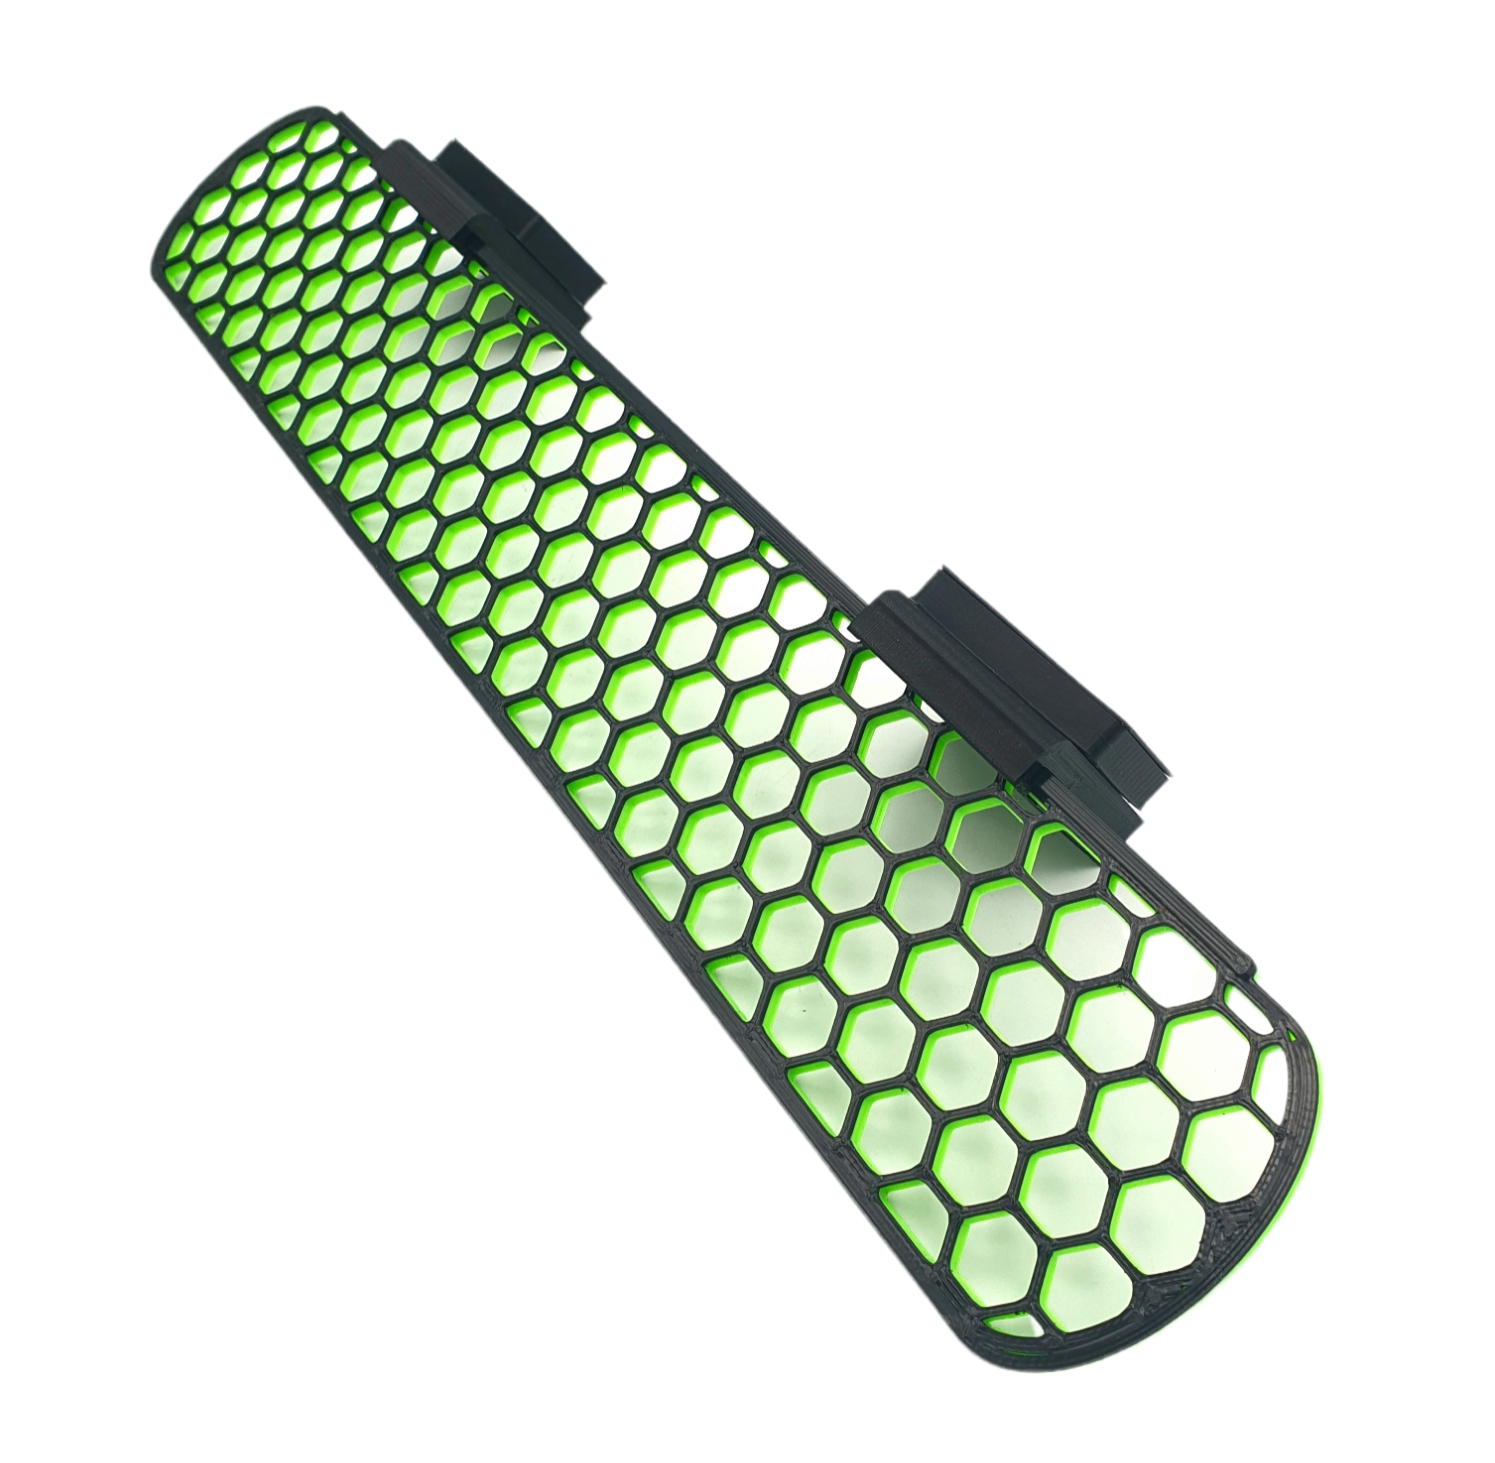
This really depends on the item size and quality required. Smaller parts such as our par meter clamp take around 1-2 hours. Some bigger parts like Honeycomb Frag trays can take 6-10 hours. However, some taller parts such as our 7-inch filter cup take over 24 hours to print. When you first start printing these times feels like an eternity, and I recall shouting “how long ?!” But after a while of doing it, and having the confidence to leave them working unattended, times feel short.
Are there any items that you came up with first, or are particularly proud of your design?
We are very proud of all our designs, but a few do stand out. Our current v5 bio ball stands are the results of years of several design tweaks and improvements. When released in early 2020 they were quite a difficult item to print, and ship and could break easily if dropped. Bio Ball stands seem to have become a new standard with tanks all around the globe using similar methods.
Ours is now at version 5 design and it’s leagues above the original. It’s flat-packable, super strong, and reliable to print. Such an improvement!
We are also proud of our Modular range of products we call the AquaRack Range. It features modular magnets of various strength that attach to various product, such as frag racks, baskets, and heater clips. The idea was to create a range where the magnets, the most expensive parts, can be reused, reducing the cost if your needs change.
Do you have any new/ latest products?
Yes, we have just released a new product in the AquaRack range called the “FlexGrip” frag plate. It’s what we understand to be the first multiple material, single-piece 3D printer product offered in the hobby
These frag racks feature a flexible material called TPU that grips the frag plugs, combined with solid PETG to create a single product. These are fully compatible with magnets in the AquaRack range, so customers could upgrade to a new frag plate and reuse their existing magnets.
We also have a new partnership to announce in the near future, to bring a popular line of products to the UK and EU. More to come on this.
Can you send products outside of the UK?
Yes of course. We ship to most countries other than France and Germany. We have exclusive distributors in those countries. We have around a dozen countries set up on the website already, but if not listed, we just need to estimate shipping costs and we can add it. Feel free to get in touch.
What’s the biggest item you can print?
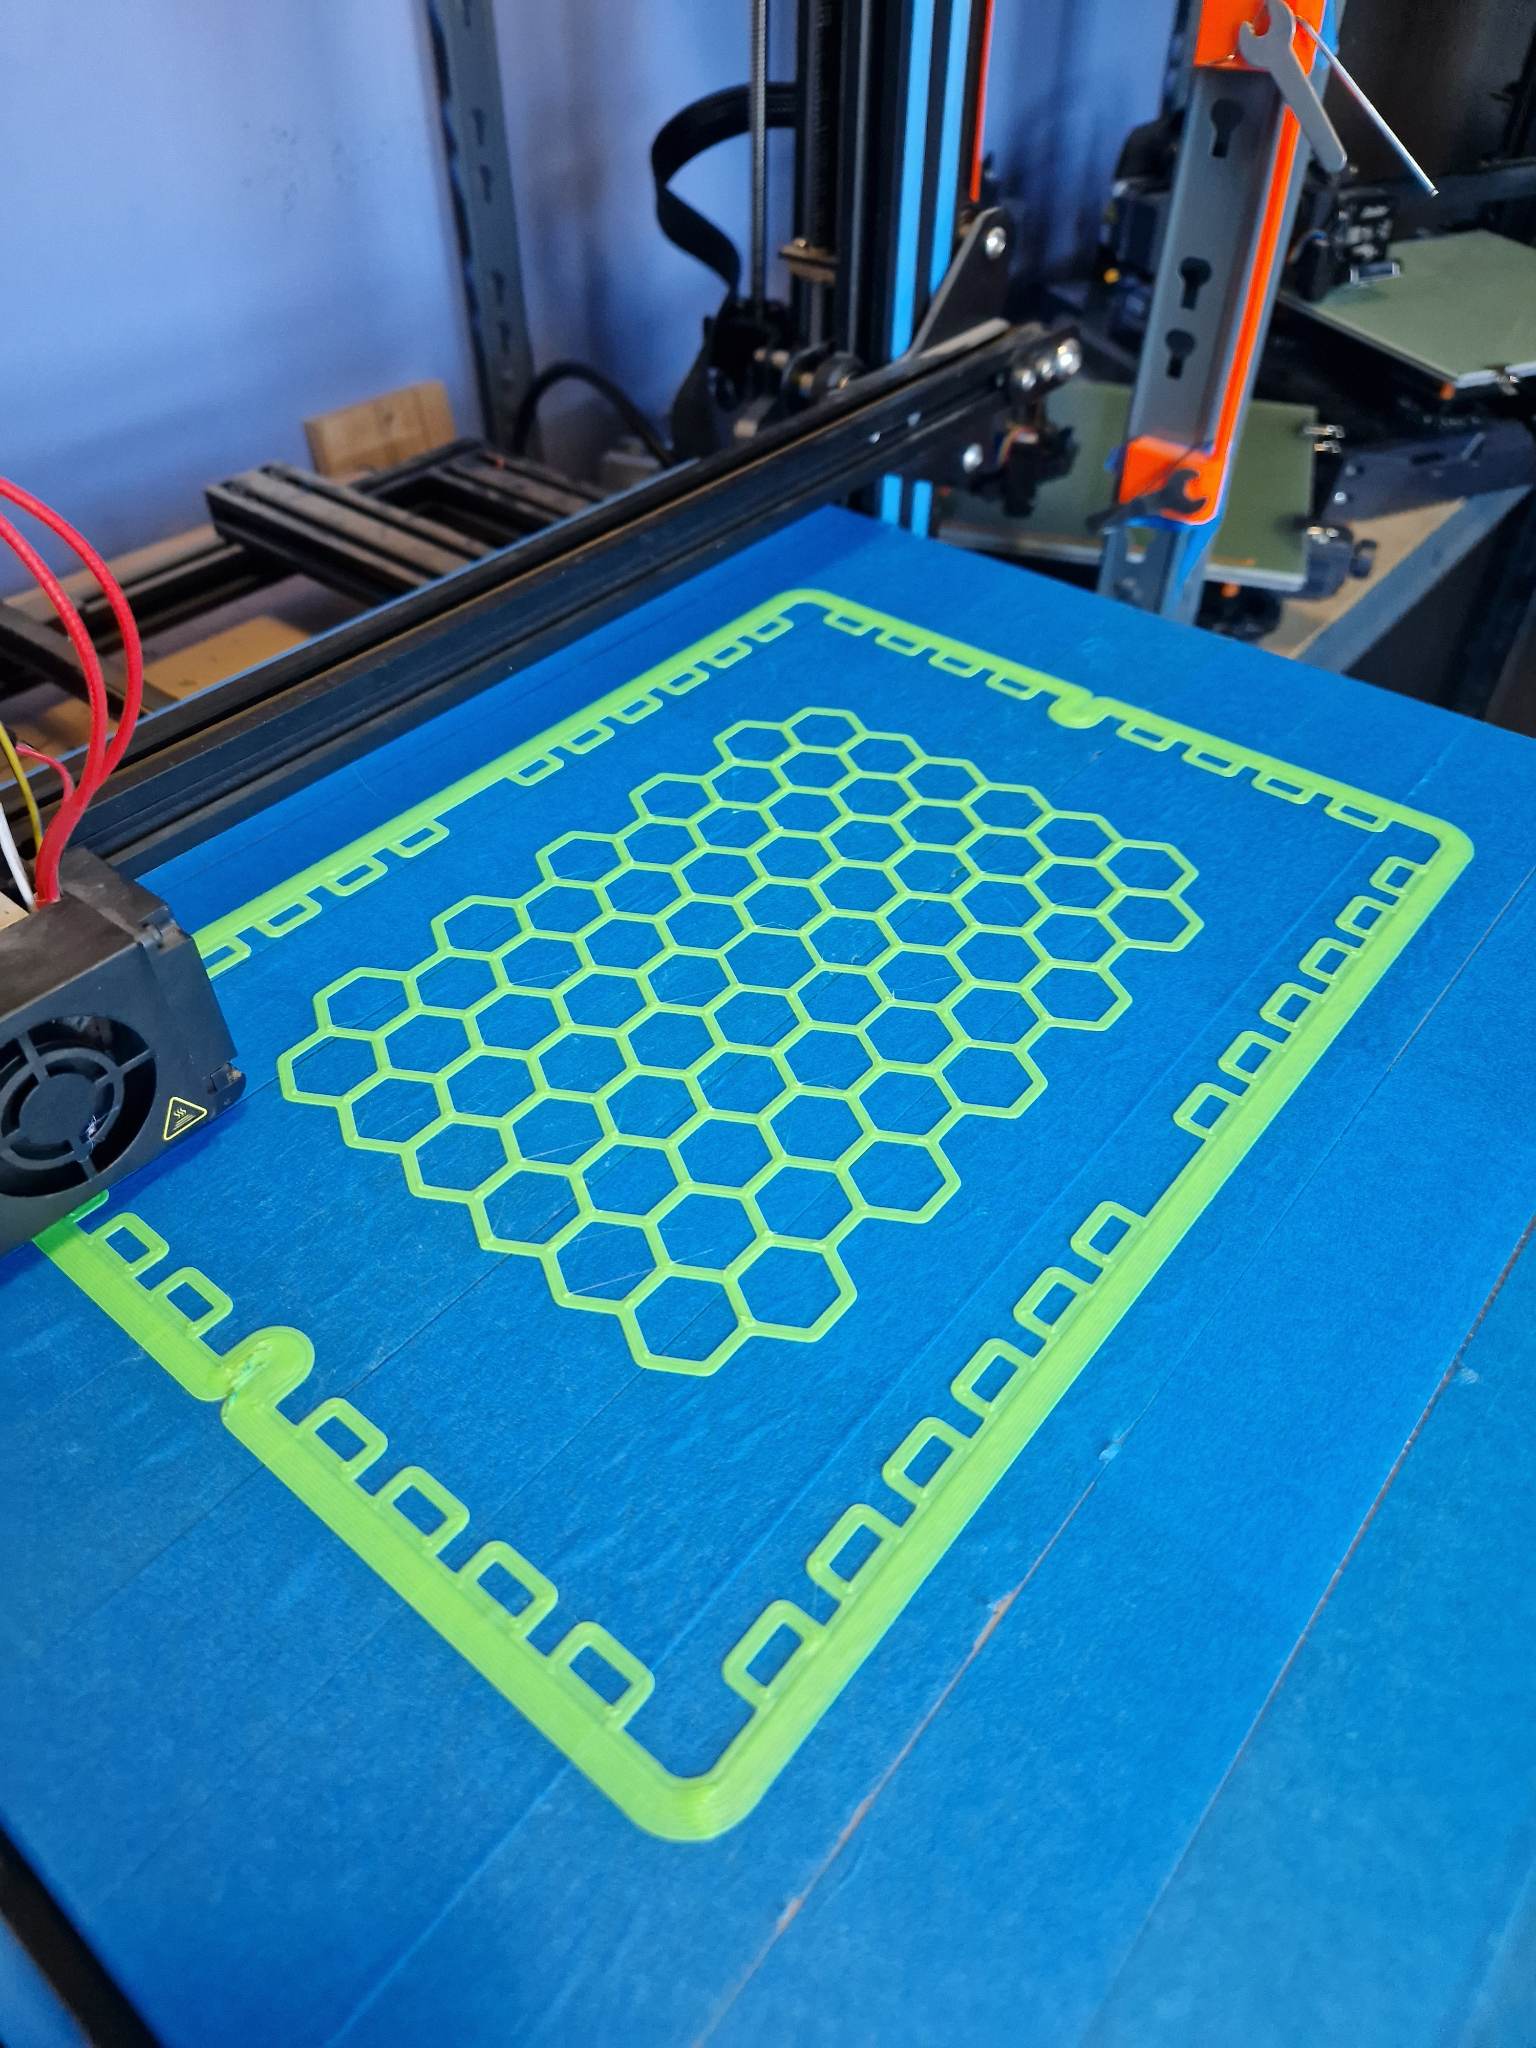
Our biggest printer has a build plate of 40cm x 40cm x 40cm, but we don’t make anything that tall to date. We have done some 40cm x 40cm honeycomb frag trays, and the tallest product we make is the 7-inch filter cup that stands at almost 9 inches tall.
What advice would you give to someone who wants to 3D print an item at home?
Some good advice would be to be patient initially and join some 3D printing groups for advice. It can be a very frustrating hobby at times, and you have days where nothing seems to work but push through that learning curve. Sometimes you just need to walk away and sleep on it. Once you’re producing things though, it’s the most rewarding feeling.
If you’re unsure what type of printer to start with, look for something with direct drive, such as the Creality Ender 3 S1.Having this setup eliminates lots of typical issues straight away, plus allows for much cleaner prints when setup correctly. If you want to get into designing parts, there are lots of free websites such as Tinkercad that allow you to design for free. I would advise learning to print existing 3D designs before diving into designing though.
Once you know how your printer works and what it’s capable of, you will be able to better design things with that in mind. This will lead to reduced print times, fewer failures, less material waste, and even stronger parts.
