Nothing screams reef keeping and especially LPS Corals quite like Hammers (Euphyllia ancora or paraancora). Their wide color variation, and signature anchor-like polyp structures make them incredibly unique. Their diversity and relative abundance only helps to drive their reputation as one of the most popular corals in our hobby!
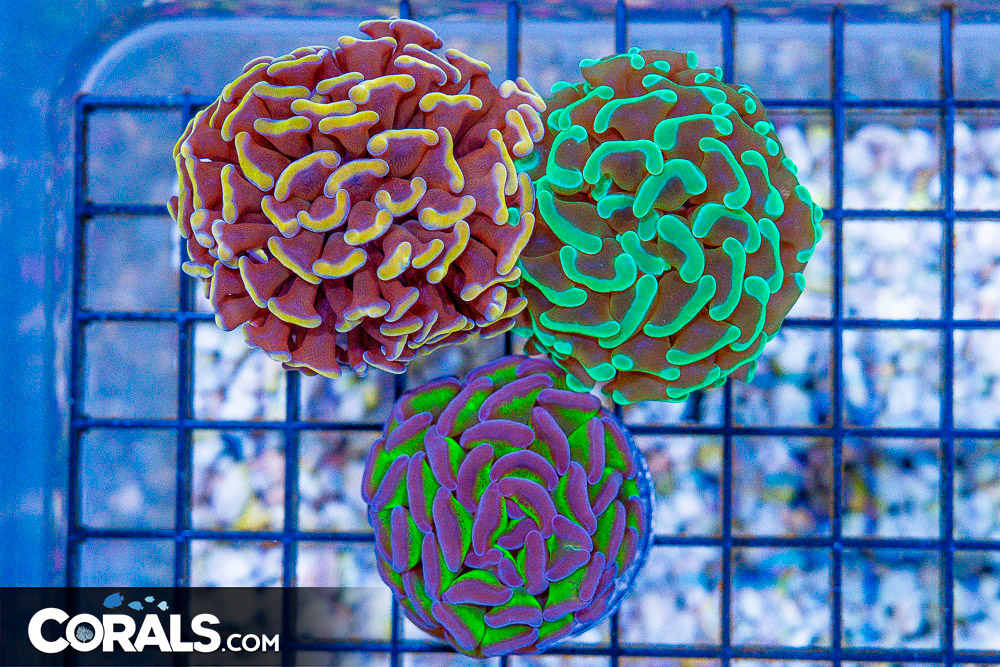
There are two separate distinctions of Hammer: Branching Hammers and Wall Hammers that we’ll dive deeper into later on. Hammer Corals are mainly exported from four main countries: Australia, Indonesia, Fiji, & Tonga. All different and unique in their own ways such as polyp shape, color, growth structure, and care requirements. From a reef-keeping standpoint, they’re all great and a tremendous addition to a reef tank. It just depends on your personal preference!
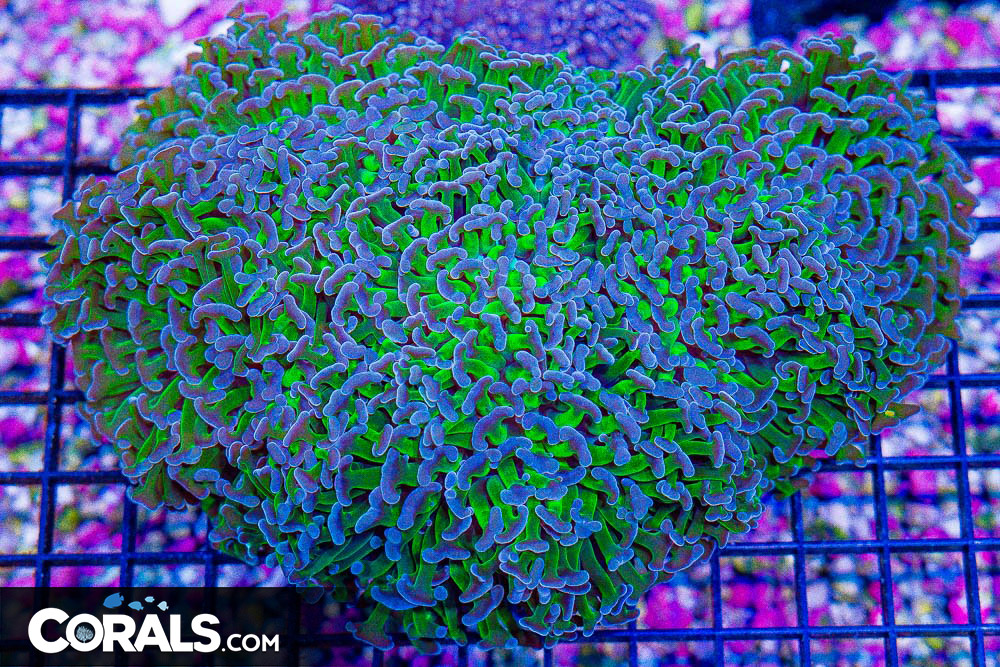
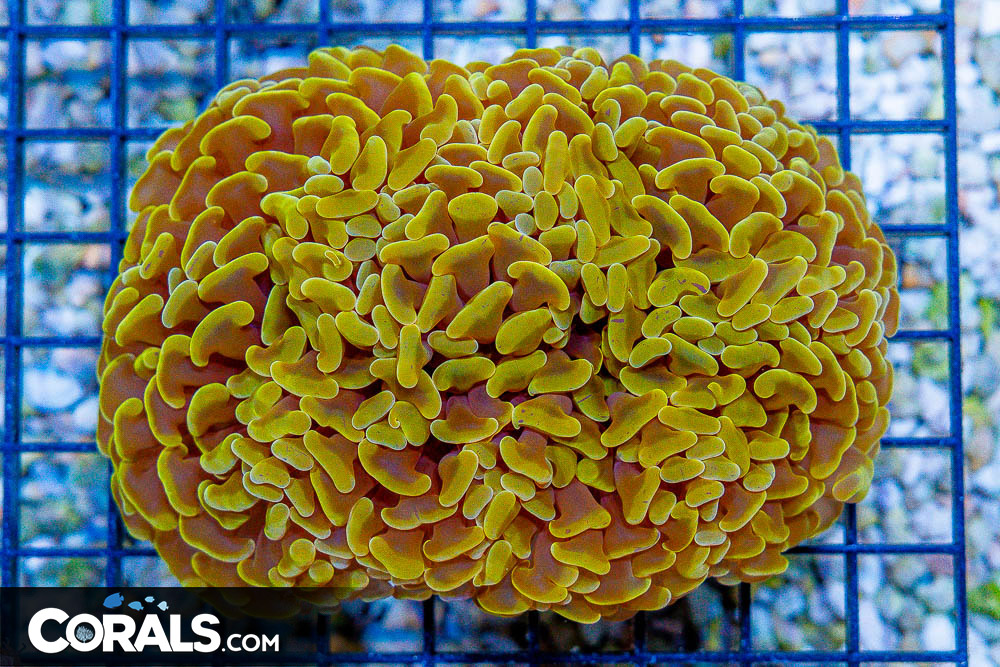
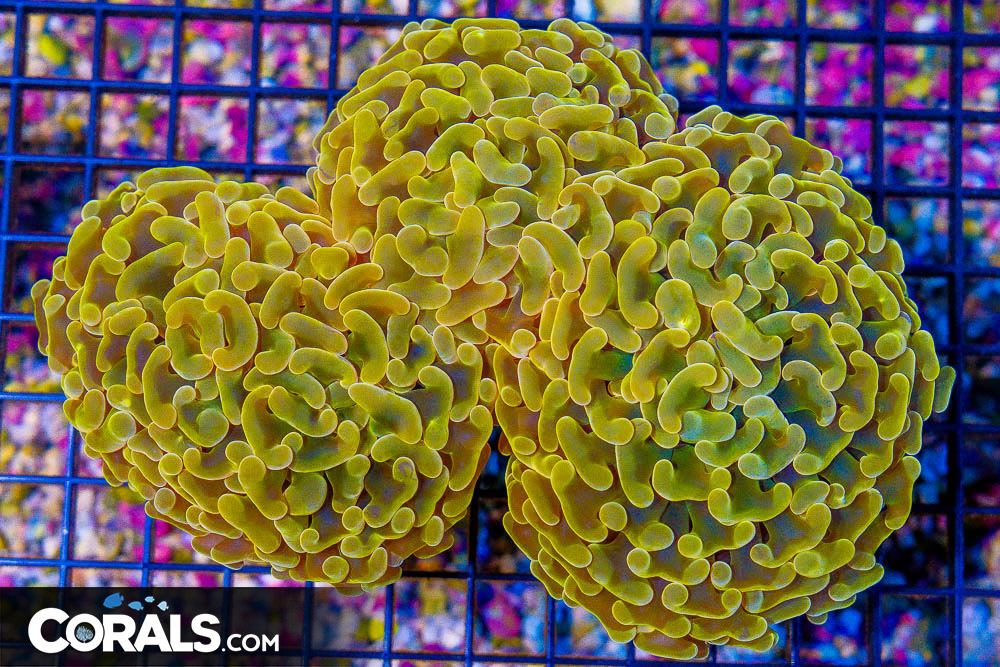
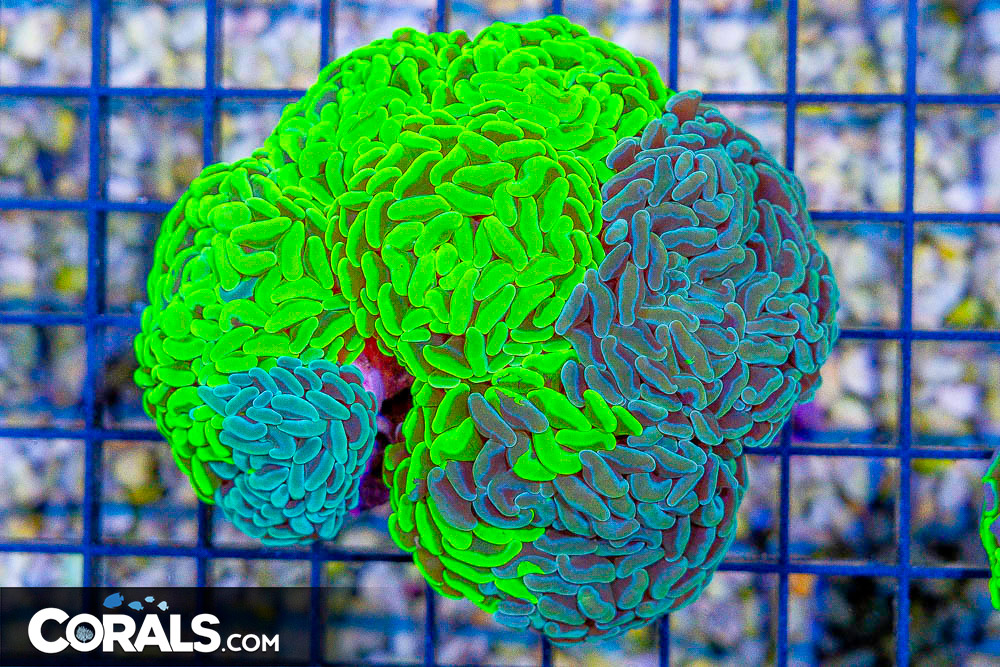
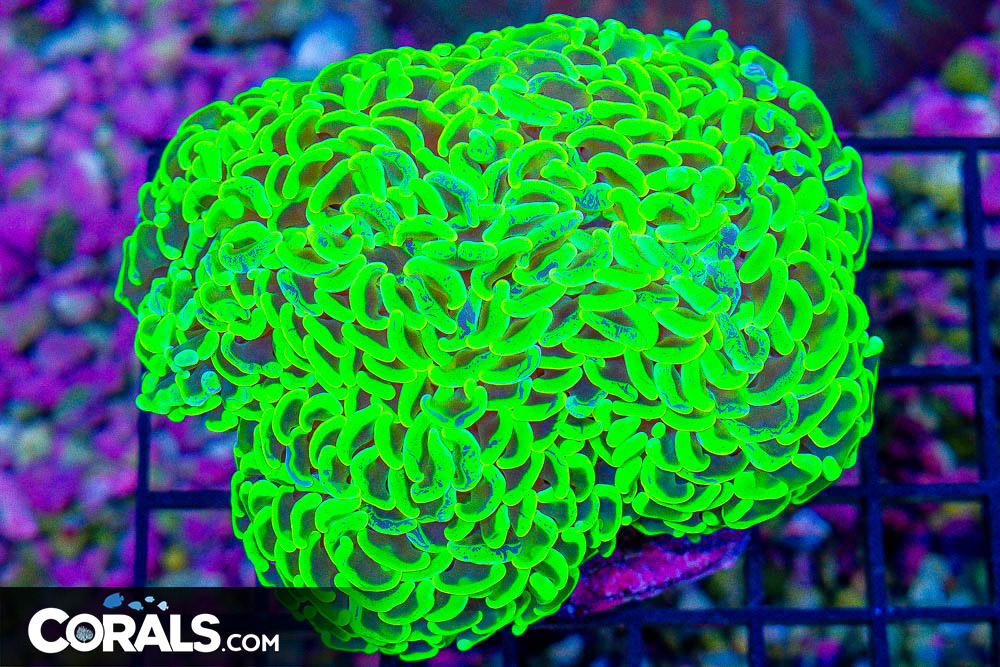
Branching Hammers are extremely popular amongst hobbyists, and likely the most common among the two types. With such a wide array of color variations and their tremendous growth, it’s easy to see why they are so highly desired! Amazing colors of Yellow, Neon, Orange, Purple Tip, and Toxic (to only name a few) are all throughout our hobby. Having a branching growth structure, they are fairly fast growers, making them easily fraggable. This, in turn, makes them more accessible to reefers, and therefore more popular.
It’s always said, you can never go wrong with a big, puffy Wall Hammer! While they might not come in as many colors as the branching variety, they have their own colors that are unique to them. Having a wall type skeleton structure, they are by no means fast growers, which is why they usually only come as colonies, as fragging doesn’t always yield the best results. Nonetheless, they make up for this in their sheer size when compared to a Branching Hammer. Wall hammers can achieve massive size! They slowly open up more and more once settled in for long periods in a location they like, and absolutely run with it. Even opening up well over 10x their skeleton size, making them a perfect Hammer centerpiece on your reef!
When it comes to caring for your Hammers, placement is key! Lower to moderate flow and moderate lighting (100-150 PAR) requirements are standard, but each Hammer can be different. Move your newly acquired Hammer around until you find a spot it opens up nice and big. Those polyps will be extended and swaying in the flow in no time! Allow adequate space around the hammer as they do have sweeper tentacles that can reach far out and sting your other corals! Like most corals, Hammers get the majority of their energy from their photosynthetic zooxanthellae. However, they can benefit from the occasional spot feeding of a mysis and brine shrimp mixture! Don’t overdo it: they will filter feed with their sticky tentacles from your water column if you broadcast feed . Sometimes feeding them too much can do more harm than good. Allow them time to settle into your tank before feeding them right away as they may not want to feed upon introduction to your aquarium.
Hammers are considered to be fairly hardy in our hobby when located in a tank that is established. Nothing yields more success with them than stable tank parameters! Aim to keep your hammers in systems with these parameters: 78 degrees, and 1.026 specific gravity. For nutrients typically Alkalinity (9 dKH), Calcium (450ppm), Magnesium (1300 ppm), low Nitrates, Nitrites, and Phosphates! Stable, essential nutrients are the key to keeping healthy hammers that will thrive and grow for years to come. Do frequent, small water changes to replace nutrients in your aquarium, avoiding large water changes that can swing parameters suddenly, shocking your hammers and other corals. Don’t forget, just make sure the parameters are as stable as possible!
How do you pick a healthy hammer? Look for a nice and thick flesh band around the skeletal edge all the way around the hammer. Lack of any flesh band can indicate poor health. Do realize though, that this is not the only indicator of good health. Little to no flesh band or even a peeling band does not mean the coral will not thrive, it may just require more feeding and husbandry. Look for tentacles that are fully extended and not short or retracted. There is a fine line on polyp extension for hammers. Super long tentacles that are very thin or stretched out usually indicate the hammer was not receiving enough light and/or nutrients. If you see a black or brown gooey or gel-like substance around the base of the tentacles or across the tentacles, it’s most likely on its way out. This could be brown jelly disease, which is very contagious to your other hammers and euphyllia. It may also not be BJD, but typically indicates the coral may die if not addressed. It’s best to remove hammers from your tank if you notice this before it potentially spreads. Look for hammers with very well defined and vibrant coloration. Lack of color or a light bleached color could indicate the hammer is either stressed or on its way out. Lastly, see if there are any missing skeletal flesh in the form of bite mark looking spots, which could be a telling sign that the hammer may have Euphyllia Eating Flatworms (EEF or EEFW), which leads us to dipping hammers.
When should you dip hammers? Well, it depends on a variety of factors. It is not suggested that any Euphyllia, such as hammers, be dipped upon receiving them. Whether you are buying online or from your LFS, placing the coral in your tank after shipping or straight from the LFS is a stressful event for the hammer. Dipping hammers right away is yet another very stressful event to add to an already stressful introduction to your tank. It is suggested to visually inspect the hammer for any pests before placing in your aquarium. If you are going to dip the coral, allow the hammer to settle into its new home for at least 2-3 days before dipping. This allows the hammer some time to settle in and regain its strength. If you do see pests, such as EEF’s, then dipping would be necessary to eradicate them. Ultimately, the best course of action is to have a quarantine tank where you can evaluate the coral over the course of a couple weeks, and then dip the hammer upon exit of quarantine if necessary or for peace of mind. You may notice that it’s being said “if necessary”, that’s because dipping hammers can go 50/50. Dipping too soon or dipping at all, can really have a drastic impact. In many cases, dipping does more harm than good, although sometimes it’s unavoidable.
Hammers reproduce both sexually and asexually. There are both male and female hammers. They can release both sperm and eggs into the water that most often in the home aquarium is not successful, although possible. They are most often either skimmed out, conditions of your tank and parameters are not ideal, or they get consumed by other inhabitants in your aquarium. They reproduce asexually in a couple of ways. First, through a process called budding, where a new hammer grows from the skeletal base. Second, the heads can also split from a single head, into 2 and so on and so forth.
Can you frag a wall hammer or branching hammer? Yes, you can frag both types. However; keep in mind that you can more successfully frag a branching hammer versus a wall hammer. This is because you most often than not do not cut into any flesh when fragging a branching hammer. The heads and flesh are well divided allowing you to easily snip or cut the heads apart. Wall hammers can be more difficult to frag, but not impossible. If you are going to frag a wall hammer, ensure your tools, work space, etc are sterile. Use gloves as well as eyewear too. When you frag a wall hammer, there will be a rather larger area that needs to heal, and they heal rather slowly. Find an area that is as thin as possible within the wall hammer’s skeleton to minimize the amount of cutting. While healing, they’re more susceptible to infection, so make sure they are being fragged in a sterile and clean area to begin with and use an iodine dip after fragging to guard against infection. Place the newly fragged wall hammer in an area with adequate flow as this will help with the healing process.
Whether you choose a branching hammer or wall hammer, both are amazing additions to your aquarium. With proper care and placement, you’ll enjoy their striking coloration, beauty, and wavelike movement!